








Introduction:The moka pot is the soul of Italian-style coffee in many home kitchens. Since its debut in 1933, it has become a classic tool for extracting rich, concentrated coffee flavors. This article provides a detailed breakdown of how to use a moka pot, the science behind its extraction process, along with bean selection tips and common operation mistakes—helping you brew thick, flavorful coffee at home with ease, even as a beginner.
The moka pot was invented in 1933 by the Italian Alfonso Bialetti. This classic metal coffee maker remains a top choice for many households. It works by heating water in the lower chamber, generating steam pressure that pushes the water through a bed of coffee grounds, resulting in a bold, aromatic coffee. Though the mechanism is simple, it can produce a taste and crema similar to that of a professional espresso machine.

If you wish to enjoy a rich cup of coffee at home that rivals café-quality, mastering the moka pot’s brewing technique is key. The resulting brew typically features a well-balanced acidity and bitterness, along with a hint of delicate crema (coffee oils), offering an experience close to traditional espresso.

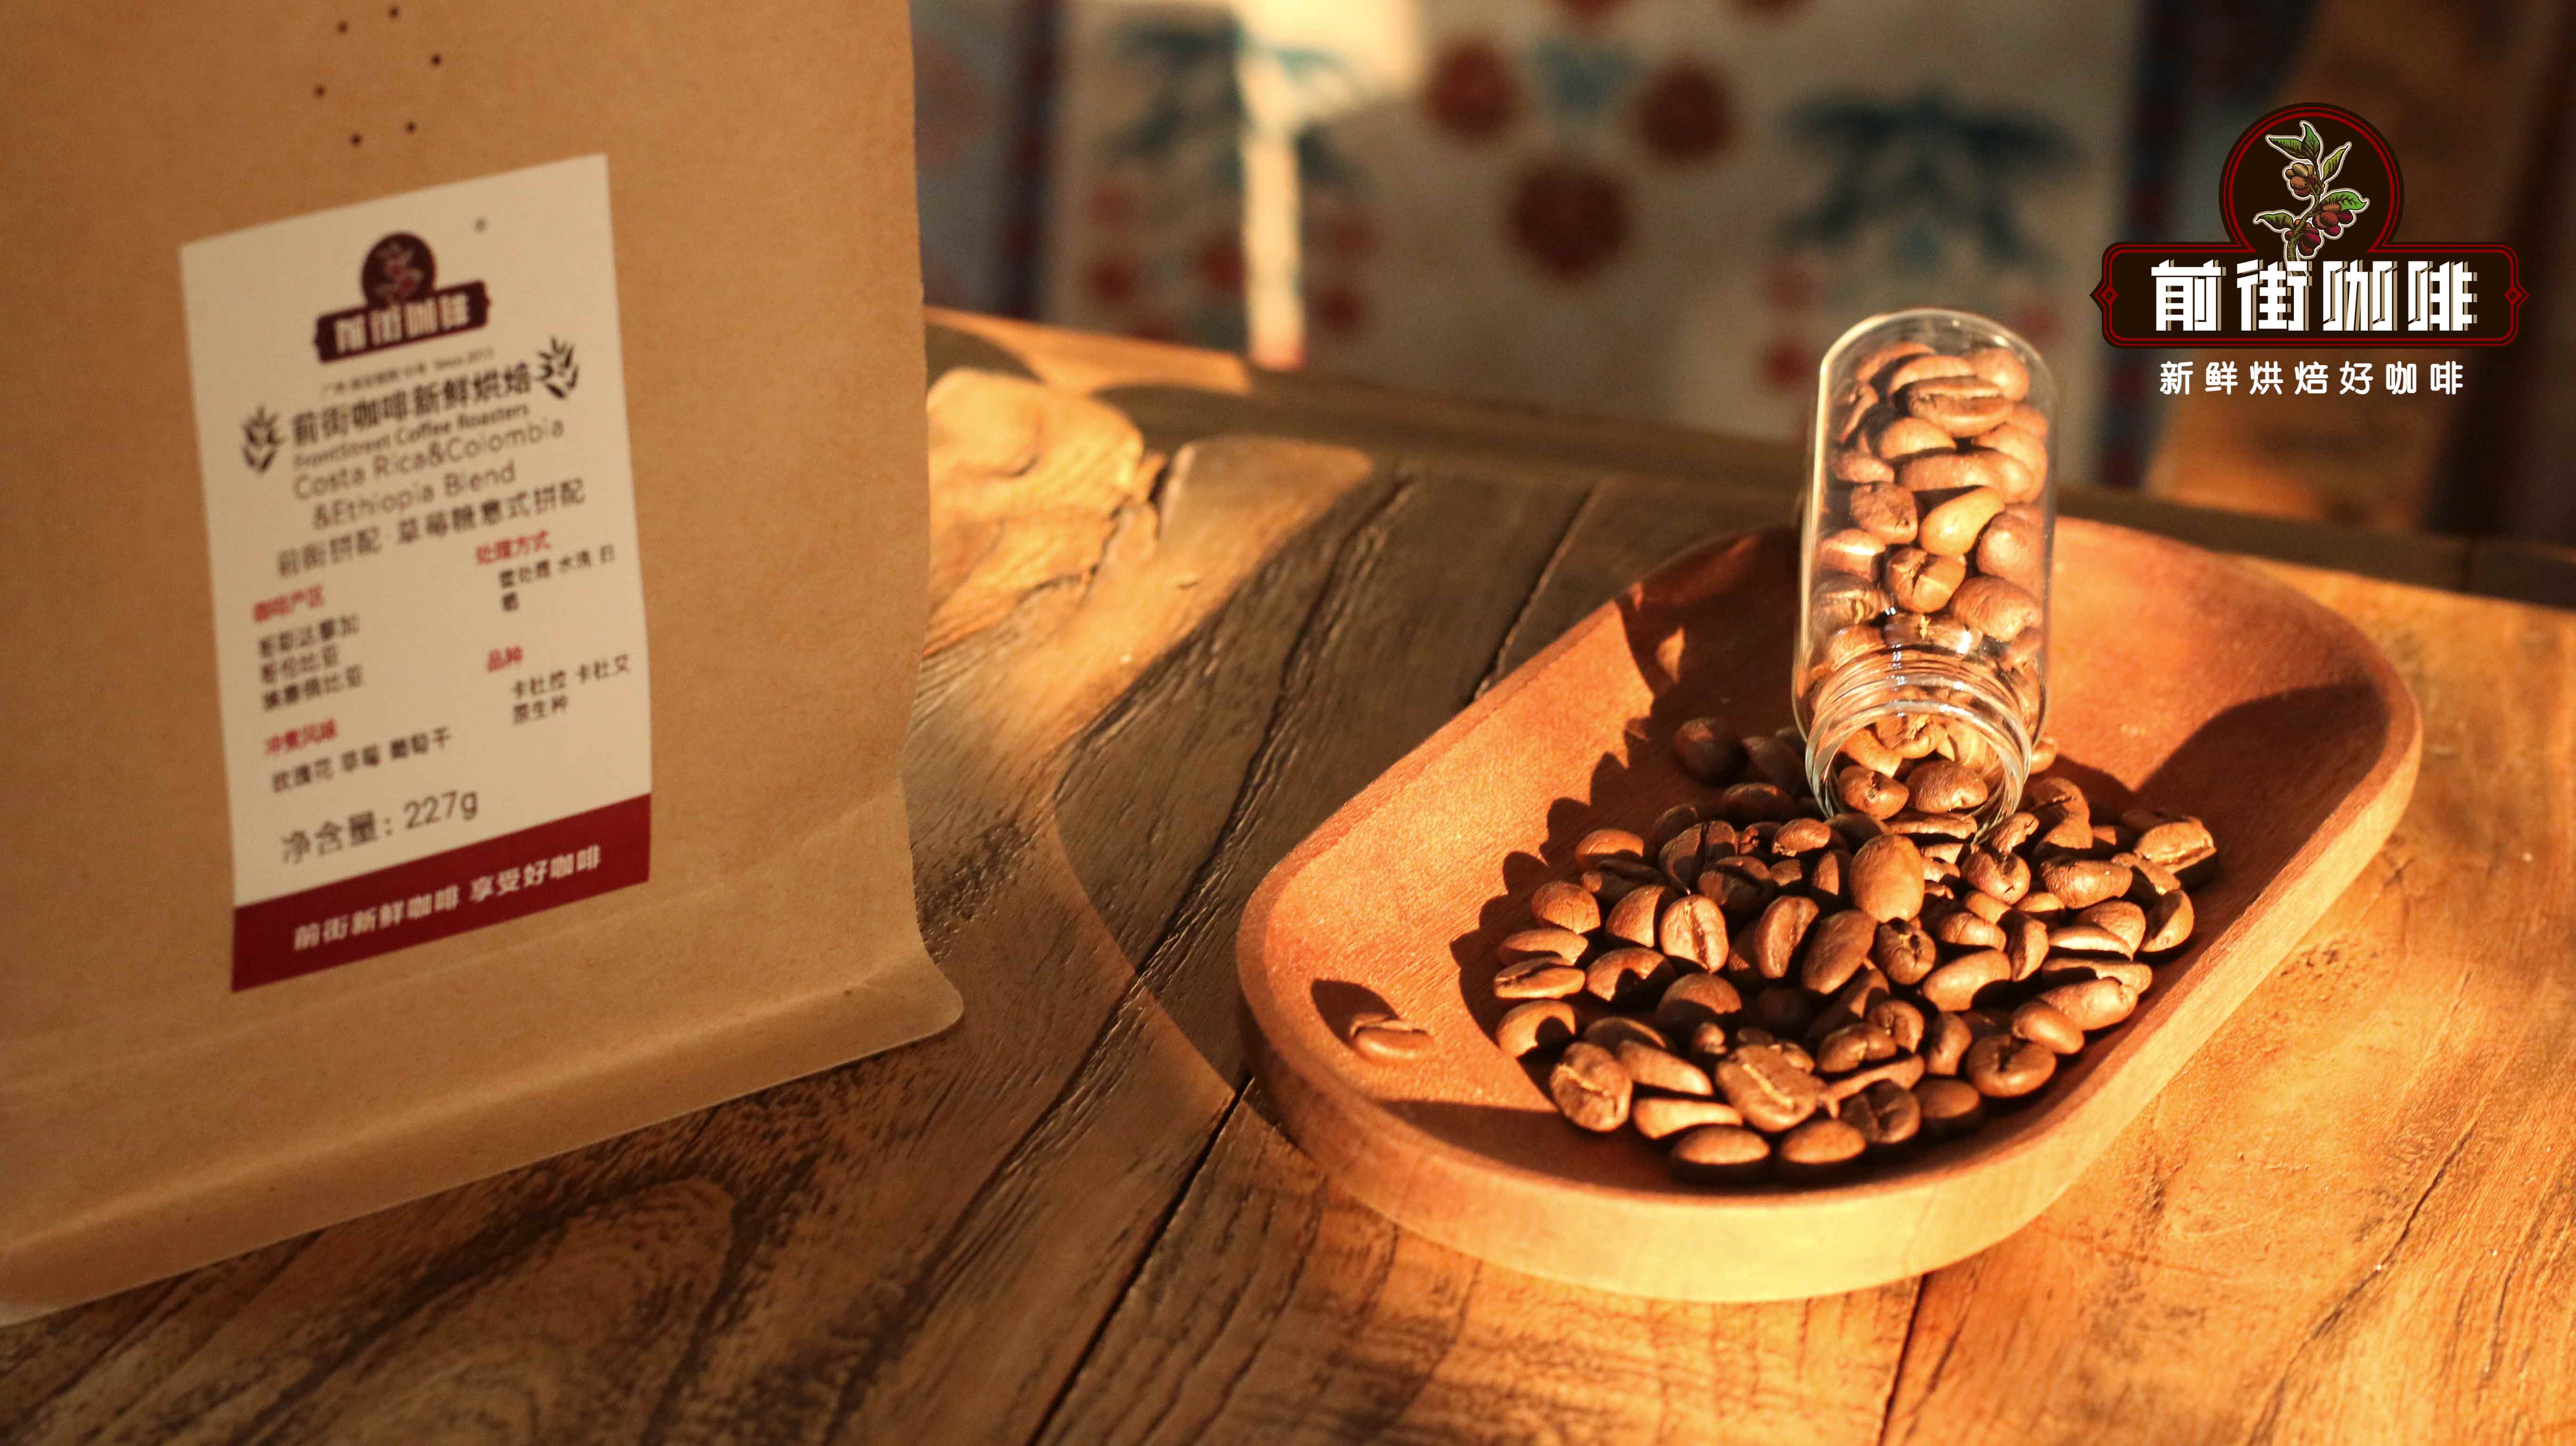
Preparation is crucial before using your moka pot. You’ll need the moka pot itself, an electric or gas stove (with a stable stand if using a gas stove), freshly roasted coffee beans, a grinder, and fresh water. A special note: your choice of coffee beans is extremely important. Freshly roasted beans retain the most flavor compounds. It’s recommended to choose beans roasted within five days for optimal extraction results.

When it comes to coffee bean flavor profiles, you can select different blends based on personal preference. For instance, those who prefer nutty and chocolatey notes might opt for a balanced, cost-effective blend. If you enjoy fruity, sweet beans with berry and caramel tones, there are also options well-suited for moka pot brewing. Different beans bring diverse expressions to your coffee—choose according to your desired brew outcome.
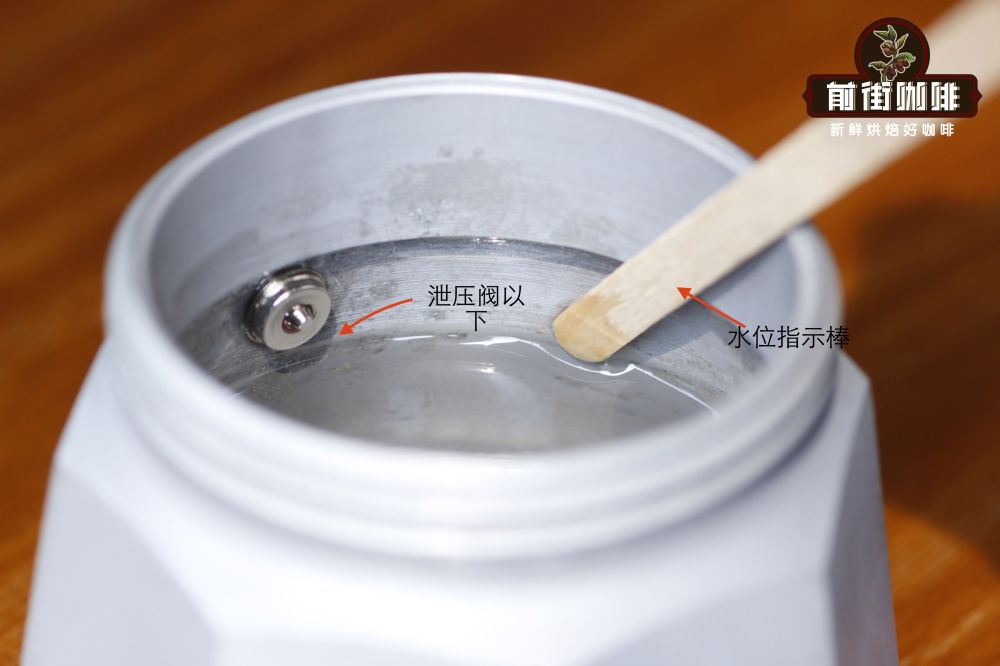
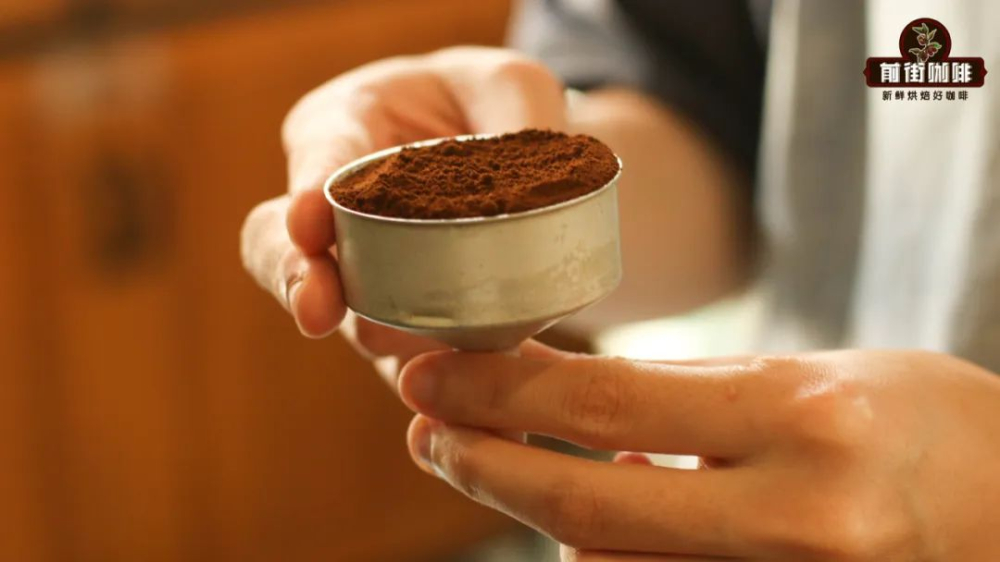
Next, let’s go through the practical steps of using a moka pot. First, fill the lower chamber with fresh water, keeping the water level strictly about 0.5 cm below the safety valve. Exceeding this line may interfere with the valve’s function or even cause abnormal pressure. Then, grind the coffee beans slightly coarser than standard espresso grind to ensure a stable flow rate. Distribute the grounds evenly in the filter basket, gently tap the pot to level the coffee bed, and fill it as much as possible to avoid under-extraction or uneven brewing.

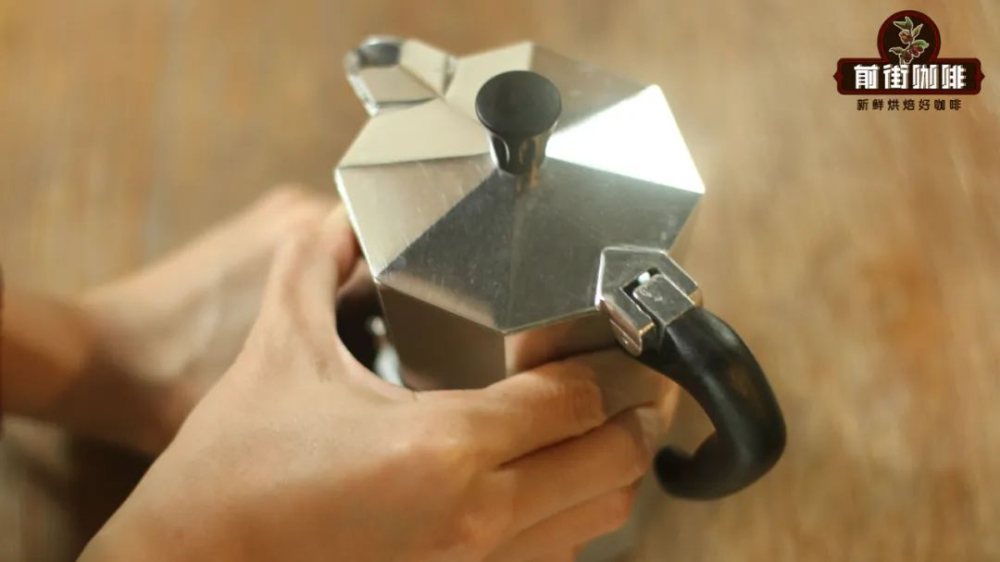
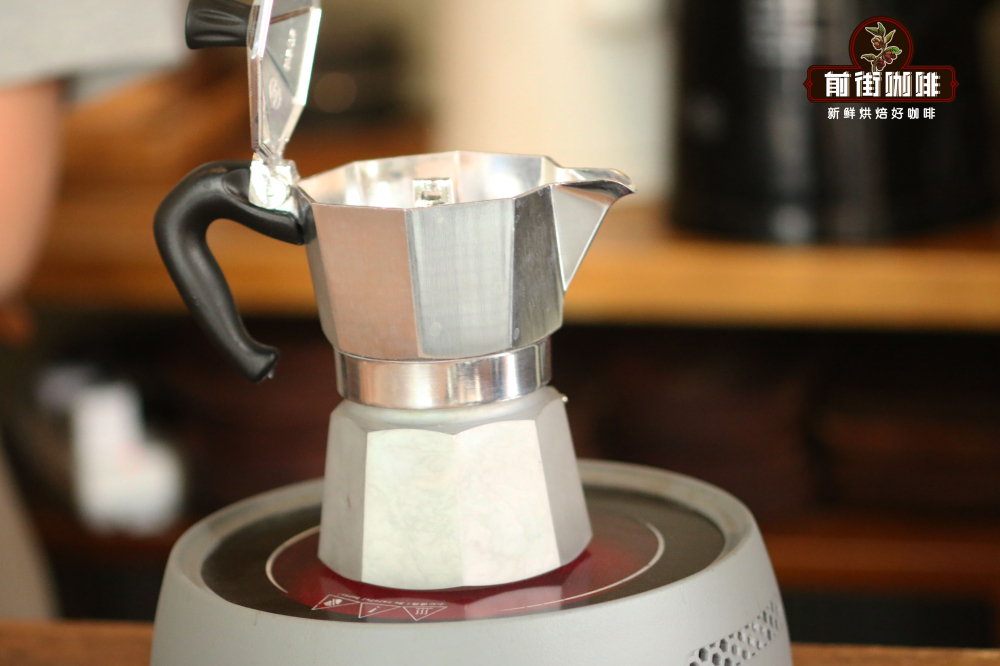
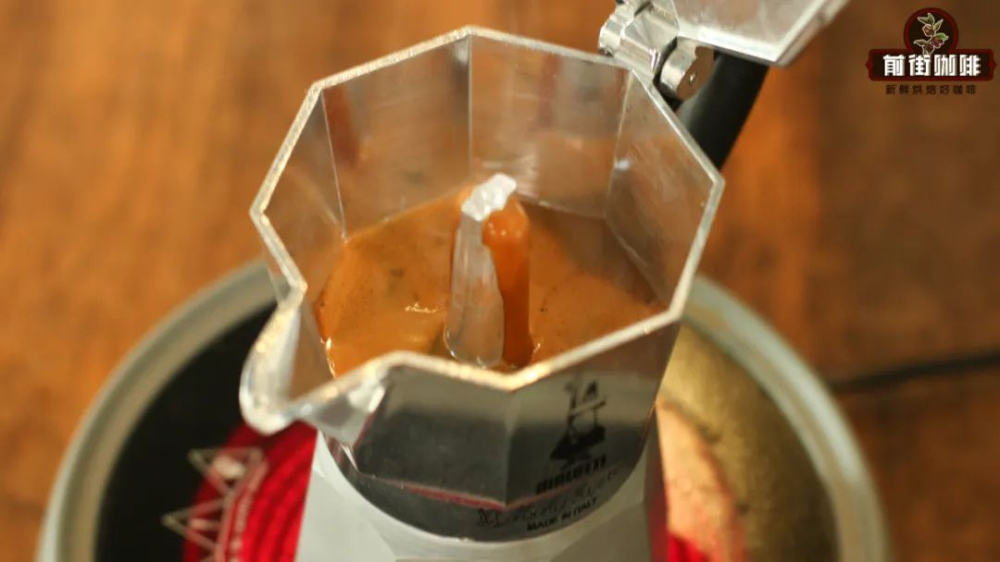
After loading the coffee, tightly screw the upper and lower chambers together, ensuring the threads are fully sealed. Place the moka pot on the heat source and turn the flame to high. When you hear a distinct “wuu wuu” sound, it means the pot has built up sufficient internal pressure—immediately reduce the heat to low and observe the flow from the upper chamber. Once about half of the coffee has brewed, turn off the heat and let residual heat finish the extraction. This helps avoid over-extraction and bitterness in the final drops.
Finally, once all the coffee has flowed into the upper chamber, you can pour and enjoy. The coffee brewed in a moka pot is not only bold but also often features a lovely crema layer. It’s great for drinking straight, diluted with hot water as an Americano, or mixed with milk to make a quick latte—offering versatile and rich flavor options.
When using a moka pot, be mindful of some common mistakes and precautions: First, never let the water level exceed the safety valve—that’s a basic safety rule. Second, the pot becomes extremely hot after heating, so always use an oven mitt or wait for it to cool before touching. Third, monitor the brew flow: if the coffee sprays out forcefully, the heat is too high—reduce the flame earlier. If the flow is too slow, the heat may be insufficient. Finally, maintaining a steady flame throughout is key to successful extraction.

The above content is compiled by CoffeeHunters, a coffee news website.


