







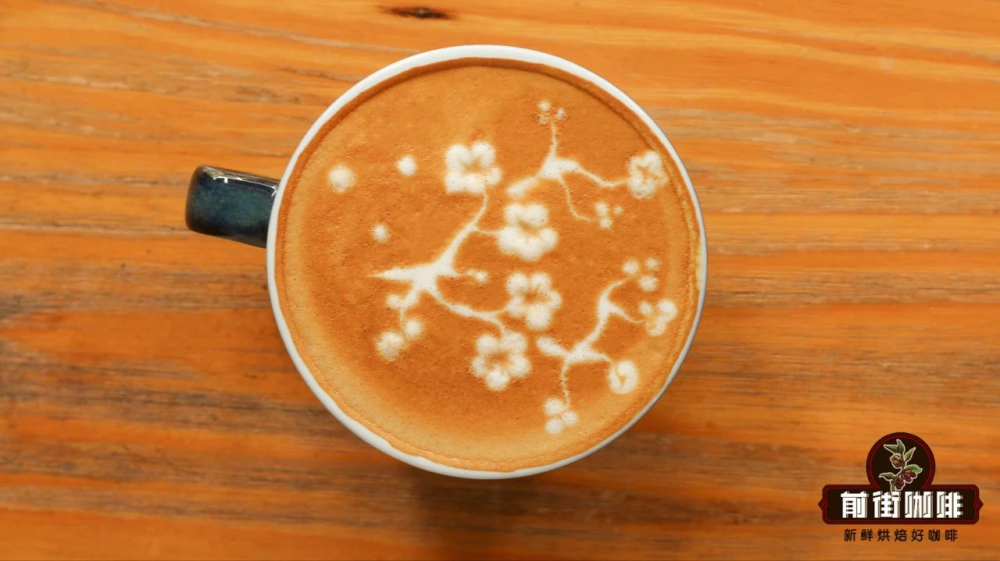
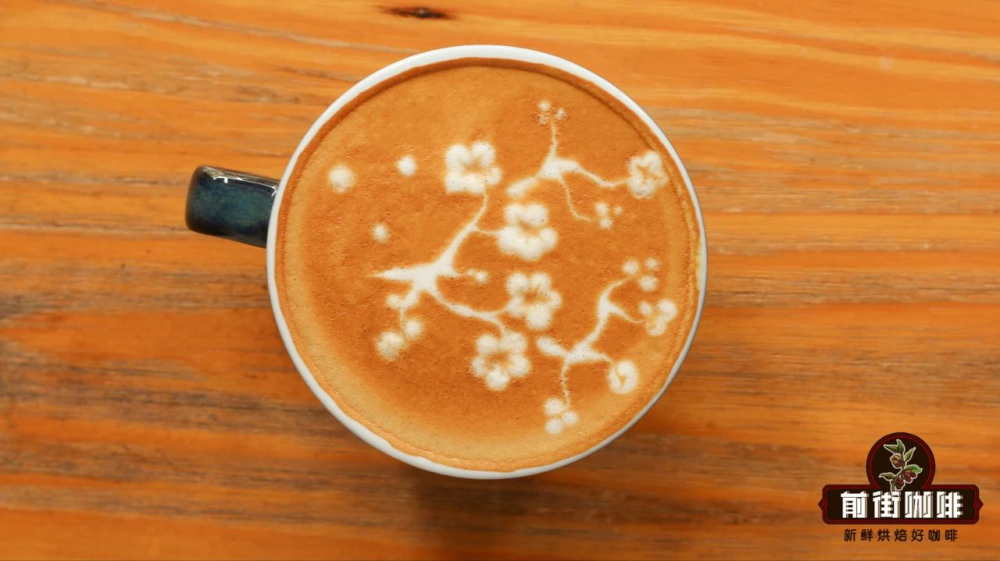
Introduction:Want to understand what latte art is? This article provides Hong Kong and Taiwanese Chinese readers with a detailed explanation of the fundamentals of milk-based coffee art, covering the differences between latte art and etching, key points in preparing espresso and milk foam, as well as step-by-step instructions for creating tulip and leaf patterns. It will guide you through mastering coffee pouring techniques, whether you're a beginner or an enthusiast looking to refine your skills. You'll find practical operational guidance and answers to common questions.
Fancy coffee art can generally be divided into three main types: latte art, etching, and stamping. Among these, latte art and etching are collectively referred to as milk coffee art (Latte Art). Latte art refers to directly “pouring” patterns onto espresso by skillfully controlling the wrist while pouring hot milk; etching, on the other hand, requires the use of materials such as chocolate syrup along with tools like toothpicks or spoons to further refine and enhance pattern details. Latte art forms the foundational technique, while etching showcases creativity—the two complement each other.
If you want to learn milk coffee art, it’s recommended to start with the following five steps. First is tool preparation: choose a spouted latte pitcher and a wide-mouthed coffee cup, which will make controlling the milk flow much easier. In addition, extracting a high-quality espresso is crucial—using a professional espresso machine is advised, as rich coffee crema helps make the latte art patterns more three-dimensional and long-lasting. At the same time, steaming milk to create a dense and velvety microfoam is also a key factor affecting the final result.
In the initial practice stage, you can start by using water instead of milk to familiarize yourself with controlling the speed and direction of the pour. For a bit more advanced practice, try adding dish soap or soy sauce to simulate the flow characteristics of milk. If you want to get even closer to real conditions, you can mix coffee grounds into a paste, which more realistically replicates the texture and resistance of espresso, helping you get a better feel when you eventually pour actual latte art.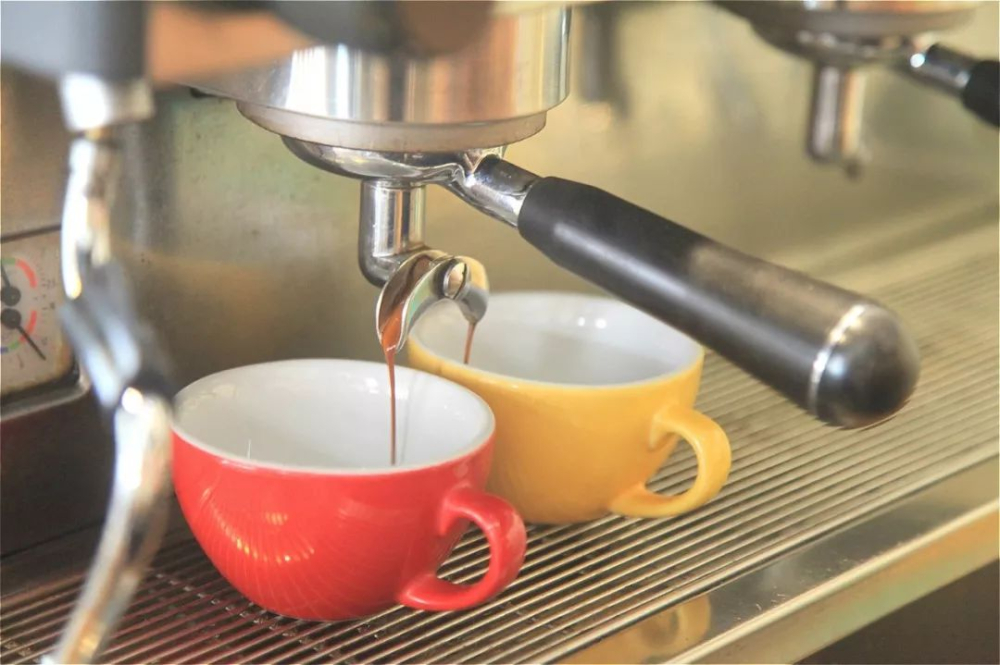
Next, it’s recommended to start practicing basic latte art patterns, such as tulips and leaves. These two patterns not only have a lower entry barrier but also help you get used to controlling the movement and flow rate of the milk pitcher. Developing a sense of touch and rhythm through repeated practice is an important foundation for successful latte art.
Once you’re somewhat familiar with the basic patterns, you can begin creating real latte art using actual milk and coffee. This step is key to applying your practice results to real coffee and marks the beginning of combining technique with aesthetics.
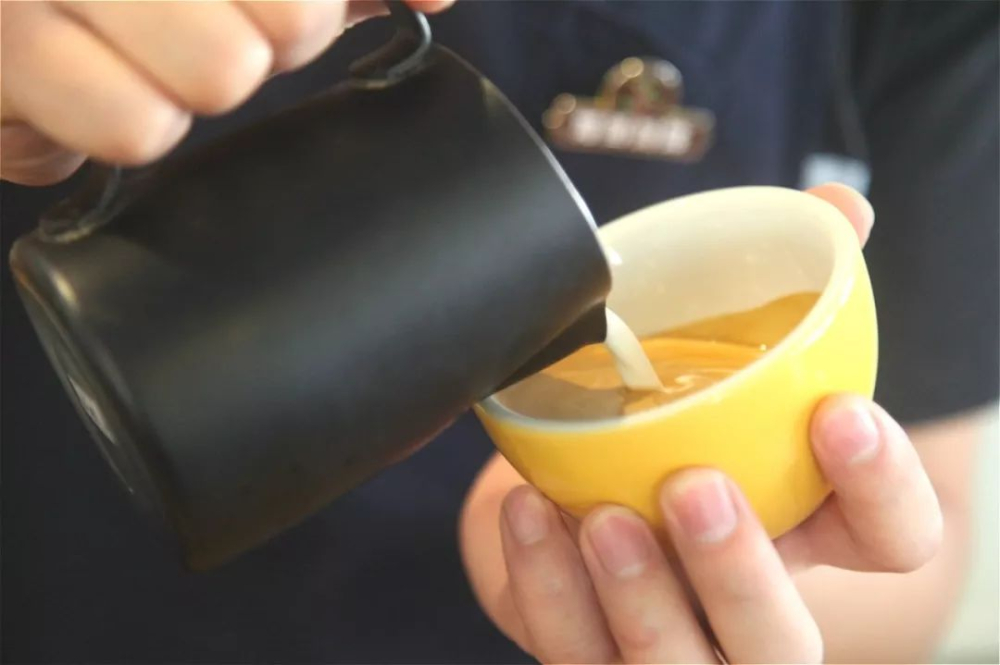
When actually performing latte art, it’s recommended to hold the coffee cup in one hand, tilting the cup mouth slightly inward; with the other hand, hold the milk pitcher, raising the pitcher body to about 10 centimeters above the coffee cup, maintaining an appropriate tilt angle, and keeping the spout directly aimed at the coffee surface. This posture helps stabilize the milk flow and lays a solid foundation for subsequent latte art.
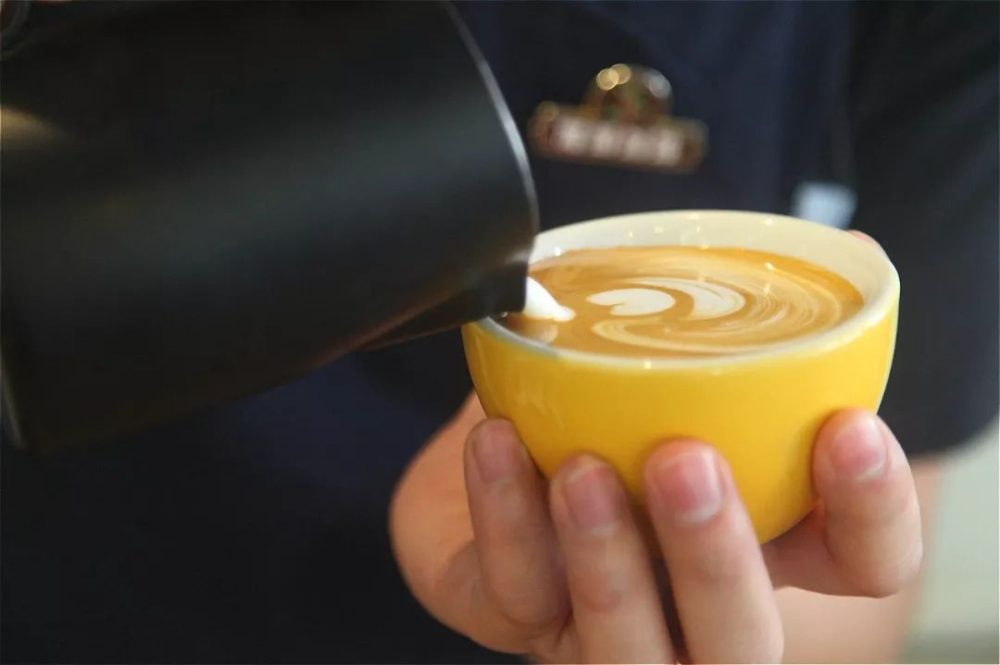
Here are the specific steps for the tulip latte art pattern: First, evenly integrate the steamed milk with the espresso. Then, bring the pitcher close to the center of the cup, quickly increase the milk flow until the first white dot forms on the coffee surface, then immediately stop pouring. Next, slightly move the pouring point backward and pour again at a high flow rate to form a second white dot, then stop. Repeat this motion several times to stack layers of tulip petals. Finally, after completing the last dot, immediately reduce the milk flow and push forward in a straight line to finish, shaping the complete tulip form.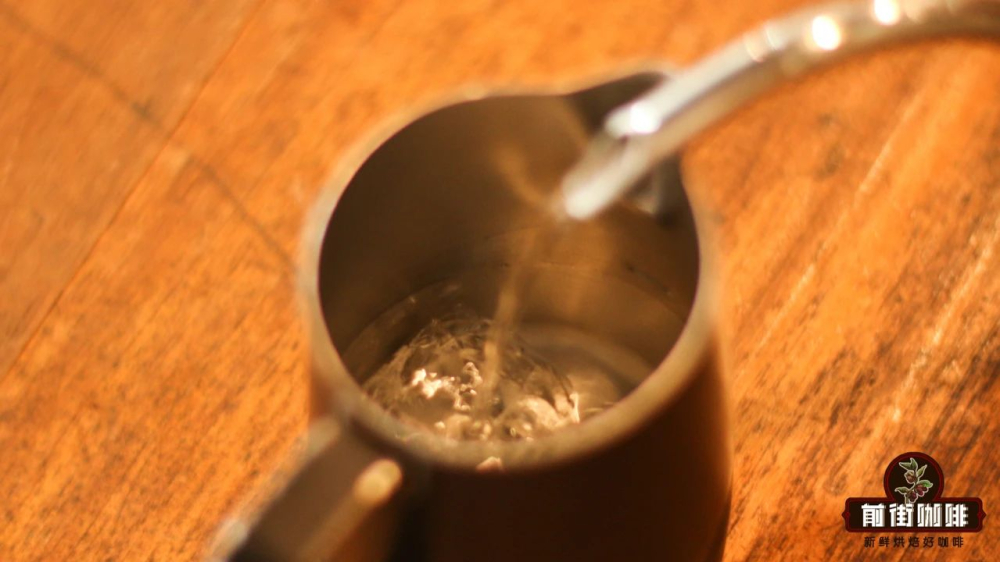
When practicing the tulip pattern, there’s no need to aim for perfection right away. It’s recommended to start simply by pushing forward twice, gradually getting accustomed to the flow of the milk foam and the range of your pouring motion. As your technique improves, you can gradually add more texture lines and forward pushes to make the pattern more layered and three-dimensional. At the same time, remember to master the rhythm of “pausing”—knowing when to continue pouring the milk foam and when to stop is the key trick to forming clear pattern edges.
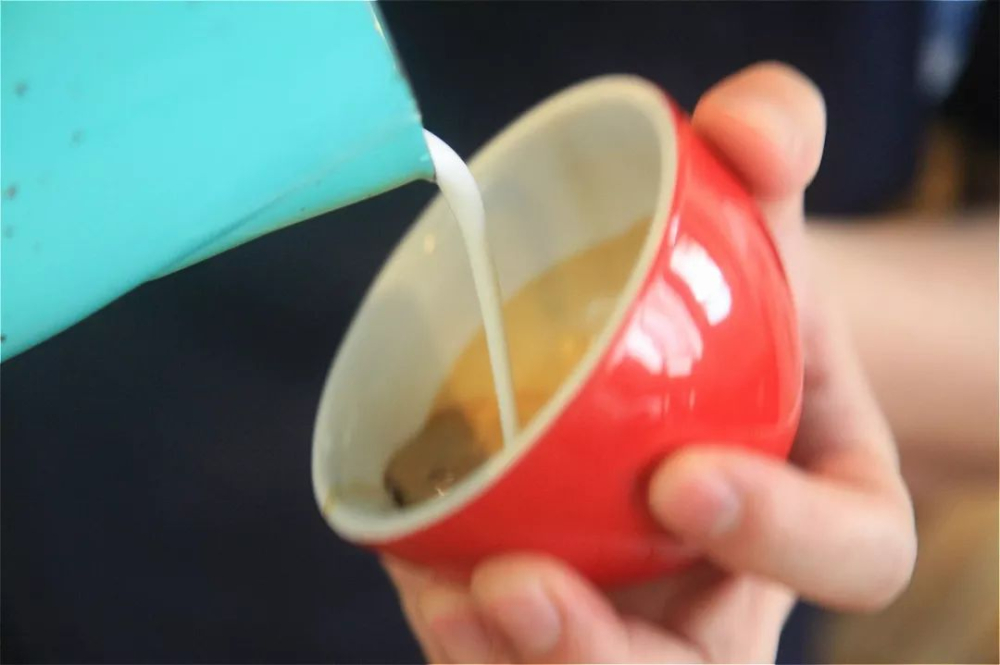
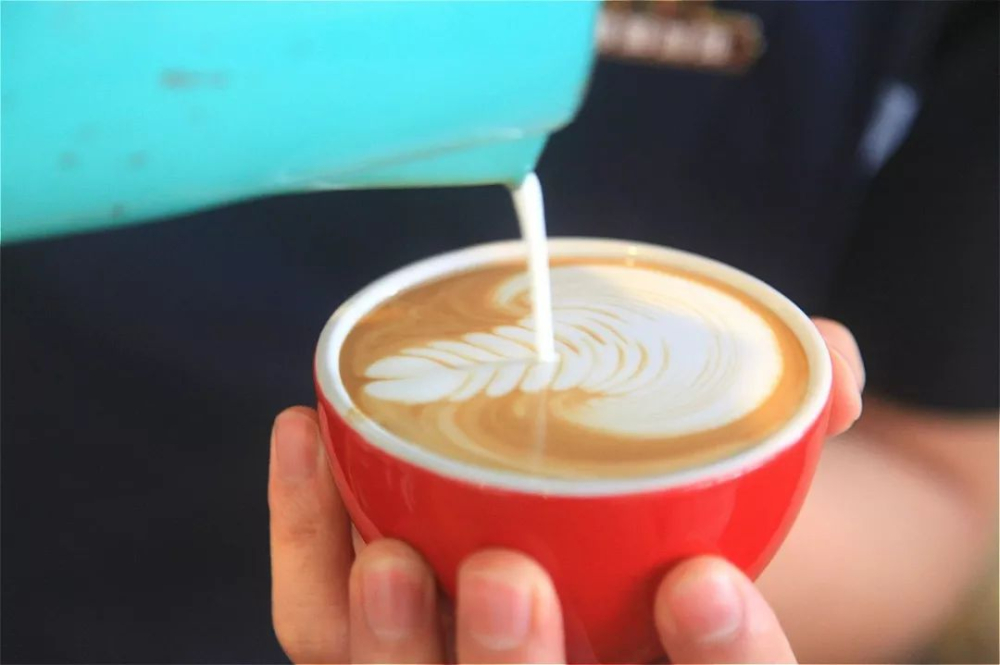
As for the leaf pattern, the basic steps are as follows: First, slowly pour the milk foam into the cup containing espresso. Be careful not to let the milk foam float directly on the coffee surface at first—you can slightly tilt the cup toward the pitcher and start pouring from a point slightly behind the center. When the coffee surface begins to show signs of whitening, gradually increase the milk flow and gently rock the pitcher to guide out vein-like textures. Continue moving backward while maintaining the flow rate and rocking motion until enough leaf shapes are drawn. Finally, raise the pitcher to about 5 centimeters above the coffee surface, narrow the milk flow, and push forward a thin line as the leaf stem to complete the entire leaf pattern.
In summary, latte art is not just a technique, but also an art form. From the choice of coffee crema, the texture of the milk foam, to the control of the pitcher and pattern design, each step influences the final visual and taste experience. With consistent practice and mindful attention, even beginners can gradually master this captivating coffee craft and enjoy the delightful experience of latte art that combines “color, aroma, taste, shape, and artistry.”


The above content is compiled by CoffeeHunters, a coffee news website.


