







Introduction:Want to create delicate and stable coffee milk foam and successfully pour beautiful latte art? In addition to technique, the choice and treatment of milk are key. This article delves into the differences between room-temperature milk and cold milk, whole milk and skim milk, guiding you to master the correct temperature for steaming milk, steam wand techniques, and how to make milk foam more long-lasting and velvety. Even beginners can quickly get the hang of it and elevate the quality of their lattes and cappuccinos.
Many beginner coffee enthusiasts often encounter issues such as milk foam that is not fine enough or collapses too easily when practicing steaming and latte art. In fact, aside from technical aspects, the type and quality of the milk itself greatly affect the steaming results and stability of the foam. Understanding the characteristics of different types of milk is the first step toward successful latte art.
In the classification by professional baristas, milk is mainly divided into two major categories: room-temperature milk and cold fresh milk, as well as whole milk and skim milk. If the goal is to produce delicate and long-lasting milk foam for latte art or lattes,cold-stored whole fresh milkis usually the most recommended choice, not only offering better foam texture but also bringing out richer flavors.
Room-temperature milk undergoes ultra-high temperature (UHT) instant sterilization. Although it has a shelf life of up to six months, the high temperature has already damaged some proteins and flavor compounds, resulting in foam that is often coarser, with noticeably inferior taste and aroma. In contrast, cold fresh milk uses pasteurization, which removes only harmful bacteria while preserving more nutrients and original flavors. It is suitable for freshly made coffee, with a shelf life of 7 to 12 days, and must be stored refrigerated.
As for fat content, whole milk contains about 3.2% to 4% milk fat, which can form softer, creamier, and finer bubbles during steaming, resulting in a layered and stable foam. Skim milk, on the other hand, contains almost no fat, so the foam it produces tends to be rough and loose. While it suits specific dietary needs, it clearly falls short in terms of foam texture and latte art performance.
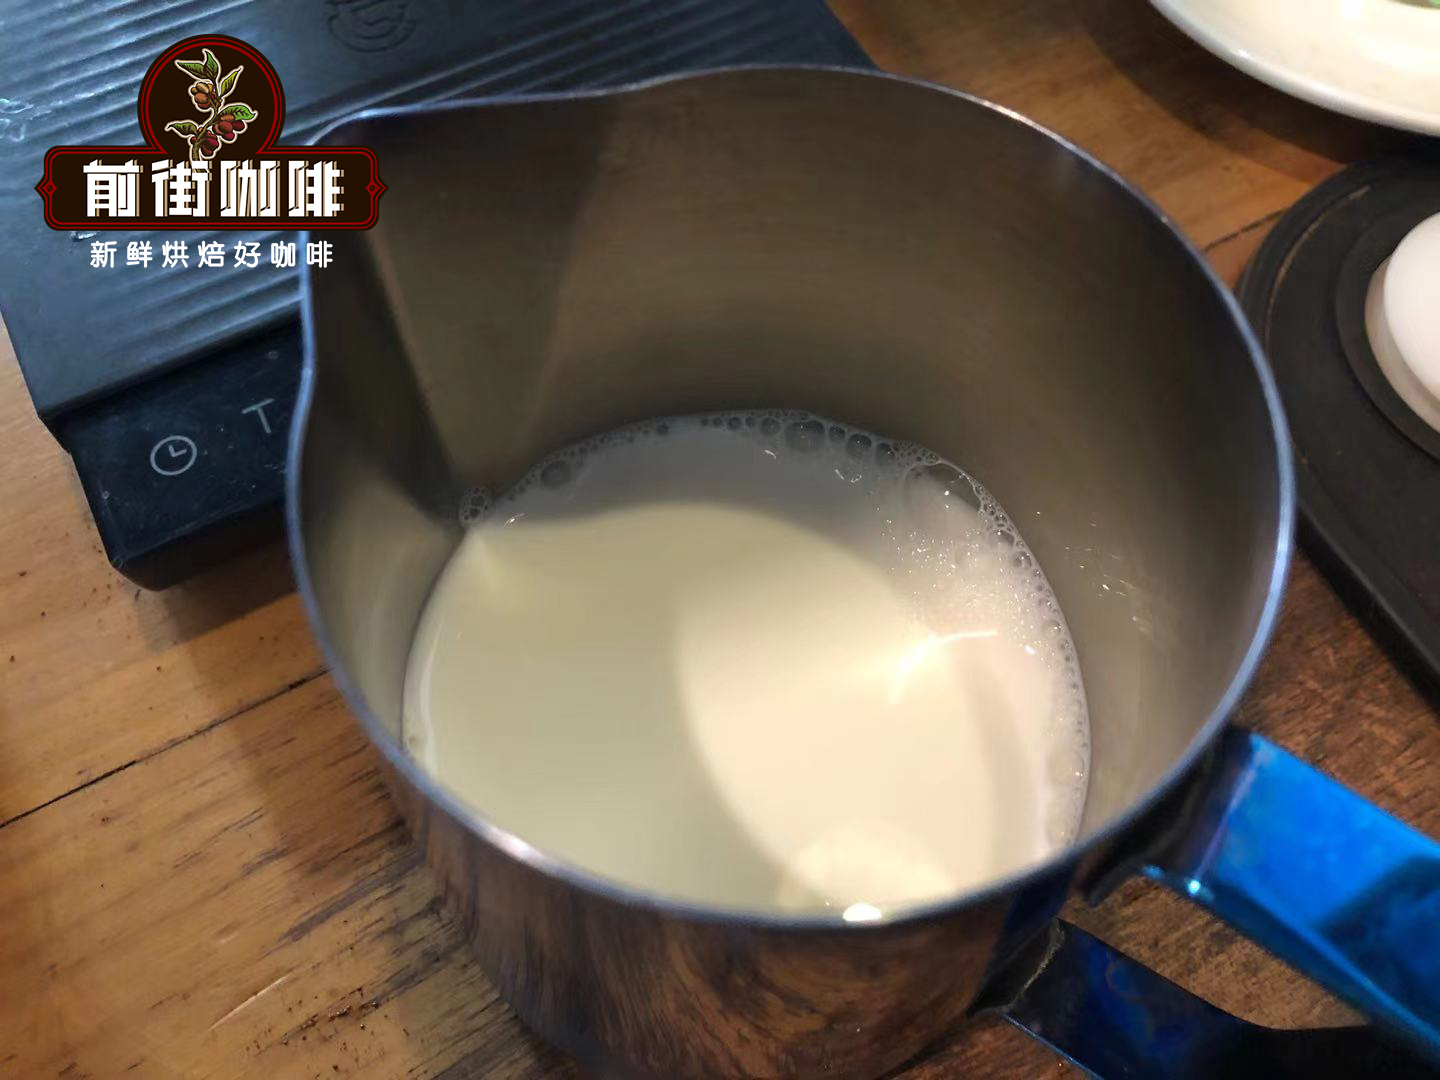
The equipment and operational details are crucial during the milk steaming process. It is recommended to use freshly chilled whole milk, keeping the milk at around 4°C to achieve the best steaming results. When using the steam wand, make sure the machine is fully preheated and that it releases stable and strong steam, not just water vapor. If using a home or low-pressure coffee machine, the insufficient steam pressure may negatively affect the quality of the foam.
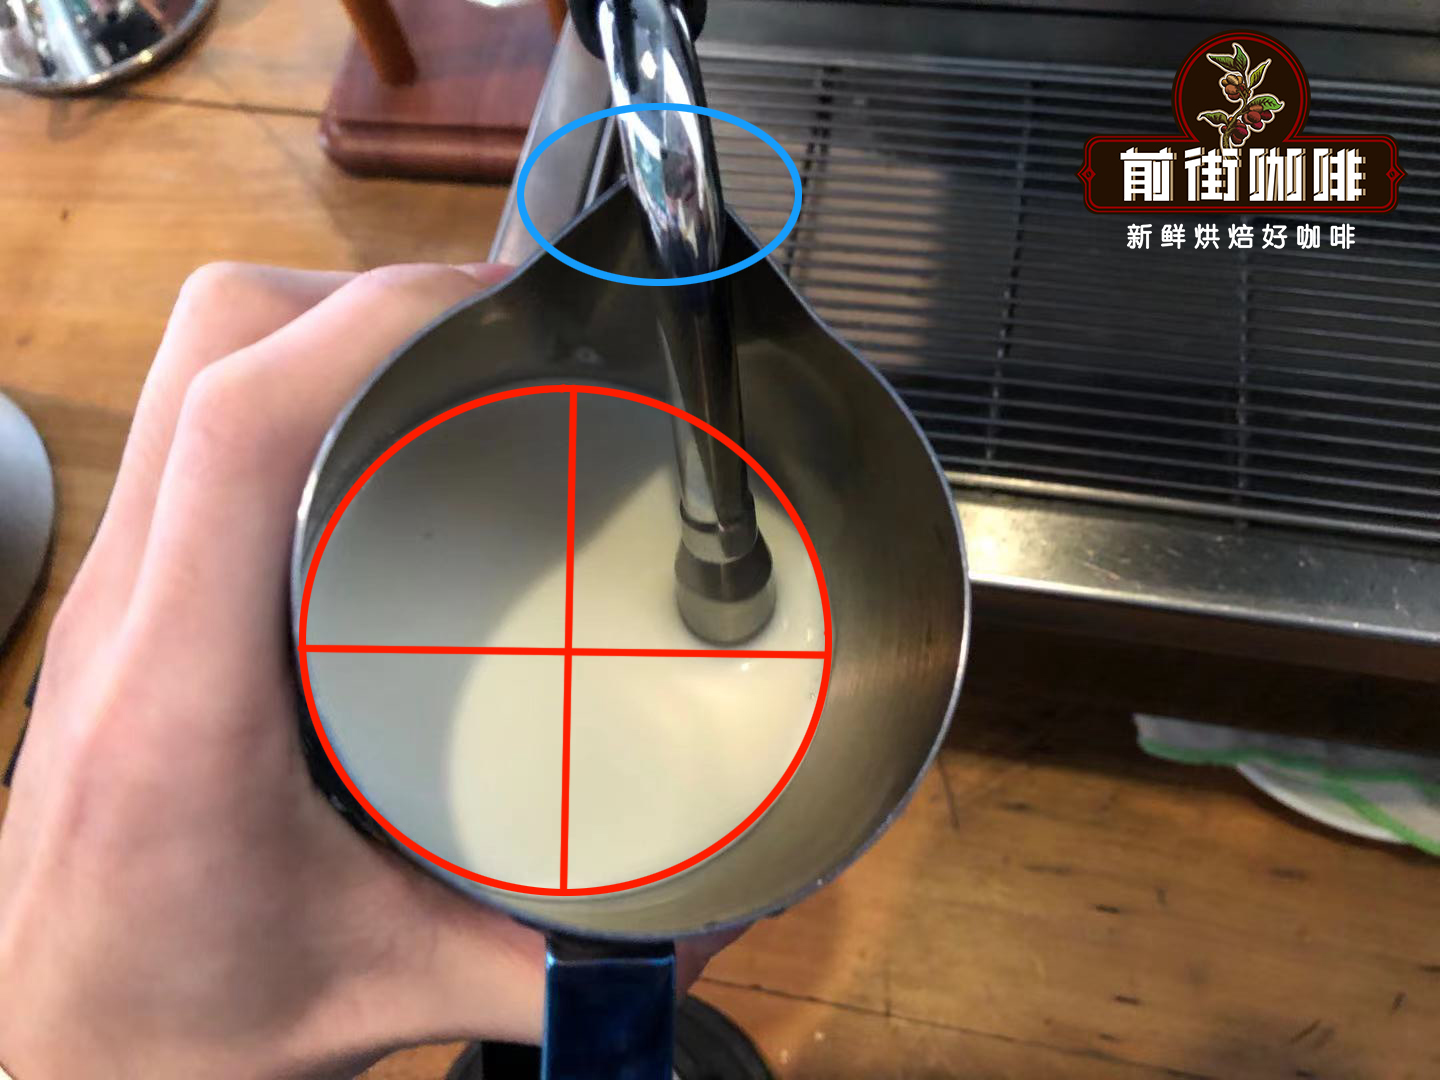
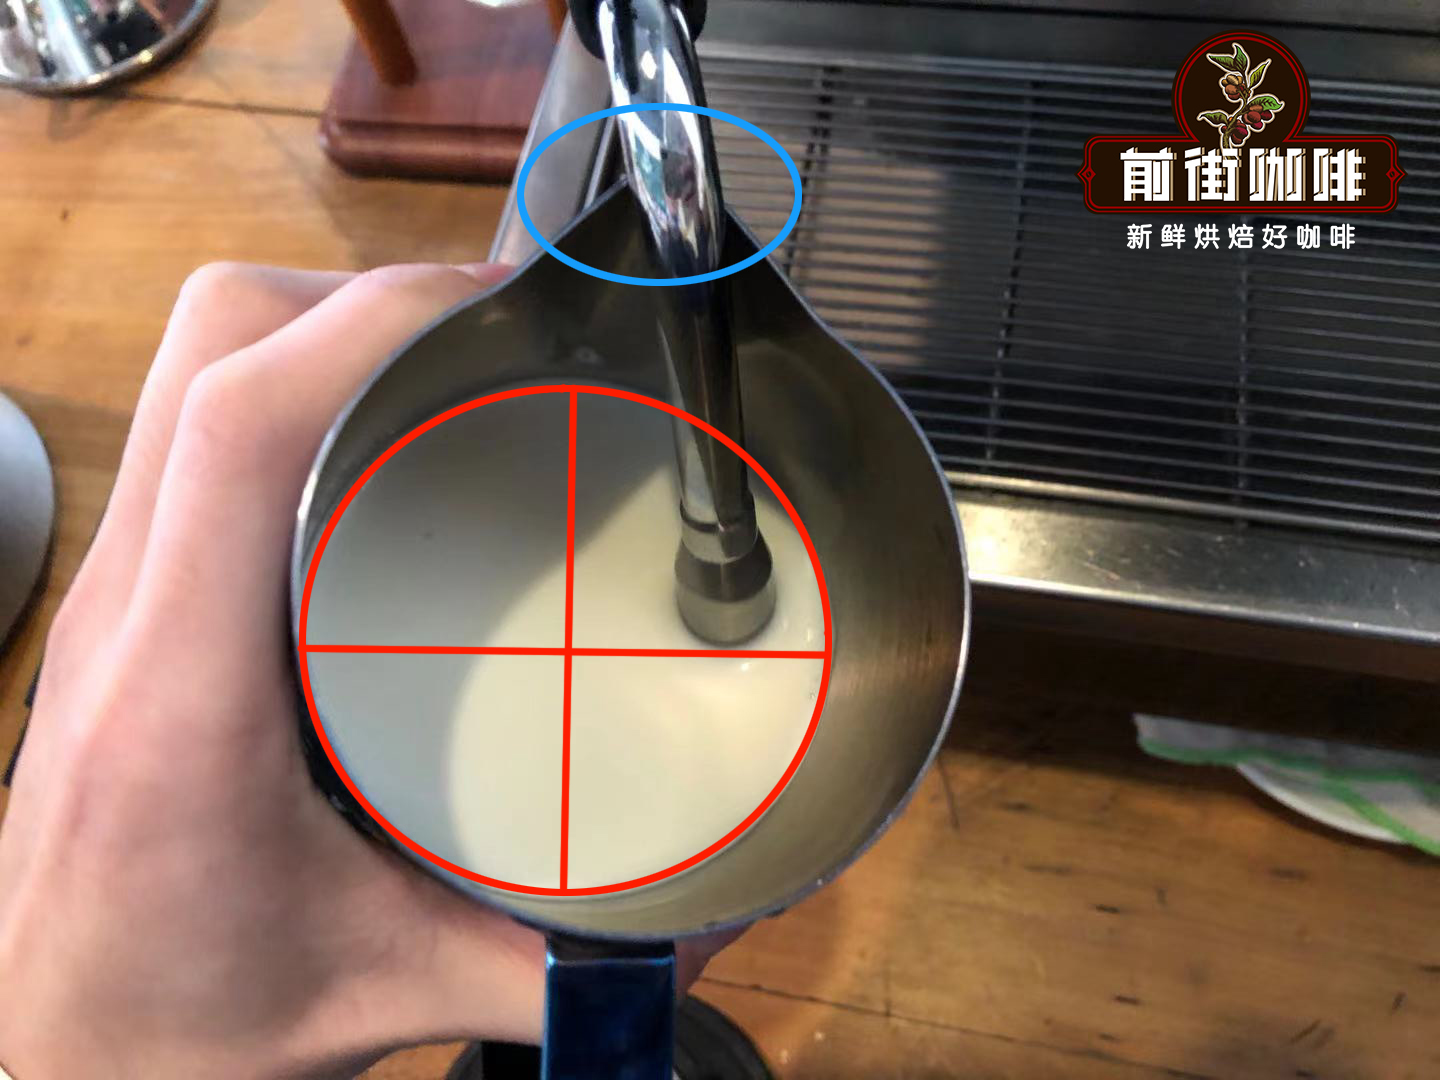
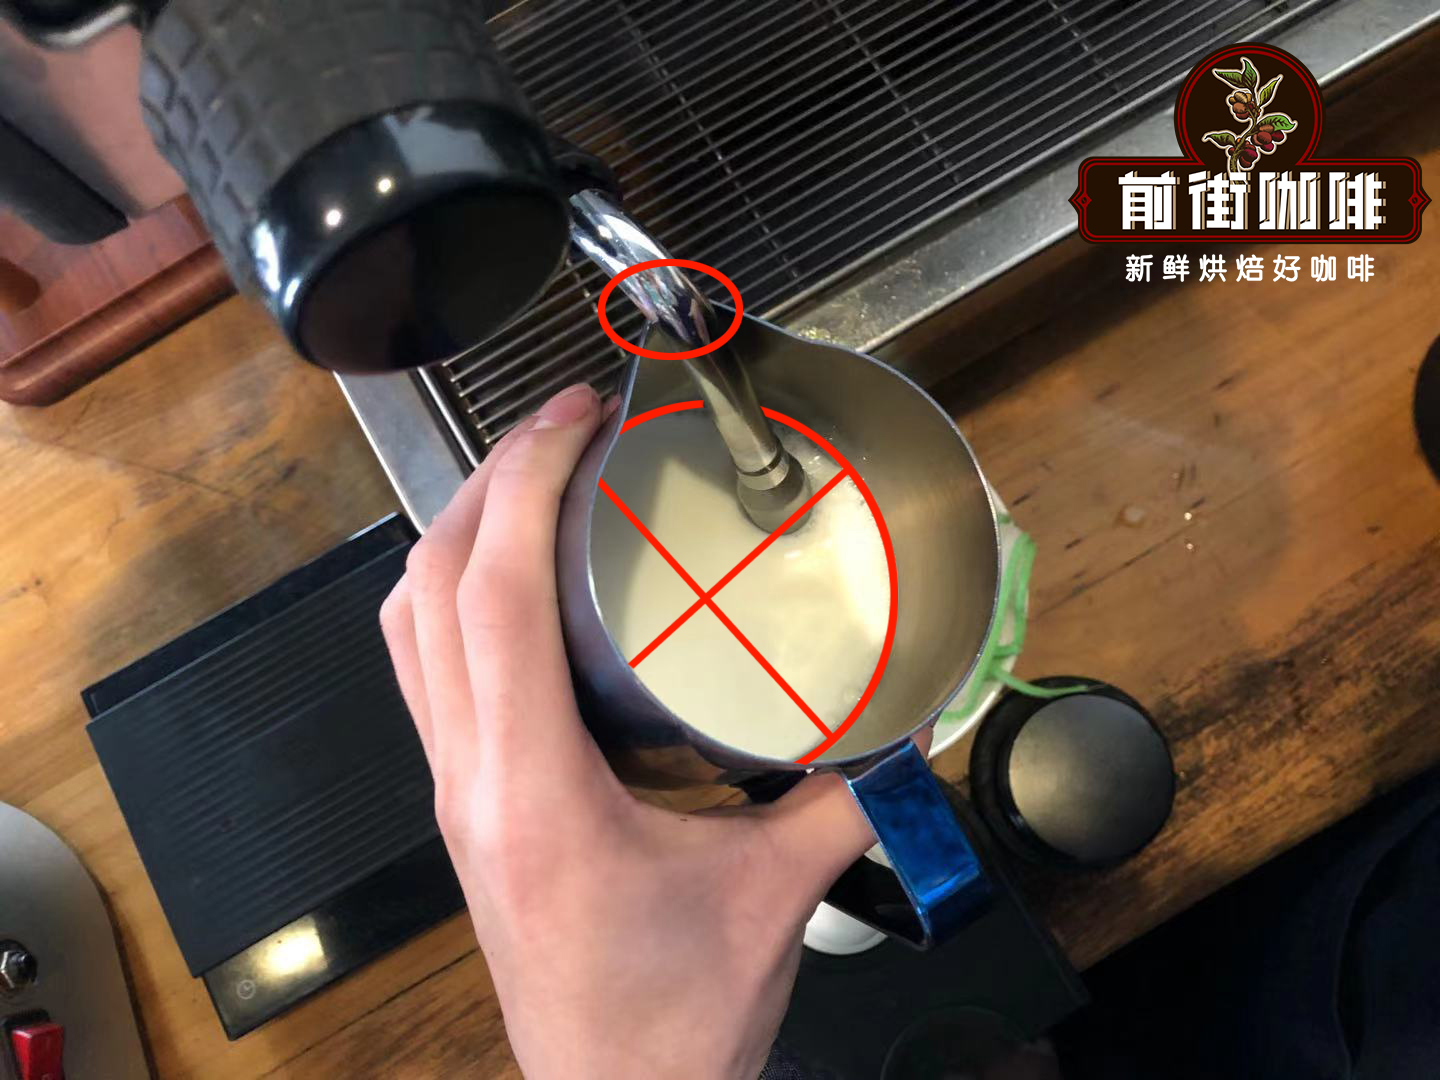
During operation, insert the steam wand diagonally into the milk, positioning it slightly below the surface by about 1 centimeter, maintaining a steady angle. Initially, you will hear a distinct “hissing” sound, which is the air intake stage responsible for creating large bubbles as the foundation. Then gradually submerge the steam wand deeper, allowing the steam to evenly mix the air and milk, forming fine foam. When the milk jug temperature approaches 60°C, you should immediately turn off the steam to avoid overheating, which can cause the foam to break or become coarse. It’s recommended to sense the temperature by placing your hand near the side of the jug — when you feel noticeable heat and the aroma of milk, it’s time to stop.

After steaming, gently place the milk jug on a thick cloth, tap the bottom lightly, and shake it from side to side. This helps release large, unstable bubbles, making the foam texture more even and compact, and extending its stability. This step is often overlooked but can significantly enhance the final coffee’s visual and taste presentation.
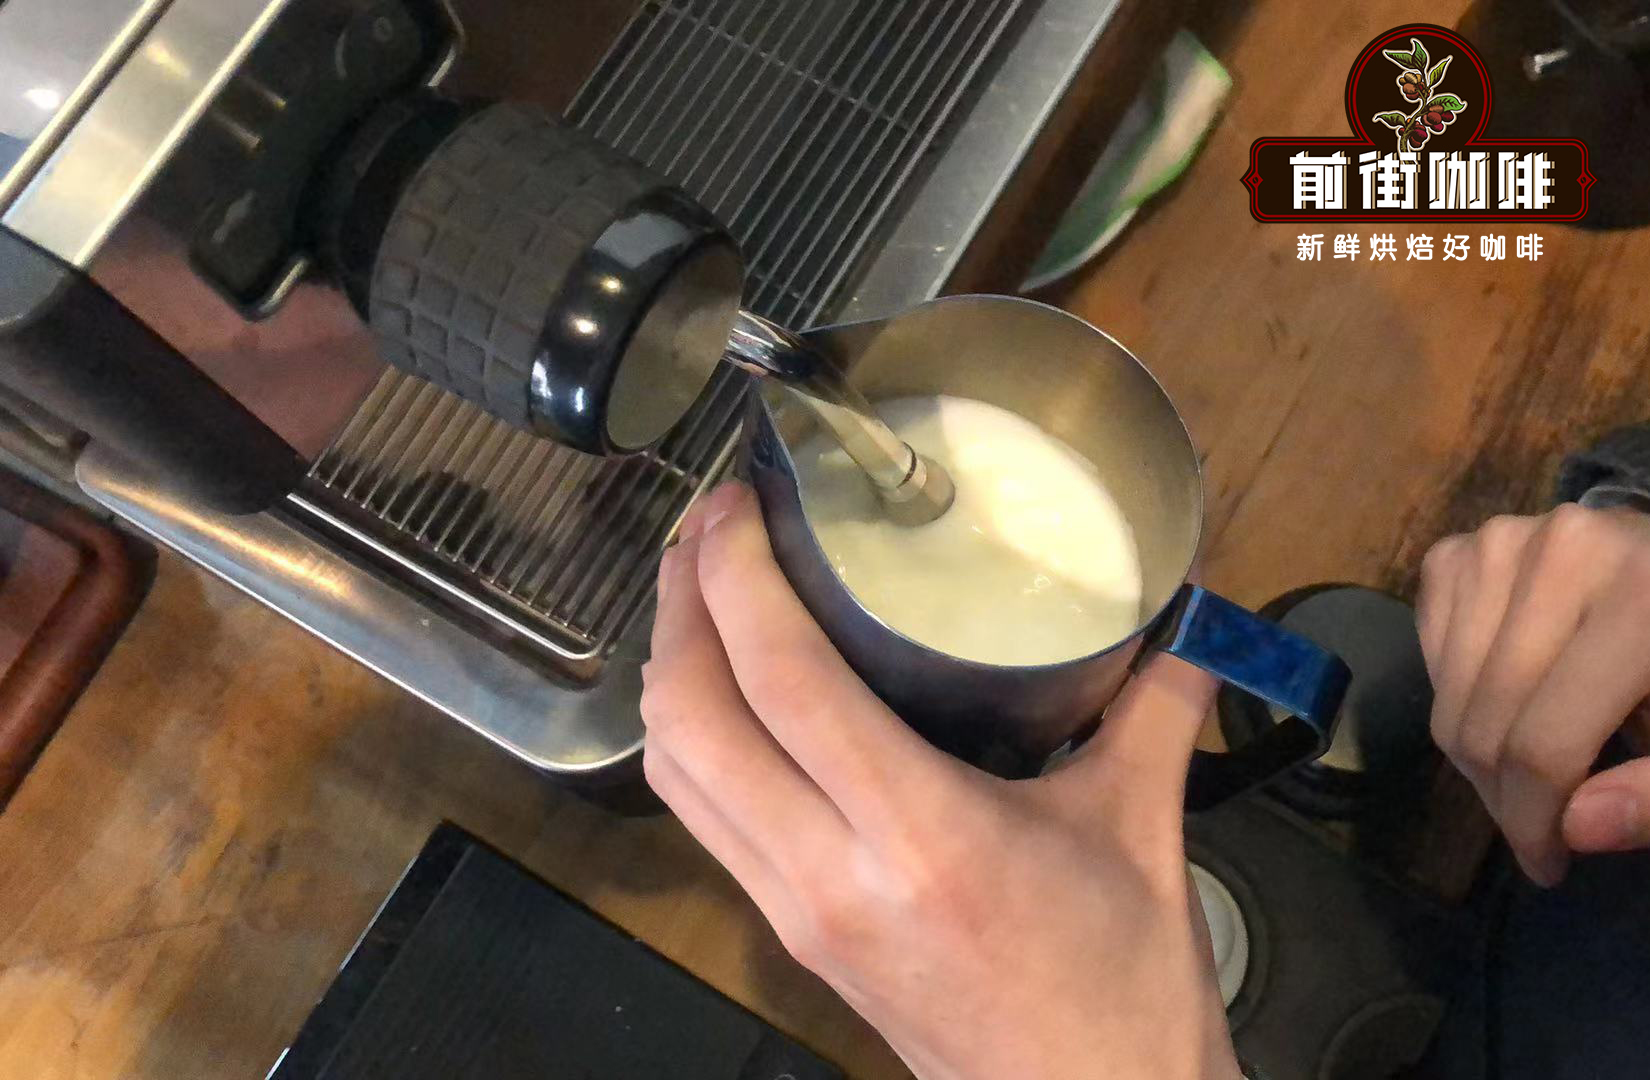
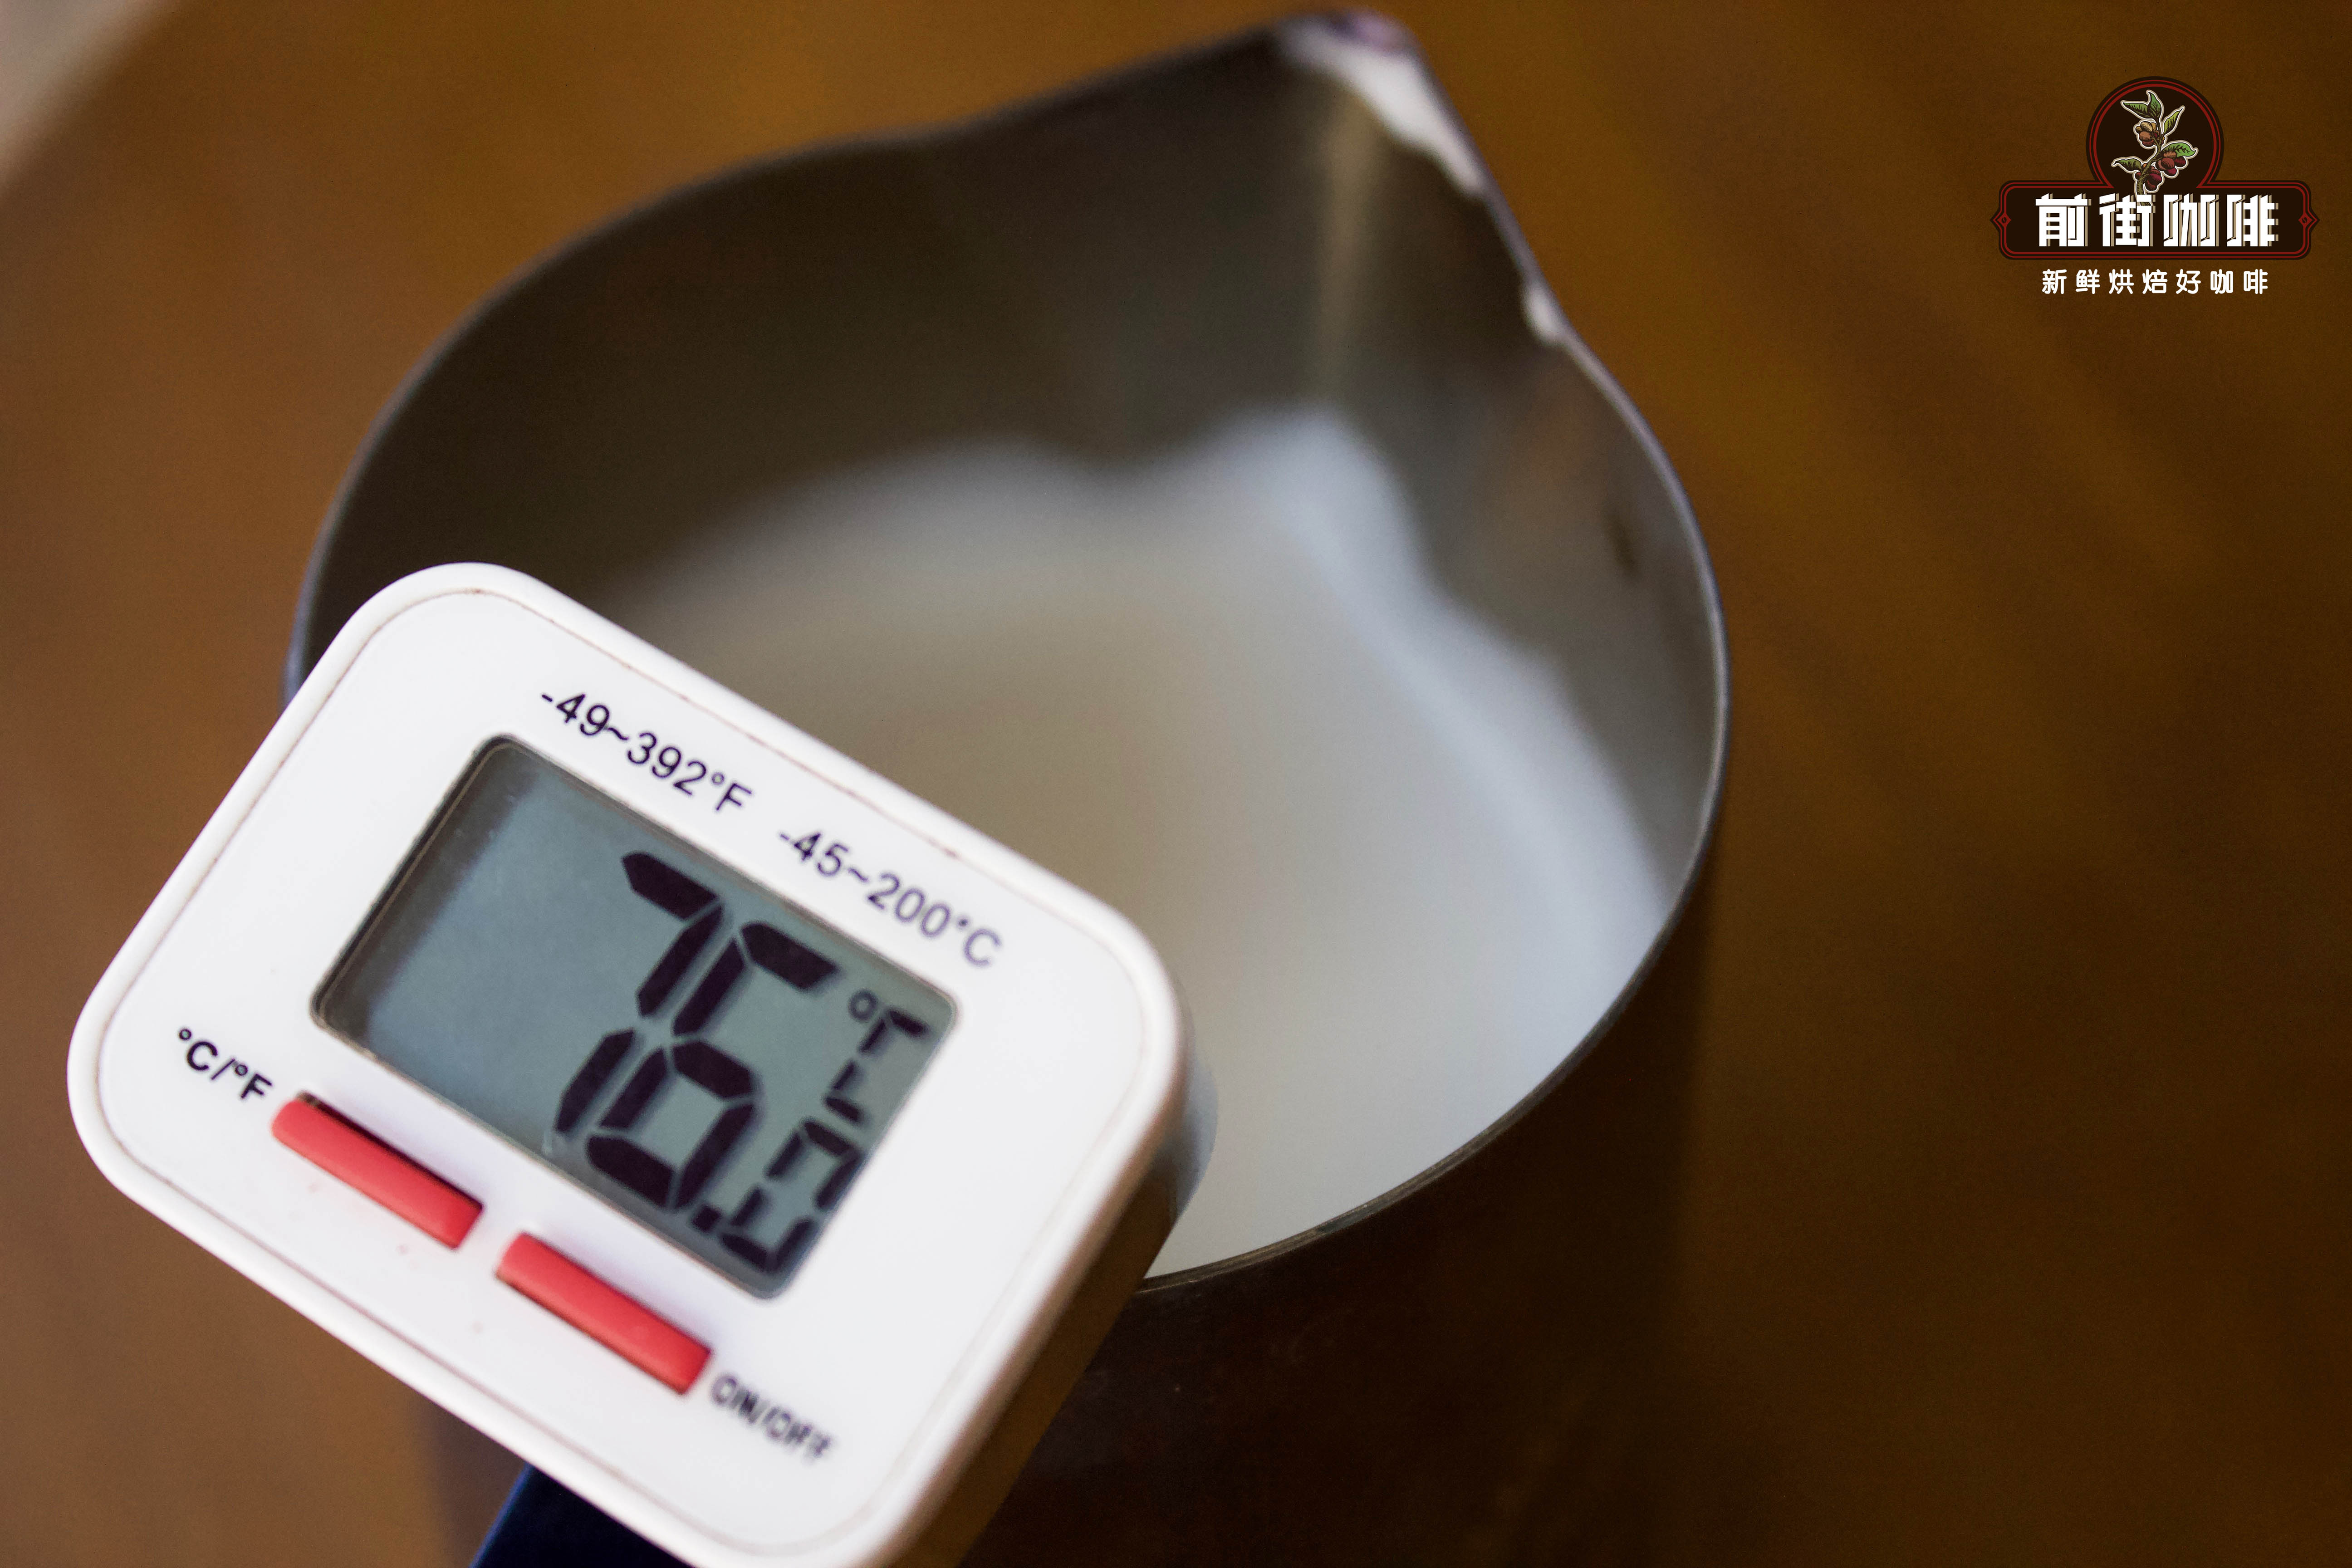
The ideal temperature range for milk foam is generally 60 to 70°C, but many experienced baristas suggest that controlling the temperature closer to 75°C results in the most stable and dense foam structure. Skilled operators can gauge the jug temperature by the inner side of the palm (near the base of the thumb) — when it feels noticeably hot, it’s time to stop. Be especially cautious, as excessively high temperatures can not only denature the proteins but also make the foam loose and prone to breaking, or even produce large, uneven bubbles.
Additionally, the final ratio of milk to foam will vary depending on the type of coffee drink. For example, cappuccinos typically have a relatively higher proportion of foam, while lattes favor finer, better-integrated foam. Generally speaking, 500 milliliters of milk can yield about 600 to 1000 milliliters of milk-foam mixture, with the actual ratio adjusted flexibly based on latte art requirements and individual skill levels.


Finally, the steamed milk foam should be used as soon as possible to avoid prolonged standing, which leads to natural bubble dissipation and affects the texture and appearance of the coffee. The longer it sits, the more likely the foam is to become coarse or collapse. It’s recommended to pour latte art immediately after steaming to achieve the best flavor and visual effect. Stable and fine milk foam is not only a display of technique but also a key element in enhancing the overall coffee drinking experience.
The above content is compiled by CoffeeHunters, a coffee news website.


