








Introduction:To make a beautiful and smooth latte art, selecting the right coffee beans and mastering milk frothing techniques are key. This article details the characteristics of espresso beans suitable for latte art, the impact of roast levels and freshness, and breaks down the steps of milk frothing, pitcher handling, and pouring movements. Even beginners can quickly get the hang of it and achieve professional-level latte art results.
Latte art is often based on espresso, yet for the patterns to be clear and stable, the texture of the coffee crema is crucial. From the extraction of espresso itself, there are many details that can improve the success rate of latte art. Among them, the choice of coffee beans is the first and foremost step.

If you want the espresso crema to perform just right, medium to dark roasted espresso blends are usually more suitable. These types of beans not only deliver a rich mouthfeel but also produce a crema with moderate thickness, which helps blend well with milk and makes the latte art patterns more three-dimensional and long-lasting. From practical experience, beans roasted to this level better meet the balance required between milk foam and crema for latte art.

For different flavor preferences, you can consider the following practical recommendations: those who prefer nutty profiles might opt for blended beans or single-origin beans from high-altitude regions; if you desire richer crema, prioritize blends with a deeper roast profile; readers who enjoy caramel and spice notes should look for medium-dark roasted beans with moderate acidity and pronounced sweetness. These characteristics all contribute to enhancing the overall performance of milk-based coffee.

Besides roast type, the freshness of coffee beans also affects latte art performance. Freshly roasted beans contain a lot of carbon dioxide, and the initially produced crema may be too thick and loosely structured, which is not conducive to latte art stability. It is recommended to let the beans degas for about 5 to 7 days. Conversely, overly aged beans have released most of their carbon dioxide, resulting in thin crema that doesn’t bond well with milk foam. The ideal state is to use beans within 7 to 45 days post-roast, during which the crema texture is more ideal. To ensure the coffee flavors are at their peak, it’s advisable to choose products shipped within five days of roasting, to enjoy the best flavor window.

Mastering latte art starts with basic tools and parameters. Taking the common 450 ml milk pitcher as an example, it is recommended to use about 200 to 250 ml of milk; if using a larger 500 to 650 ml pitcher, you can increase to 300 to 350 ml to ensure sufficient milk foam to support the pouring movements.
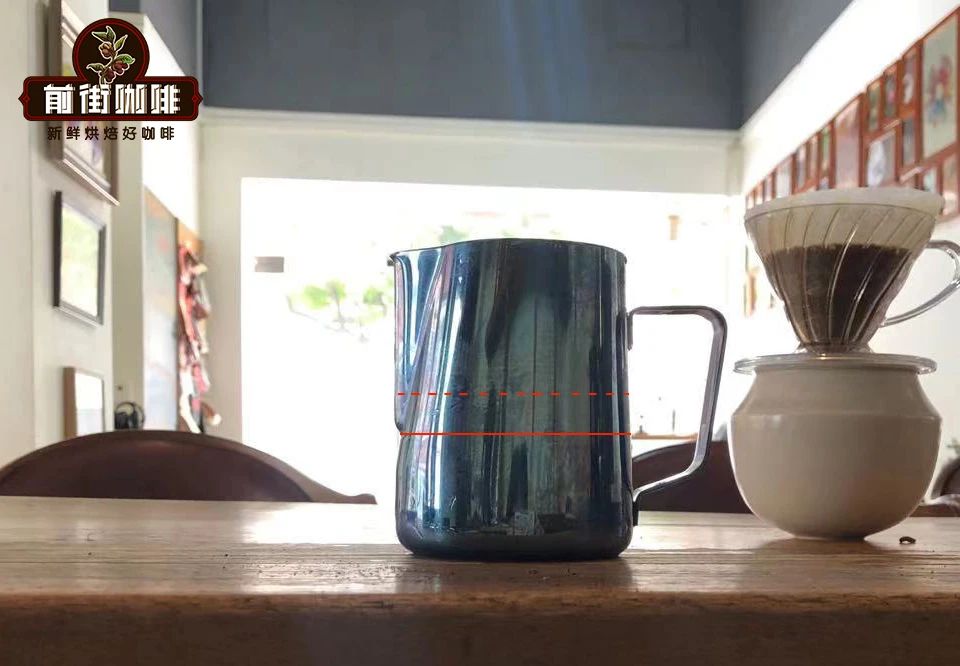
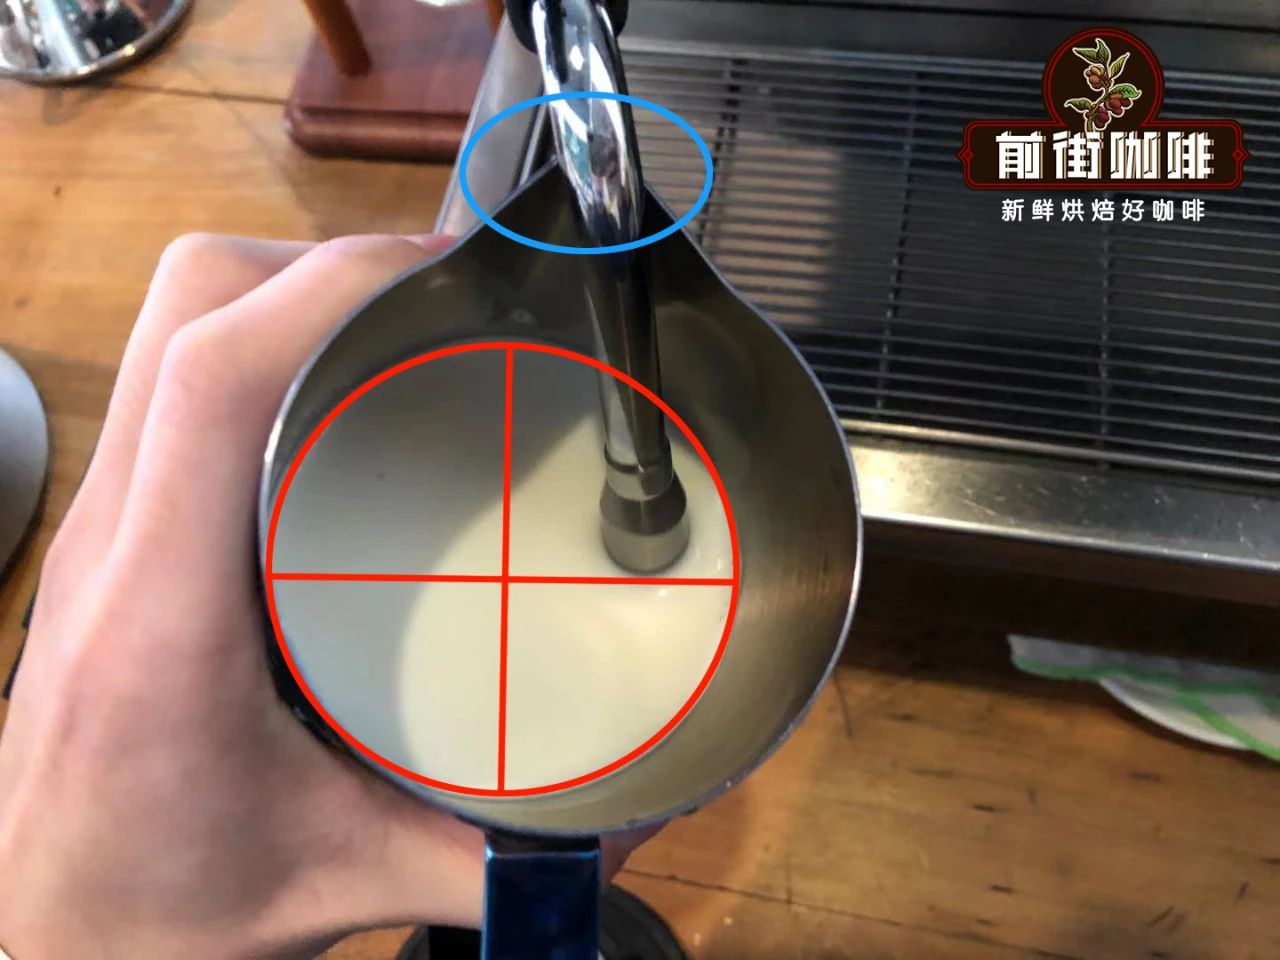
Before starting to froth, be sure to purge the steam wand to release any condensed water—this step effectively prevents affecting the milk foam texture. Then, insert the steam wand tip into the milk at the 2 to 3 o’clock or 9 to 10 o’clock position (clockwise), with the recommended insertion depth being two-thirds of the pitcher’s height. Avoid going too deep to touch the bottom of the pitcher or too shallow, which can cause large bubbles. The correct angle and depth are key to forming fine, dense milk foam.

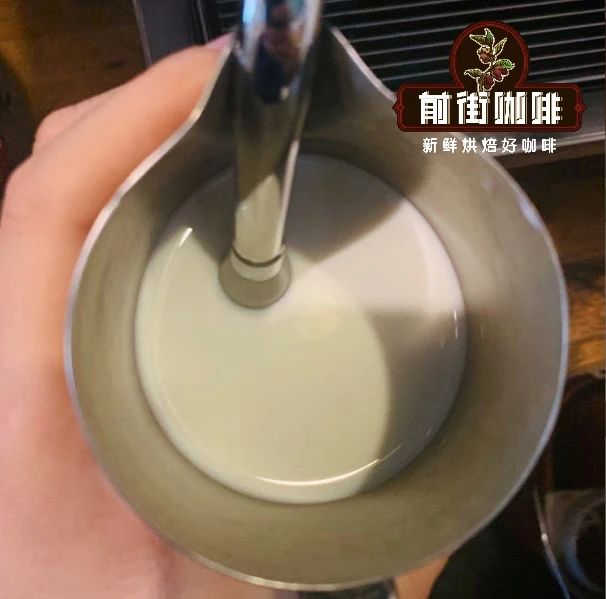
When frothing the milk, evenly incorporate air to create fine bubbles—you will hear a distinct “hissing” sound. If the sound is overly sharp or completely silent, it indicates incorrect positioning. Next comes the texturing phase: by adjusting the angle of the steam wand to create a whirlpool, break down the larger bubbles into smaller ones and allow the layers to fully integrate. It is recommended to keep the milk temperature between 55 to 65 degrees Celsius, and turn off the steam immediately once the ideal temperature is reached.
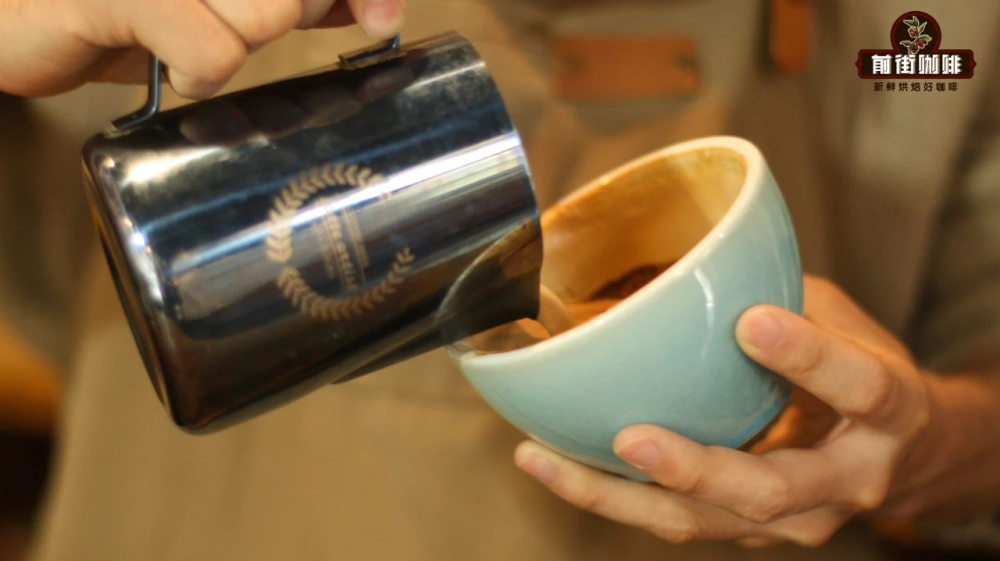
After frothing, gently tap the bottom of the pitcher to break up any remaining large bubbles on the surface, making the milk foam smoother and finer. You can then begin pouring for latte art. Taking the classic heart shape as an example: first, bring the pitcher close to the rim of the cup and pour milk from the center of the liquid surface; then gradually increase the flow rate and adjust the pitcher angle, observing the milk foam expanding in a circular shape in the cup; when the cup is tilted about 180 degrees, lift the pitcher slightly and constrict the flow, using downward pressure to form the heart-shaped indentation; finally, push forward to shape the pointed tail of the heart, completing the entire latte art pattern.



The above content is compiled by CoffeeHunters, a coffee news website.


