







Introduction:Want to make café-quality lattes at home? This article details the basic structure of a latte, the techniques for extracting espresso and frothing milk, and delves into the medium-to-dark roasted beans that pair well with lattes. It also explains how to enhance overall flavor and stability by adjusting grind size, dosing, tamping, and other finer details—whether you’re a beginner or looking to level up your latte art.
Though seemingly simple, a latte is an exquisite blend of espresso and milk. Each café has its own subtle variations in the ratio of milk to coffee, bean selection, and extraction settings, but generally speaking, a latte is a classic beverage made with a large amount of fresh milk paired with a strongly extracted shot of espresso.

Many wonder: is mastering latte art all it takes to become a competent barista? In fact, beyond aesthetic pouring skills, baristas must also master the two core fundamentals—espresso extraction and milk steaming. Many cafés even use the ability to produce a stable and well-balanced latte as a key criterion when interviewing baristas.
Among the many types of coffee beans, medium-to-dark roasted espresso blends often best highlight the layered profile of a latte. These beans offer a rich and bold flavor and easily extract abundant crema (coffee foam), performing exceptionally whether for Americanos or lattes. It’s recommended to choose beans that have undergone proper resting to ensure stable flavor and avoid channeling effects that could impact extraction.

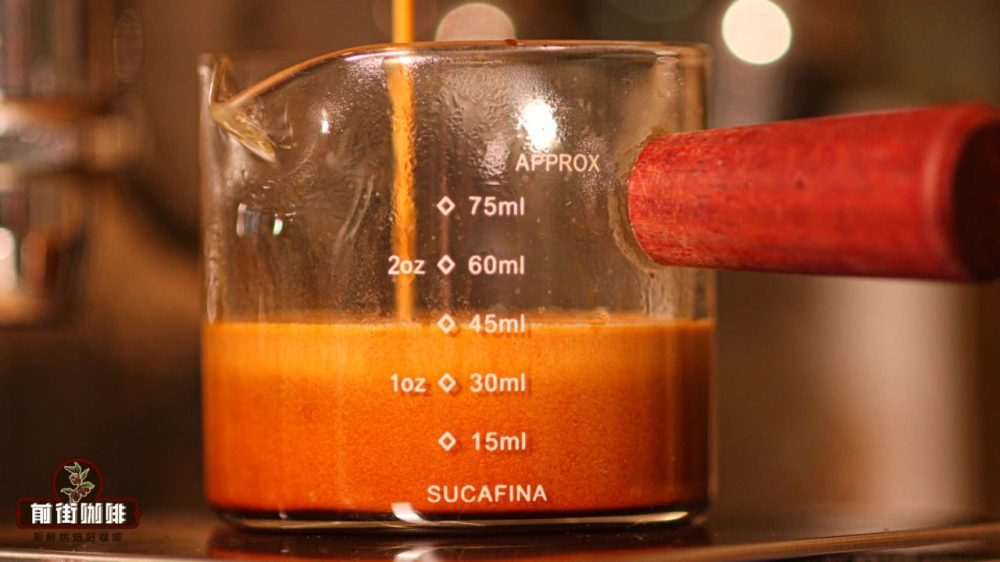
Standard espresso extraction parameters can be referenced as follows: 18 grams of coffee grounds, yielding 36 grams of espresso, extracted over approximately 28 seconds. This extraction ratio achieves a bold and balanced coffee base. For milk, it’s recommended to use whole fresh milk, steamed to around 50°C, with the final milk foam thickness maintained at about 1 cm. The overall coffee-to-milk ratio is suggested to be 1:9, creating a smooth and silky texture.
For the cup, it’s recommended to use a ceramic cup with a capacity of about 200 ml. This material helps maintain the drink’s temperature while enhancing the visual appeal of latte art.

To make a high-quality shot of espresso, the first priority is choosing the right coffee beans. If you prefer a nutty profile and balanced taste, you might consider using a blended coffee; if you enjoy spicy, caramel, and roasted aromas, then beans with a dark roast character may be your choice. Additionally, if you’re drawn to floral notes and sweet acidity, some single-origin espressos or medium-to-light roasted blends are also great options. However, even though dark roasted beans boast intense aromas, it’s advised to let them rest for about ten days to allow gases to release moderately, preventing excessive degassing that could lead to channeling and affect extraction stability.

Adjusting the grind size is a crucial step before daily extraction. The finer the coffee grounds, the greater the resistance to water flow, extending the extraction time; conversely, overly coarse grounds allow water to pass too quickly, resulting in under-extraction. Ideally, the extraction time should fall between 25 to 30 seconds, with grind fineness fine-tuned according to actual flow rate. If you experience sourness or astringency, you may need to coarsen the grind; if the flow is too fast and the color is too light, consider making the grind finer.

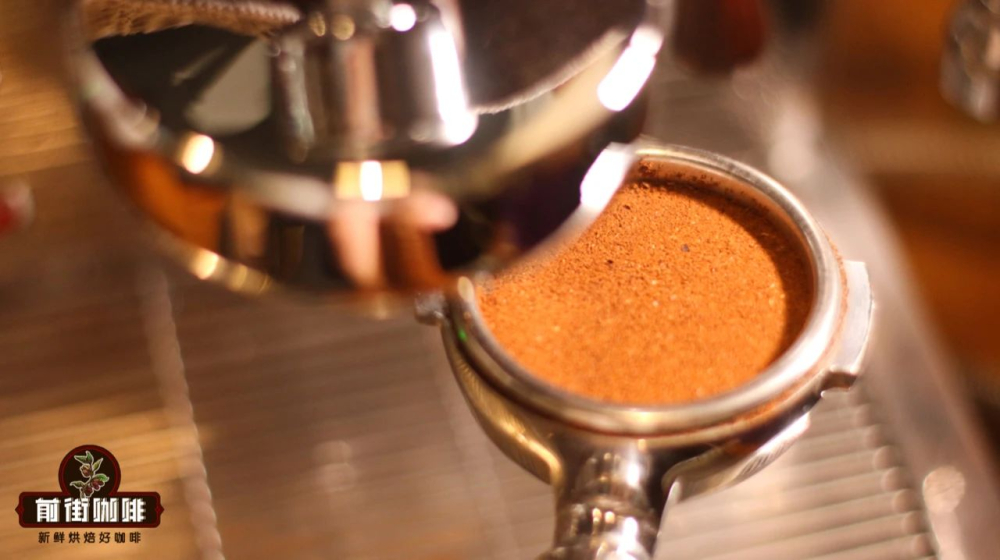
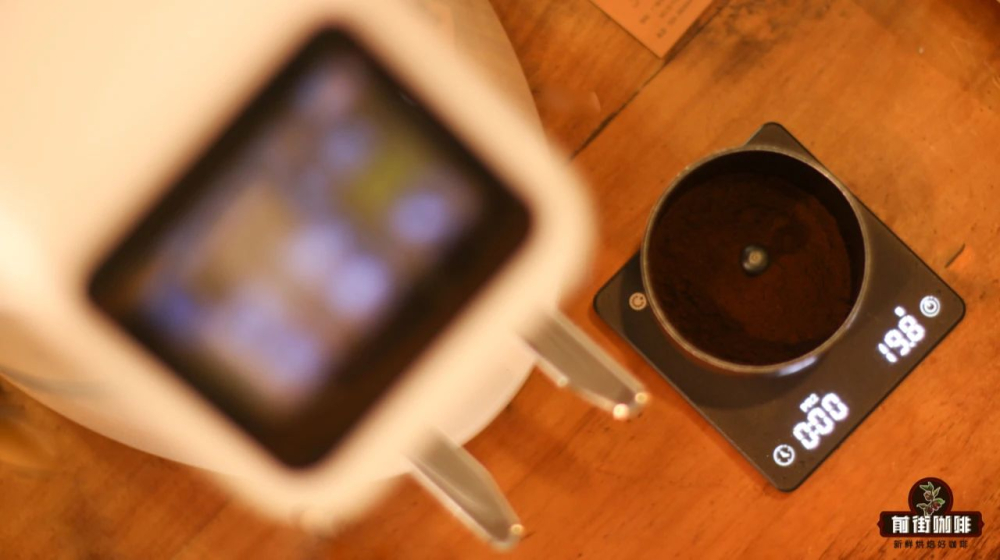
Dosing is a key step affecting the uniformity of the coffee bed—uneven dosing directly leads to difficulties in distribution, which in turn affects extraction stability and flavor consistency. Even when using aids, attention should still be paid to manual dosing technique. It’s recommended to confirm the dose with a digital scale before each extraction and use a rotating motion to distribute the coffee grounds evenly in the portafilter basket, avoiding areas that are either too dense or too sparse.

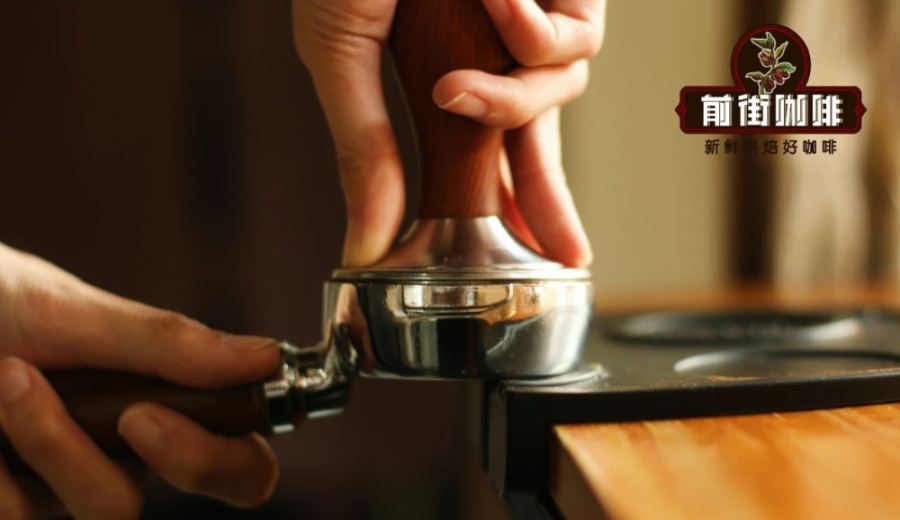
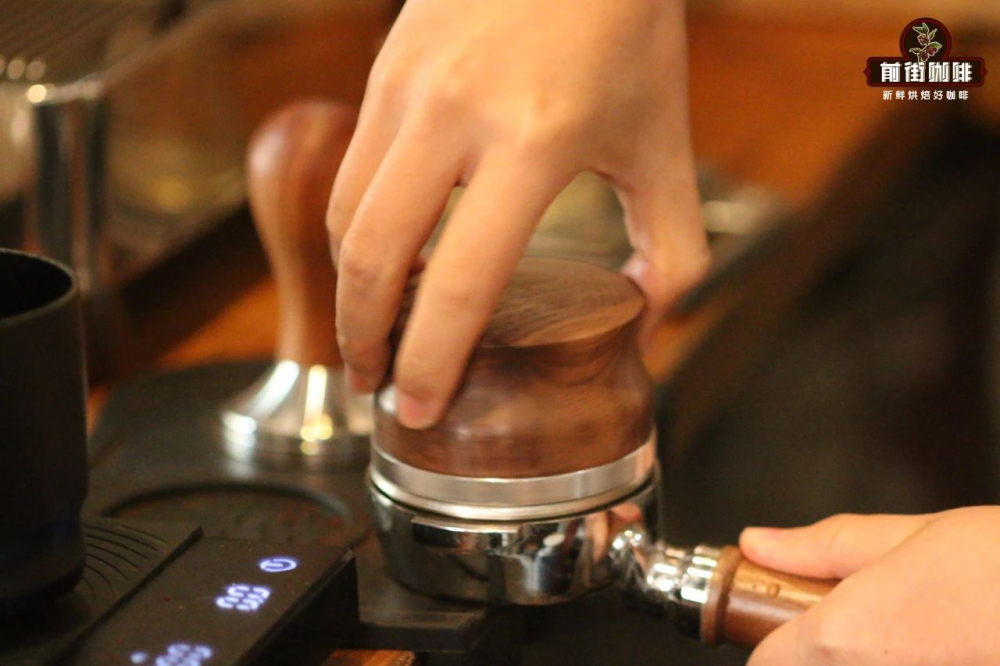
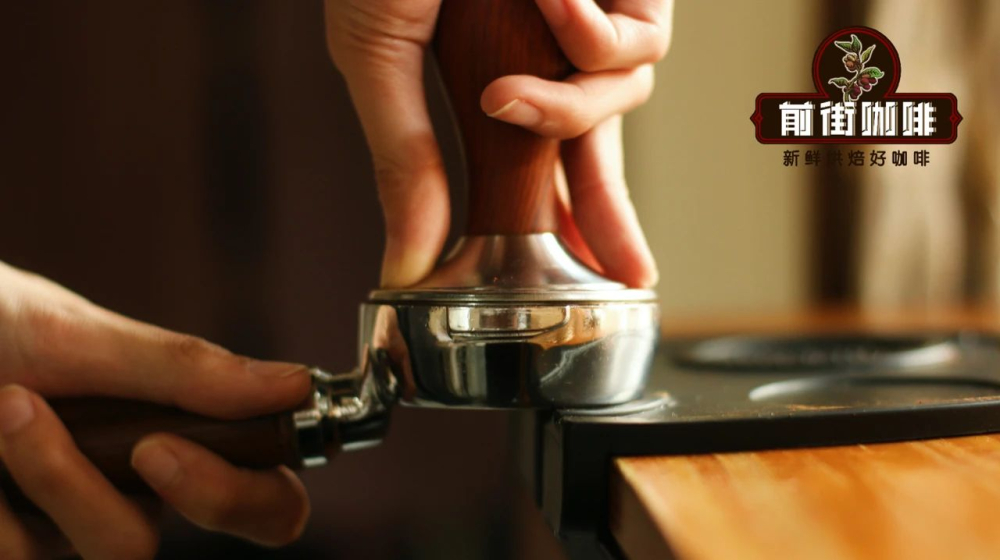
Next comes the distribution and tamping process. Light tapping and knocking help make the coffee bed more compact, reducing the likelihood of large gaps and thus improving extraction uniformity. After distribution, tamp the coffee with even, vertical pressure to ensure the puck is solid, avoiding channeling caused by uneven pressure. When tamping, there’s no need to aim for a specific tool—the key is to apply consistent force each time to maintain stable extraction conditions.

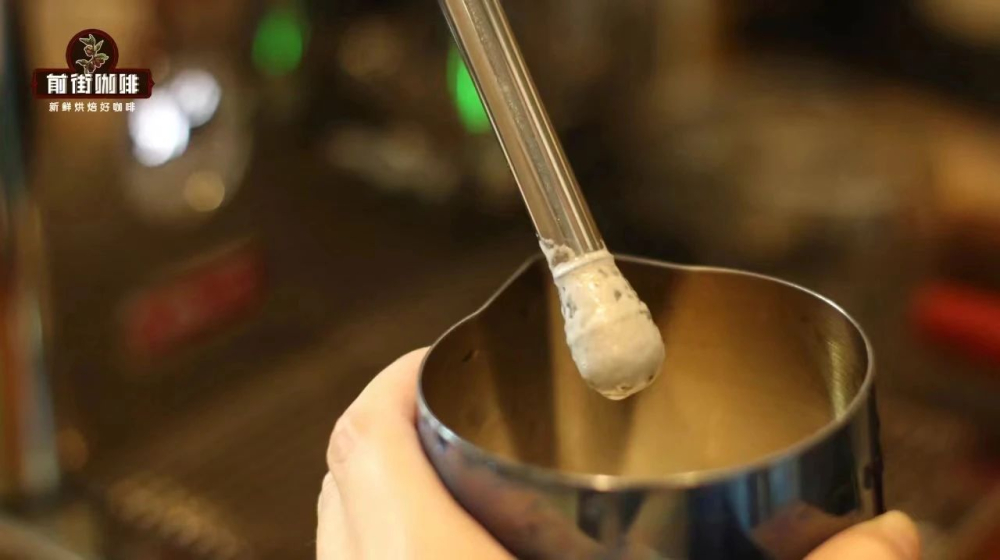
Milk steaming consists of two stages: first is aerating and stretching, where steam is injected into the milk to create initial microfoam; next is texturing, where spinning motion refines large bubbles into a smoother and denser foam. It’s recommended to hold the steam wand at about a 45-degree angle, with the tip submerged roughly 1 cm deep, and adjust the angle and distance slightly depending on steam power to avoid excessive turbulence or overly coarse foam.
When starting to learn latte art, you can first gently swirl the espresso to evenly coat the cup walls with crema, then tilt the cup at about a 40-degree angle. Pour the milk with a thin stream and steady flow, starting from the center of the coffee and circling outward, gradually integrating the milk foam with the coffee liquid. When the cup is about six-tenths full, you can begin pouring the design. It’s recommended to start with a simple “heart” shape: push out a half-circle, extend it forward, and finish with a thin stream to enhance the overall pattern’s fluidity and layering.







The above content is compiled by CoffeeHunters, a coffee news website.


