








Introduction:Want to learn latte art but don’t know where to start? This article explains the principles of latte art, milk selection, and step-by-step practice techniques, teaching you how to go from basic pouring to simple patterns and master the fundamentals in just four days. Whether you’re a coffee beginner or looking to refine your skills, you’ll find practical operational tips and answers to common questions.
Many coffee enthusiasts often ask: “How long does it take to learn latte art?” In reality, if you just want to produce a decent-looking pattern, you might get lucky and manage it in a day; but if you aim to steadily grasp the basics of latte art, it typically takes about four days. How should these four days be allocated? On the first day, it’s recommended to read up on the basics (like this article), begin actual practice on the second day, review the principles on the third day, and get hands-on again on the fourth day — provided your milk foam quality is already up to standard.
To successfully create latte art, the foremost priority is to understand the underlying principles and techniques, along with consistent practice. The latte art process can generally be divided into two stages: “pouring in” (fusion) and “creating the design” (pouring out). During the fusion stage, if you hold the pitcher spout high, the milk foam will be rapidly pushed into the coffee liquid, making it difficult to produce white patterns; conversely, when you lower the spout, the foam will float on the surface of the coffee, forming clear white designs. This high-and-low movement is the key to producing visible latte art patterns.
The quality of fusion directly impacts both the overall appearance and taste. Successful fusion creates what is known as the “golden circle,” which is not only aesthetically pleasing but also enhances a smoother flavor. Uneven fusion, akin to a scratched background, can greatly diminish the overall impression, even if the main design is exquisitely done. It’s advised to maintain a distance of about 5 to 10 centimeters between the pitcher spout and the coffee surface; slight adjustments can be made based on personal feel during actual operation. The most commonly used fusion method involves circling in one direction — holding the cup in the left hand and the pitcher in the right, with both hands offset by half a circle to perform relative circling. By using varying pressure — higher and lower — the coffee and milk are thoroughly mixed. While circling, try to draw the largest possible circle without touching the cup walls.
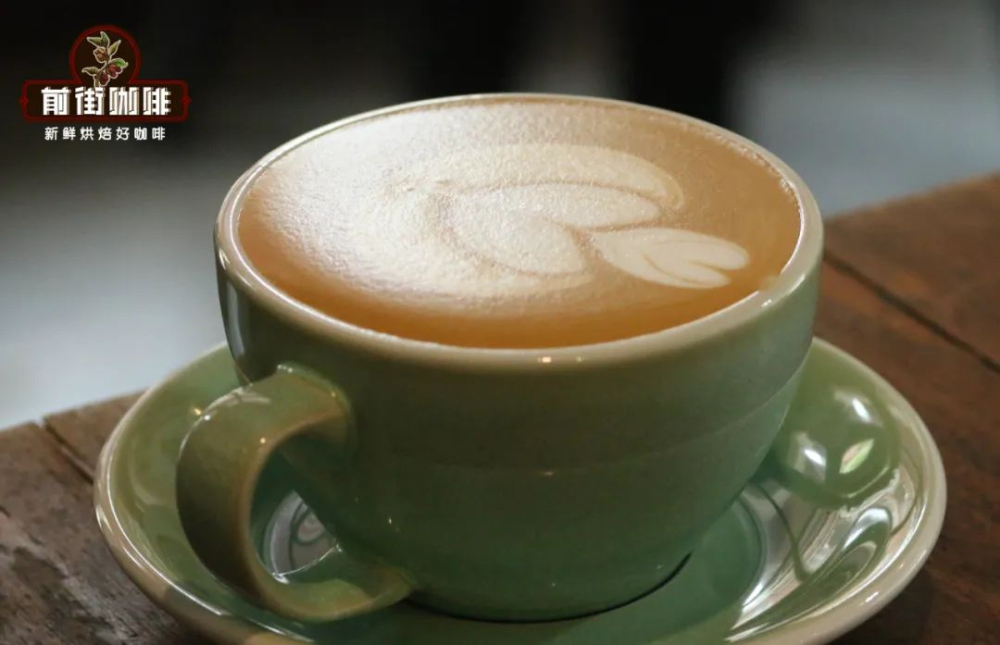
The presentation of latte art patterns heavily depends on the pouring point and movement trajectory. For example, when creating a “leaf” pattern, the pouring point should be at the center of the coffee surface; whereas for a “heart” shape, it’s recommended to start from the 1/4 position of the liquid surface. If you start the heart shape from the center, the entire figure tends to lean downward. In addition, the amount of fusion and the thickness of the milk foam also affect the size of the pattern: more fusion or thicker foam reduces convection effects, potentially resulting in a smaller design; conversely, less fusion and thinner foam enhance convection, making the pattern appear larger. When pouring a heart, starting from the 1/4 point and continuing to pour while gently tilting the cup back causes the pouring point to gradually move toward the center — staying fixed in one spot may instead make the pattern overly elongated.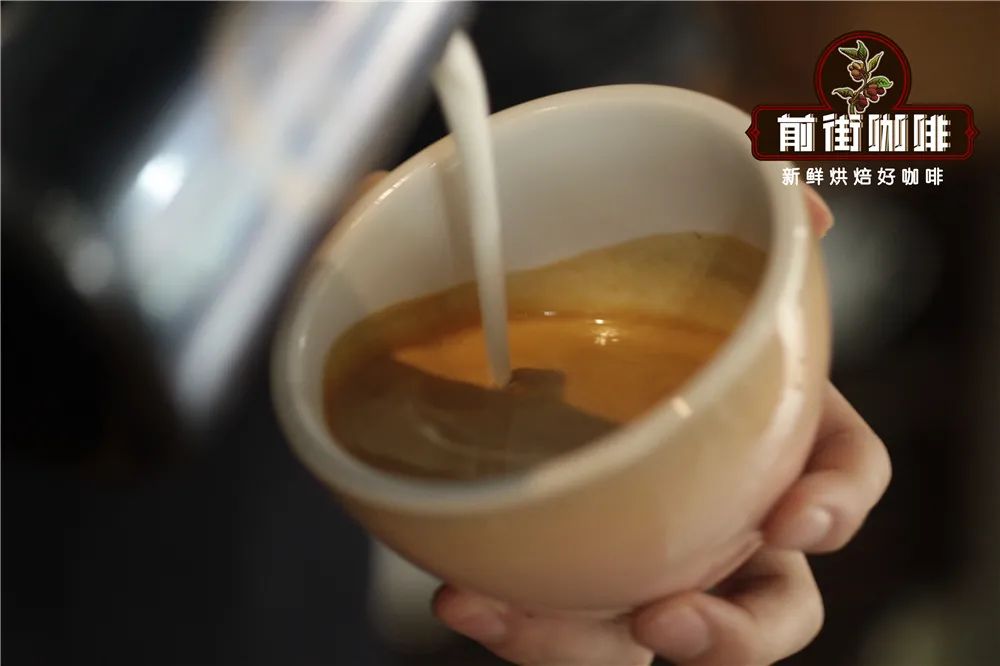
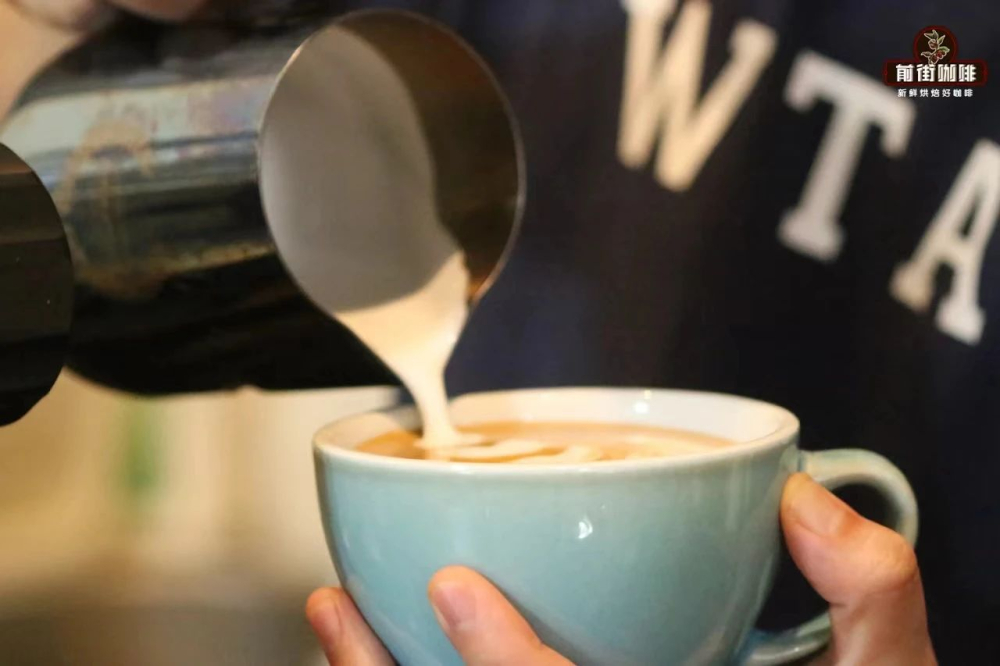
When you can consistently pour a round white foam, you’ve taken the first successful step. The next is learning how to control pattern variations. Among these, the “tilt-back” (or return pour) technique is crucial, especially when crafting patterns that rely on convection effects (such as hearts or textured tulips). Tilting back too early or too late can cause the pattern to deform. Ideally, as you slowly tilt the cup upright, you’ll see the milk foam being pushed outward from the center during pouring, with backflow occurring on both sides — giving the pattern a fuller look. It’s worth noting that the thinner the milk foam, the more pronounced this convection effect becomes.
The final step, “finishing,” is equally important and mishandling it can easily ruin the whole piece. Common issues include: pouring straight out of the cup and leaving a long tail, which is not only unattractive but may also leave milk stains on the rim of thicker cups; not lifting the pitcher spout during finishing, which can forcibly elongate the design; or an unclean finishing motion that leaves stray milk foam, resulting in a messy tail. Taking the heart shape as an example, it’s advisable to gradually lift the pitcher spout and push forward when the cup is about nine-tenths full, while reducing the milk flow, ensuring a clean and neat finish.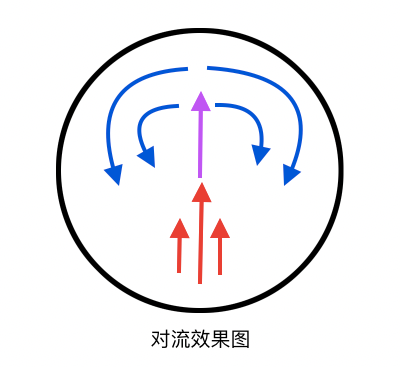
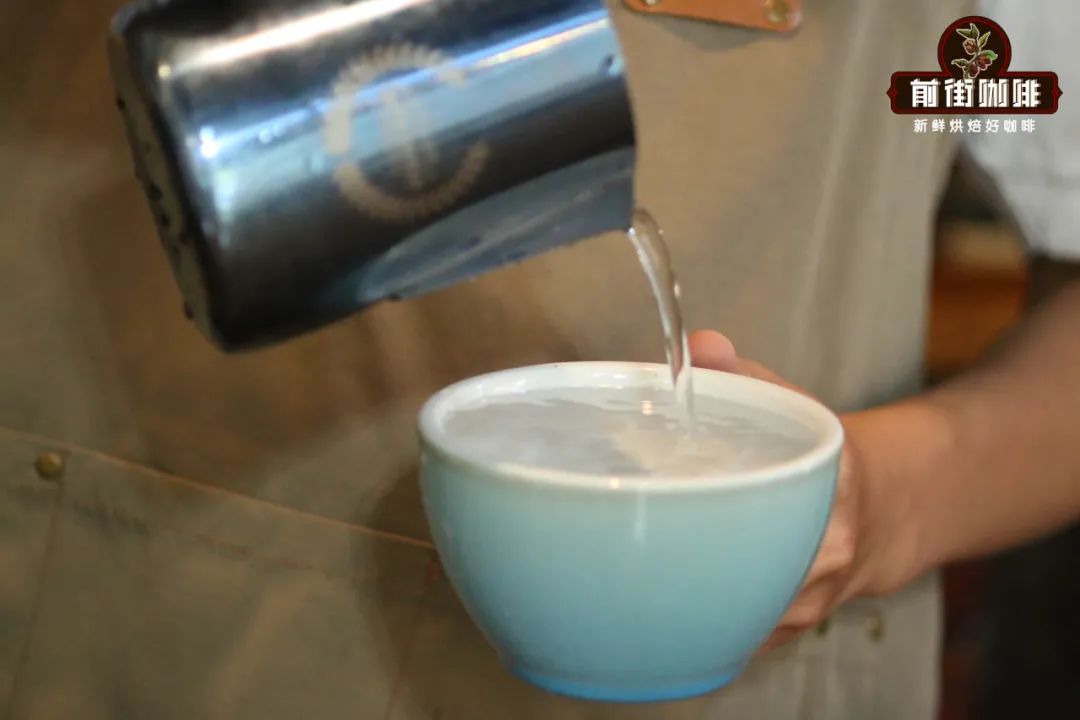
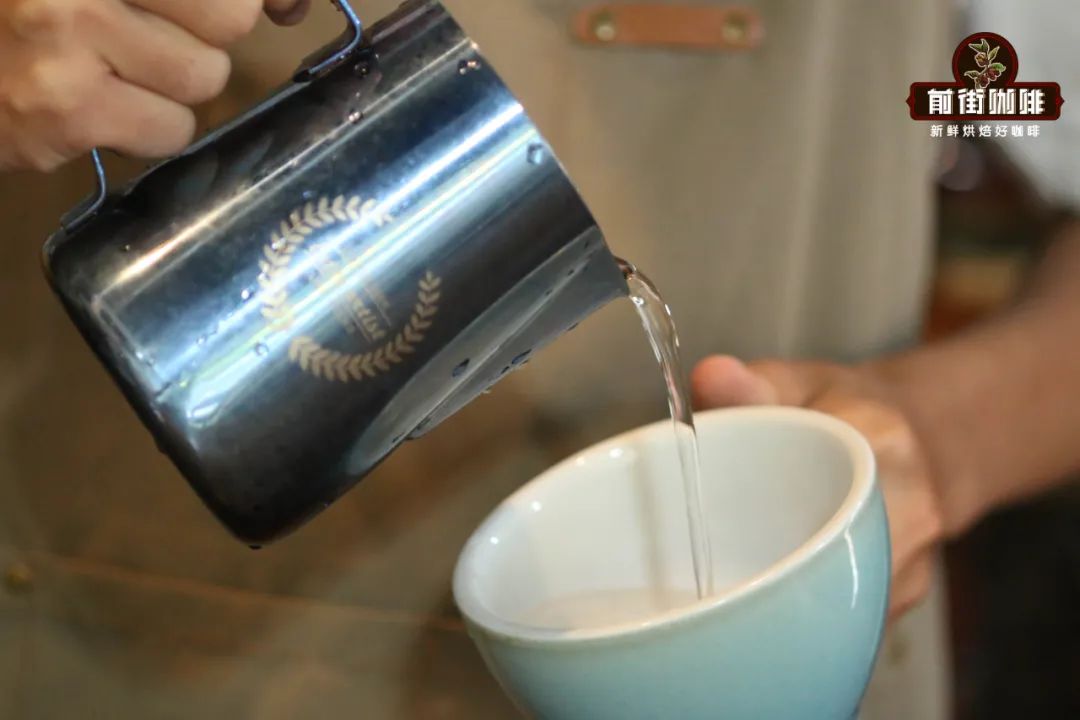
For beginners, here are some practical practice suggestions: First, it’s recommended to practice 1–2 times using real coffee and milk to familiarize yourself with the tactile and visual feedback of blending milk foam with coffee — even if you can’t create a pattern at first, the focus is on developing hand feel. Next, you can practice with water, which not only saves milk but also helps you concentrate on gestures and movements. At this stage, it’s advisable to find instructional videos that clearly demonstrate hand movements, paying special attention to the pitcher grip, fusion technique, pouring and return methods, and observing and imitating them. Ask a friend to help check if your posture is correct. Finally, once muscle memory starts to form, switch back to real materials to test your results. If problems arise, trace back to identify which part needs improvement — it’s suggested to repeatedly practice the most basic heart shape and avoid rushing into challenging patterns.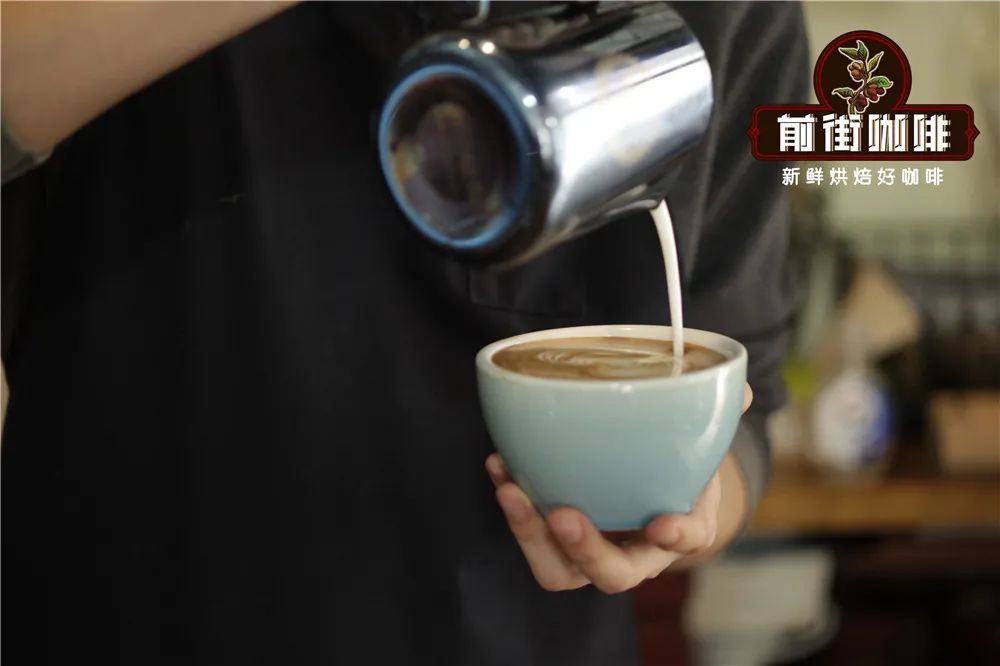
The above content is compiled by CoffeeHunters, a coffee news website.


