







Introduction:The captivating flavor of a cappuccino stems from the precise combination of espresso and delicate milk foam, but many coffee enthusiasts mistakenly believe that any brewing device can produce this classic drink. In reality, due to its equipment limitations, the siphon pot cannot extract a proper espresso or create milk foam, making it impossible to make an authentic cappuccino. This article will delve into the equipment requirements, key aspects of espresso extraction, milk foam techniques, and the history of this coffee, teaching you how to make a well-layered cappuccino at home.
The rich and full-bodied character of a cappuccino primarily comes from the high-pressure extraction of espresso by an espresso machine, as well as the fine and velvety milk foam made from fresh chilled milk. The perfect combination of these two elements creates the unique texture and layered flavors of a cappuccino. However, although the siphon pot is widely loved for its unique brewing process and appearance, it can only produce black coffee. It cannot achieve the extraction intensity of espresso, nor can it produce milk foam, making it unsuitable for making milk-based coffees such as cappuccinos or lattes.
The design principles of the siphon pot limit its range of applications. While it can brew black coffee with prominent flavors, its extracted liquid cannot reach the concentration and crema performance of espresso, nor does it have the necessary function to create milk foam. If you still want to try approximating a latte flavor with a siphon pot, you can use dark roasted beans, such as Indonesian Golden Mandheling, Huila, or Queen Estate, to brew a strong coffee, then adjust to personal taste by adding an appropriate amount of milk. The sweetness of the milk can help soften the intense bitterness of the coffee.
The name "cappuccino" originates from the Italian word "Cappuccio," meaning hood. Its naming is related to the Capuchin Order of the Catholic Church in Italy. Legend has it that the missionaries of this order wore dark brown robes and small pointed hoods. Inspired by this, Italians placed milk foam, whipped to a similar color, on top of the espresso and used a spoon to shape the foam into a pointed hood-like form. Thus, this coffee was named Cappuccino, echoing the characteristics of the attire and also carrying associations with religious culture.

A standard cappuccino is typically served in a tulip-shaped coffee cup with a capacity of about 180 milliliters. This cup shape, which is wider at the top and narrower at the bottom, helps highlight the "hat" shape of the milk foam on the coffee surface, giving the entire drink a more layered visual and textural appeal. Compared to regular round-bottomed cups, tulip cups better showcase the structural beauty of a cappuccino.
For the espresso extraction, a common practice is to use a blend of beans, such as those combining sherry cask-aged and sun-dried Yirgacheffe flavors, to create a balanced base. The standard single-shot espresso parameters can be set to 20 grams of coffee grounds, extracting 35 grams of coffee liquid, with an extraction time controlled around 27 seconds. For a simpler approach, you can also opt to make a single shot using 12 grams of coffee grounds to extract 30 grams of coffee liquid in about 23 seconds, which can still deliver a rich espresso flavor.
The choice of milk is crucial. It is recommended to use fresh chilled whole milk, as low-temperature storage helps preserve the proteins and milk fats in the milk to the greatest extent. These components not only form the foundation of stable milk foam, but the milk fat also delays the breakdown of the foam, resulting in a smoother and silkier texture while adding richness to the coffee.
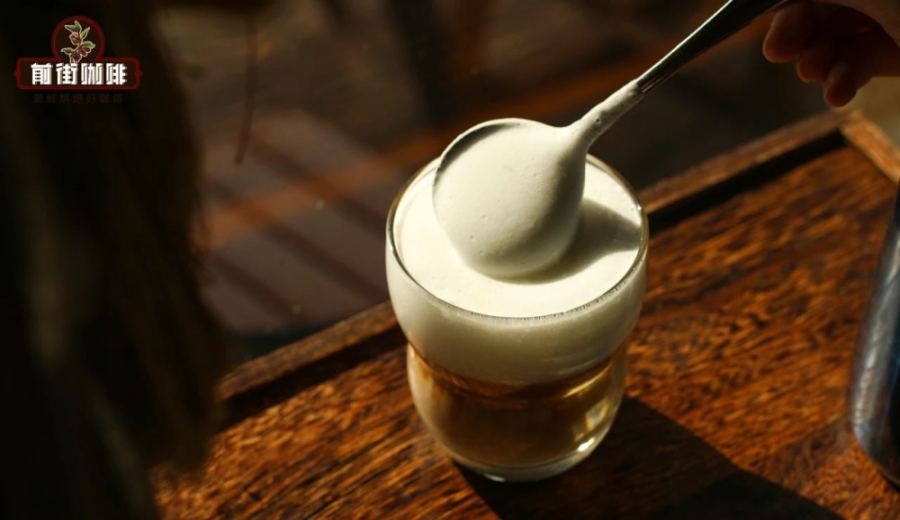
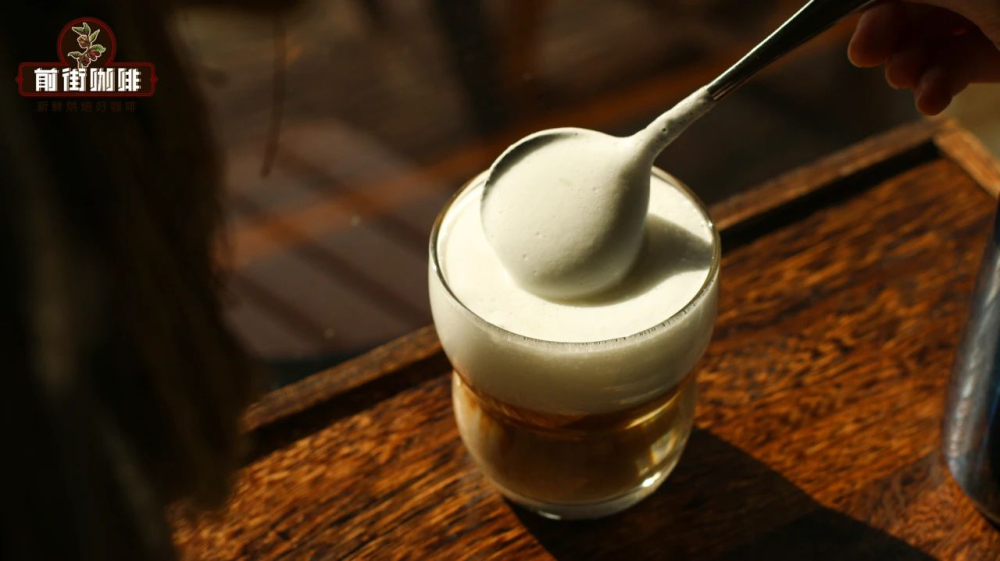
Milk foam should be steamed using a small milk pitcher. It is recommended to pour in about 150 milliliters of chilled fresh milk. Before starting, first use the steam wand to purge any residual condensation water, then insert the steam wand about 1 centimeter below the surface of the milk and turn on the steam. Initially, you will hear a distinct "hissing" sound—this stage is the aeration process, which effectively forms fine milk foam. To create a milk foam with a thickness of about 1.5 centimeters, it is recommended to continue aerating for about 6 to 7 seconds. Then, adjust the pitcher to a 45-degree angle and use a swirling motion to eliminate large bubbles, making the foam more uniform. Finally, heat the milk to about 55°C to complete the steaming process.

Before pouring the milk foam into the espresso, gently shake the milk pitcher to prevent the foam and milk from separating. Once stabilized, align the spout of the pitcher with the center of the coffee surface. Tilt the pitcher slightly without pouring immediately, allowing the foam to naturally gather at the spout. Then slowly and steadily pour the foam into the center of the coffee to form a protective layer, after which gradually add the milk. This step requires a steady wrist to avoid excessive agitation that could break up the foam, ensuring the layered texture and taste of the cappuccino are maintained.
The above content is compiled by CoffeeHunters, a coffee news website.


