







Introduction:Drip bags are a great choice for many busy individuals to enjoy the pour over coffee experience, but do you know the optimal water volume and brewing temperature? This article delves into practical drip bag brewing techniques, covering everything from the coffee-to-water ratio and blooming steps to the three-stage pouring method. It also compares drip bags with pour over, teaching you how to brew professional-grade coffee with simple tools. Additionally, it explains why drip bags aren’t suitable for reuse and introduces the unique profiles of three popular flavor varieties to help you easily choose one that suits your taste.
Thanks to their convenience, drip bags have become a top choice for many people to enjoy black coffee in the office, at home, or while traveling. However, beginners often face common questions: “How much water should I use?” and “Can I enhance the flavor through precise control like with pour over?” This article shares expert brewing methods from experienced baristas, including recommended water volume, ideal temperature, brewing steps, and reasons why drip bags shouldn’t be reused. It also details the distinctive flavors of three seasonal bestsellers to help you brew a satisfying cup—even without professional equipment.
With the growing popularity of drip bags, more and more consumers are trying to brew them at home or in the office. However, many still have questions about brewing parameters, such as: “How much water should I use?” and “What’s the right temperature?” These seemingly simple questions actually have a significant impact on the final taste. Below, we’ll answer these common queries and provide an easy-to-follow brewing process so you can consistently brew a well-balanced cup—even without a pour over kettle or scale.
A drip bag is essentially a filter pouch containing pre-ground coffee, fitted with two paper “ears” on either side. To brew, simply unfold these “ears,” hang them on the rim of your cup, and brew just like using a pour over dripper. The biggest advantage of this design is portability and ease of use, making it perfect for situations where professional coffee equipment isn’t available. While it can technically be brewed with more precise tools, doing so goes against the drip bag’s very purpose of convenience. For those who usually enjoy pour over but occasionally face limitations in accessing professional gear, drip bags are an excellent alternative.

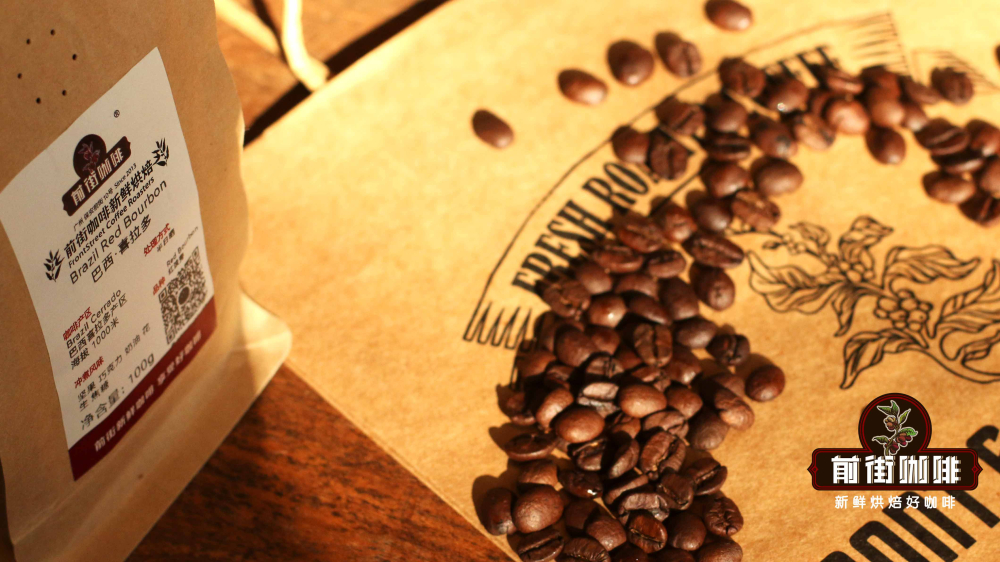
Today’s market offers a wide variety of drip bags, each with unique flavor profiles based on origin and roast level. For example, Mandheling drip bags are typically medium to dark roasted, offering rich notes of spices, roasted hazelnuts, and caramel, with a full body and layered complexity; Yirgacheffe drip bags are light roasted, delivering bright floral notes—especially white flowers—and vibrant citrus acidity, resulting in a refreshing taste with almost no bitterness, making them ideal for beginners; Brazilian Cerrado drip bags tend to have nutty and peanut-like characteristics, with a balanced profile that’s neither too acidic nor bitter, perfect for those who prefer smoother coffee. These diverse flavors allow consumers to easily choose based on personal preference.
So, how can you brew a drip bag to approach the quality of pour over? First, most drip bags come with a pre-measured 10g dose, eliminating the need for weighing. For water volume, it’s recommended to use a coffee-to-water ratio of 1:15 to 1:16, which translates to approximately 140–150ml of total brew. This ratio effectively extracts the coffee’s aroma and flavor. As for water temperature, aim for around 90°C. Using a temperature-controlled kettle or thermometer is ideal; if unavailable, simply let boiled water sit off the heat with the lid open for about 2–3 minutes (assuming room temperature is 28°C) to lower it to roughly 90°C. Alternatively, you can measure out 150–160ml of water in advance and pour it all into the drip bag in one go until the dripping finishes, ensuring accurate total volume.
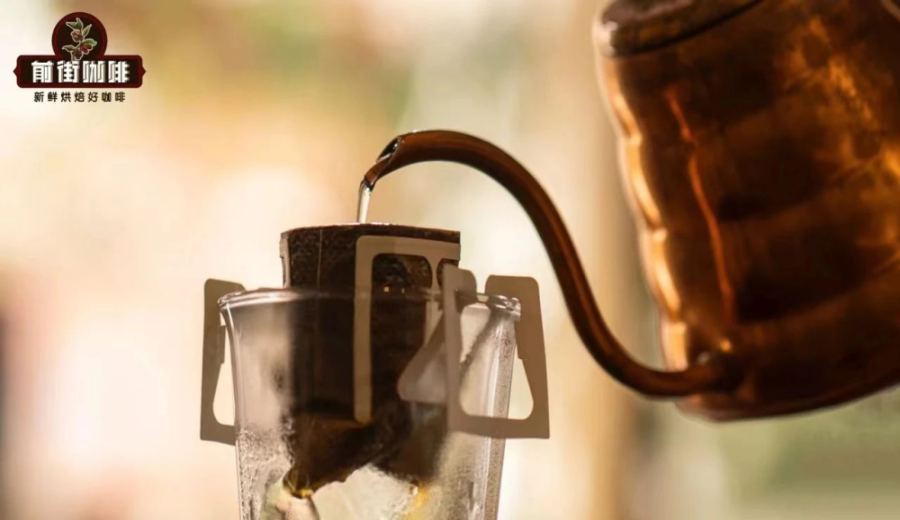
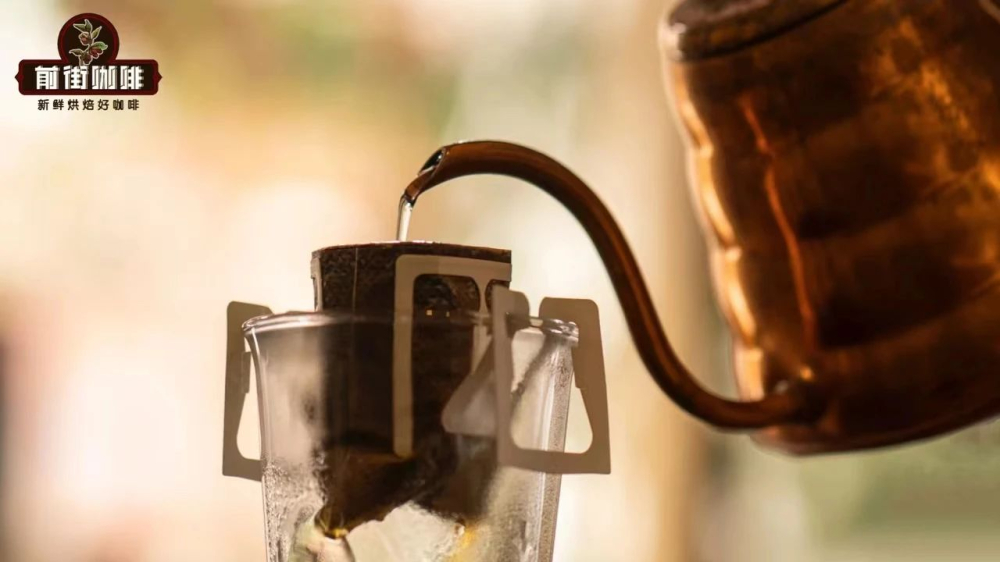
During actual brewing, it’s recommended to first warm your cup. Then, tear open the drip bag’s seal, unfold both “ears,” and hang them steadily on the cup rim, gently shaking to level the coffee bed. The first step is blooming: pour a small amount of hot water to fully saturate the grounds, which helps release aromatic compounds. After blooming, proceed with the main pour. Use a slow, circular motion with a small stream of water to pour until the coffee bed is about 90% full, then wait for it to settle before repeating until the total volume reaches 130–150ml. The entire process takes roughly one minute and is simple to master.
It’s important to note that drip bags use pre-ground coffee, which means their flavors deteriorate faster compared to whole beans. For the best experience, consume them within three weeks of purchase to ensure peak freshness. Many beginners also wonder: can drip bags be reused like tea? The answer is no. Since drip bags are a simplified version of pour over, each brew only extracts about 30% of the soluble flavor compounds. Even with multiple pours, it’s difficult to release more valuable substances. Just as re-brewed tea becomes weak and tasteless, drip bags are not recommended for reuse.
The above content is compiled by CoffeeHunters, a coffee news website.


