







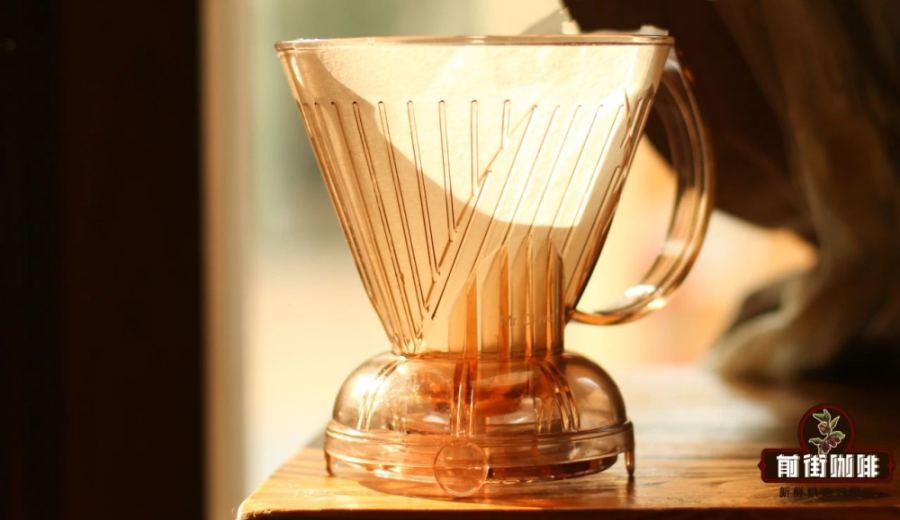
Introduction:The clever dripper combines immersion and filtration in a simple operation, making it an essential tool for pour over coffee enthusiasts. This article provides a detailed guide to the complete brewing process with the clever dripper, including key parameters such as water temperature, bloom time, and pouring rhythm, while also analyzing the structural and usage differences compared to standard filter cones. Whether you're a beginner or an advanced user aiming for consistent flavor, you’ll learn the secrets to stable extraction and achieve well-balanced cups every time.
Thanks to its unique piston valve design, the clever dripper allows you to complete both immersion and filtration during the pour over process, making it a must-have practical tool in many coffee lovers’ homes. By mastering the correct steps and extraction parameters, you can easily brew a cup of coffee with balanced flavors.
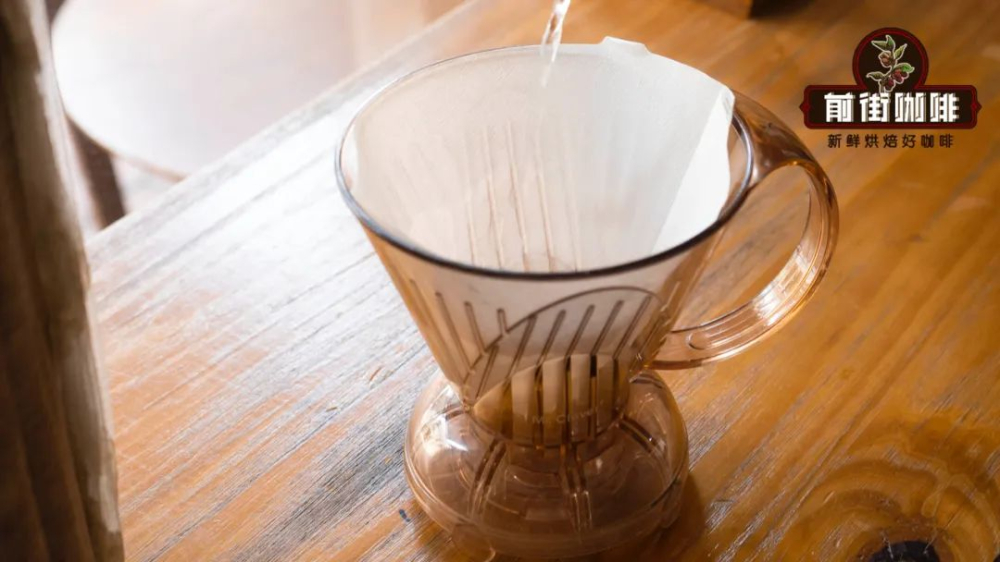
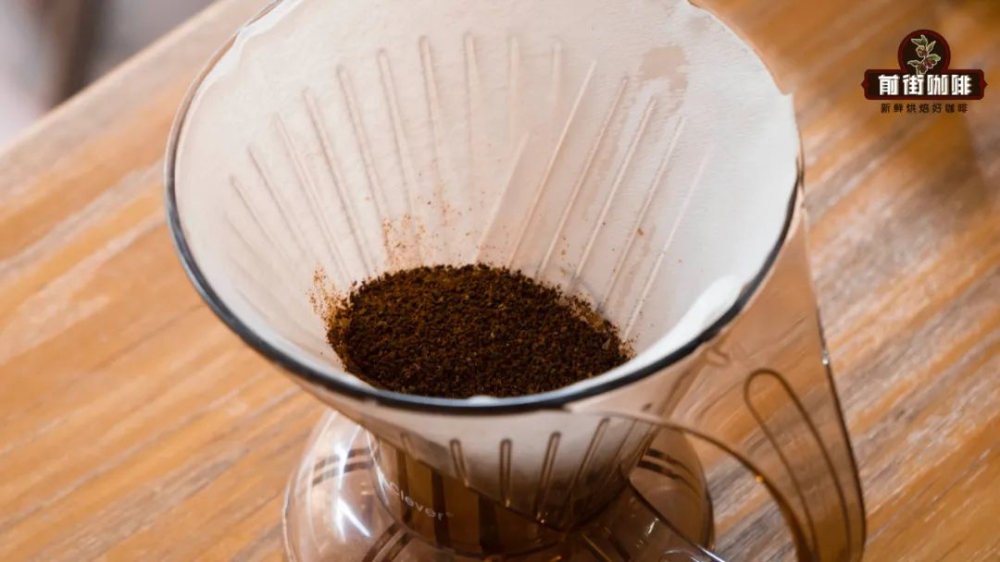
First, place the clever dripper steadily on the table and ensure that the bottom piston valve is fully closed. This step is very important—otherwise, hot water will pass through the filter layer too early, affecting the extraction. Next, add the weighed coffee grounds into the dripper according to your desired portion size to begin brewing.
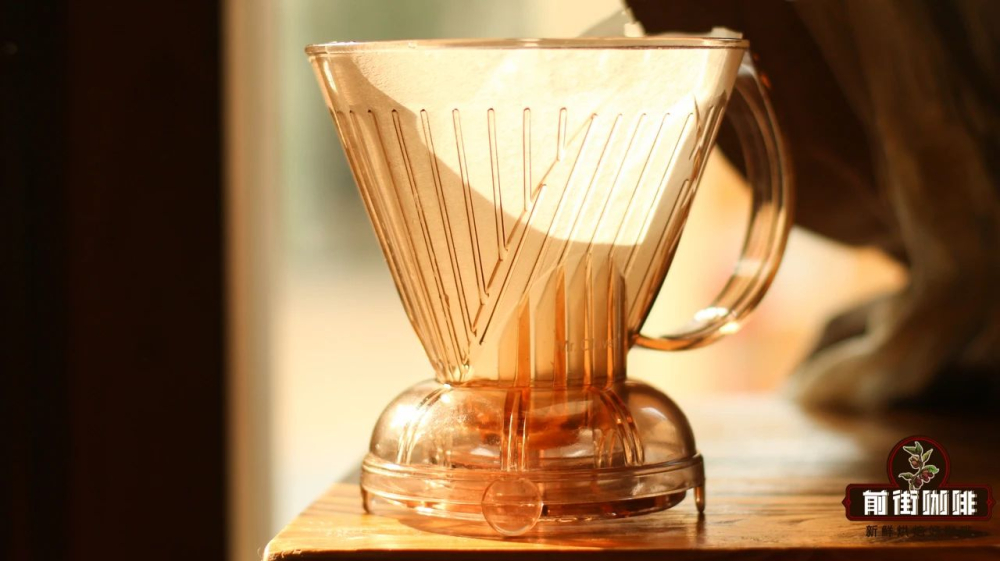
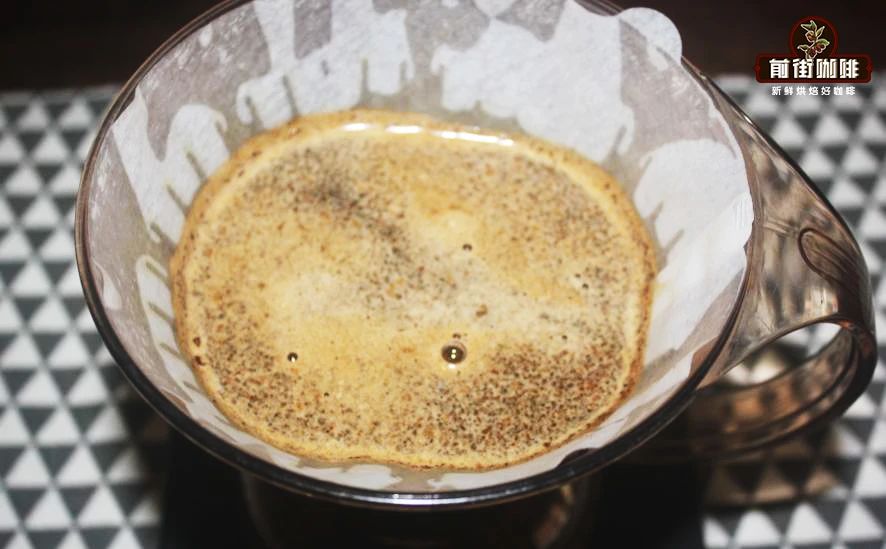
It’s recommended to start with a bloom phase, which helps to awaken the aromatic compounds in the coffee grounds. Begin by pouring about 30 grams of hot water and start the timer simultaneously. The bloom time should be around 30 seconds. The water temperature for this stage is suggested to be around 90°C, which effectively highlights the coffee’s original flavors without over-extracting.
After the bloom, proceed to the main extraction phase by slowly and evenly pouring more hot water until the total water volume reaches 225 grams. This total water amount and pouring method help the coffee grounds expand uniformly and release flavors evenly, while avoiding overly concentrated extraction that could lead to bitterness.
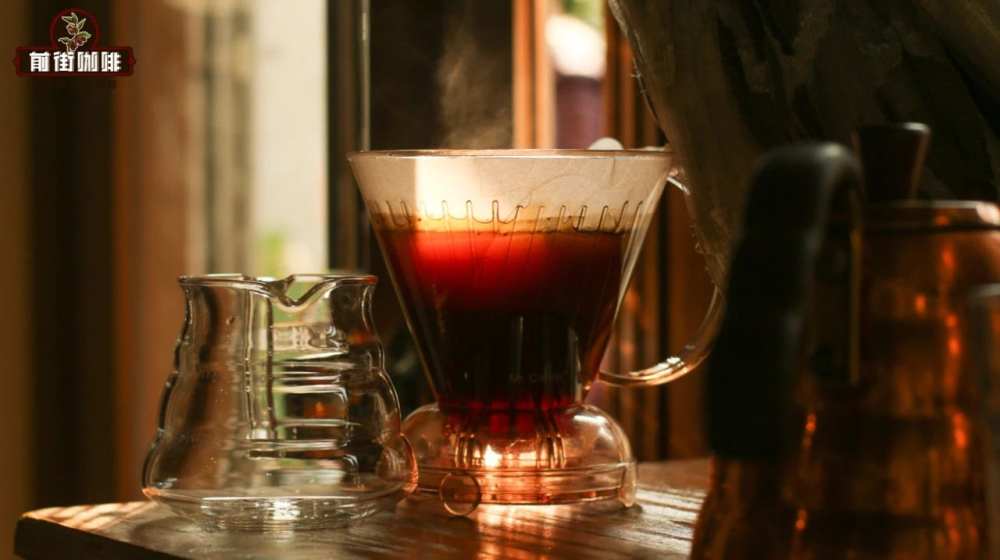
Throughout the process, it’s recommended to maintain a stable pouring speed and try to keep the water flow as even as possible to ensure each coffee ground has an equal chance to interact with the water. Also, pay attention to maintaining the water temperature to avoid a rapid drop due to environmental factors, which could affect the final extraction quality.
Once the pouring is complete, do not remove the clever dripper immediately. Instead, let the coffee grounds sit in the dripper for about 1 to 2 minutes to allow for a more complete extraction. Typically, it’s advised to wait until the pressure inside the piston valve stabilizes, then open the valve to begin filtration.
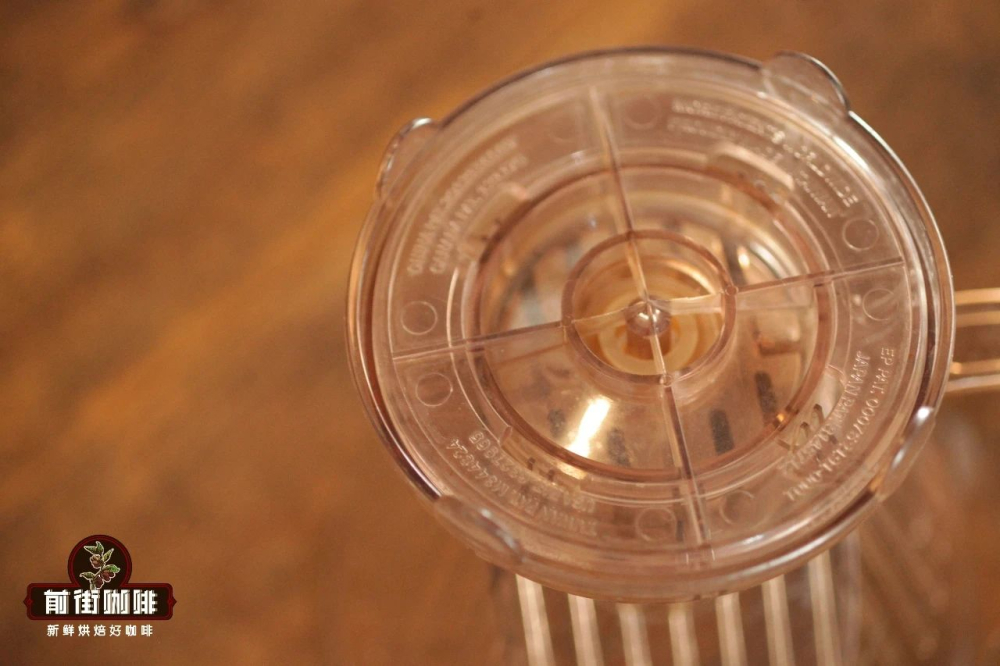
Compared to traditional pour over filter cones, the most significant difference of the clever dripper lies in its integration of immersion and filtration functions. Standard filter cones require manual control of pouring and dripping rhythms, whereas the clever dripper allows the coffee grounds to fully immerse in a closed space through a simple bloom and rest period, and then completes filtration all at once by opening the piston valve, greatly simplifying the steps.
Moreover, the clever dripper is more beginner-friendly, as its operation logic is intuitive—you don’t need to precisely calculate every second of the pouring rate or worry about unstable dripping. However, if you want to more flexibly adjust the flavor profile, it’s still recommended to familiarize yourself with basic pour over techniques so you can fine-tune water temperature and grind size based on different coffee bean characteristics.
In summary, the clever dripper is a simple yet highly efficient extraction system, ideal for coffee lovers who value stability and ease of use. By mastering key elements such as bloom time, total water volume, and water temperature control, you can easily replicate consistently flavorful cups of coffee, whether at home or on the go, enjoying a professional-level brewing experience.
If you’re new to pour over coffee or looking for a more convenient yet flavor-balanced brewing method, the clever dripper is definitely worth adding to your coffee tools list. Through continuous experimentation and adjustments, you’ll gain deeper insight into how coffee grounds respond under different conditions, further enhancing your brewing skills.
The above content is compiled by CoffeeHunters, a coffee news website.


