







Introduction:Drip bags combine the flavor of pour over with the convenience of instant brewing, making them a top choice for many busy individuals seeking black coffee. But do you know how to achieve professional-level flavor with the right water temperature, coffee-to-water ratio, and pouring technique? This article starts with the origins of drip bags, delves into the best brewing steps, and shares practical tips to help you brew rich, clear-flavored coffee at home or in the office.
Thanks to their convenience and portability, drip bags have become a favorite for many when enjoying black coffee at the office or while traveling. However, this seemingly simple filter bag design actually involves several noteworthy brewing details. This article will begin with the historical background of drip bags and gradually guide readers through mastering key techniques such as water temperature, coffee-to-water ratio, blooming, and pulse pouring—so you can consistently brew outstanding coffee even without professional pour over equipment.
In recent years, more and more consumers have started trying drip bags, but many still have questions about how to brew them correctly. In fact, although the brewing method is simple, it comes with unique tricks. This article will explain each step from preparation to completion in detail, helping you better understand this globally popular and convenient brewing method.
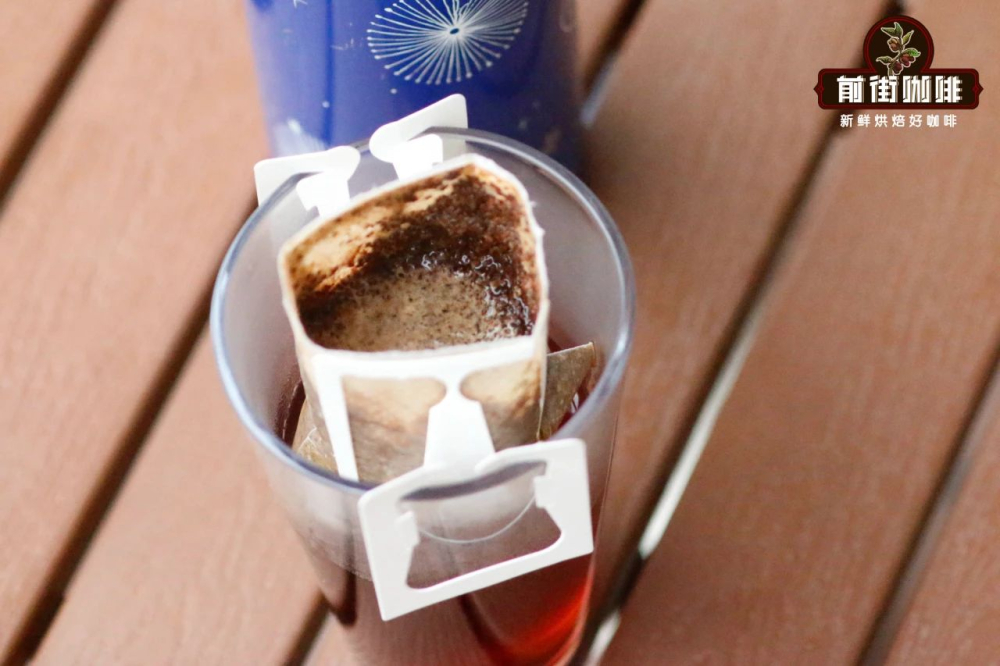
The origin of drip bags can be traced back to 2001, when they were developed and patented by Japan’s UCC Ueshima Coffee. This innovative coffee packaging format is called “one-cup extraction type coffee” in Japanese. Its structure is quite simple: ground coffee is sealed inside a non-woven or paper filter bag, with paper flaps resembling “ears” on both sides of the bag’s opening. When unfolded, these “ears” can be securely hooked over the rim of a cup, allowing you to directly pour hot water for extraction—no additional filter or equipment needed. After brewing, simply lift the filter bag, and a pure black coffee is ready. However, since ground coffee tends to lose aroma and flavor compounds quickly after grinding, it’s recommended to choose freshly roasted products. Some brands even limit sales to drip bags produced within 5 days to ensure optimal flavor.
This design was inspired by the goal of making coffee brewing more convenient, and those two ear-like flaps are also the origin of the name “drip bag.” With extremely low barriers to use and a richer, more natural taste compared to instant coffee, drip bags quickly gained popularity in the Japanese market, now accounting for about 15% of coffee consumption. In contrast, drip coffee became widespread in Taiwan and mainland China much later, only gaining attention in the past decade with the rise of specialty coffee culture, and has since become a common beverage on the desks of many office workers.
So, what exactly is a drip bag? Simply put, it’s pre-ground coffee packed into a specially designed filter bag equipped with expandable paper “ears” on both sides to secure it to the edge of a cup. To use, just pour hot water into the bag, and the coffee liquid will naturally drip into the cup. The process is similar to pour over but more simplified. The biggest advantage of drip coffee is its portability and lack of need for extra equipment, making it ideal for travel, commuting, or office environments. For those who want to enjoy pour over-style coffee without professional gear, it’s a perfect compromise.
So, how should you brew a drip bag to achieve the best flavor? First, most drip bags clearly indicate the amount of coffee powder, usually 10 grams, so there’s no need for an additional scale. It’s recommended to use a coffee-to-water ratio of 1:15 to 1:16—that is, 140 to 150 milliliters of water per 10 grams of coffee powder—to fully showcase the coffee’s layers and richness.
Regarding hot water temperature:The optimal water temperature is recommended to be around 90°C.If you have a thermometer or temperature-controlled pour over kettle, you can control it precisely; if not, you can turn off the heat after boiling, slightly lift the kettle lid, and let it sit for about 2–3 minutes to bring the temperature down to approximately 90°C (at room temperature of 28°C).
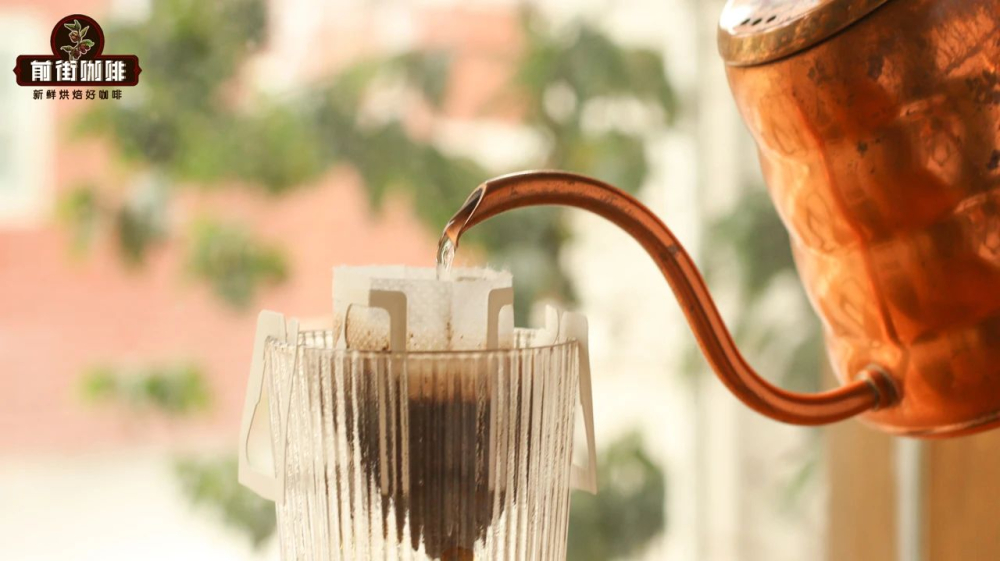
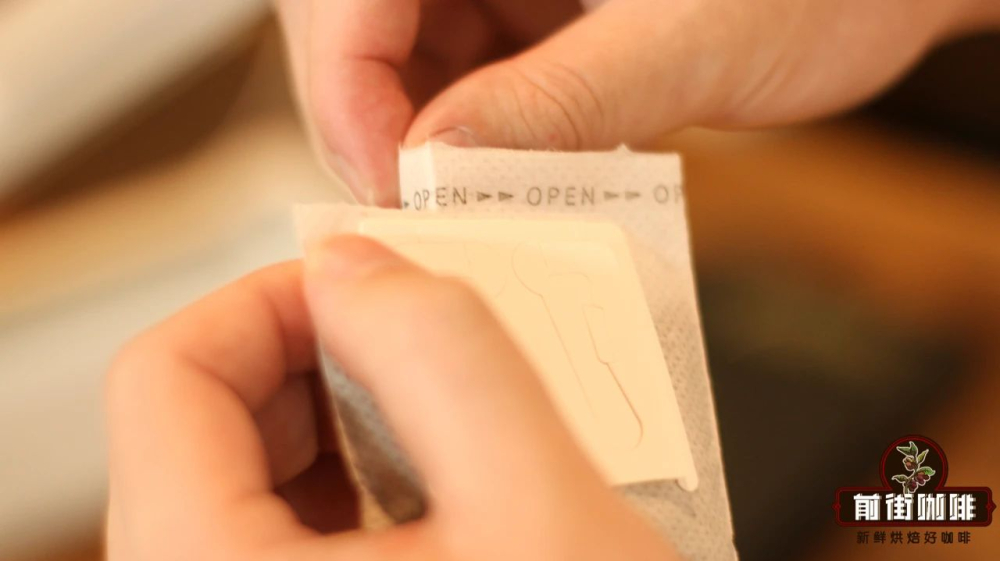
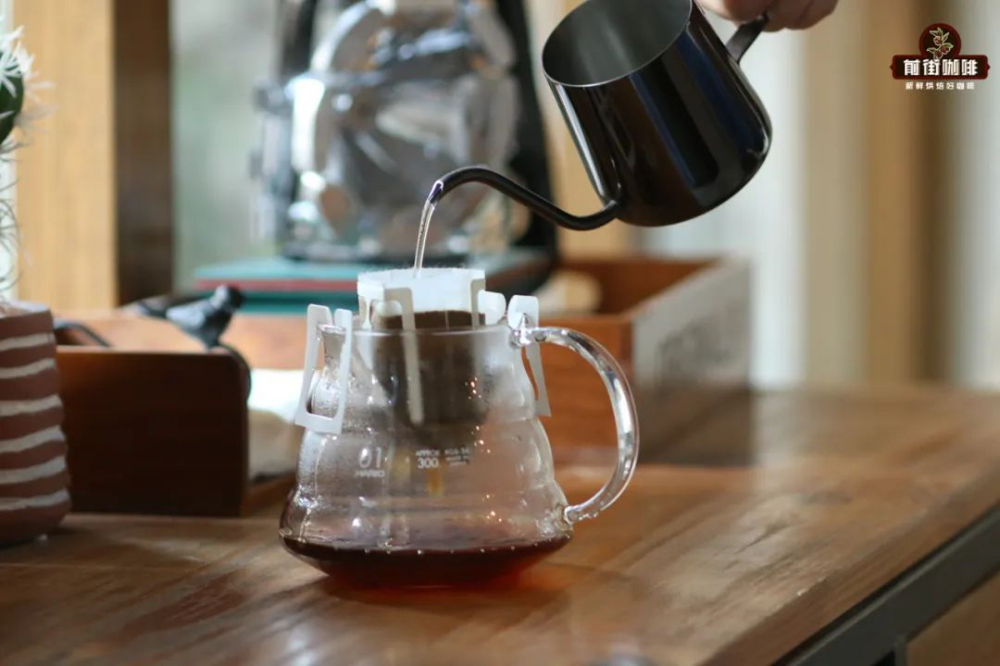
Once ready, you can first warm the cup with a small amount of hot water. Then, tear open the seal along the “Open” dotted line on the drip bag, unfold the two “ears,” and securely hook them over the cup’s rim. Gently shake the coffee powder inside the bag to level it. The first step is “blooming”: pour a small amount of hot water to evenly wet all the coffee grounds. This step awakens the aromatic compounds in the coffee, and it’s recommended to bloom for 30 seconds.
After blooming, begin the main pouring phase. It’s recommended to use a fine stream and pour in a circular motion. Once the coffee bed slightly sinks, continue adding water until the total reaches 140–150 milliliters. If you want more precise control over the water volume, you can also pour 150–160 milliliters of water into the kettle in advance, then slowly pour it all at once until the coffee liquid has completely dripped through. At that point, you can remove the drip bag and enjoy a freshly brewed black coffee. The entire process takes about 1 minute, making it perfect for a quick daily brew.
It’s worth noting that since drip bags use pre-ground coffee, their flavor release is faster than that of whole beans, so it’s recommended to drink it soon after brewing to enjoy the best flavor experience.
Finally, let’s talk about the story and features behind drip bags. For example, some brands’ seasonal drip bag sets blend beans from multiple renowned regions—such as Brazil’s nutty notes, Panama’s citrus and floral tones, or Ethiopia’s bright acidity. These blends are often like a surprise box, with each brew potentially offering a different delight, allowing you to explore a diverse world of coffee flavors even in your daily routine.
The above content is compiled by CoffeeHunters, a coffee news website.


