







Introduction:The Moka pot is a staple brewing tool in many coffee lovers' homes. It’s simple to use yet capable of producing rich, concentrated coffee. This article explains the inner workings of the Moka pot in detail—from selecting coffee beans and determining grind size, to water-to-coffee ratios and heating techniques—guiding you step-by-step through the key points. It also provides a complete guide to making both hot and iced lattes. Whether you’re a beginner or an experienced user, you’ll find practical tips and inspiration here.
Thanks to its simplicity, the Moka pot has become a popular choice for making espresso-style coffee at home. While it doesn’t require strict adherence to complicated steps, mastering a few core elements is essential for consistently brewing flavorful coffee. This article starts with the basic principles of the Moka pot, then dives into key details such as choosing coffee beans, setting grind size, adjusting water-to-coffee ratio, and selecting the right heating method. It also includes step-by-step instructions for making hot and iced lattes to help readers get started with ease.
How the Moka Pot WorksIt’s quite straightforward: water is placed in the lower chamber and heated. Once the water reaches boiling point, the resulting steam pressure pushes the hot water upward, through a filter filled with ground coffee, and into the upper chamber, where it becomes a concentrated coffee brew. Because this process involves a certain amount of pressure and uses finely ground coffee, the resulting brew is quite strong—making it ideal for mixing with milk or water to create a latte or Americano.
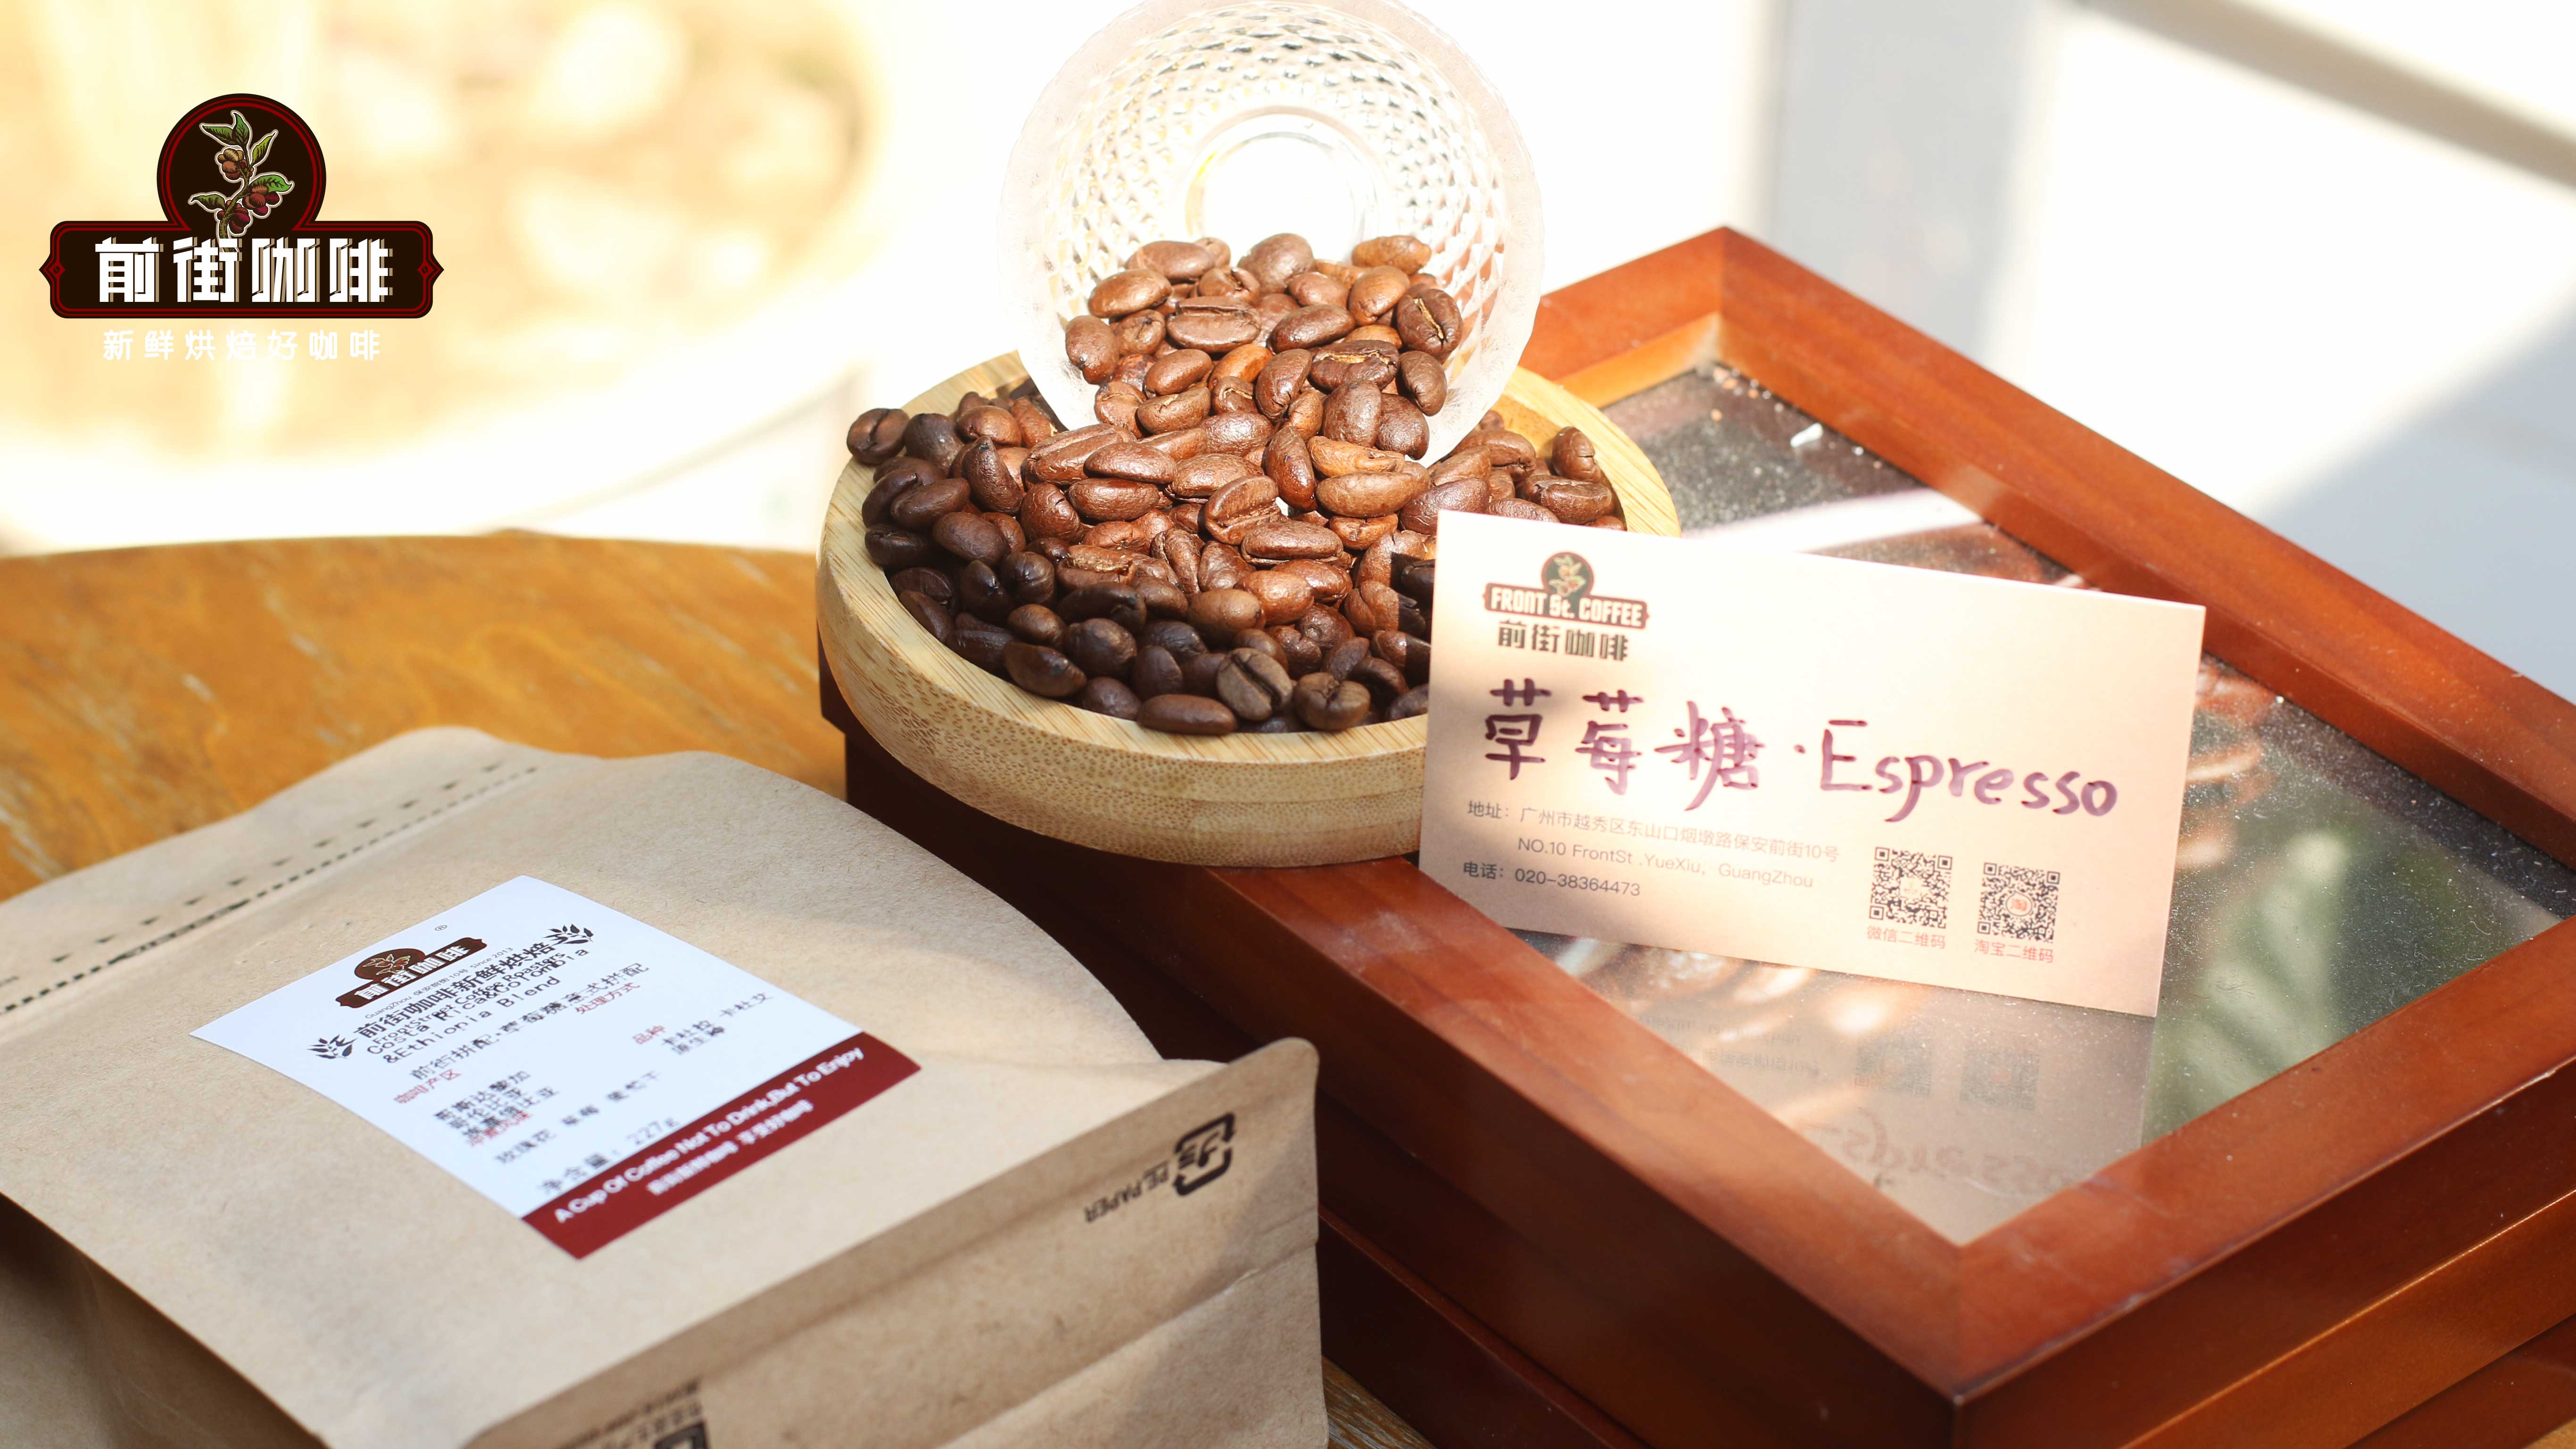
Inchoosing coffee beans,it’s recommended to start with medium-dark or dark roasted beans. Light roasts often have pronounced acidity, which can affect the overall flavor balance. If you’re new to using a Moka pot, try a blend of Brazilian Red Bourbon and Yunnan beans. These beans typically offer layers of creaminess, nuttiness, and mild fruit acidity, and after roasting, they develop aromas of cocoa, caramel, and cookies—performing well whether used in a Moka pot or espresso machine.
If you prefer coffee with more floral and fruity notes, consider a medium-roast blend. These blends often combine beans from different regions, such as Costa Rica, Colombia, and Ethiopia, delivering complex aromas of rose, citrus, grape, and dried blueberry. When paired with milk, they can even produce a sweet flavor reminiscent of strawberry taffy.
As forgrind size,it’s one of the key variables that affects extraction efficiency. If the grind is too coarse, water flows too quickly, leading to under-extraction and a weak-tasting coffee. If it’s too fine, it can cause channeling or over-extraction, resulting in bitter, burnt flavors. The ideal particle size for a Moka pot is around 0.3 to 0.55 mm—similar to fine salt, slightly finer than what you’d use for pour over, but a bit coarser than what’s used in professional espresso machines.
As for the water-to-coffee ratio, it’s best to adjust according to the actual capacity of your Moka pot rather than sticking rigidly to fixed numbers. Generally, the water level should not exceed the safety valve on the lower chamber—usually filling up just below it is sufficient. The coffee grounds should fill the basket, ensuring the surface is level and free of obvious gaps without being compacted. If you’re using a finer grind, avoid pressing down too hard, as this can impede water flow.

Forheating methods,
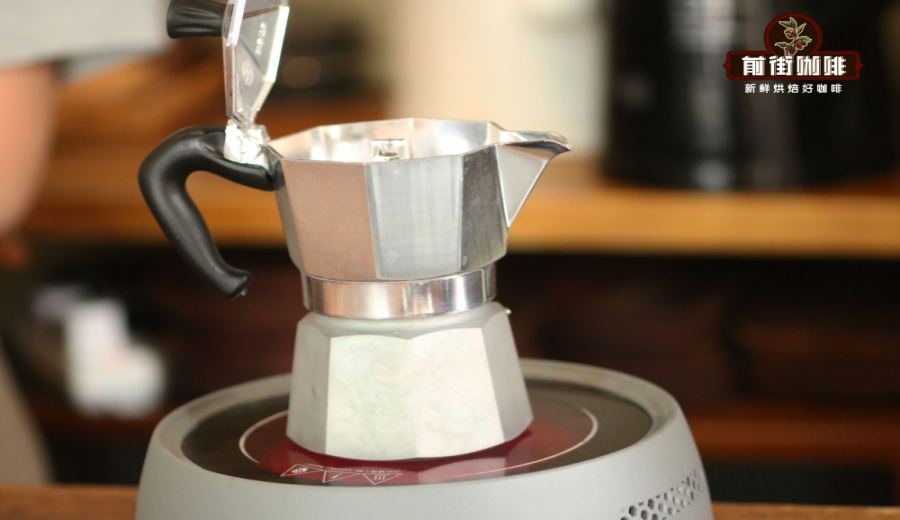
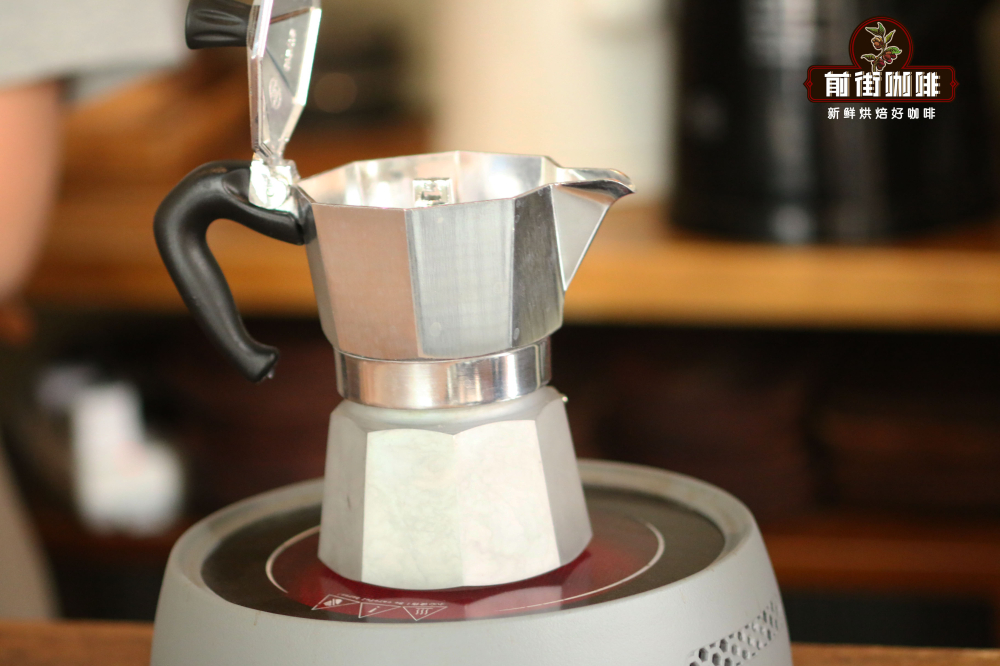
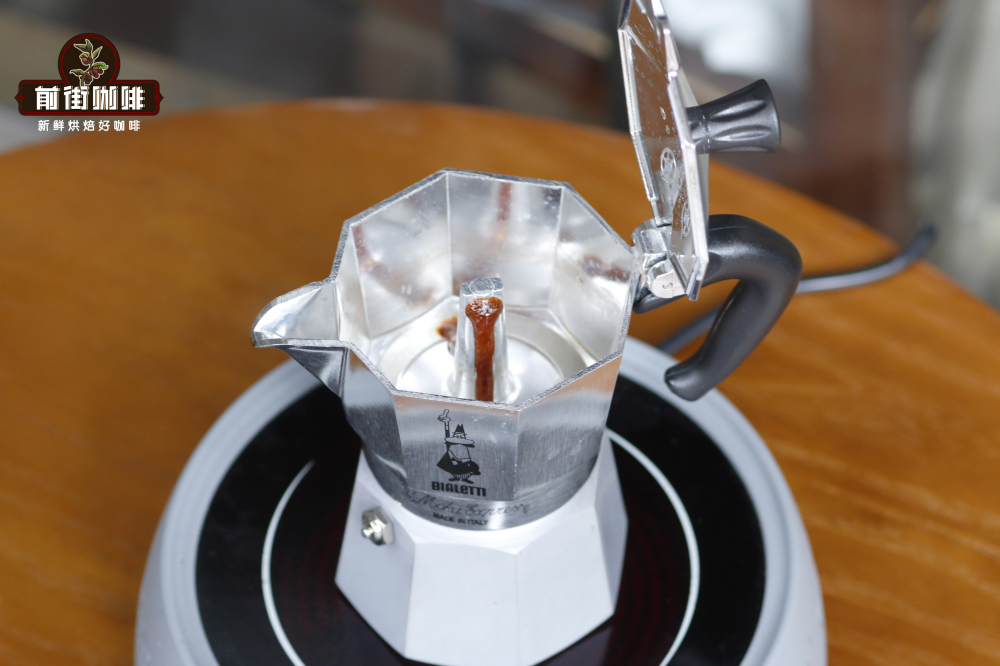
you can choose based on the tools you have on hand—common options include electric coil stoves, induction cooktops, or open flames. Regardless of the method, it’s recommended to maintain a low flame throughout and to adjust the heat or remove the heat source as soon as the coffee begins to flow, in order to avoid over-extraction or scalding.

During heating, when the Moka pot makes a “wuu wuu wuu” sound, it indicates that internal pressure is gradually increasing. At this point, observe the flow of coffee. As soon as the first drops begin to emerge, it’s recommended to reduce the flame or turn off the heat. Continuing to use high heat—or waiting until the coffee boils before turning off the heat—can lead to burnt flavors and a compromised cup.
In practice, prepare the following materials: freshly roasted coffee beans (choose a medium-dark roast blend), water, a Moka pot, and a heating tool. Here is the standard operating procedure:1.Adding Water:
It’s recommended to use hot water to shorten the heating time. For a double single-valve Moka pot, about 130ml of hot water can be added.2.Filling with Coffee Grounds:
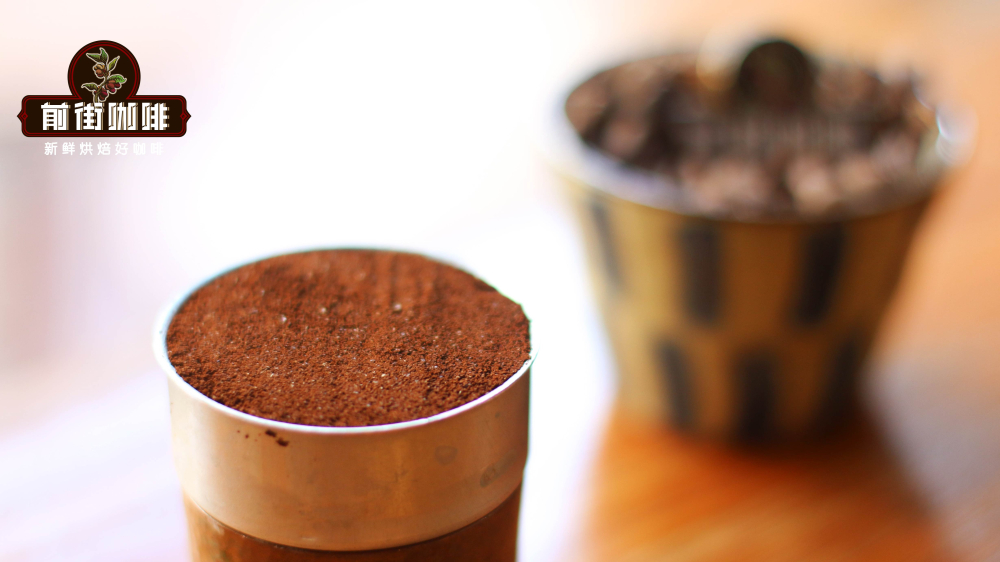
Add approximately 18g of coffee grounds into the basket. Gently tap the outside of the basket to allow the grounds to naturally settle and fill in gaps, reducing the chance of channeling. Then, use your finger to level the surface. If the coffee is finely ground, do not press it down.3.Assembling the Pot:
Place the basket filled with coffee grounds into the lower chamber, then securely attach the upper chamber to the lower one. If the water inside is hot, it’s advisable to use a damp cloth for insulation to prevent burns.4.Starting the Heat:
Place the assembled Moka pot on the heat source and begin the heating process.5.Adjusting the Flame:
When you hear a clear hissing or whistling sound, it means the coffee is about to start flowing. At this point, reduce the flame to low to control the extraction speed and prevent the coffee from flowing out too quickly, which can lead to loss of flavor.6.Knowing When to Turn Off the Heat:
When about half of the coffee has flowed out, it’s recommended to turn off the heat immediately and let the remaining extraction finish using the residual heat inside the pot.7.Enjoying Your Coffee:
The brewed espresso can be enjoyed as is, or customized by adding milk and ice to make an iced latte.
The above content is compiled by CoffeeHunters, a coffee news website.


