








Introduction:Creating a latte art design that is both visually appealing and flavorful relies not just on technique, but also on the espresso extraction ratio, milk foam texture, and pitcher handling. This article delves into the golden ratio for lattes, suitable coffee bean choices for latte art, and explains the principles of milk integration and pouring patterns. It also provides two practical pitcher grip methods to help you practice steadily and improve your latte art success rate.
To create a latte art that is both delicious and visually captivating, high-quality coffee equipment alone is not enough. From ingredient selection, precise espresso extraction ratios, control over milk foam texture, to mastery of pitcher handling techniques, every step directly impacts the final presentation. This article will detail the key points of making latte art, including recommended coffee beans, suggestions for pairing espresso with milk, and how to enhance latte art stability through proper pitcher handling.

The charm of a latte lies not only in its rich layered flavors but also in the delicate latte art design. But how can you achieve both flavor and visual beauty? The following breaks down several key elements to help you master the core techniques of creating a perfect latte art.
Recommended Coffee Bean Choices for Latte Art
A successful latte art not only depends on equipment but also crucially on ingredient selection. Among these, the choice of milk is particularly important. There are many types of whole fresh milk available on the market—some have a rich taste and strong milk aroma, while others are relatively lighter. It is recommended to choose fresh milk that complements the flavor of the coffee based on personal taste preferences. Milk that is too heavy can easily mask the original flavor of the coffee, while milk that is too light may make the overall flavor seem thin.
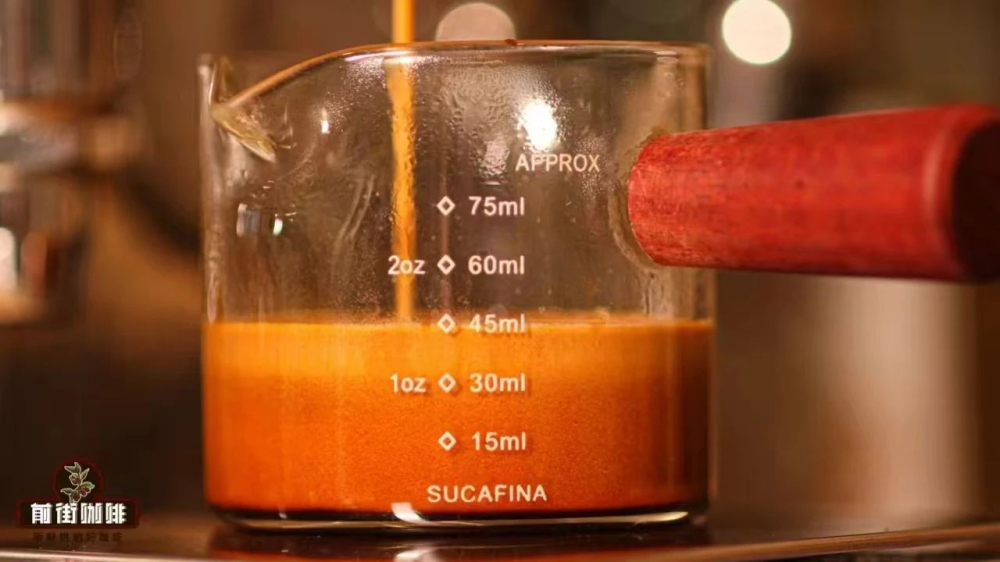
In practice, it is recommended to use a commercial-grade espresso blend paired with freshly heated milk,using 20 grams of coffee grounds extracted for 30 seconds to yield about 40 grams of double espresso, then mixed with220 milliliters of hot milk. These parameters can be fine-tuned according to actual conditions, with the goal of achieving the optimal blending ratio between coffee and milk.
To achieve a rich and stable crema (coffee foam), it is recommended to use an espresso machine with stable pressure function and select high-quality blended coffee beans. For example, a common practical blend consists of Brazilian and Colombian Arabica beans, combined with about10% Robusta beans, which delivers a thick layer of crema and a distinct caramel sweetness, along with aromas of nuts, cocoa, and dark chocolate. The overall profile is balanced with a long finish. This blend is not only suitable for making lattes but is also widely used in Americanos, offering high cost-performance and suitability for daily use in coffee shops.

Espresso: The Flavor and Texture Foundation of Latte Art
Espresso is the soul of a latte and one of the keys to successful latte art. A fine and rich crema layer allows the milk foam and coffee to bind more tightly, helping to stabilize the pattern’s appearance. If the espresso lacks sufficient crema, even if patterns can be poured, they often appear stiff and with blurred outlines, greatly compromising the overall visual effect.
Basic Principles of Latte Art: The Art of Integration and Pouring
The reason latte art can present beautiful patterns lies in the density difference between the crema and milk foam. Crema floats on the liquid surface, while steamed milk foam has a lower density. During the integration process, these naturally form layers. By controlling the angle and flow rate of the pour, distinct contrasting lines can form between the coffee and milk foam in the cup, resulting in various designs.
Latte art is generally divided into two stages: the first is the integration stage, where the pitcher is held slightly higher to allow the milk to slowly pour into the coffee, avoiding immediate white foam formation to ensure even bottom-layer integration. Then comes the pouring (design) stage, where the spout is lowered to let the milk foam gently land on the coffee surface. Through subtle wrist movements and changes in flow rate, a variety of patterns can be drawn.
Pitcher Grip: The Key to Stable Pouring
Many beginners struggle with their latte art due to improper pitcher holding posture. There are many ways to grip a pitcher, but it is recommended that beginners choose one suitable method and practice consistently for at least 20 days or more to develop stable muscle memory, improving control and stability.
When gripping the pitcher, the focus is on maintaining a firm hold while keeping the wrist flexible. Avoid gripping too tightly, as this not only affects operational smoothness but may also lead to wrist fatigue and pattern misalignment.
Two Practical Pitcher Grip Methods Recommended
1. Fist Grip (suitable for beginners and basic patterns)
This method is suitable for creating basic patterns such as hearts, tulips, and leaves. To perform it, wrap your entire palm around the pitcher handle to maintain a stable grip, but do not grip too rigidly to avoid affecting wrist flexibility. Gripping too loosely can cause the pitcher to wobble uncontrollably, affecting the fluidity of the pour.
2. Thumb and Index Finger Pinch Grip (suitable for advanced patterns and combination designs)
This method involves pinching the top of the pitcher handle with your thumb and index finger to concentrate control, with the remaining fingers providing stability. It is suitable for advanced patterns that require precise flow control and clear line definition, commonly seen in etched designs and multi-element compositions.

Common Issues: Why Are My Patterns Always Unstable?
Even with good milk foam quality and correct pitcher posture, many people still struggle to pour stable patterns. The primary key lies in theintegration step. It is recommended to keep the pitcher5 to 8 centimetersaway from the coffee surface, pouring at a small flow rate and only rotating either the pitcher or the cup—not both simultaneously—to avoid bubble interference caused by dual movement. When the cup is about seven to eight-tenths full, pause briefly forno more than 3 secondsto stabilize the water flow direction, then adjust the angle of the cup and begin the pattern drawing.
In summary, latte art is not just a skill but an art that combines detailed control and sensory experience. By understanding espresso extraction parameters, selecting the right milk and coffee beans, mastering milk foam state, and using a solid pitcher grip, you can gradually improve your latte art skills and present a coffee piece that is both delicious and beautiful.

The above content is compiled by CoffeeHunters, a coffee news website.


