








Introduction:To create delicate and stable latte art patterns, the key lies not just in skilled hand movements, but also in mastering the delicate balance between milk, milk foam, crema, and extraction parameters. This article provides an in-depth breakdown of every detail — from bean selection and coffee extraction to milk foam preparation — including common practice mistakes and practical improvement tips. It will help you build professional-level latte art step by step, offering practical guidance for both beginners and baristas aiming for higher levels.
Have you ever ordered a latte at a café and been captivated by the beautiful pattern on the surface? Whether it’s a simple heart or leaf, or a complex geometric composition, latte art is not only a visual delight but also a showcase of technique and attention to detail. However, consistently producing elegant patterns is never a matter of luck or simply pouring milk quickly. It involves the fineness of the milk foam, the performance of the crema, control over extraction conditions, and even details like splitting the shot — each step plays a crucial role.

The success of latte art first depends on that delicate layer of crema on the surface of the coffee. This layer of crema not only affects the contrast and fluidity of the design but also directly determines the overall visual and taste complexity. Therefore, we must first understand the three main factors that influence crema: roast level, freshness, and extraction method.
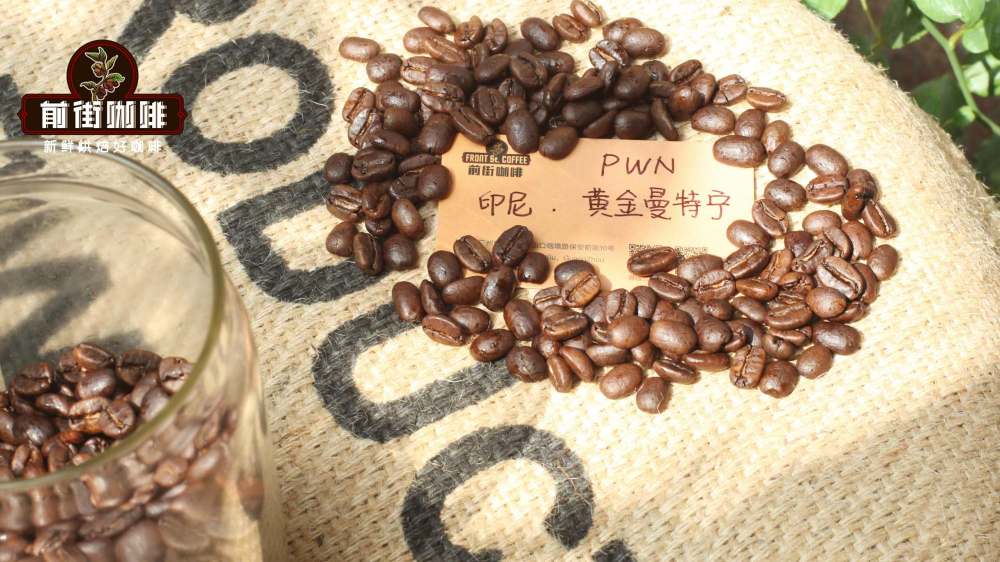
First, regarding roast level, it is recommended to choosemedium to dark roastedcoffee beans. These types of beans usually produce richer and more stable crema, making them suitable for latte art. Too lightly roasted coffee tends to have less crema and a lighter color, which is not conducive to pattern formation. For example, many practitioners opt for medium-dark roasted blends because they provide abundant crema and distinct textures for support.
Secondly, freshness is also a key factor. Many people assume that the fresher the beans, the better, but actually, freshly roasted beans contain a lot of carbon dioxide, which can create too many bubbles during extraction, leading to uneven crema or even separation of the milk foam. Generally, it is recommended to let the beans rest for4 to 7 daysafter roasting to allow gases to dissipate appropriately, while ensuring they are used within60 days after roastingto achieve optimal flavor and crema performance.

Next, let’s talk about extraction. Espresso is the foundation of latte art, and its flow rate, concentration, and crema performance all affect the details of the final pattern. Typically, the extraction volume is recommended to be within the range of30–36ml extracted in 25 to 35 seconds. This extraction rate helps produce a rich and moderately fluid crema. In addition, you can try the pre-infusion method, which helps reduce acidity and improve crema stability — especially when creating layered designs, it allows the milk foam and coffee to merge more smoothly, reducing the chance of the pattern breaking apart.
Milk preparation is equally critical. The ideal milk temperature is recommended to be within the range of55°C~65°C, which fully releases lactose, delivering the best sweetness and mouthfeel. However, in actual latte art practice, some competitors may keep the temperature lower, around40°C~50°C, to prevent the milk foam from separating too early. Additionally, whole milk is recommended due to its high fat and protein content, which helps create finer, more stable, and longer-lasting milk foam — greatly enhancing the clarity of the patterns.
When steaming milk, the expansion ratio is recommended to be around1.2 to 1.4 times, meaning 100ml of milk will expand to approximately 120–140ml. This thickness provides good support without being too heavy, which could affect the finer details of the pattern. Overly thick milk foam can make lines appear coarse and impact the overall aesthetics, while overly thin foam may lack sufficient support, making it hard to shape three-dimensional designs.
Using a separate pitcher or not is another common issue many learners face. Simply put, using a separate pitcher means pouring the steamed milk into another container before beginning latte art. This ensures the milk foam is homogeneous, avoiding different densities between the top and bottom layers, and is especially suitable for complex patterns requiring multiple pours. If you’re already confident in your milk foam control, you can also pour directly from the same pitcher, but using a separate one can more effectively reduce failure rates, particularly in competitions or high-standard settings.
In summary, to master coffee latte art, in addition to consistent practice, you need precise control over every step — from bean selection and coffee extraction, to milk foam preparation and pitcher techniques. Whether you’re a beginner just starting out or an advanced enthusiast aiming to refine layered designs, as long as you grasp these core points and gradually adjust based on your own weaknesses, you’ll be able to consistently pour beautiful and professional coffee art.
The above content is compiled by CoffeeHunters, a coffee news website.


