







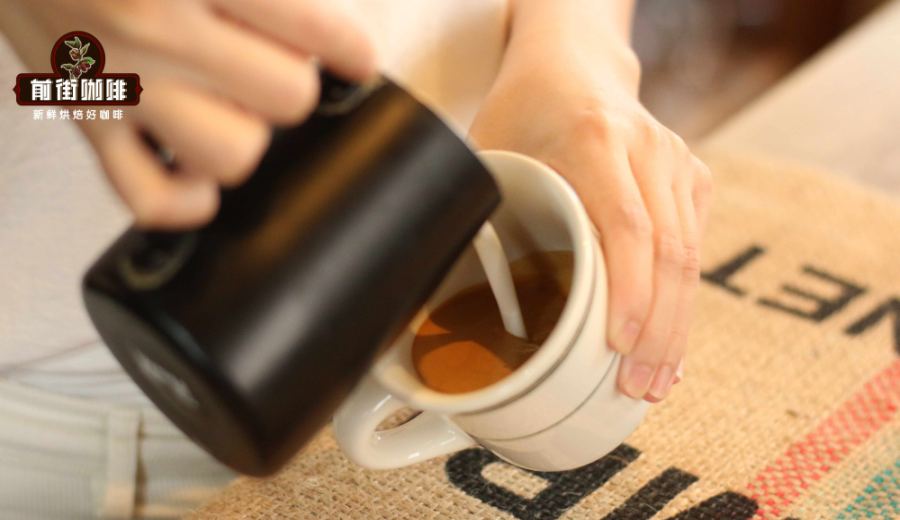
Introduction:Struggling to pour a clear, beautiful heart latte art? The issue might lie in your pitcher grip, pouring technique, or the quality of your espresso. This article takes an in-depth look at the key steps to mastering the heart pattern — from selecting a rich-crema espresso, mastering two practical pitcher grips, to the detailed techniques of pouring and pattern formation. Help you build stable muscle memory so you can practice professional-level latte art at home.
Many coffee beginners often encounter this problem when practicing latte art: even with well-frothed milk, they still can't pour a clear design. In fact, the issue is often not with the pouring technique itself, but with foundational aspects such as pitcher grip, pouring method, or even the choice of coffee beans. This article will fully explain the key elements of making a heart latte art, starting from espresso extraction and taking you step-by-step through the essentials of gripping the pitcher, pouring, and forming the design.
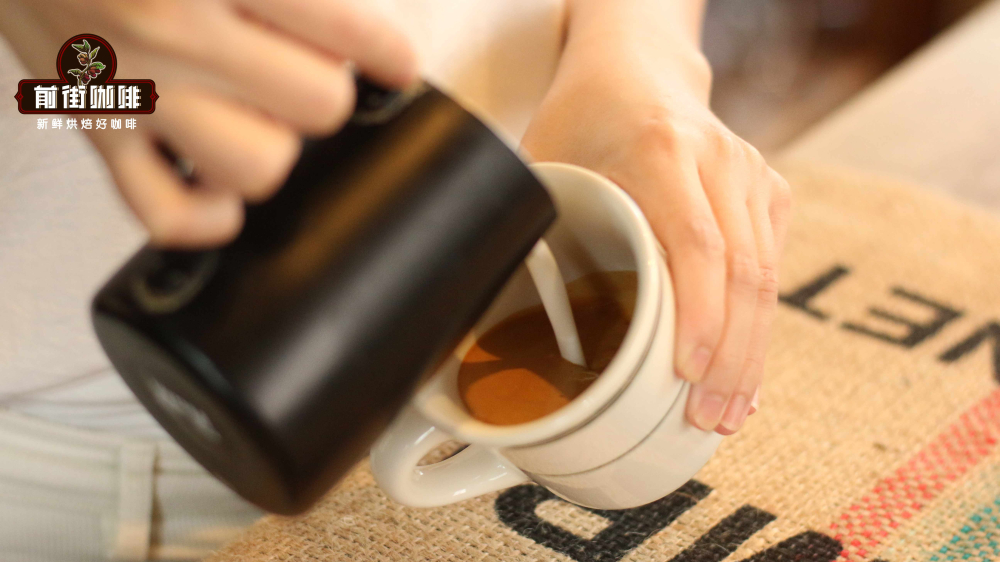
Many beginners wonder, "Why can others easily shake out a heart shape, but mine always turns into a mess?" The answer may very well be an incorrect pitcher grip. To pour beautiful latte art, in addition to the texture of the milk foam, the stability and flexibility of your pitcher grip are the foundation.

Perfect latte art starts with high-quality espresso. Crema (the coffee's foam layer) is key to forming patterns — the density difference between it and the milk foam creates a vivid contrast during pouring. It’s recommended to choose an espresso with rich and smooth crema, such as a blend of Brazilian and Mandheling beans, or a recipe with nutty aromas and a small amount of Robusta added, which can enhance the thickness and golden hue of the crema, laying a solid foundation for latte art.

The principle of latte art is actually quite simple: when lower-density milk foam blends with coffee liquid, the coffee and milk sink while the crema and foam rise to the top. The whole process consists of two stages: 'pouring in' (blending) and 'pouring out' (creating the pattern). During blending, the pitcher should be held higher, allowing the milk to flow in at a moderate speed to avoid white spots on the surface. When creating the pattern, lower the spout and let the foam gently settle on the top layer, using different pouring techniques to form designs.
For beginners, sticking to one pitcher grip and practicing it consistently for more than 20 days can help build muscle memory. Stable wrist control and consistent flow regulation can effectively reduce pattern shaking and hand fatigue, resulting in clear heart patterns in every cup of latte.

There is no absolute standard for pitcher grips — the key is to 'hold firmly yet flexibly.' Many people frequently switch grips by imitating techniques from videos, which can instead lead to unstable patterns. Below are two practical grip methods:
The first is the 'fist grip' — suitable for those with less wrist strength or beginners, mainly used for basic patterns like hearts, tulips, and leaves. Hold the pitcher handle with all your fingers, paying attention to applying moderate pressure — gripping too tightly limits wrist flexibility, while gripping too loosely makes the pitcher hard to control, leading to uneven milk flow.
The second is the 'thumb and index finger grip' — suitable for those with stronger wrists or those looking to tackle more complex patterns. Use your thumb and index finger to pinch the top sides of the handle, focusing on controlling the flow rate, while your middle, ring, and pinky fingers assist in stabilizing the handle. This grip allows for more precise control over where the milk lands and is commonly used for creating textured or combined patterns.

If you’ve confirmed that your milk foam is of good quality and your pitcher grip is correct, but you still can’t pour a pattern, the issue may lie in the 'blending' stage. Blending is the foundation of latte art — it affects not only the clarity of the pattern but also the overall flavor of the coffee. It’s recommended to hold the pitcher 5–8 cm above the coffee surface, tilt the cup slightly, and pour the milk at a slow speed, rotating either the pitcher or the cup to ensure even mixing. When the cup is about seven to eight-tenths full, pause briefly (no more than 3 seconds to avoid layer separation of the foam), then reposition the cup and begin forming the pattern.
The above content is compiled by CoffeeHunters, a coffee news website.


