







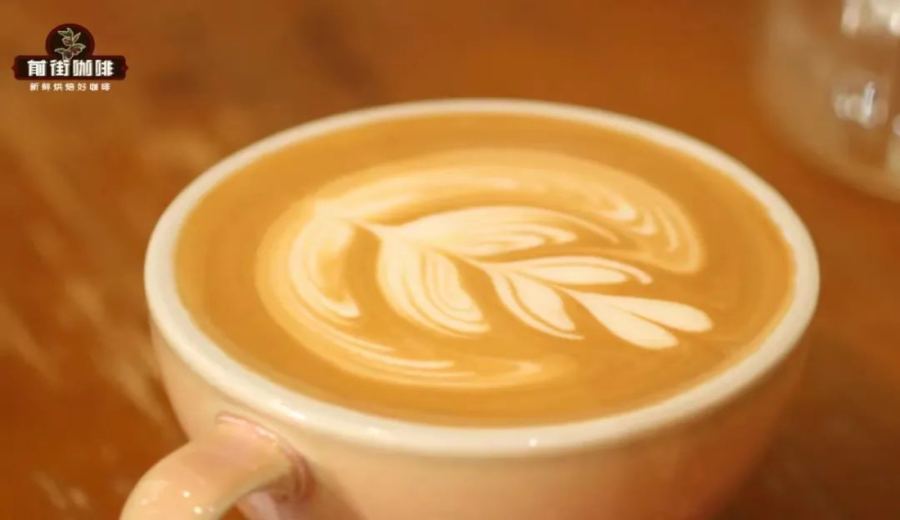
Introduction:Latte art may seem simple, but it is a bottleneck that many coffee enthusiasts struggle to overcome. How can you pour delicate and clear designs using hot fresh milk? A good latte art can actually be evaluated from three aspects: surface texture, integration, and pattern presentation. This article will delve into the evaluation criteria and provide practical operational techniques, including adjusting milk foam thickness, pre-treatment before integration, and the method of repeated practice starting with basic patterns, to help you steadily improve your latte art success rate.
Want to pour beautiful patterns with hot fresh milk, but the results are always inconsistent? Whether latte art can be considered 'qualified' is subjective, but generally, it can be assessed based on three key points: surface fineness, uniform integration, and clarity of the pattern. This article not only shares these judging criteria but also provides several practical tips that can significantly reduce the failure rate, such as how to adjust milk foam thickness, preparatory steps before integration, and the importance of repeated practice starting with simple patterns. In addition, choosing the right coffee beans is also key—one suitable blend can help you more easily extract fine and stable crema, making the latte art process smoother.
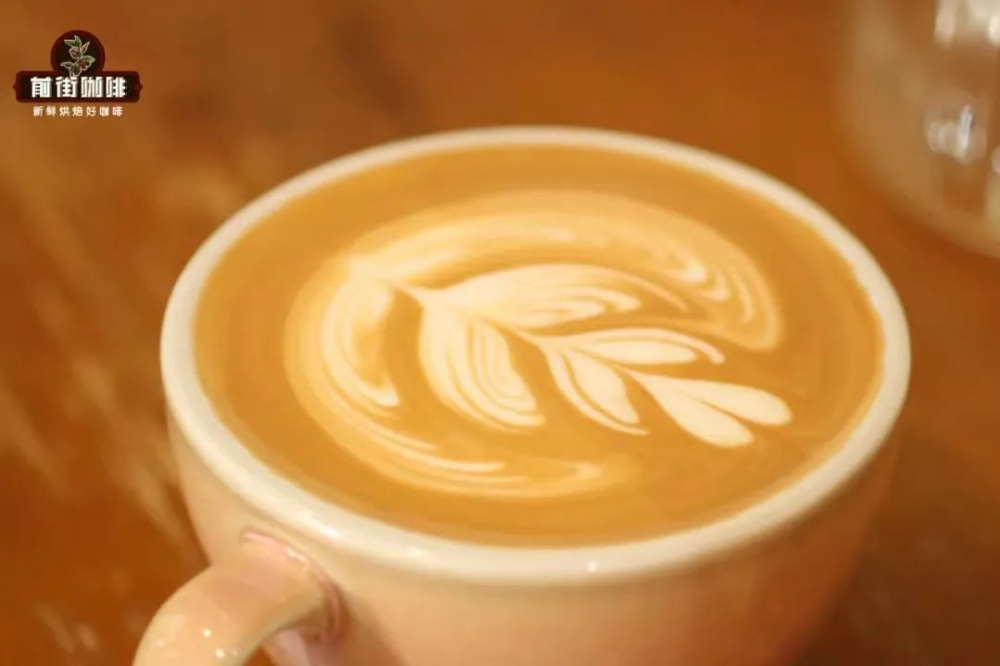 Many people have had similar experiences while practicing latte art: occasionally pulling off a beautiful pattern, but then being unable to replicate it. In reality, there is no absolute standard for what makes good latte art—everyone's perception differs. Based on experience, first observe the fineness of the latte art’s surface; next, look at whether the integration is uniform, especially at the boundary between the coffee crema and milk foam, the so-called ‘golden circle’ clarity; and lastly, consider the overall pattern presentation. There’s no need to pursue overly complex designs—as long as the lines are clear and the outlines distinct, it’s already a passable latte art.
Achieving such results requires more than just theory—it takes consistent practice to build up hand feel. However, mastering some practical techniques can indeed help reduce the failure rate and improve stability.
First is the adjustment of milk foam thickness. If you want to try etched patterns, it’s usually recommended to use thinner milk foam because it has better fluidity, allowing for finer lines. However, overly thin milk foam can also make control difficult, causing the pattern to break apart or fail to form. Therefore,it is advisable to moderately thicken the milk foam. For example, if the original milk level is filled to 5/10, frothing it to 5.5–6/10 results in thinner milk foam; if you find that the pattern often distorts or fails to hold during pouring, you can try frothing the milk to 6.5–7/10. Although the lines may be slightly thicker, the stability will greatly improve, making it more practical for daily use.

Another common issue is uneven integration, which causes the liquid surface to appear unnaturally ‘whitish’ or ‘dirty’. If you’re not yet proficient in integration techniques, you can pour a small amount of milk foam (or milk) before the actual integration, gently shake the cup, and let this portion of liquid mix with the espresso first. This helps the coffee crema and milk foam combine more evenly, preventing layering or uneven color blocks during the formal integration, resulting in a cleaner and more professional overall appearance.
Additionally, many people learning latte art are eager to tackle complex patterns but overlook the importance of basics. Basic patterns like the ‘big white heart’, although seemingly simple, are ones where many people, after practicing just ten cups, can initially complete them—but they may rashly advance after one or two successes. In reality, such ‘successes’ may just be coincidental, and once conditions change slightly—such as different milk foam thickness or slight variations in flow rate—it’s easy to mess up. Therefore,it is recommended to start with the simplest patterns and repeatedly practice until each cup can consistently produce similar results, which is the true sign of mastering that pattern.
Finally, unexpected situations are inevitable during latte art, such as misplaced pours or shifted pattern directions. Instead of stubbornly sticking to the original plan, it’s better to adapt flexibly and switch to another pattern to compensate. For example, if you intended to pour a heart but find the pour point too far forward, forcing it will only shift the entire pattern—instead, consider pouring a leaf or pushing a tulip. Or, if you’re finishing a heart shape and notice the cup isn’t yet full, you don’t have to force the tail—instead, you can push 1 to 2 small hearts to form a three-petal tulip, maintaining visual balance while showcasing adaptability.

In summary, latte art is not just about technique, but also the accumulation of experience and hand feel. By adjusting milk foam thickness, optimizing the integration process, solidifying practice of basic patterns, and adding on-the-spot flexibility, you’ll gradually improve your latte art success rate, making every cup of latte not just a beverage, but a work of art that combines beauty and skill.
The above content is compiled by CoffeeHunters, a coffee news website.


