







Introduction:Thanks to its simple operation and smooth flavor profile, the smart dripper has become a top choice for many pour over beginners and home users. This article explains in detail how to achieve a well-balanced cup using the correct filter paper folding technique, water temperature control, and brewing time. We also recommend coffee beans suited to different taste preferences, including floral and fruity acidity as well as nutty and chocolatey notes, helping you easily find your ideal coffee flavor combination.
Among the many pour over tools, the smart dripper stands out with its easy operation and stable extraction performance. It is favored not only by home users but also commonly found in specialty coffee shops. Compared to traditional pour over methods that emphasize flow rate and rinsing, the smart dripper focuses on immersion brewing, allowing coffee grounds to fully release their flavors within a set time. The resulting cup often has a richer body and more distinct layers, making it perfect for coffee lovers who seek simplicity without compromising quality.
This guide will walk you through the entire brewing process of the smart dripper step-by-step—from preparing your equipment, handling the filter paper, and setting the water temperature, to precise immersion and stirring techniques. We’ll also extend the method to make iced coffee, offering greater drinking flexibility. Additionally, based on different flavor preferences, we recommend several coffee beans such as Kenya Little Tomato, Washed Guodingding, Strawberry Candy, as well as Brazil Queen Estate Yellow Bourbon, Jamaica Blue Mountain No.1, and Papua Bird of Paradise, helping you find your perfect match.
The smart dripper’s widespread popularity is not only due to its low learning curve and easy cleaning but also because it consistently highlights the inherent flavor characteristics of coffee. Unlike traditional pour over methods where water flow creates agitation, the smart dripper relies entirely on immersion to extract flavors. As a result, the brewed coffee usually has a smoother mouthfeel and more concentrated aromas, making it ideal for users who want to brew professional-level coffee easily at home.
If you find traditional pour over methods with their multiple steps and techniques intimidating, the smart dripper is a great entry-level choice. Below, we’ll start with the basic equipment preparation and guide you through the entire extraction process step by step.
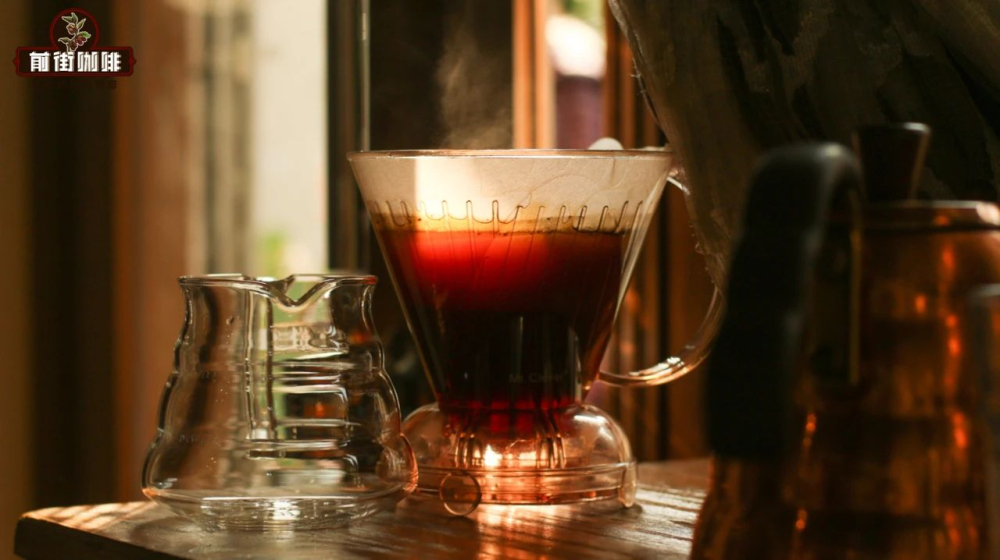
Firstly, the brewing principle of the smart dripper mainly relies on the prolonged contact between coffee grounds and hot water, extracting flavor compounds through immersion rather than high-speed agitation. Therefore, even as a pour over beginner, as long as you can manage basic timing and water temperature, you can brew a cup with balanced flavors.
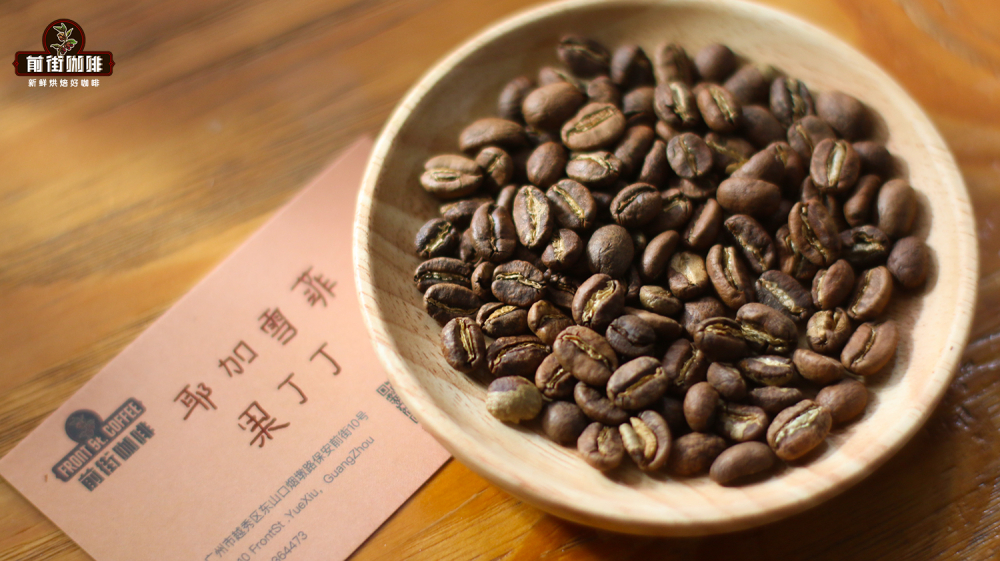
Most coffee beans suitable for pour over can also be used in the smart dripper, with differences mainly showing in flavor profiles. If you prefer bright floral and fruity notes—such as jasmine-like floral aroma, citrus acidity, and raisin sweetness—you may want to try Kenya Little Tomato, Washed Guodingding, and Strawberry Candy. These beans typically display vibrant acidity and rich fruit aromas.
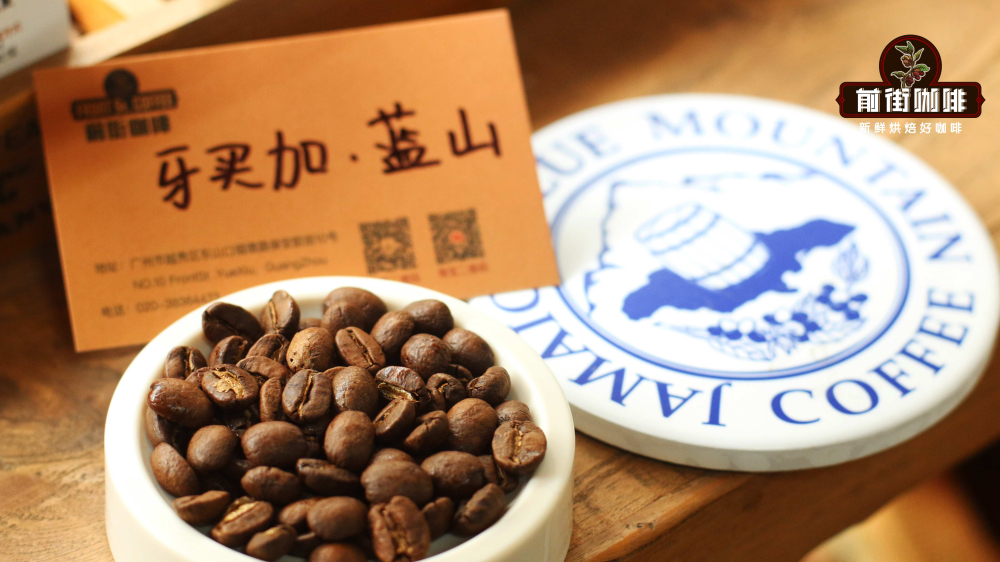
On the other hand, if you don’t enjoy strong acidity and instead prefer rich, caramel- and nut-toned coffees, then Brazil Queen Estate Yellow Bourbon, Jamaica Blue Mountain No.1, and Papua Bird of Paradise are great options. These coffees generally exhibit low acidity, high body, and pronounced chocolate and caramel finish notes.
Next, we’ll explain in practical detail the complete steps for using the smart dripper to brew pour over coffee.
Step 1: Equipment Preparation
Before starting, make sure you have the following tools and materials ready: thermometer, stirring stick (or spoon), smart dripper, filter paper, heat-resistant container (such as a microwave kettle or coffee cup), about20 gramsof coffee beans (for example, Strawberry Candy), and an electronic scale. Once everything is prepared, you can proceed to the next step.
Step 2: Filter Paper Folding Technique
After taking out the filter paper, fold its edge and bottom edge together to form a long strip. This folding method effectively increases the contact area at the bottom of the filter paper, providing better space for the coffee grounds and hot water to interact, thereby improving extraction efficiency and flavor performance.
Step 3: Filter Paper Preheating and Odor Removal
Place the filter paper into the dripper and rinse the inside with hot water. This action removes the paper pulp taste of the filter paper itself, preventing it from affecting the pure flavor of the coffee. Be sure to focus the water flow on the inside of the filter paper during rinsing, avoiding it seeping into the gap between the dripper and the filter paper. This ensures the filter paper adheres tightly to the cup wall and prevents channeling during coffee extraction.
Step 4: Coffee Bean Grinding Recommendation
It is recommended to use a grind size similar to that of an Americano coffee machine. Too fine a grind may lead to over-extraction, while too coarse may cause under-extraction. After grinding, immediately transfer the coffee grounds into the prepared dripper to ensure the freshness and optimal flavor expression of the beans.
Step 5: Water Temperature Control
The ideal extraction water temperature is93°C[temperature not provided], which can fully bring out the aroma and layered flavors of the coffee. If you cannot precisely control the temperature at home, you can make slight adjustments using steam or heating equipment, avoiding too low a temperature that may result in dull flavors.
Step 6: Immersion and Stirring Technique (3+1 Formula)
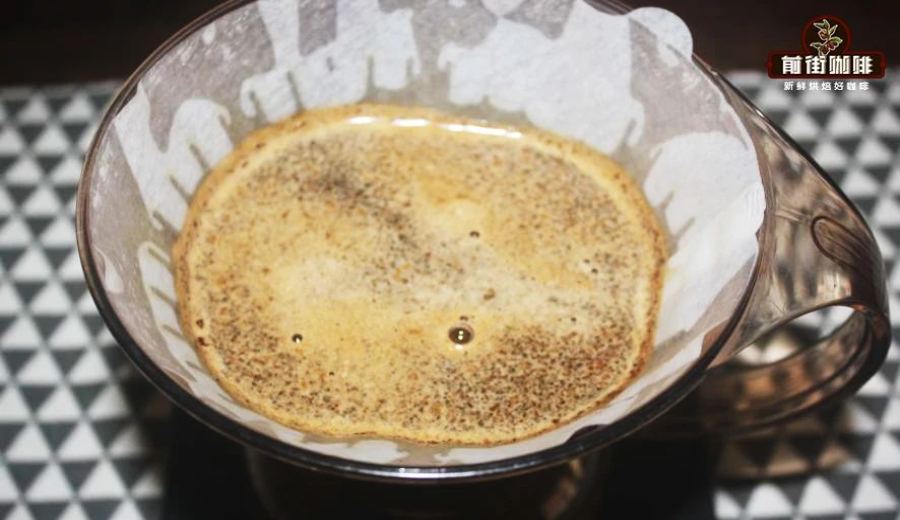
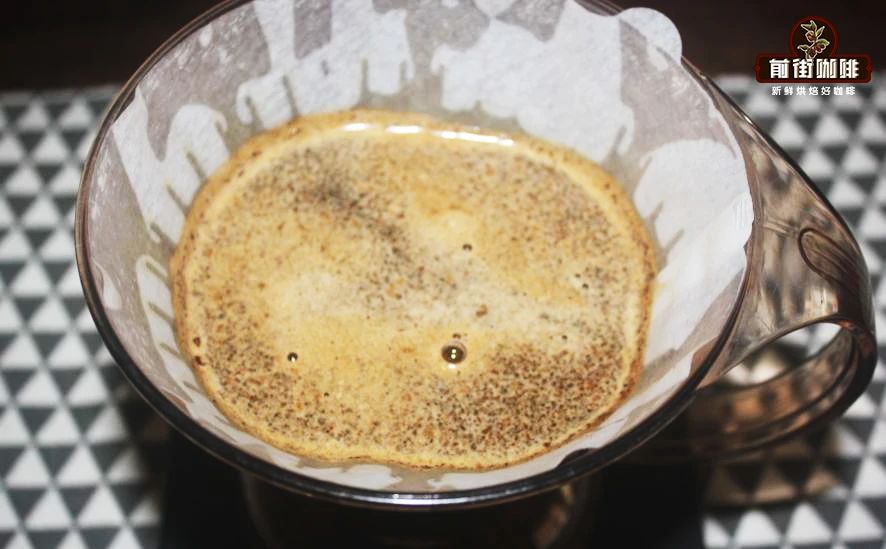
Pour hot water into the smart dripper filled with coffee grounds and start timing. It is recommended to use the3-minute steeping + 1-minute post-processingmethod: At the 3-minute mark, gently stir the coffee grounds 3 to 6 times with a stirring stick. This helps achieve even extraction and forms a crema-like foam layer on the liquid surface. Be careful not to over-stir, as it may lead to over-extraction and result in bitter or astringent flavors. When the 4-minute mark is reached, place the dripper directly onto the coffee cup and wait for all the coffee to drip through to complete the brew.
If you want to try making iced coffee, prepare ice cubes in the microwave kettle during the first 3 minutes. When the 4-minute mark is reached, turn the dripper upside down over a container with ice cubes to rapidly cool the hot coffee. Gently shake it and then pour it into an ice-filled cup for a refreshing and layered experience (adjust the amount of ice to personal taste).
The reason the smart dripper is called “smart” lies in its bottom-designed movable valve: when the dripper is placed on the coffee cup, the valve opens and coffee flows out naturally; when the dripper is placed flat on the table, the valve closes and liquid flow completely stops. This mechanism not only makes it easy to control brewing time but also simplifies and smartens the whole brewing process.
The above content is compiled by CoffeeHunters, a coffee news website.


