







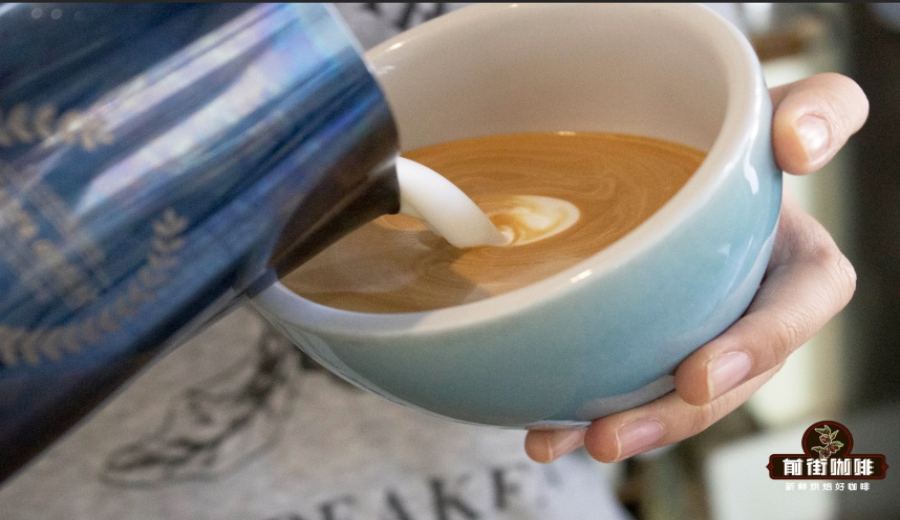
Introduction:Misaligned latte art patterns are a common challenge for many coffee beginners. Even with properly steamed milk, small mistakes can still cause the design to shift off-center. This article delves into the three core factors—milk foam thickness, cup-returning technique, and pour starting point—and provides practical adjustment tips. It also highlights the crucial role of high-quality espresso in achieving the desired texture and appearance of latte art, helping you precisely control the position and aesthetics of each cup’s design.
In the art of latte art, whether a pattern is visually pleasing depends not only on the shape formed by the milk foam but also on the composition arrangement. Among these, a centered composition is the most classic and common approach, as it enhances the balance and visual stability of symmetrical designs. However, many beginners often find their patterns failing to land precisely in the center of the cup, compromising the overall aesthetic. This issue primarily stems from three key factors: the milk foam’s thickness affecting its fluidity, the control of cup-returning speed and angle, and the choice of the initial pour starting point. This article will break down the causes of these problems one by one and offer specific improvement methods.
First and foremost, it must be emphasized that a beautifully poured latte relies on a high-quality espresso as an indispensable foundation. The ideal shot of espresso should have a fine and rich crema layer, which not only improves the fluidity of the latte art but also makes the design more three-dimensional and vivid. When selecting coffee beans, it is recommended to choose carefully blended options that produce a thick crema, such as blends combining Brazilian and Indonesian beans or recipes with nutty notes and good crema performance—both are excellent choices for beginners.

Among these factors, milk foam thickness is the primary element affecting the stability of the latte art pattern. Many beginners often overlook the direct impact of milk foam texture on fluidity: the thicker the foam, the lower its fluidity, making the pattern easier to control; conversely, overly thin foam, with its high fluidity, can cause the liquid to spread quickly, leading the pattern to deviate from its intended position during pouring. In such cases, the pattern may exhibit jagged edges or appear smeared, especially when drawing finer details. If you notice that your latte art patterns fail to gather properly or have blurred edges, it’s likely a sign of overly thin milk foam. The solution is simple: adjust the steaming time of the milk frother, extending the frothing duration slightly to increase the foam’s density and bring the fluidity back to a moderate range. Typically, a milk foam thickness of about 3–5 centimeters is recommended.

Another common issue is the control of the cup-returning action. Cup returning refers to the process of gradually adjusting the cup’s angle as the pattern progresses, slowly bringing it back to an upright position from its initial tilted state. This movement needs to be highly coordinated with the hand-pouring motion. However, many beginners, especially in the early stages of practice, often struggle to synchronize both hands, resulting in excessively fast cup returning. Too rapid a return significantly increases the impact force of the milk foam as it is poured, which can instantly push an already-formed pattern away from the center. If you observe the pattern gradually shifting as the cup returns to upright, it is advisable to slow down the cup-returning pace. Through repeated practice to develop muscle memory, you can gradually master the technique of “stable returning,” ensuring the pattern remains properly positioned throughout the movement.
Finally, the choice of the pour starting point is also a critical factor in determining whether the pattern is centered. Different latte art patterns (such as hearts, leaves, tulips, etc.) have different starting point requirements, which are closely related to the logic of the drawing steps. For example, a heart-shaped pattern is typically recommended to start pouring from a position slightly above the center of the cup, using gravity to naturally guide the liquid flow toward the center; whereas a leaf pattern often starts slightly below the center to create a natural vein extension effect. If the starting point is chosen incorrectly, even with well-controlled milk foam and cup returning, the pattern may still shift upward or downward, disrupting the overall symmetry. Therefore, before starting to pour, confirming the optimal starting point based on the target pattern is an important prerequisite for ensuring the design lands precisely in the center.

Overall, to improve the issue of misaligned latte art, adjustments need to be made simultaneously in three aspects: milk foam texture, cup-returning technique, and pour starting point. Beginners are advised to start by practicing with a fixed starting point, using milk foam of moderate thickness (around 3–5 centimeters), and slowing down the cup-returning speed to gradually get a feel for the coordination between these elements. Through repeated practice and observation, not only will the precision of the pattern’s position improve, but the overall latte art texture will also become smoother and more natural, ultimately resulting in symmetrical and aesthetically pleasing professional-level creations.

The above content is compiled by CoffeeHunters, a coffee news website.


