








Introduction:Want to brew a smooth and layered pour over coffee at home? You don’t need to master every parameter. This guide takes you through the basics—equipment prep, brew ratio and grind size selection, to the classic three-pour technique—covering the core logic of pour over brewing. It’s perfect for beginners, and even experienced coffee lovers can learn how to fine-tune and find their ideal extraction method.
Pour over coffee is an extraction method that values detail yet allows flexibility. Many beginners are initially intimidated by technical terms like grind size, water temperature, brew ratio, and pouring techniques. But you don’t need to chase a “perfect formula” from the start. This article will guide you from fundamental concepts, gradually showing you how to observe and adjust to brew a cup that suits your taste.
First, let’s understand what pour over coffee is. Also known as drip filtration extraction, it originated in 1908 when German housewife Melitta Bentz invented it. She designed a base with holes and used filter paper, allowing hot water to evenly penetrate coffee grounds and extract pure black coffee. This method remains one of the most popular brewing techniques for home coffee enthusiasts today.
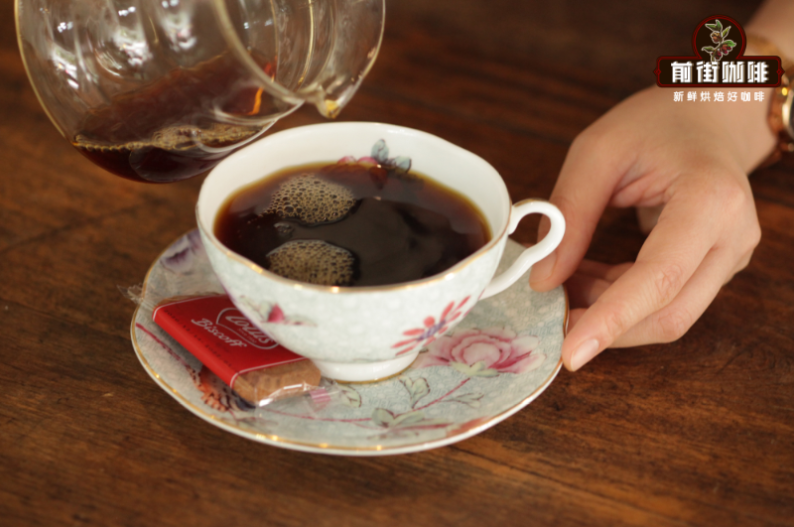
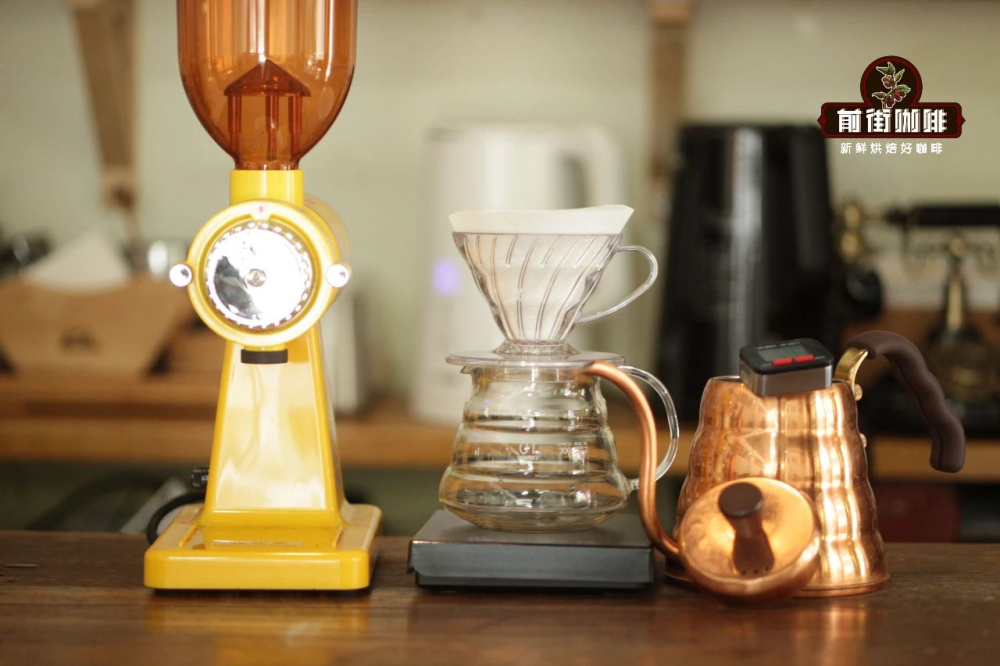
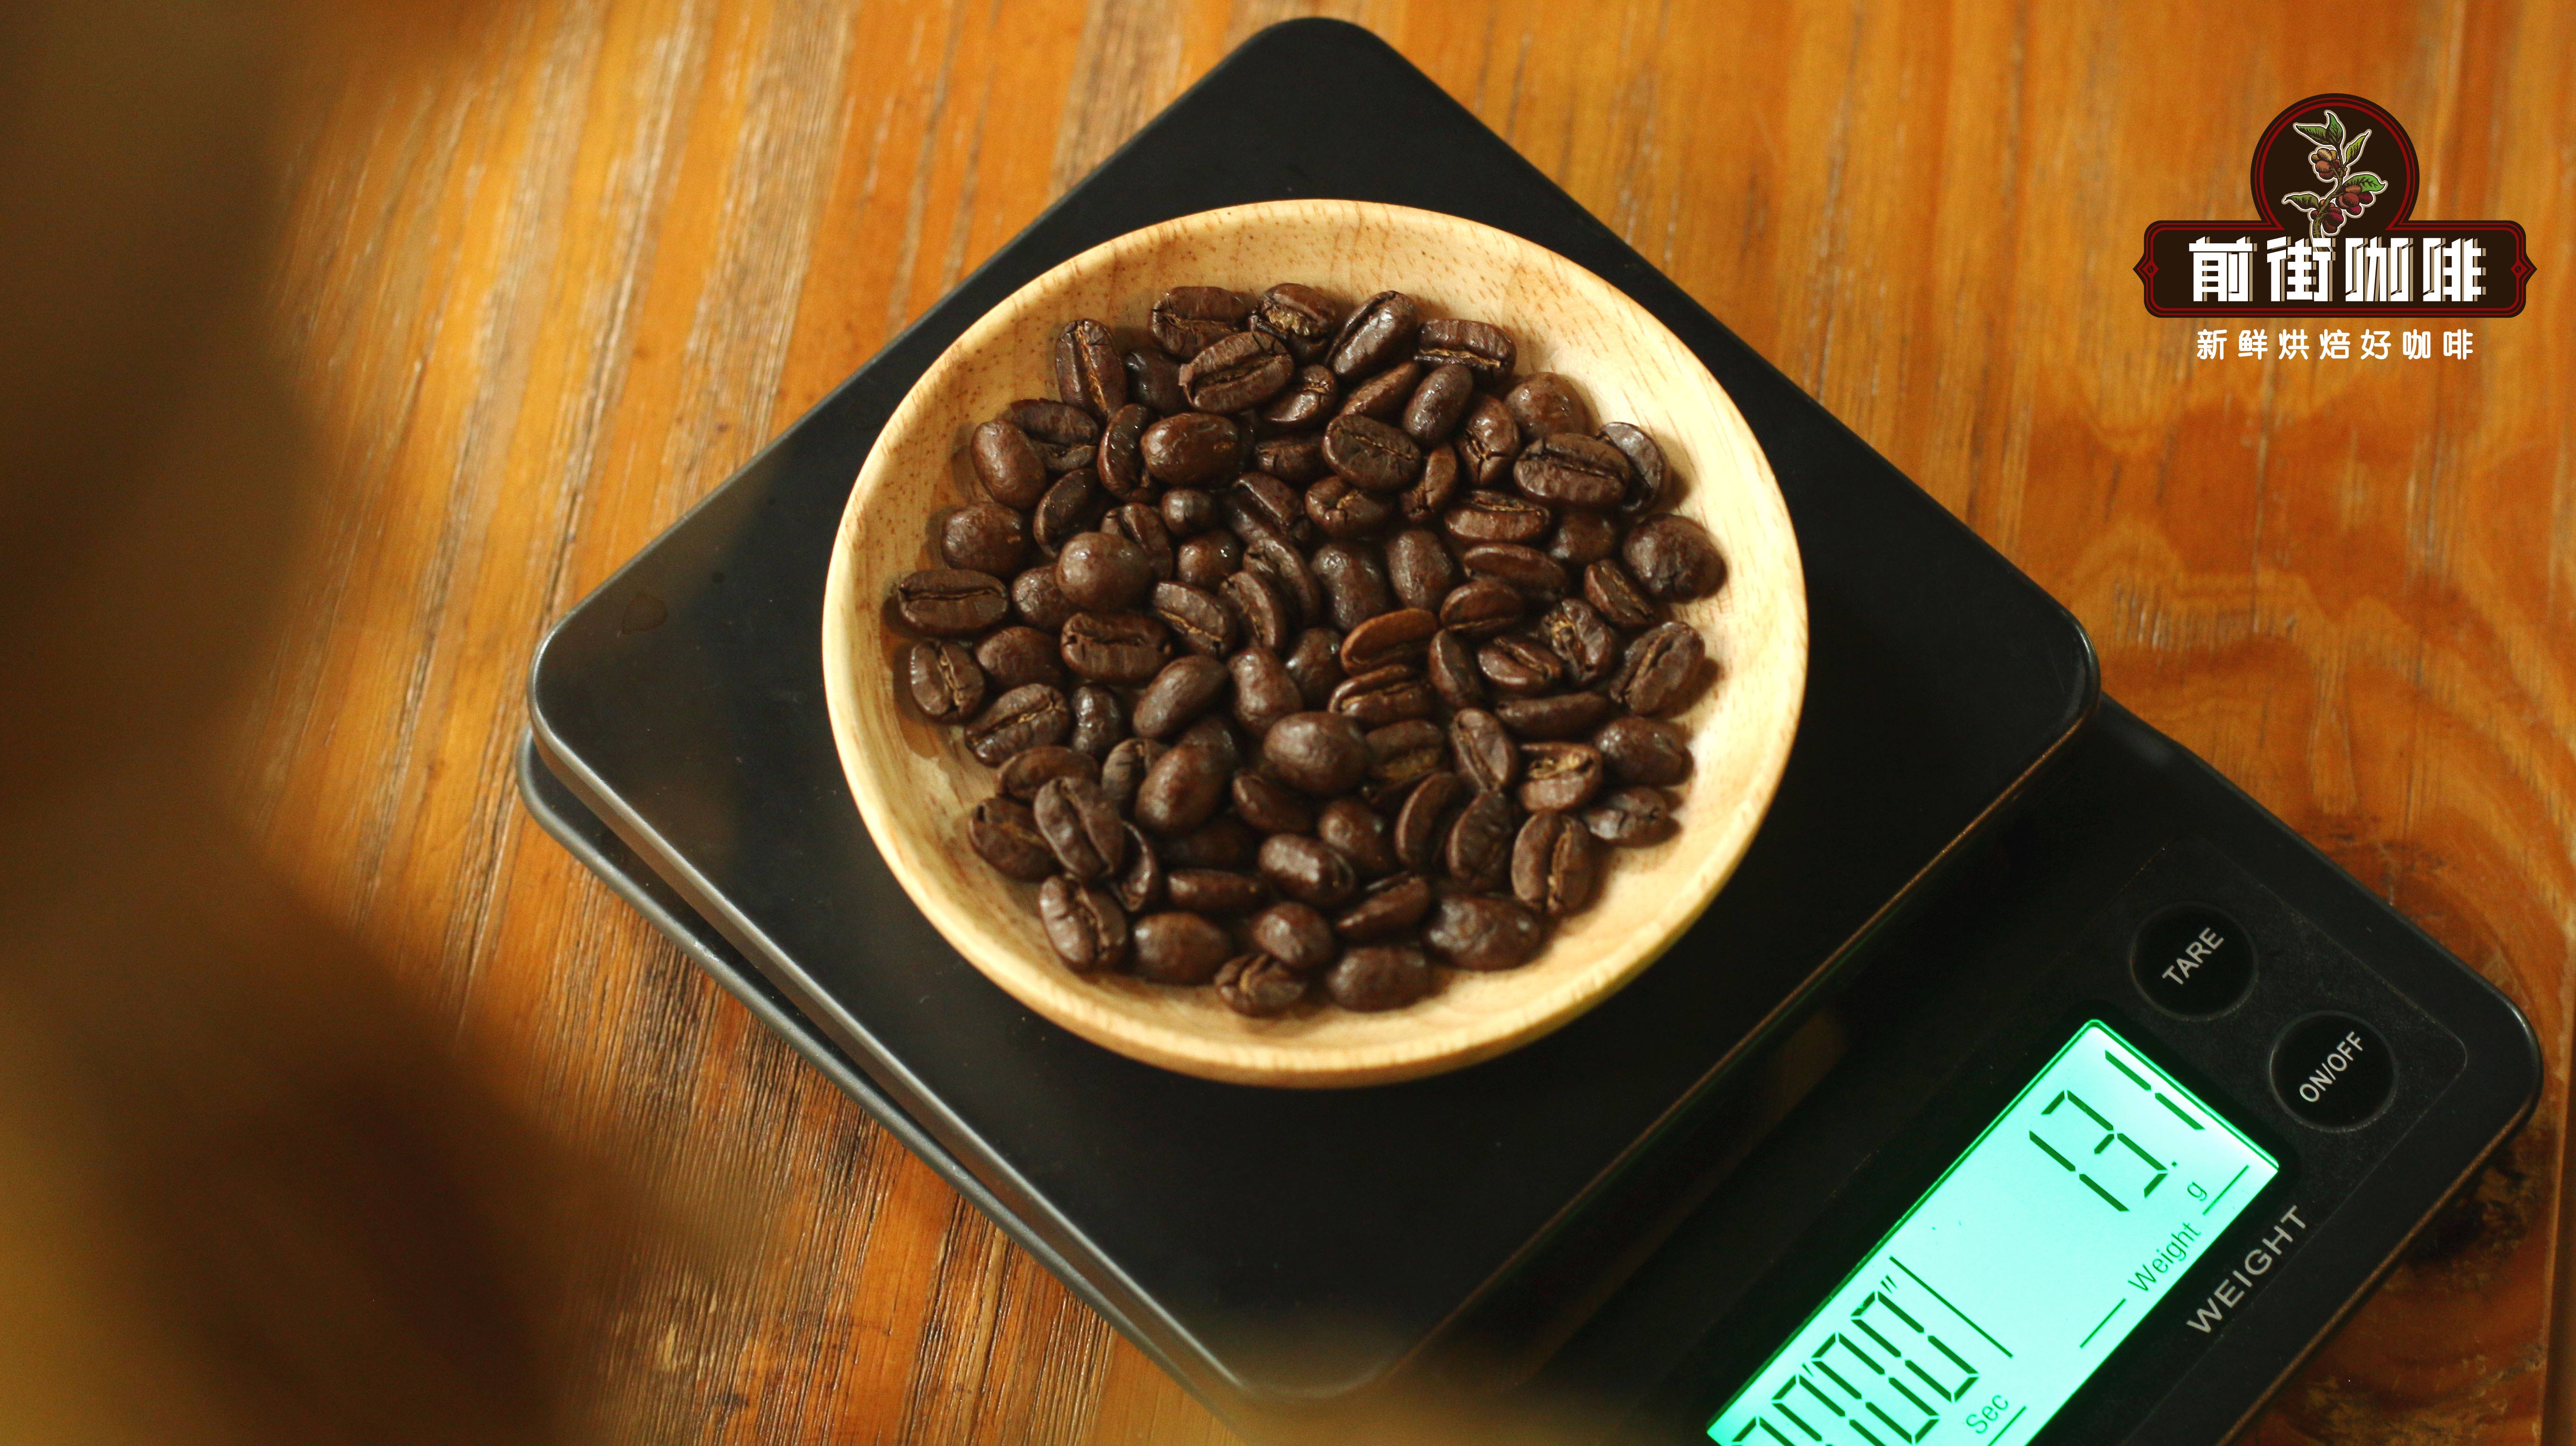
Before starting your pour over, it’s recommended to prepare the following basic tools: an electronic scale with a timer, a grinder suitable for pour over, a stable pour over kettle, a filter cone and paper filters, along with fresh coffee beans and hot water. These tools will help you control each variable more precisely and improve your brewing success rate.
For water temperature, the general recommended range is between 85°C and 95°C. Beginners who aren’t sure can simply start with 90°C. If your coffee tastes too bitter, try lowering the temperature slightly; if it’s overly sour or astringent, you can increase the temperature. Brew ratio also plays a key role in flavor expression—we recommend a 1:15 ratio, meaning 15 grams of coffee grounds to 225 grams of hot water. If the flavor feels too light, reduce the water to a 1:14 ratio; if it’s too strong, increase to 1:16.
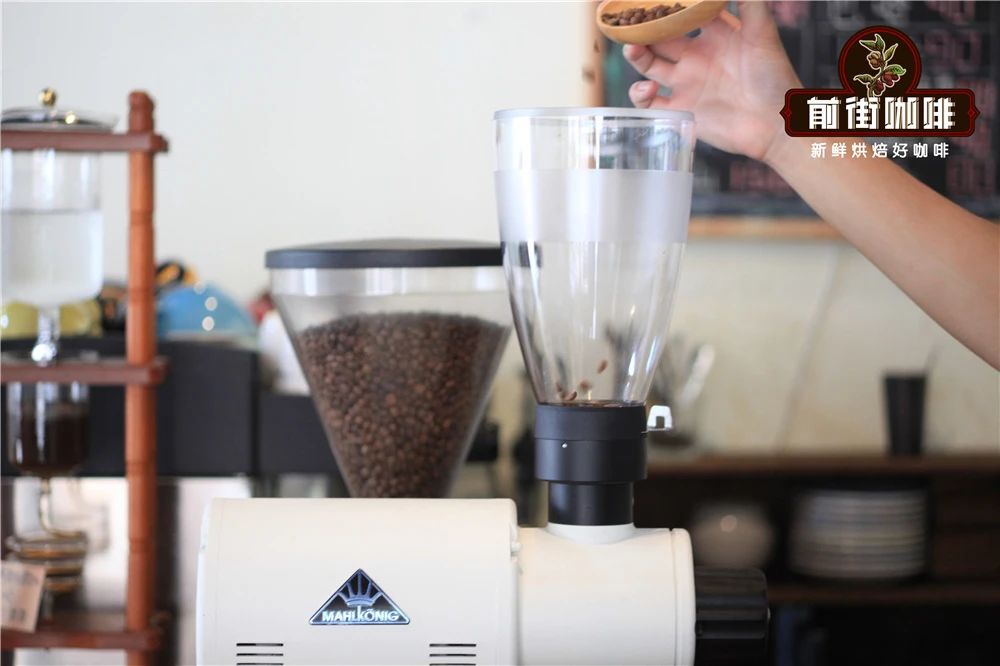
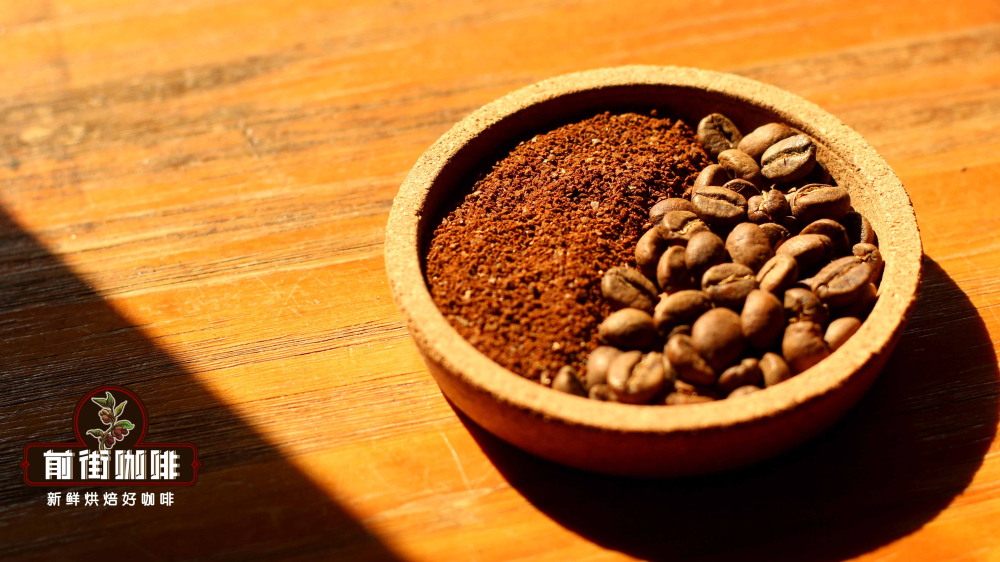
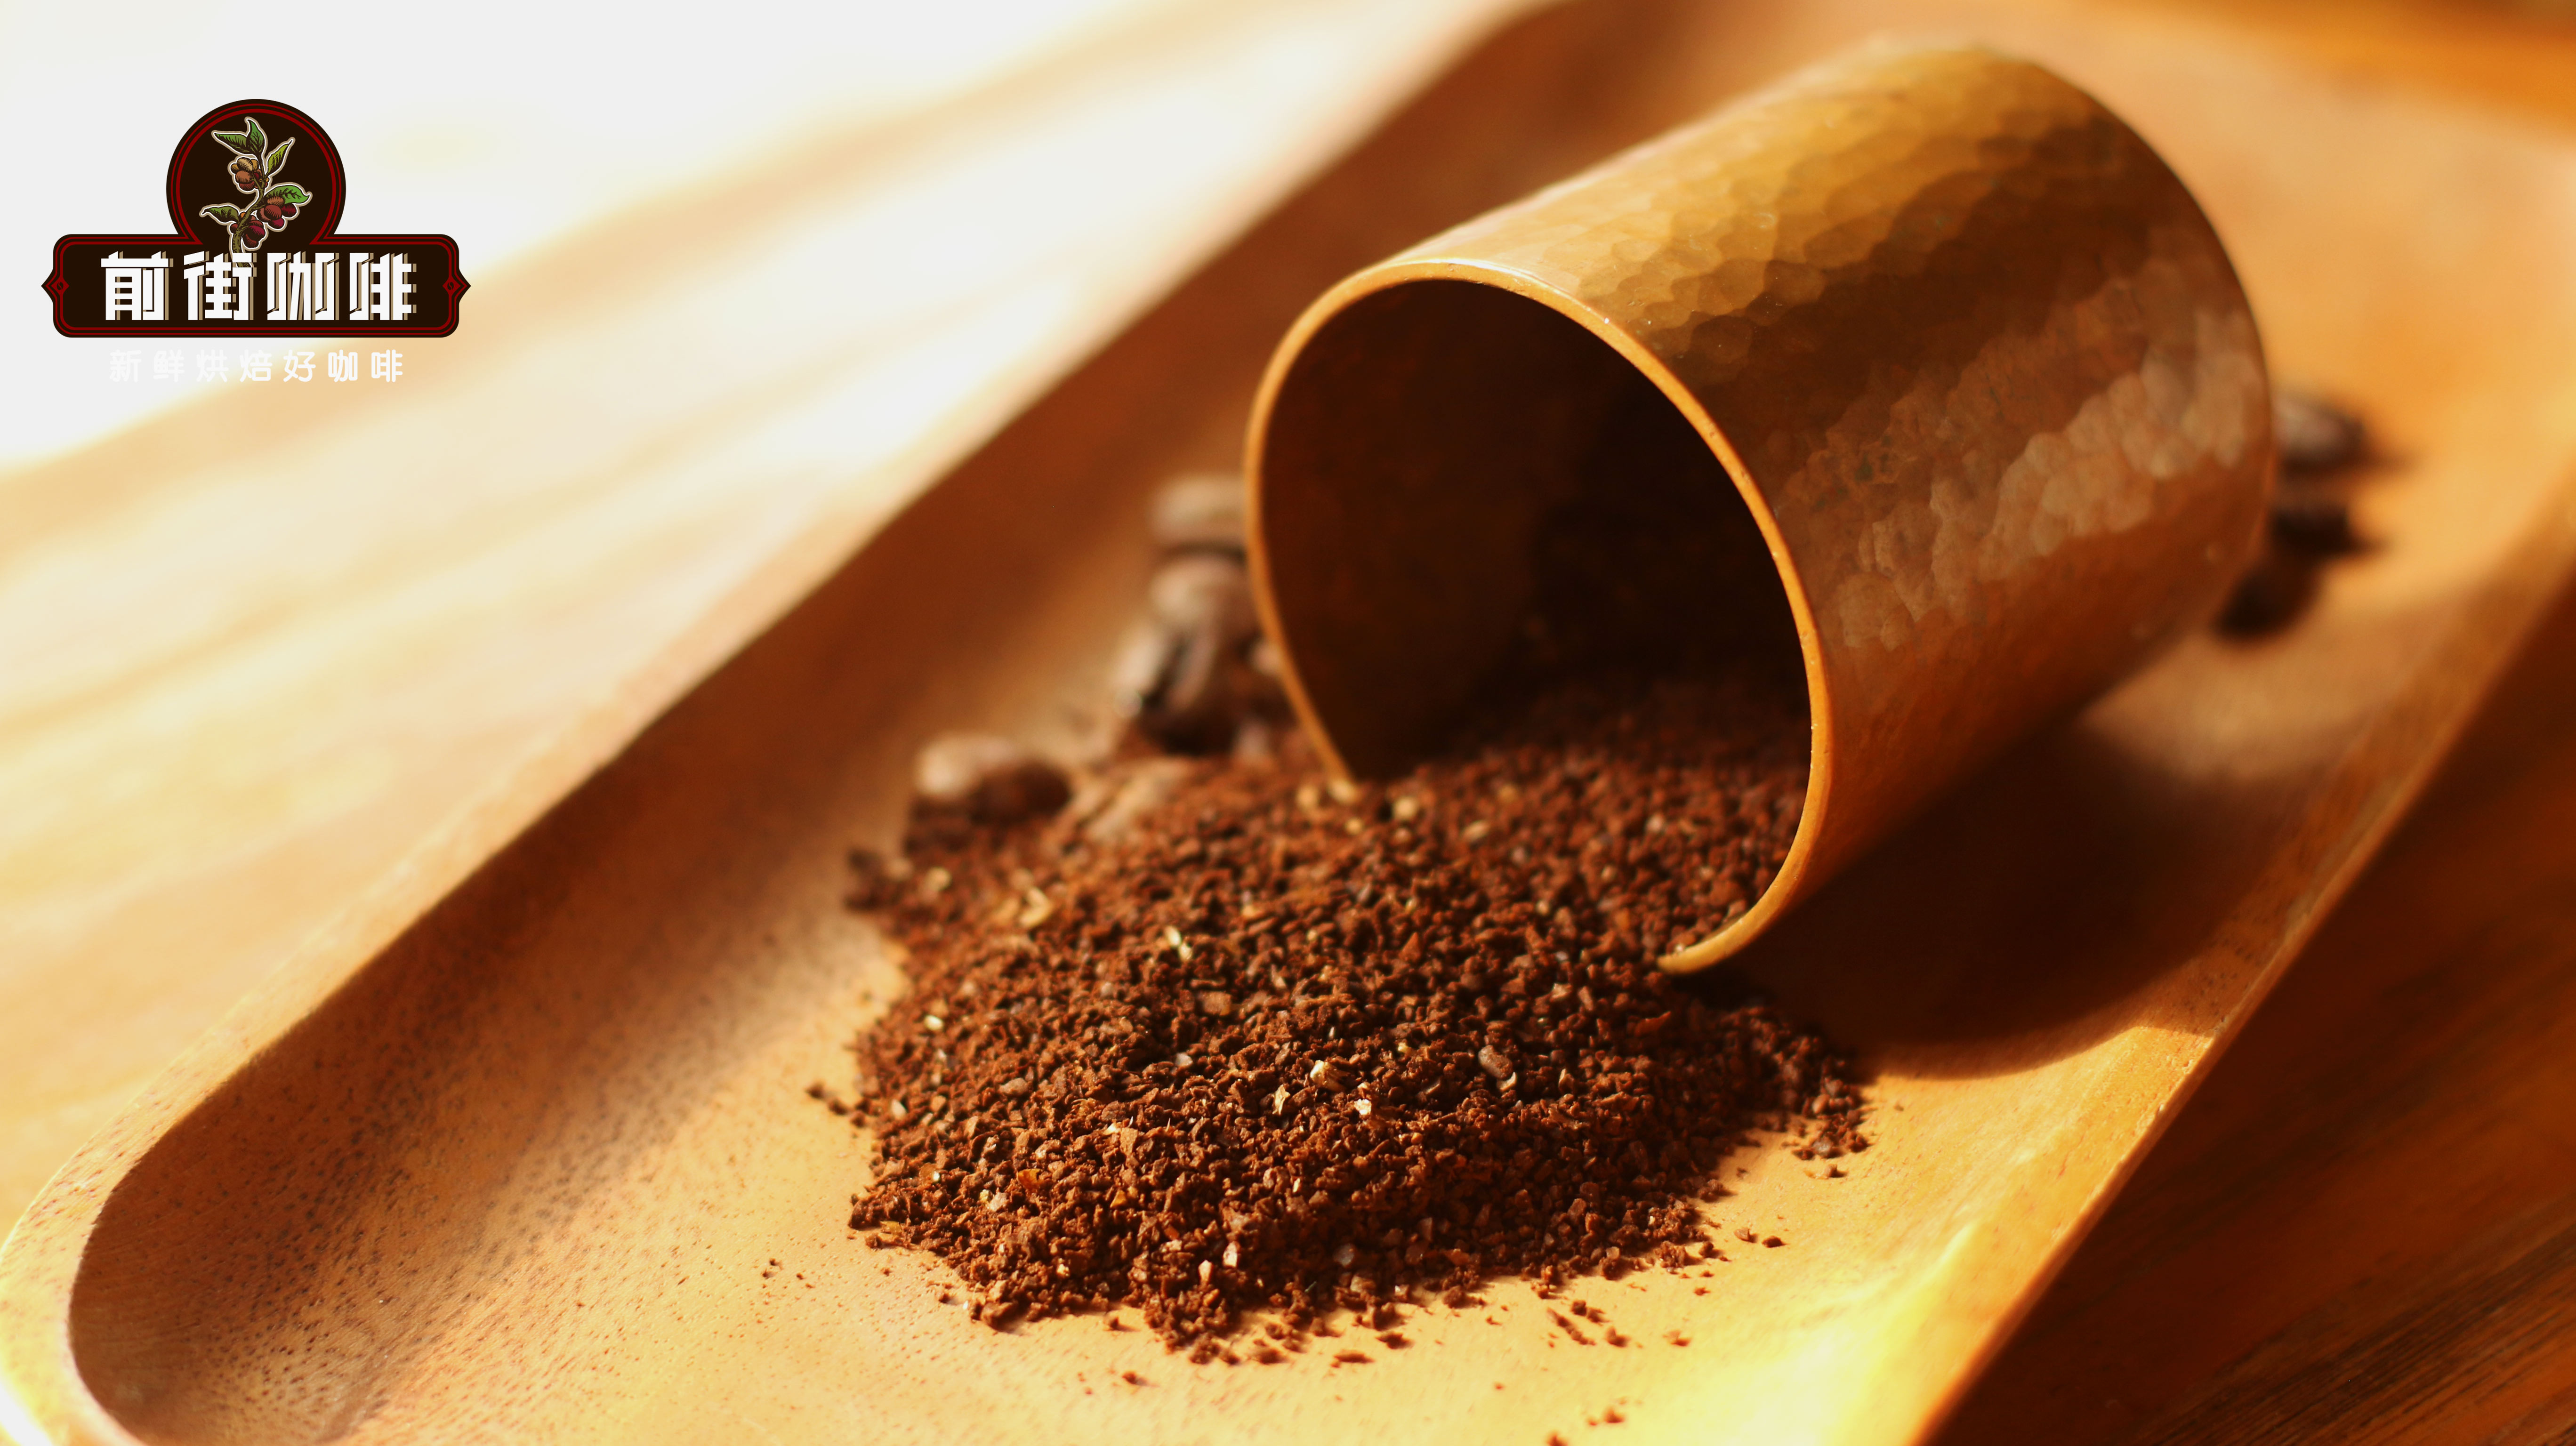
In terms of grind size, the particle size of pour over coffee directly affects water flow rate and extraction efficiency. Generally, pour over works best with a medium to slightly coarse grind, similar in texture to white or fine sugar. There are many grinders on the market, both manual and electric—any that can consistently produce uniform particles will do. Common models include TIMEMORE, Xiao Fei Ying, Baratza Encore, etc. Choosing one that feels comfortable to operate is quite important.
To visualize: coffee grounds the size of fine sugar have a slight sandy feel and suit light to medium roasted beans with floral and fruity profiles, as the smaller particles can more effectively release aromatic compounds. Coarse sugar (also called white sugar-like) grounds are slightly larger with noticeable texture, suiting medium-dark or dark roasted beans and helping avoid over-extraction—commonly used for chocolatey, caramel-rich flavors. Sea salt-sized grounds are large and uneven; they’re typically recommended for immersion brewing methods like the French press.
Once all tools and materials are ready, we can move on to the most essential part of pour over—pouring water. A common method uses the three-pour technique, with the whole process taking about 2 minutes. It’s divided into the bloom, second pour, and third pour, helping to clearly highlight the coffee’s early, mid, and late flavor notes while maintaining distinct layers.
First is the bloom stage, which is very crucial. When hot water first touches the coffee grounds, carbon dioxide inside the beans is released, causing the coffee bed to expand into a small mound. This process lasts about 30 seconds, especially for fresh beans roasted within a month—the bloom effectively awakens the coffee’s potential flavors. When you see the surface of the coffee bed start to wrinkle, it’s a sign that you can begin the actual pouring.
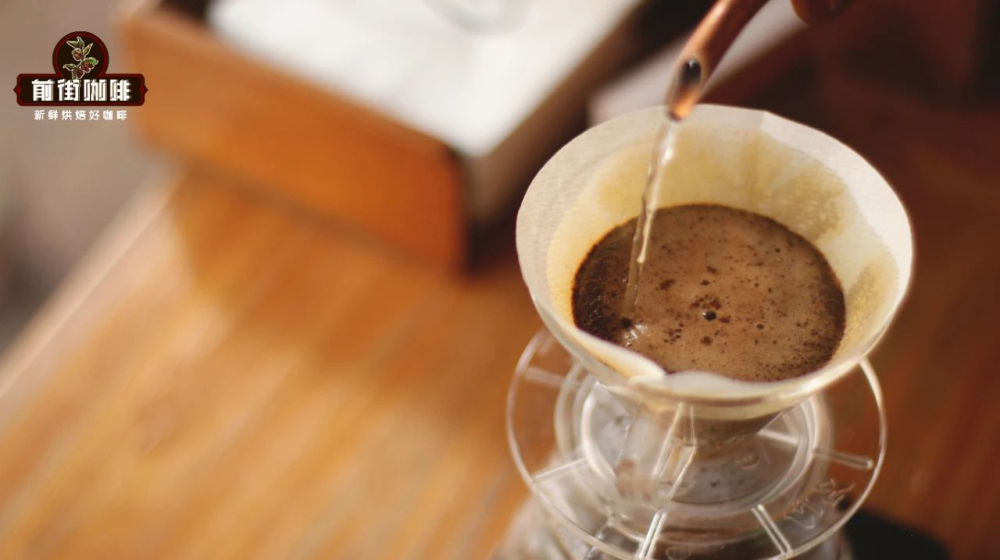
Next is the second stage, the first actual pour. Starting when the scale shows 30 seconds, pour about 95 grams of hot water steadily and straight, moving in a slow circle from the center outward. The goal is to lift the entire coffee bed. This step helps uniformly saturate the grounds. Around 55 seconds, the scale should show a total weight of 125 grams.
Then comes the third stage. When the liquid level drops to about half, switch to a smaller stream and continue pouring in small circles, adding about 100 grams of water for a total of 225 grams. Be especially careful with water flow during this stage to avoid disrupting the coffee bed with too much force, which could lead to under-extraction. Once the coffee has completely dripped through—about 2 minutes in total—you can remove the filter cone. Before drinking, gently swirl the coffee in the server to allow the aromas to release more evenly.
Note that the above pouring values are just guidelines. Every coffee lover can fine-tune based on personal taste preferences and bean characteristics. The charm of pour over lies in its high adjustability and experimental nature—there’s no one-size-fits-all formula.
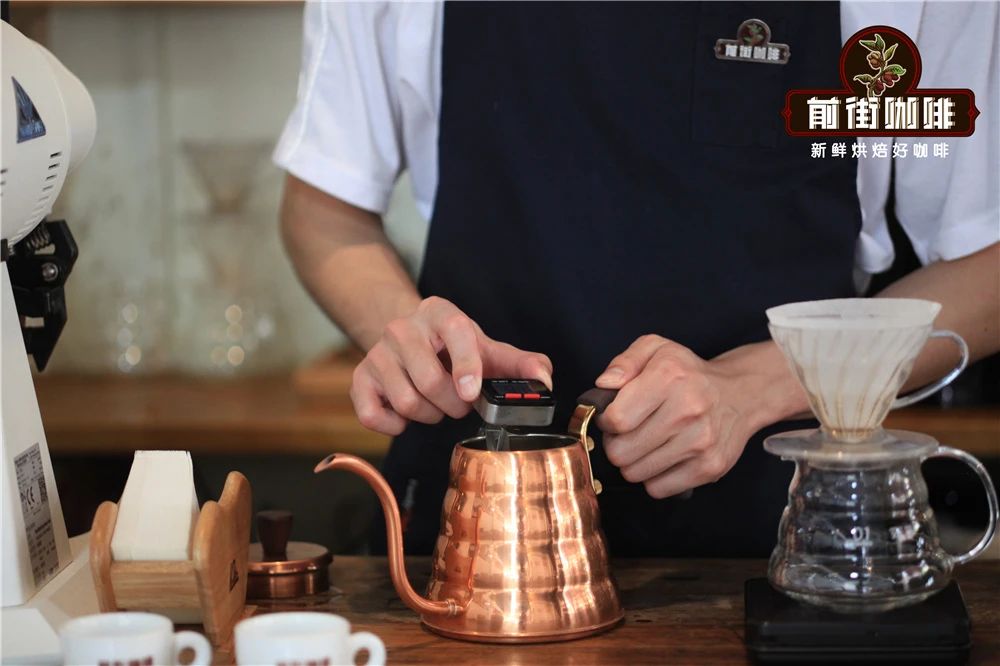
Many assume that mastering a fixed brewing routine works for all coffee beans, but in reality, each batch varies due to origin, processing method, and roast level. The true essence of pour over is observation and learning—finding the optimal balance between coffee and water through each brew. Understanding bean traits, getting familiar with equipment responses, and even observing suspended particles, dripping speed, and coffee grounds morphology after pouring are all key steps for advanced brewers to refine their technique.
In summary, pour over coffee can be a simple daily ritual or a challenging flavor experiment. Whether you’re a beginner or an experienced coffee enthusiast, as long as you grasp the fundamentals and maintain an open mindset to keep trying and adjusting, you’ll surely find your own perfect cup of pour over.
The above content is compiled by CoffeeHunters, a coffee news website.


