







Introduction:Although siphon brewers are no longer the mainstream in the market, they remain a classic favorite among many coffee enthusiasts. This article details the structural design of siphon brewers, filter material choices, heating method differences, and explores in depth the pros and cons of pre-infusion vs. post-infusion, suitable grind size and coffee-to-water ratios, as well as the critical timing for stirring and turning off the heat. Whether you're a beginner or a coffee aficionado pursuing stable extraction, you can master practical techniques to replicate a rich and full-bodied siphon brew at home.
Although siphon brewers are less common in today’s specialty coffee scene compared to pour over or espresso, they still captivate many coffee lovers with their unique brewing flavors and visual appeal. Especially when it's hard to find siphon-brewed coffee outside, making it at home becomes an ideal choice. This article will start with the basic structure of the siphon brewer, guide you through its working principles, and delve into filter materials, heating, grinding, and operational details—step by step helping you achieve a consistently brewed cup of aromatic and full-bodied siphon coffee.
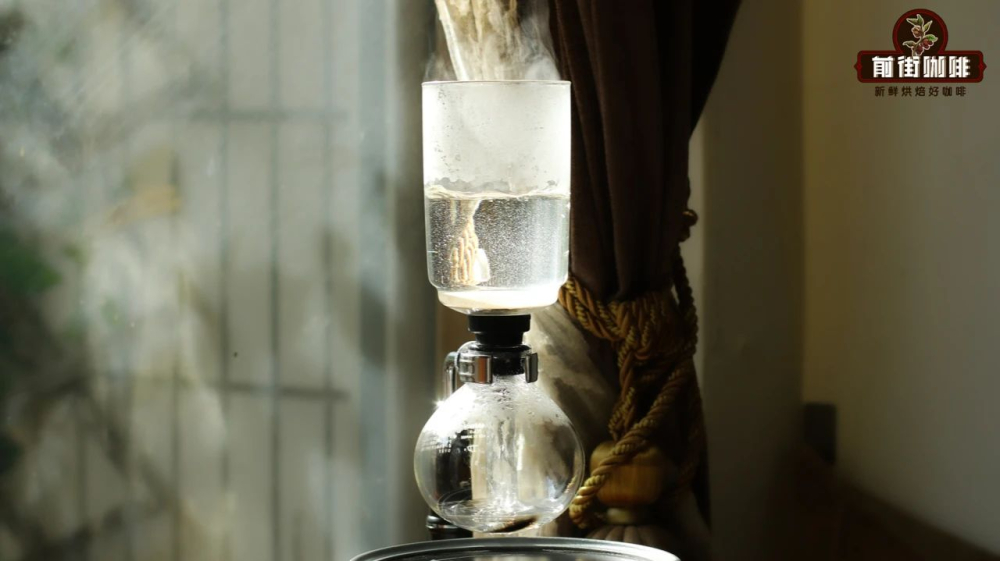
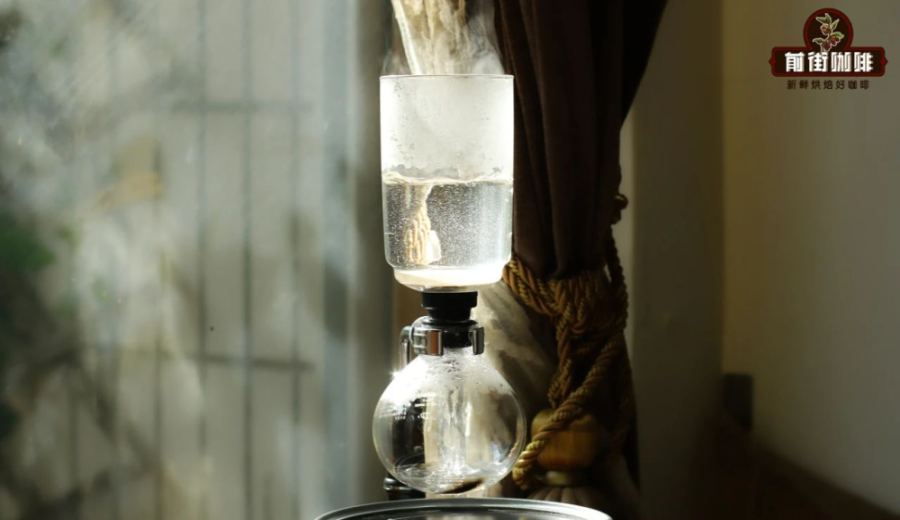
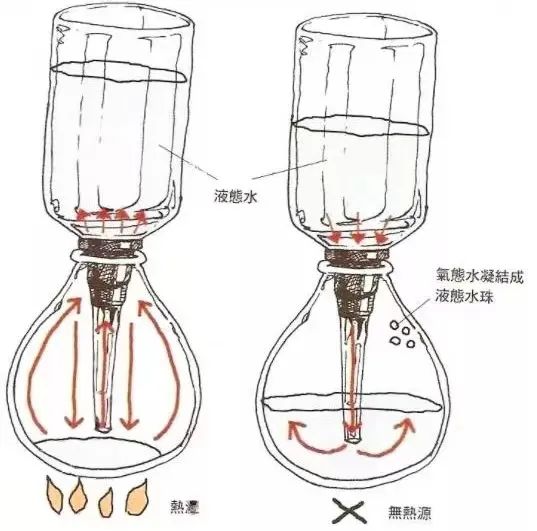
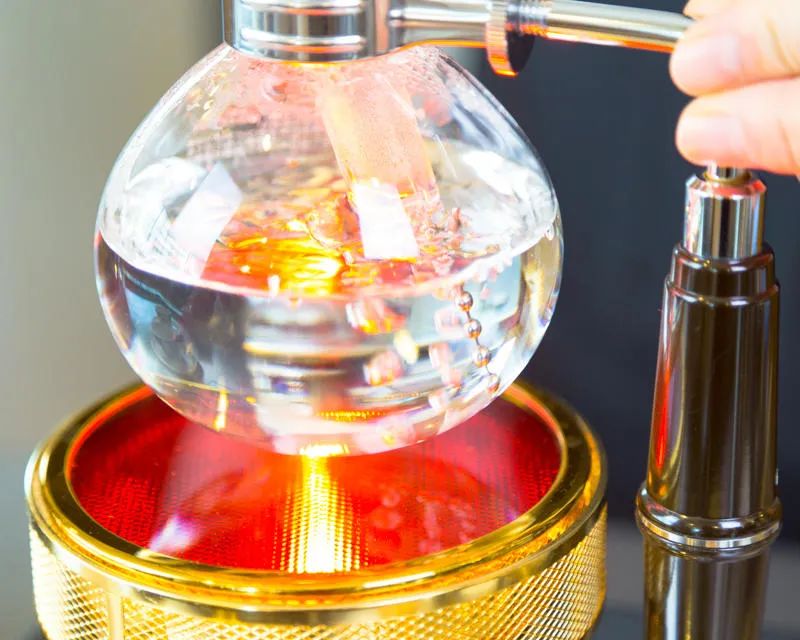
A siphon brewer mainly consists of three parts: the upper chamber, the lower chamber, and the stand. The stand stabilizes the lower chamber, which is usually nearly spherical in shape to help distribute heat evenly during heating. The upper chamber is cylindrical with a narrowed bottom connected to a slender tube, and this narrowed area is fitted with an anti-leak rubber gasket. When the upper and lower chambers are assembled, heating the lower chamber causes the water to boil and generate steam, increasing internal pressure and pushing the water up into the upper chamber where it fully interacts with the coffee grounds. After turning off the heat, the coffee liquid flows back down into the lower chamber due to pressure difference and gravity—this is the complete siphon brewing process.

To prevent coffee grounds from mixing into the final drink during extraction, appropriate filter materials must be used. Common options include cloth filters (such as flannel) and circular paper filters. Flannel is a traditional filter material that retains more coffee oils, resulting in a smoother and fuller mouthfeel, but it requires more effort to clean and maintain. Paper filters, on the other hand, can filter out more fine impurities, including oils, making them suitable for those who prefer a cleaner taste. If you don’t brew frequently and want to experience the most complete flavor expression of siphon coffee, flannel is the more recommended choice.
The choice of heat source also affects the final outcome of siphon coffee. Common heating methods include gas stoves, microwave-style heat lamps, and alcohol burners. Gas and heat lamps allow for precise flame control, rapid and stable heating, but the equipment costs more. Alcohol burners are more affordable, though the flame is less stable and heating takes longer. Regardless of the heat source chosen, adjusting your technique based on its characteristics can lead to successful extraction of delicious siphon coffee. If conditions allow, it is recommended to prioritize a gas stove or heat lamp for more ideal extraction efficiency.
Regarding the timing of adding coffee grounds, there are two approaches in siphon brewing: “pre-infusion” (adding coffee grounds before heating) and “post-infusion” (adding them after the water has risen). The traditional method is to place the coffee grounds in the upper chamber first, but this may cause some grounds to come into contact with hot water too early as the water rises, leading to uneven extraction. Therefore, many baristas recommend waiting until the water has fully entered the upper chamber before adding the coffee grounds, similar to the pour over concept of “pouring water before starting the timer.” For beginners new to siphon brewers, the post-infusion method is relatively simpler with fewer variables, making it a safer choice.
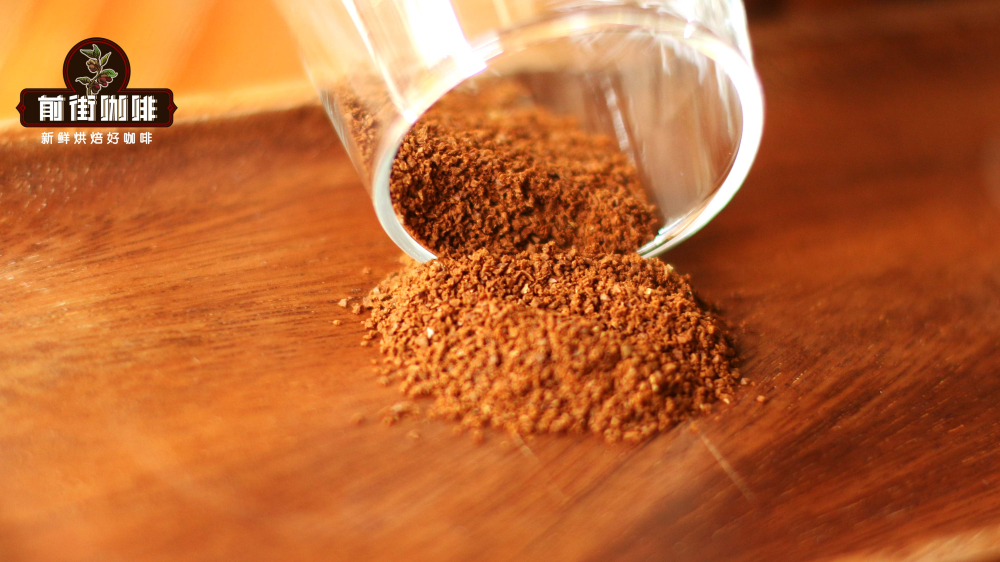
The grind size for siphon coffee is recommended to be finer than that for pour over—approximately 90% through a #20 sieve. If using a professional grinder like the EK43s, this corresponds to around setting 9; for common hand grinders like the C40, it is recommended to adjust to setting 20. The proper grind size effectively prolongs the contact time between water and coffee, extracting more flavorful compounds.
In terms of coffee-to-water ratio, common ranges for siphon coffee are 1:10 to 1:12, with 1:12 being the proportion used by more people. For brewing a single serving, you can refer to this recipe: 18 grams of coffee grounds with 200 milliliters of water. This ratio highlights the coffee’s layers without being overly intense.
As for stirring techniques, siphon brewing offers various methods including circular, cross, Z-shaped, infinity (∞), and even tapping. For beginners, it’s recommended to start with tapping: using the center of the stirring rod as the axis, alternately tap the sides of the coffee bed lightly to ensure all coffee grounds are evenly saturated. This method is relatively easy to control and also helps avoid over-extraction caused by excessive stirring.
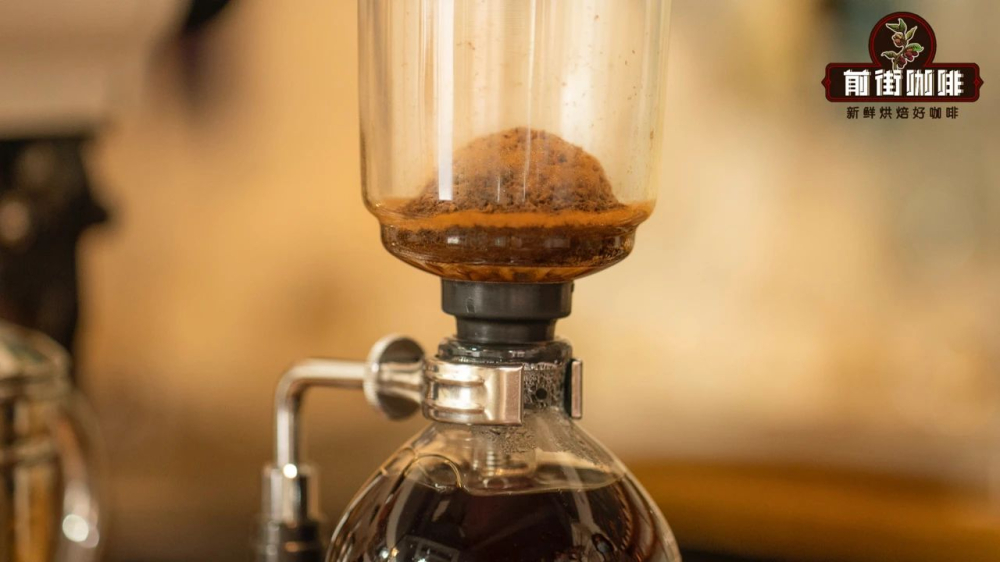
When it comes to the timing of turning off the heat, many baristas rely on aroma cues, but this is harder for beginners to gauge. Therefore, it’s advised to use a timer: if you choose post-infusion, start timing once the coffee grounds are added; if you use pre-infusion, start timing from the first stir. Generally, it is recommended to turn off the heat between 50 and 70 seconds—this duration typically extracts a balanced and layered coffee flavor.
Below is a complete siphon brewing procedure based on practical experience, ideal for replicating at home:
1. First, pour about 200 milliliters of hot water into the lower chamber, dry the exterior of the brewer, and prepare your heat source.
2. Insert the upper chamber diagonally into the lower chamber, confirm that the anti-explosion bead touches the bottom, and wait until small bubbles begin to form on the water surface in the lower chamber.
3. When continuous bubbling occurs, straighten and press the upper chamber firmly into place. The water will then be drawn up into the upper chamber and begin interacting with the coffee grounds.
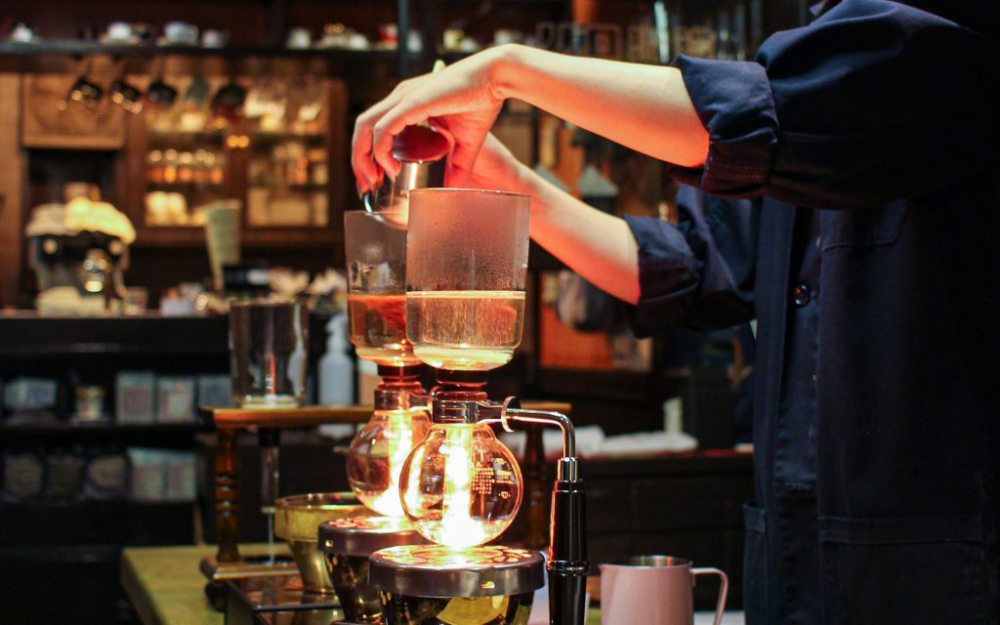
4. Add the coffee grounds and start the timer immediately. Use the tapping method to gently press the coffee grounds into the water, ensuring each particle gets evenly saturated.
5. At around 25 seconds, switch to your recommended stirring technique (e.g., cross or infinity), and continue stirring until the coffee liquid visibly separates into three layers: liquid, powder, and foam.
6. At 50 seconds, stir again in the same direction, and at 60 seconds, remove the heat source. Then wait quietly as the coffee liquid slowly flows back down into the lower chamber.
The siphon coffee brewed this way may not be as clear and bright as pour over, but its rich aroma and the layer of oils that surface create a fuller mouthfeel experience. Compared to pour over, operating a siphon brewer is indeed more involved—from preparing the heating equipment, monitoring the entire extraction process, to cleaning the flannel or filter afterward—it requires more patience and attention to detail. But for those who enjoy a challenge and relish the process, the siphon brewer is definitely worth adding to your coffee tool lineup.
The above content is compiled by CoffeeHunters, a coffee news website.


