








Introduction:Have you ever noticed a faint off-flavor or a familiar yet unwanted taste lingering in your brewed coffee? This could be due to improper cleaning of your grinder. This article delves into the daily maintenance, deep cleaning, and burr alignment methods for both hand-cranked and electric grinders — from simple residue removal to professional disassembly — teaching you how to determine when to clean, effectively extending the lifespan of your equipment, and ensuring every cup of coffee showcases pure and accurate flavors.
When brewing pour over coffee at home, you might sometimes find that even after switching to a new coffee bean, the aftertaste of the previous brew remains, or even an undesirable greasy or funky note appears. This is often because residual fine coffee particles from previous grinds — especially the oils and ultra-fine particles released by dark roast beans — have built up inside the grinder, particularly in the burrs and grind chamber. Over time, this not only interferes with the performance of fresh beans but can also lead to channeling and affect extraction consistency.
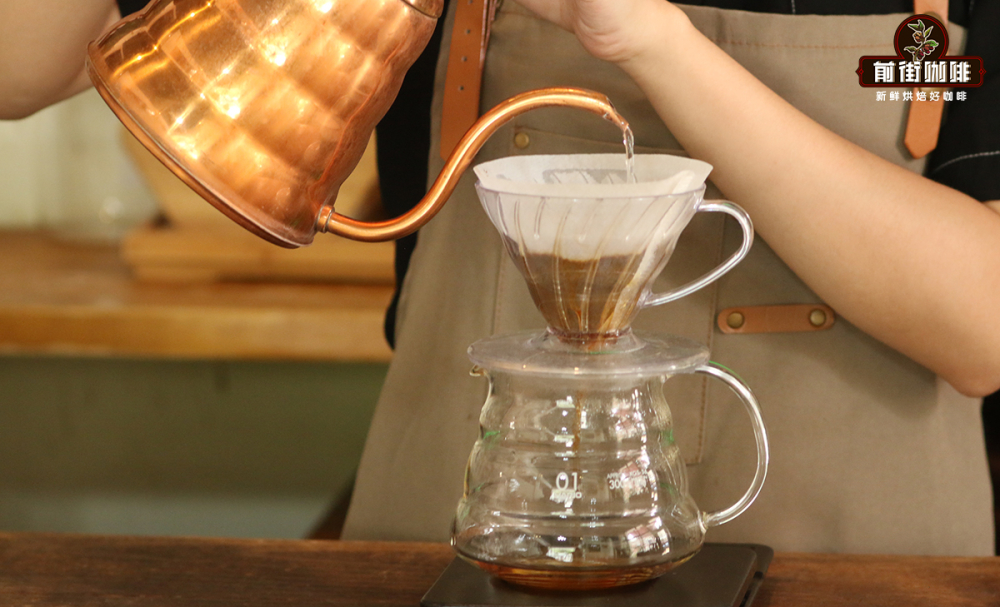
Many home grinder users often ask: “Can I wash my grinder with water?” In truth, whether it’s safe to wash depends on the model and materials, but more importantly, establishing proper cleaning habits in your routine is key to maintaining consistent grind quality and coffee flavor. This article will detail a comprehensive maintenance process — from daily upkeep, non-disassembly cleaning, to deep disassembly maintenance and burr condition checks — helping you master the rhythm of grinder care and ensure every grind is precise and accurate.
Start with the most basic daily cleaning. After each brew, it’s recommended to let the grinder run idle for about 5 to 10 seconds to expel any remaining coffee grounds using the residual spin. Then, use a dedicated coffee brush to gently sweep the inner walls of the bean hopper, around the burrs, and the chute exit, making sure to remove all visible fine coffee particles. Additionally, using a blow ball (also known as a vacuum ball) can help more effectively remove dust from tight crevices. It’s important to note that after cleaning, the grinder should be placed in a dry, well-ventilated area to avoid moisture affecting metal parts. For electric models, also regularly check if the power cord and plug are aging or loose.
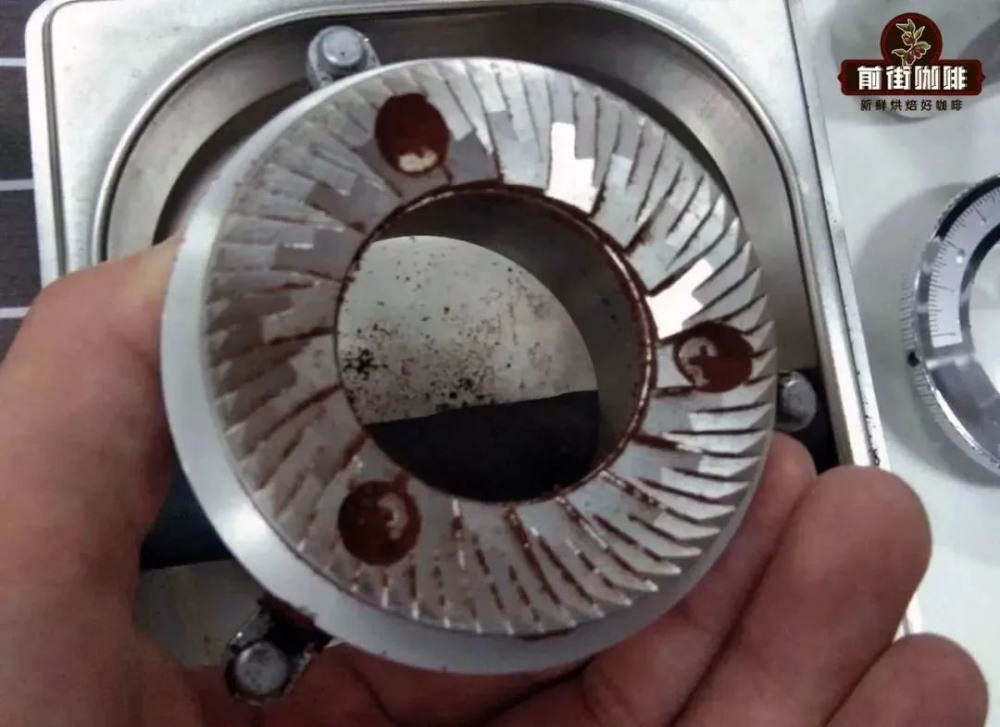
If you notice obvious powder buildup on the inner walls of the hopper that feels greasy or has a burnt smell just by touching it, it means a large amount of ultra-fine particles and residual oil have accumulated. Simple brushing alone is no longer sufficient for thorough cleaning. If you’re hesitant about disassembling the grinder for cleaning, you can opt to use specialized coffee machine cleaning tablets (also called cleaning pellets). The process is simple: place the cleaning tablet into the bean hopper and grind it at your usual grind setting — do not set it too fine, to avoid leaving cleaning residue between the burrs. These tablets help dislodge stubborn residues stuck in the grind path and on the burrs through the grinding process. It’s recommended to do this after every 10 to 15 grinds of fresh beans, or once a month, adjusting based on usage frequency.
When your grinder shows clear signs of abnormality — such as grinding hesitation, inconsistent grind size, or even impacts on coffee extraction flow rate and flavor — it’s likely that the burrs are clogged by harder foreign objects or have become worn down from prolonged use. In this case, a disassembled deep clean and burr inspection are needed. Once the grinder is opened, first check if there are coffee grounds or foreign objects blocking the burrs. If no obvious blockage is found, then inspect the sharpness and uniformity of the burrs. Generally speaking, the burrs of a hand-cranked grinder may, after about two years of normal use, become worn, leading to reduced grind accuracy, increased fine particle ratio, and thus affecting the consistency of coffee extraction.
After confirming that the burrs show no severe wear or deformation, you can proceed with deep cleaning. The burr section can be gently rinsed with water, but it must be thoroughly dried before reassembling into the machine to prevent moisture residue from causing rust or operational issues. It’s especially important to note that deep disassembly and reassembly are relatively complex processes. If you’re not familiar with mechanical structures, it’s advisable to have a professional technician handle it to avoid losing small parts or improper assembly that could impact performance.
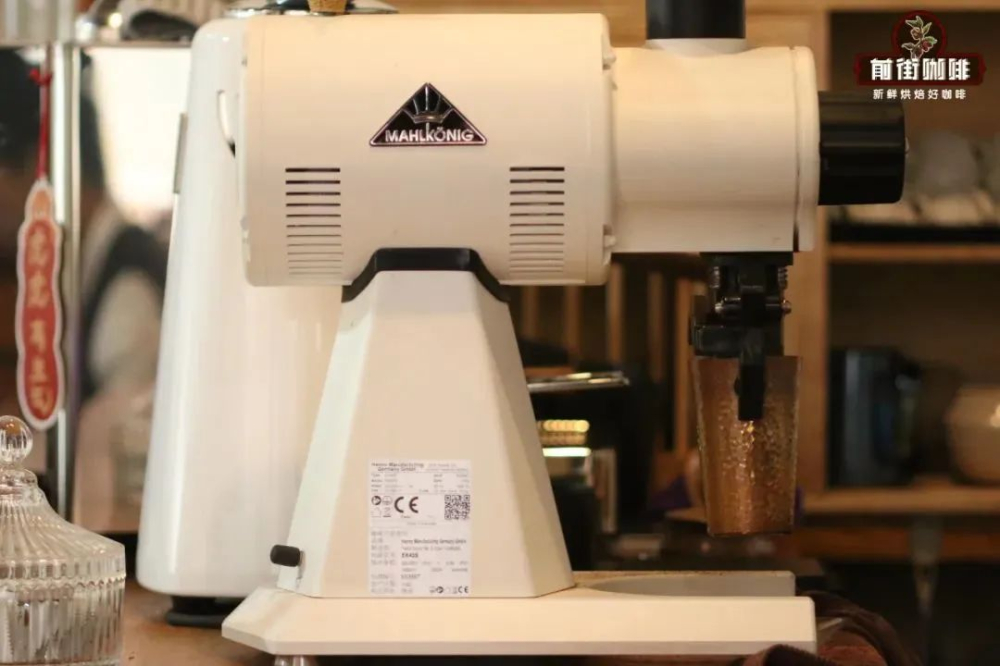
In summary, grinder maintenance not only affects the lifespan of the equipment but also directly influences the purity and consistency of coffee flavors. From simple cleaning after each use, to regular maintenance with cleaning tablets, to necessary deep disassembly and burr alignment, each step plays a crucial role. Developing good maintenance habits ensures your hand-cranked grinder continues to perform at its best, delivering the truest, cleanest, and most captivating flavor profiles of every coffee bean.
The above content is compiled by CoffeeHunters, a coffee news website.


