








Introduction:Mastering the grind size adjustment of a hand grinder is the first step toward enhancing the flavor of your pour over coffee. This article delves into the structure of hand grinders, the principles of adjustment, and provides practical methods to determine grind size. It also incorporates key parameters such as 0.80mm sieve passing rate, brew ratio, and water temperature. Finally, using Panamanian Diamond Mountain beans as an example, it demonstrates a complete three-pour pour over process to help you precisely control each step and extract the ideal flavors.
A significant portion of a coffee’s flavor profile depends on the coarseness or fineness of the grind. Whether you're a beginner just starting with pour over or an experienced coffee enthusiast, understanding how to properly adjust your grinder’s settings is key to improving extraction quality. This article begins with the basic construction of a hand grinder, gradually guiding you through the logic of adjusting the grind setting screw, and combines practical experience to recommend suitable grind sizes for different brewing methods such as pour over and siphon. Additionally, it shares how to use a standard 0.80mm sieve to assess grind uniformity, as well as practical parameter settings such as brew ratio, water temperature, and extraction time, turning theory into real-world brewing skills.
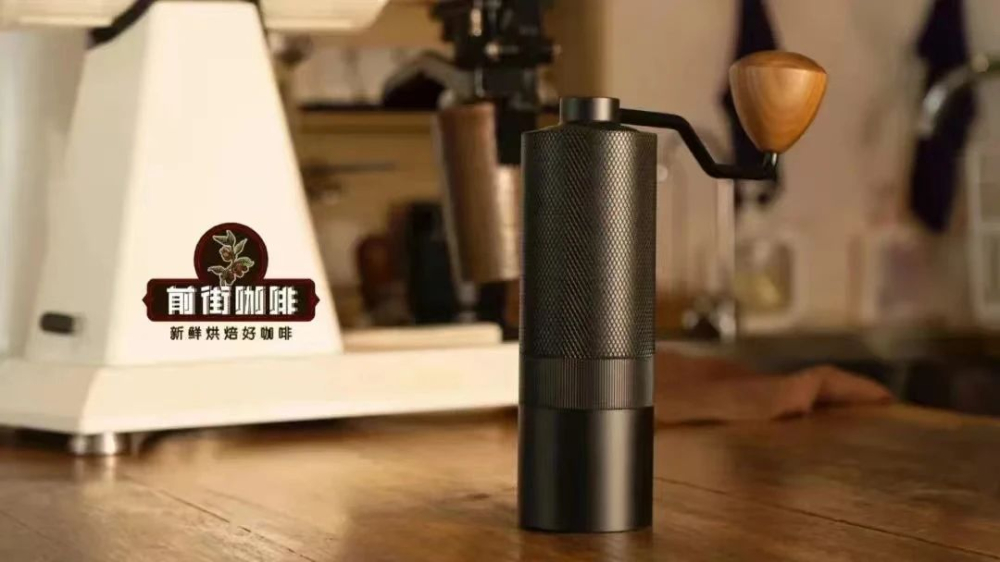
Generally speaking, the handle structure of a hand grinder can be divided into five main components: the screw responsible for adjusting grind coarseness, the ring used for securing and inspection, the A-shaped fixing screw, the handle body itself, and the main fixing screw. Designs may vary by brand—some models require disassembling these parts one by one to adjust the internal grind setting screw, then reassembling them afterward; others are designed for direct rotation adjustment, eliminating the need for disassembly. The basic principle is simple: rotating the grind setting screw clockwise narrows the distance between burrs, resulting in a finer grind, while counterclockwise rotation widens the gap, producing coarser grounds.
When using a blade-style electric grinder, the key to achieving uniformly sized coffee particles lies in gently shaking the grinder during operation. Observing the flow of coffee grounds while adjusting the grind size is the most fundamental technique. As you become more familiar with this process, you may even learn to judge the particle size simply by listening to the sound of grinding—typically, the quieter and smoother the sound, the finer the grind. While it might sound a bit like marketing jargon, the difference is indeed noticeable during actual use.
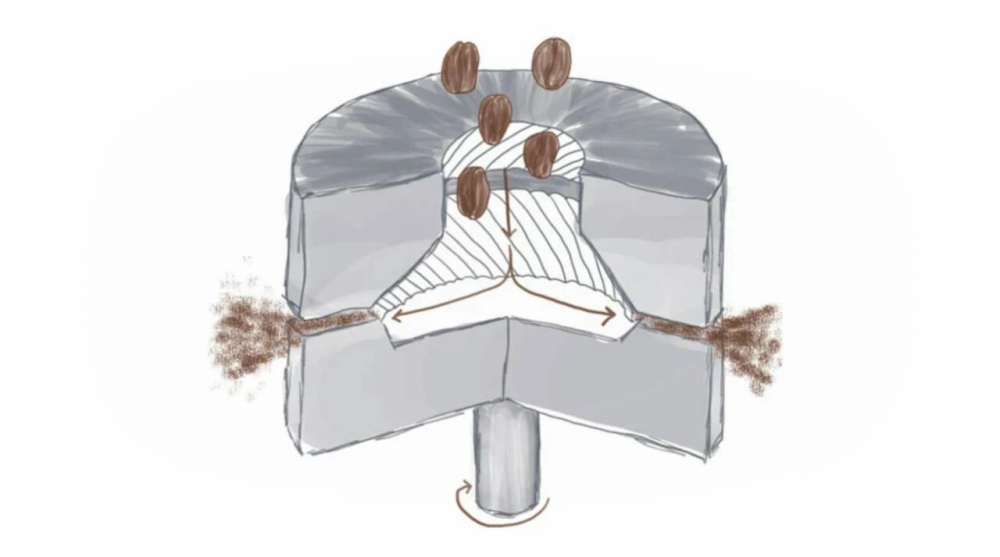
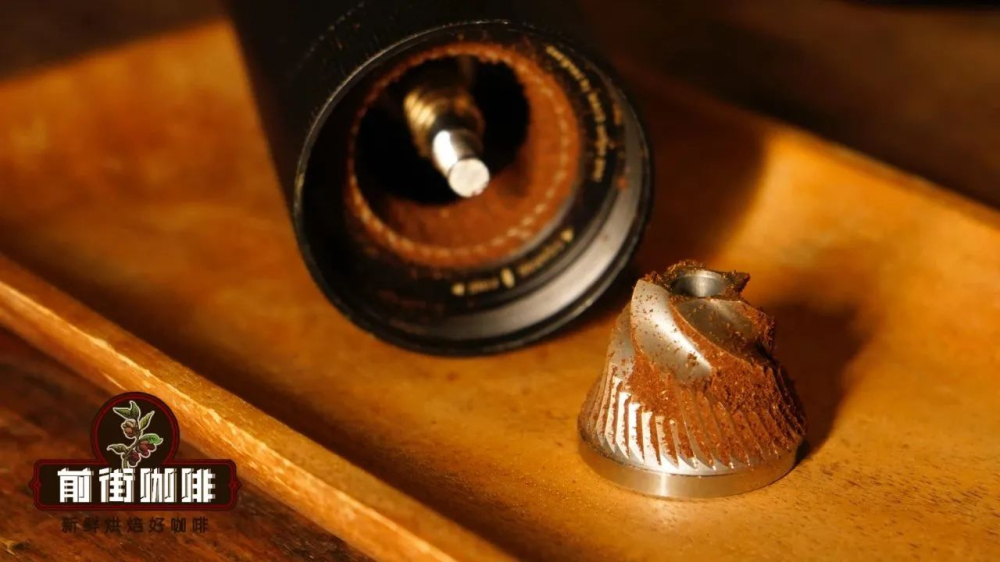
Next, let’s go through the practical steps of adjusting a hand grinder. First, carefully unscrew the metal nut at the top of the grinder to access the internal components. Then, remove the handle from the body to facilitate subsequent adjustments. Next, take off the metal retaining clip above the grind setting screw so you can freely turn it. Fourth, use your left hand to steady the central fixing post of the grinder to prevent it from rotating during adjustment, while your right hand turns the grind adjustment nut. Remember, turning downward makes the grind finer, while turning upward makes it coarser. During adjustment, it’s recommended to periodically reattach the handle, add a few coffee beans, and test the grind to see if the resulting powder meets your expectations. Finally, once you’ve adjusted to a satisfactory grind size, reattach the handle and tighten the upper nut to ensure the adjustment screw remains secure.
Once the grind size is set, you can begin grinding. Hand grinders are well-suited for most pour over scenarios, but if you want to brew espresso, you’ll need to use a dedicated espresso grinder, as espresso requires an extremely fine grind that typical hand grinders cannot achieve. In comparison, the grind size for pour over is coarser than that for espresso, but the exact fineness still needs to be adjusted based on the characteristics of the coffee beans and the brewing method used.
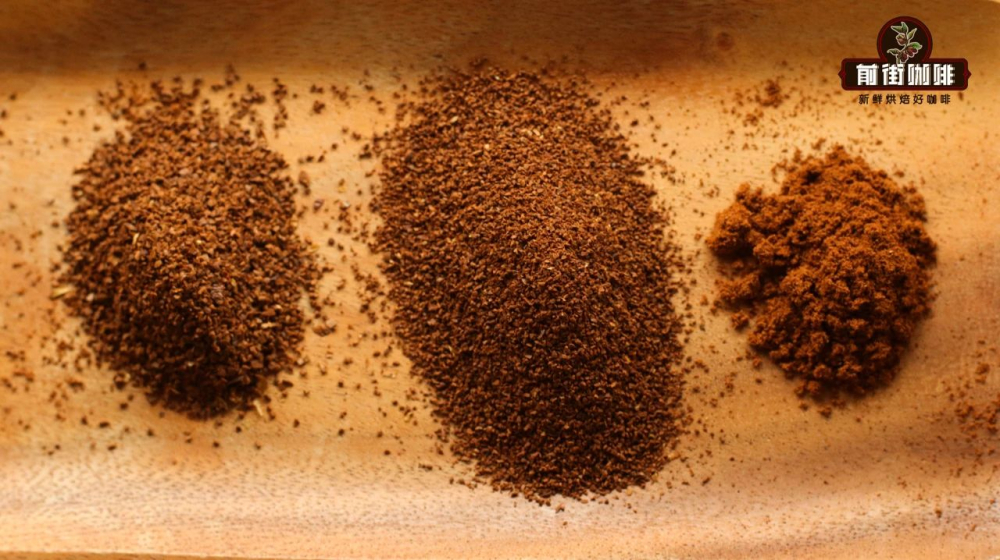
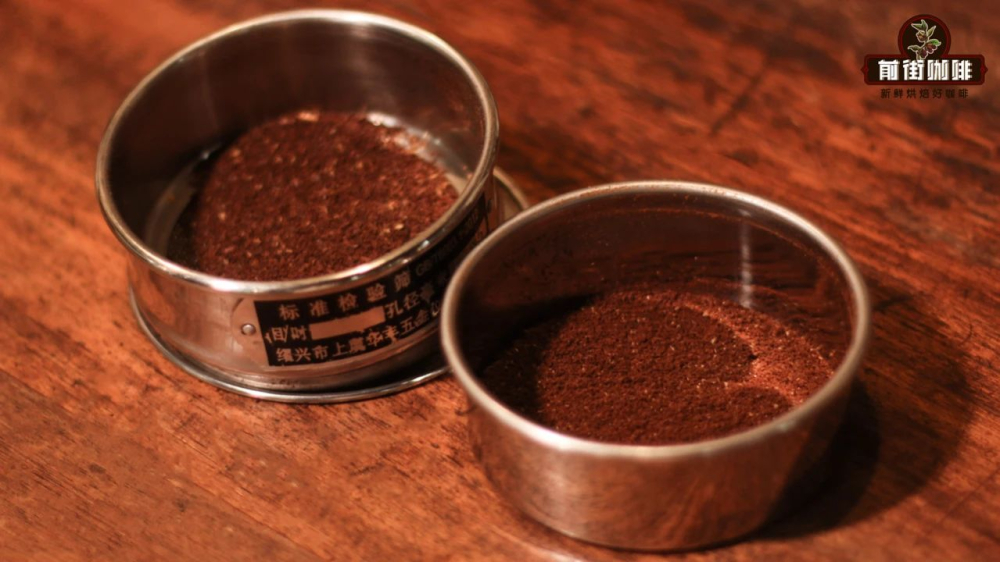
From a practical standpoint, pour over coffee typically uses a medium-fine grind. A slightly coarser grind is suitable for siphon brewing, while the coarsest grind is usually reserved for French press. To determine whether the grind size is appropriate, there’s a practical method: using a standard 0.80mm sieve for testing. The specific procedure is to accurately weigh 10 grams of coffee beans, grind them, and pour the ground coffee onto the top layer of the sieve. Gently and evenly shake the sieve back and forth to allow particles smaller than 0.80mm to naturally fall through to the lower layer. Afterward, weigh the coffee powder in the lower layer. Based on experience, the ideal sieve passing rate for pour over coffee is around 80%—meaning that out of 10 grams of coffee beans, approximately 8 grams should pass through the 0.80mm holes. If the final amount of coffee powder that passes through is less than 8 grams, the grind is too coarse, and you should adjust the screw slightly finer; if it exceeds 8 grams, the grind is too fine, and you should adjust it coarser.
This sieving process may seem tedious, but it quickly becomes manageable with familiarity. After all, pour over coffee is an art that values detail—variables such as brew ratio, grind size, water temperature, and extraction time all directly affect the final flavor, so even professional baristas may see variations in results from small adjustments each time they brew.
In practical applications, brew ratio is a very important parameter. The generally recommended range for pour over brew ratio is between 1:14 and 1:18, with the more commonly used practical ratio being 1:15—that is, 15 grams of coffee grounds to 225 grams of water. If the ratio is too high, the coffee flavor may come across as light; conversely, a lower ratio can make the coffee taste overly strong.
Water temperature is also one of the key factors affecting extraction. Higher temperatures extract more flavor compounds but may also bring out excessive bitterness; lower temperatures reduce extraction efficiency, potentially leading to a lack of flavor complexity. For lightly roasted coffee beans, a water temperature of 90°C is recommended, while darker roasts are better suited to an extraction temperature of 88°C.
Extraction time refers to the total duration that the coffee grounds are in contact with water, from the start of pouring to the removal of the filter. The longer this period, the more substances are extracted, and the coffee flavor is usually richer; however, if the time is too short, under-extraction may occur, resulting in a thin flavor. The generally recommended pour over extraction time is around 2 minutes.
With the theoretical introduction complete, let’s now use a Panamanian Diamond Mountain coffee bean as an example to demonstrate a complete three-pour pour over process. These beans are processed using the washed method, featuring bright acidity and rich layers, with common flavor notes including berries, citrus, and chocolate. The mouthfeel is smooth, accompanied by caramel aromas.
The actual brewing parameters are as follows: using a Hario V60 filter, water temperature set to 90°C, 15 grams of coffee grounds, a brew ratio of 1:15, and a total water volume of 225 grams. The pour over technique employs the classic three-pour method: the first stage involves pouring 30 grams of water to bloom the coffee, allowing the grounds to fully expand and form a “hamburger” shape, with a bloom time of about 30 seconds; the second stage begins at the 54-second mark, pouring until the total water volume reaches 125 grams, then pausing and waiting for the water level to naturally drop to two-thirds of the coffee bed before proceeding to the third stage; the third stage starts at the 1-minute-40-second mark, continuing to pour until the total volume reaches 225 grams, with the overall extraction time being approximately 2 minutes and 10 seconds. After extraction, gently swirl the server to mix the coffee evenly before serving.
These Panamanian Diamond Mountain coffee beans, processed via the washed method, showcase a clean and balanced mouthfeel, with bright acidity that is not overly sharp, along with enticing berry and citrus notes. The finish lingers with warm chocolate and caramel aromas. It’s a classic bean variety that’s perfect for practicing pour over techniques and experiencing the impact of grind size and brewing parameters.
The above content is compiled by CoffeeHunters, a coffee news website.


