








Introduction:To make professional-grade espresso at home, the texture and stability of the milk foam are key. This article details how to choose the right whole milk, properly store it to maintain freshness, and walks you through the eight core steps of steaming milk—from beginners to advanced users—so you can create fine, velvety microfoam. Paired with stable espresso extraction parameters, you’ll be able to pour beautiful latte art at home.
To brew an espresso at home that balances milk aroma and coffee flavor, besides extracting a well-made shot of espresso, the quality of the milk foam is crucial in determining the overall taste and appearance of the drink. Whether it's a latte, cappuccino, or other specialty coffee drinks, the fineness of the foam, temperature control, and blending technique all greatly affect the final flavor performance.
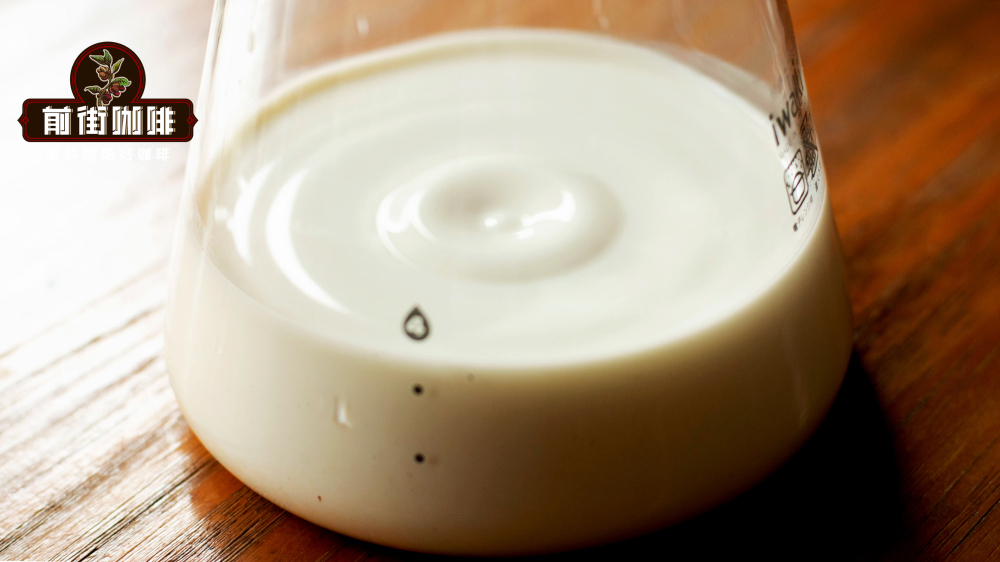
First, choosing the right milk is essential. It’s recommended to use whole milk, which contains higher fat and protein content. Not only does this bring out a richer milk aroma and natural sweetness, but it also helps form a stable, fine, and velvety milk foam. It’s important to note that once milk is opened, its freshness will decline over time, as the proteins gradually break down, affecting the texture of the foam. It’s best to refrigerate immediately after each use to avoid spoilage caused by temperature fluctuations. Even unopened milk that has exceeded its shelf life should not be used.

Next comes the core steps of steaming milk, which can be divided into two main stages: “stretching” and “texturing.” Below is a detailed guide to the process:
1. Pour the milk into the pitcher, keeping the liquid level about one-third to two-thirds below the spout. This makes it easier to control the angle and depth of the steam wand.
2. Always clean the steam wand before use to remove any residual water or milk, ensuring the purity of the foam.
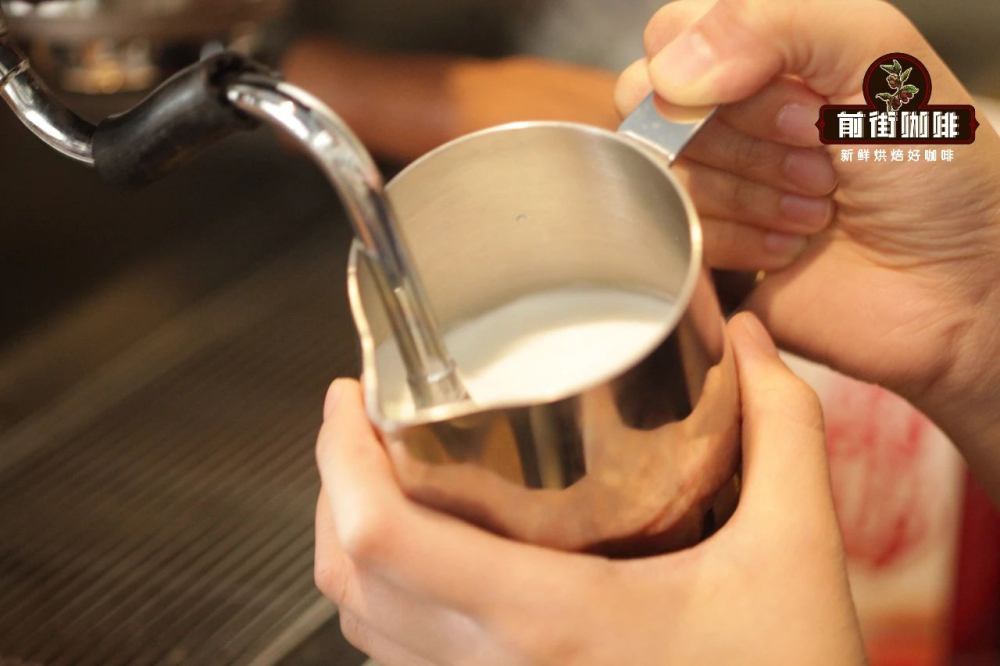
3. Position the pitcher close to the steam wand so that the tip is just submerged beneath the milk’s surface, slightly off-center. Once the steam valve is turned on, you’ll hear a distinct hissing sound—this begins the initial stretching phase.
4. As the foam becomes finer and more abundant, slowly lower the pitcher. During this stage, ensure the milk temperature does not exceed body temperature. The ideal heating temperature is around 60°C, and should never exceed 70°C, as this can break down the protein structure and cause the foam to collapse.
5. Then enter the texturing phase: slightly raise the pitcher so the steam wand goes deeper into the milk, using the steam to create a spinning vortex. This helps blend the foam and milk evenly.
6. When the outside of the pitcher becomes too hot to touch—usually indicating the temperature has reached 60–65°C (you can test this by touching the bottom of the pitcher; if you can only hold it for about 3 seconds, the temperature is just right)—it’s time to stop texturing.
7. Before turning off the steam valve, use the remaining steam to purge the wand and prevent milk residue from clogging it.
8. Finally, tap the side of the pitcher lightly to break any large bubbles, then swirl the pitcher to fully integrate the foam and milk—your fine, stable milk foam is now ready.

With ideal milk foam prepared, the next step is to extract a balanced shot of espresso. For beginners, choosing a blend with clear and consistent flavor is a great place to start. It’s recommended to try a medium-dark roasted blend characterized by pronounced notes of caramel, nuts, and butter, with a fine crema layer and stable extraction performance—perfect for practicing latte art and achieving flavor balance.
When extracting such a blend, the following parameters are recommended for optimal results: grind size set to 1.6 (medium-fine), coffee dose about 20 grams (for a double shot), extraction time controlled between 20–30 seconds, yield around 40 milliliters, extraction temperature maintained between 90.5–96°C, and pressure at 9 bar. These conditions fully highlight the coffee’s sweetness, body, and aromatic layers.
In practice, pay attention to the combination of coffee-to-water ratio and grind coarseness. If the flow rate is too slow, the coffee is too dark, and extraction takes too long, it may be due to overly fine grinding or excessive tamping, leading to over-extraction and noticeable bitterness. Conversely, if the flow rate is too fast, the coffee is too light, and extraction is too short, it may result from overly coarse grinding or insufficient tamping, causing under-extraction, resulting in thin flavor and wateriness.
A successful espresso extraction should show a steady flow of coffee with a medium to dark brown color and a thick, fine crema layer. The flavors should exhibit notes of roasted chestnut, nuts, caramel, and chocolate, with a smooth, rich mouthfeel and a pleasant aftertaste. When paired with fine milk foam, it delivers a silky, layered drinking experience.
In summary, from selecting and storing milk, mastering steaming techniques, to choosing the right espresso beans and executing precise extraction, every step influences the final outcome of your specialty coffee. By mastering these practical details, even beginner coffee enthusiasts can consistently produce professional-grade espresso with fine foam and smooth latte art at home.
The above content is compiled by CoffeeHunters, a coffee news website.


