








Introduction:To brew a beautifully latte-arted espresso latte at home, the key lies in the texture and pouring technique of the milk foam. This tutorial starts with the principles of milk frothing, detailing the essential steam wand techniques—including air intake, texturing, and temperature control—and breaks down three classic latte art patterns—the heart, leaf, and tulip—with step-by-step visuals to help beginners master the fundamentals of milk-based coffee art.
Creating a latte with an attractive latte art design at home is not only a visual treat but also part of showcasing the coffee’s flavor. Among these, the texture and stability of the milk foam are core factors that determine the success of your latte art. This article will delve into how to produce high-quality milk foam and guide you step-by-step through mastering three basic patterns: the heart, the leaf, and the tulip.
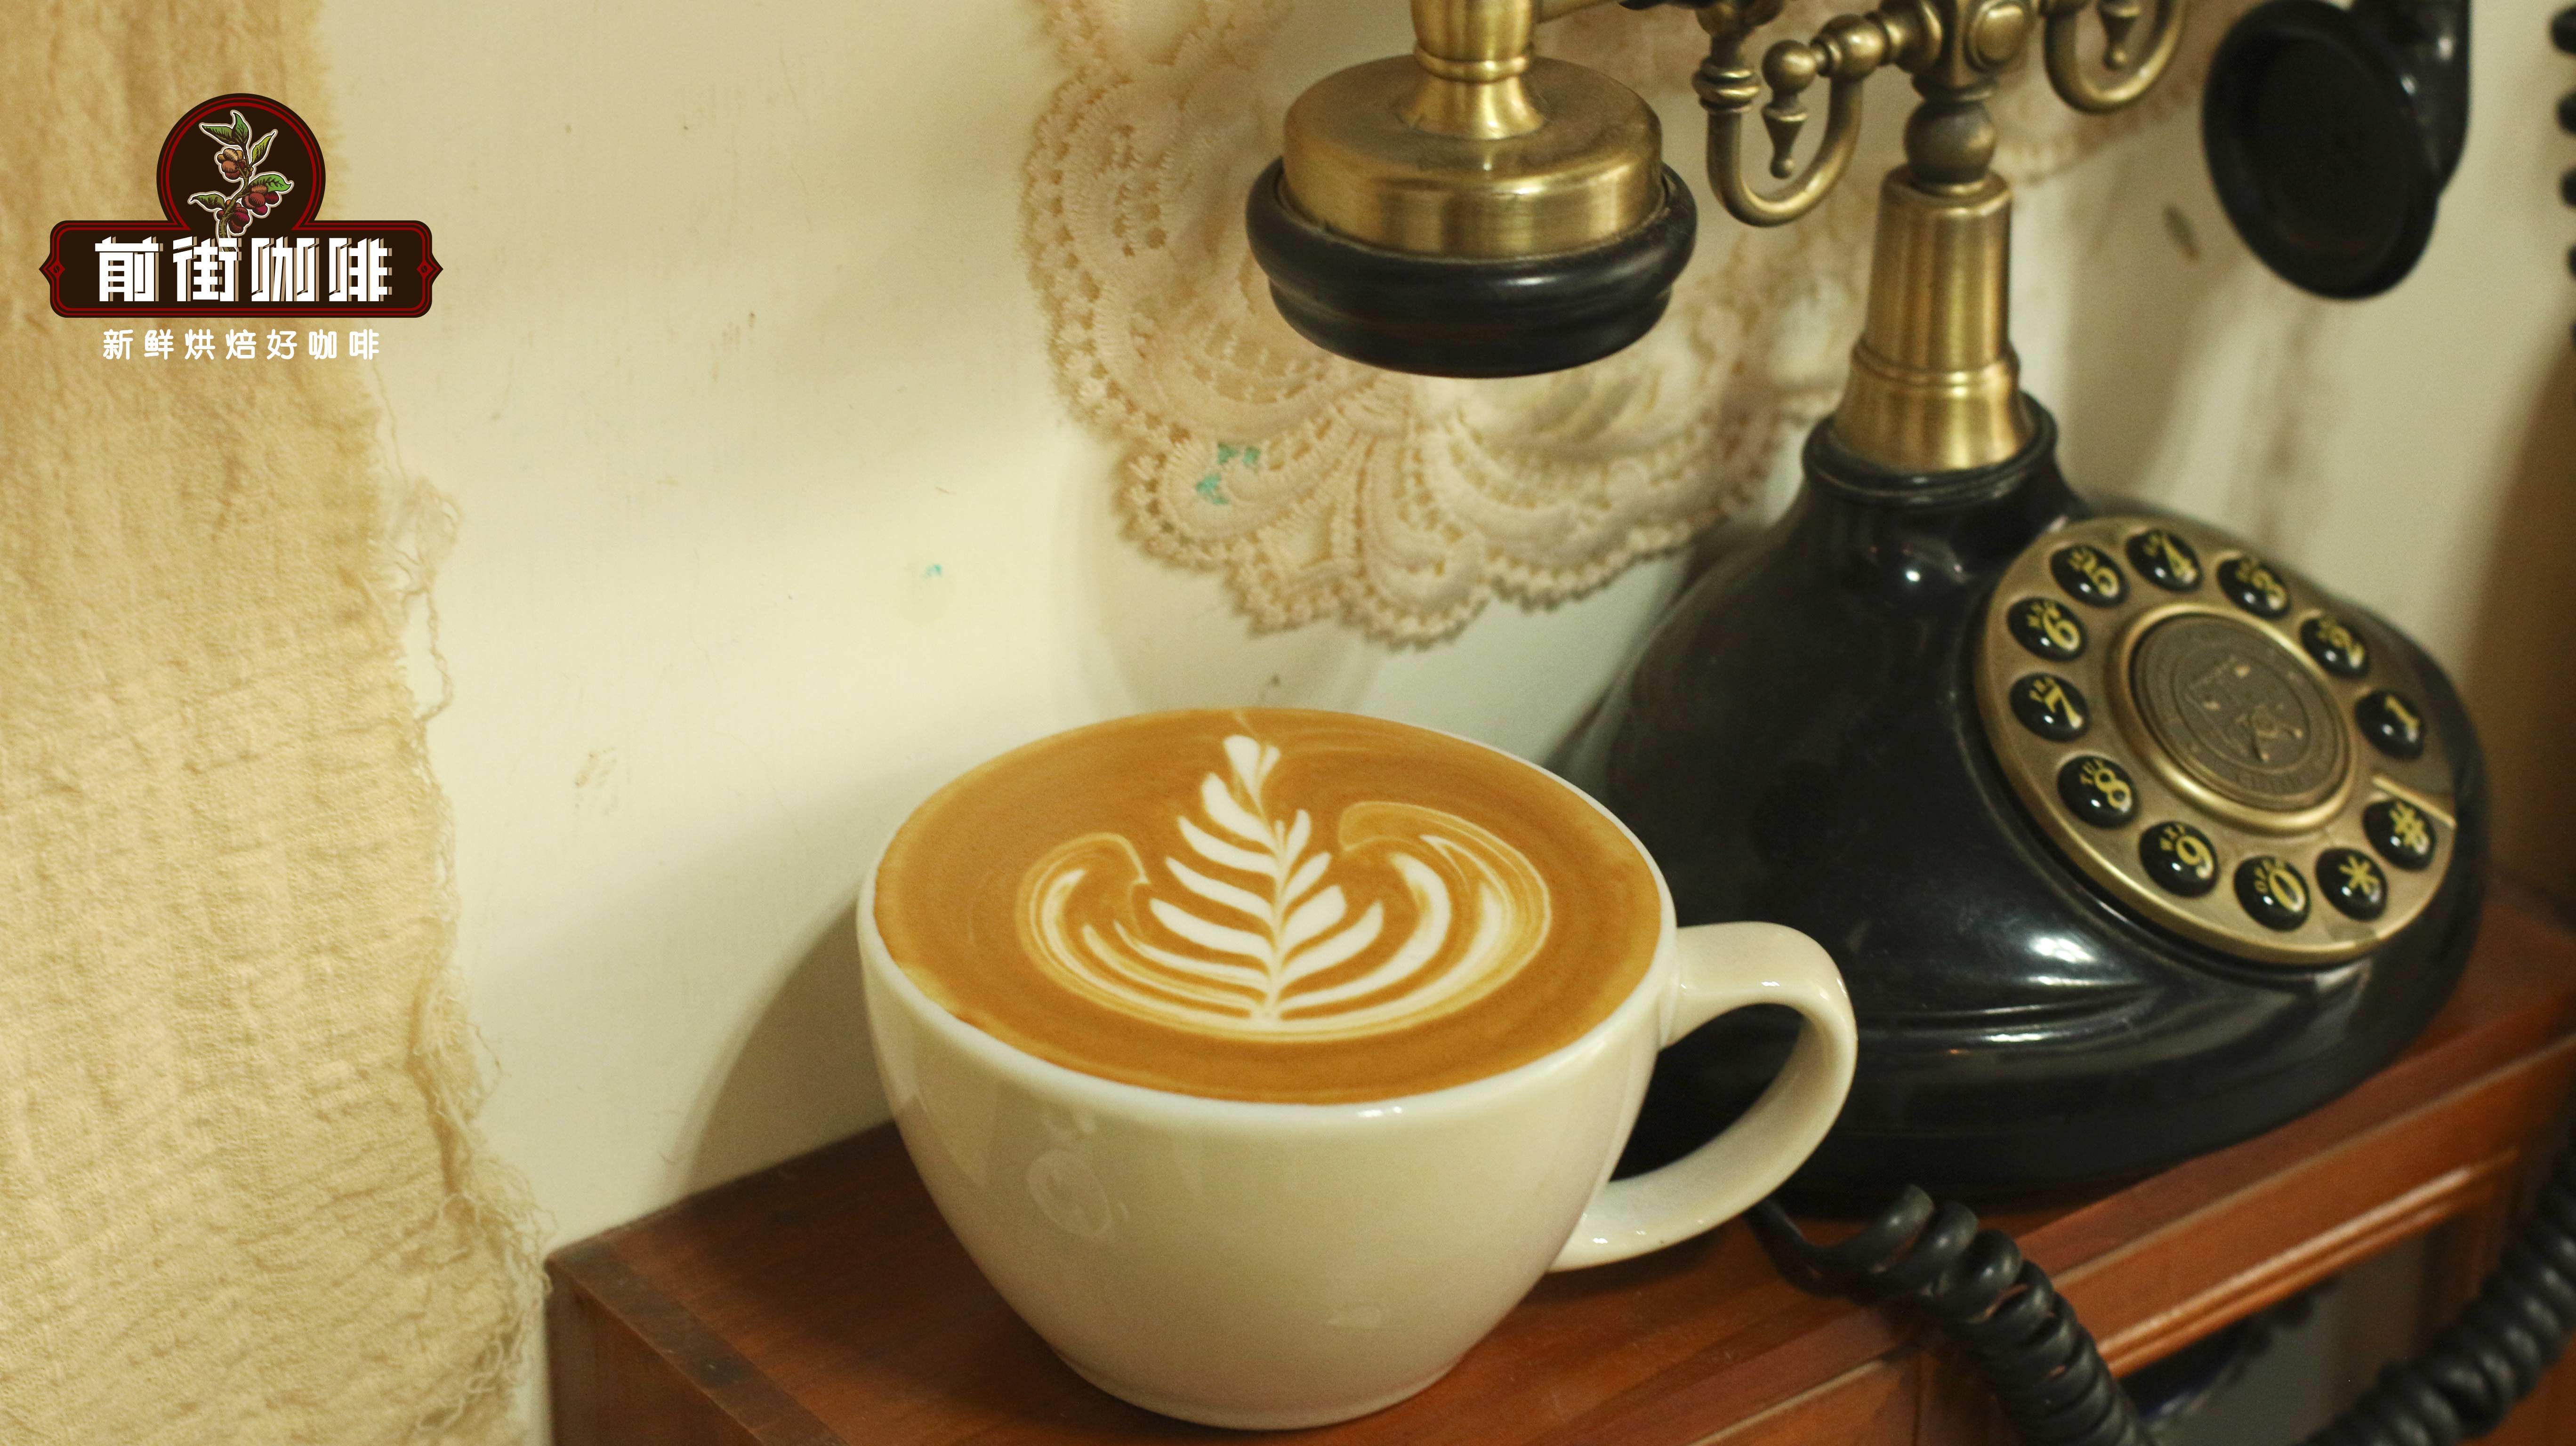
Latte art refers to the artistic patterns formed when espresso and steamed milk are combined in the cup. The foundation of all this lies in the fineness of the milk foam. Only fine, uniform milk foam can blend perfectly with the espresso and present clear, three-dimensional patterns. Next, we’ll start with milk frothing and gradually introduce you to the world of latte art.
First, selecting coffee beans suitable for latte art is crucial. It’s recommended to choose espresso blends rich in crema and with stable extraction performance. These beans are usually medium-dark or dark roasted, capable of releasing intense aromas and forming a stable, thick crema during extraction, which provides a solid base for latte art. For general home brewing, blends containing Brazilian, Indonesian, and Vietnamese beans can be chosen to achieve balanced flavors and consistent crema performance.

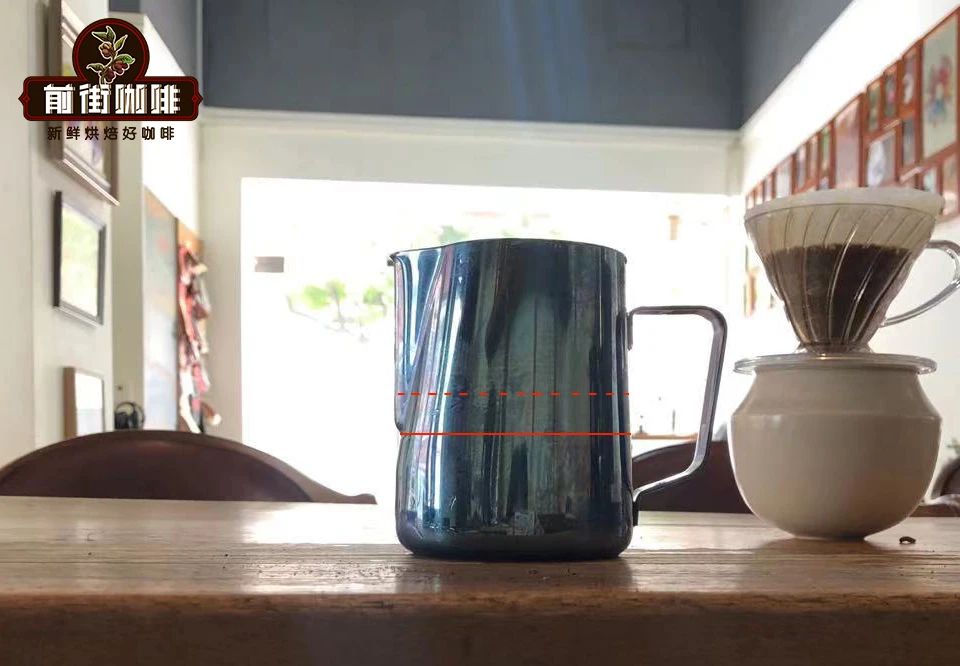
Before frothing the milk, it’s necessary to confirm the milk pitcher capacity and the amount of milk used. If using a 450 ml milk pitcher, it’s recommended to pour in about 200 to 250 ml of fresh milk; if the pitcher is larger, such as 500 to 650 ml, the milk amount can be increased to 300 to 350 ml to ensure there is enough space for frothing and vortex movements.
The first step before starting frothing is venting. Turn on the steam wand for about 1 to 2 seconds to expel any condensation water inside the steam tube, preventing it from affecting the texture of the milk foam. Then, position the steam wand’s nozzle toward the milk—ideally at the 2 to 3 o’clock or 9 to 10 o’clock positions—immersing the nozzle about two-thirds deep into the milk. Avoid going too shallow (which can create large bubbles) or too deep (which won’t effectively froth the milk).

The frothing stage primarily aims to introduce air to form fine bubbles. At this point, you’ll hear a distinct “hissing” sound, indicating that air is being evenly incorporated into the milk. If the sound is too loud and harsh or completely silent, the angle or depth needs adjustment. Once the milk foam begins to form, you can move on to the next stage: texturing.
Texturing is the key to making the milk foam fine and uniform. By adjusting the angle of the steam wand, create a vortex in the milk pitcher. This action pulls apart and breaks up large bubbles while thoroughly mixing the upper and lower layers of milk and foam. When the milk foam feels fine, smooth to the touch, and the temperature reaches 55 to 65°C, it’s time to turn off the steam wand. Reminder: overly high temperatures will harden the milk foam, affecting its fluidity for latte art.

Once the milk foam is frothed, it’s recommended to gently tap the bottom of the pitcher a few times to release any remaining large bubbles, then use a spoon or the back of your hand to smooth the surface of the foam, ensuring a smoother milk flow for better latte art results.
Next, we move into the practical latte art tutorial, starting with the most basic “heart” pattern. Bring the milk pitcher close to the rim of the cup and start pouring milk from the center of the liquid surface, maintaining a steady initial flow rate. Then slightly raise the pitcher and increase the flow rate to let the milk foam form an expanding circle in the center of the liquid. When the cup is nearly 180 degrees tilted, slightly raise the pitcher again and reduce the flow rate, using downward pressure to create a heart-shaped indentation on the liquid surface. Finally, push forward with a thin stream to form the tip, completing a solid heart shape.
For the “leaf” pattern, first fully integrate the milk with the coffee by pouring from just behind the center of the cup to form a base similar to an onion heart. Stop pouring when the cup is about 80% full, then rotate the cup 180 degrees, tilt it slightly, and re-pour from behind the original pattern. Gradually pull out an arc and raise the pouring angle, finally using a finishing motion to connect the lines and form a natural leaf pattern.
Finally, the “tulip” pattern involves creating multiple layers of stacked buds through repeated pours. Start by bringing the milk pitcher close to the cup’s rim and pour milk at a high flow rate until white foam dots appear on the liquid surface, then stop. Move the pour point slightly backward, pour again at a high flow rate, and stop; repeat this several times to form multiple layers of buds. On the final pour, raise the pitcher angle and reduce the flow rate, pulling the pattern out in a straight line to complete a three-dimensional tulip.

Once you’ve mastered these basic techniques, practice more on pour angle, flow control, and milk foam stability to gradually improve the aesthetics and fluidity of your latte art. Whether enjoyed at home or shared with friends, an espresso latte with your own hand-poured latte art adds a special sense of ritual to your coffee time.
The above content is compiled by CoffeeHunters, a coffee news website.


