







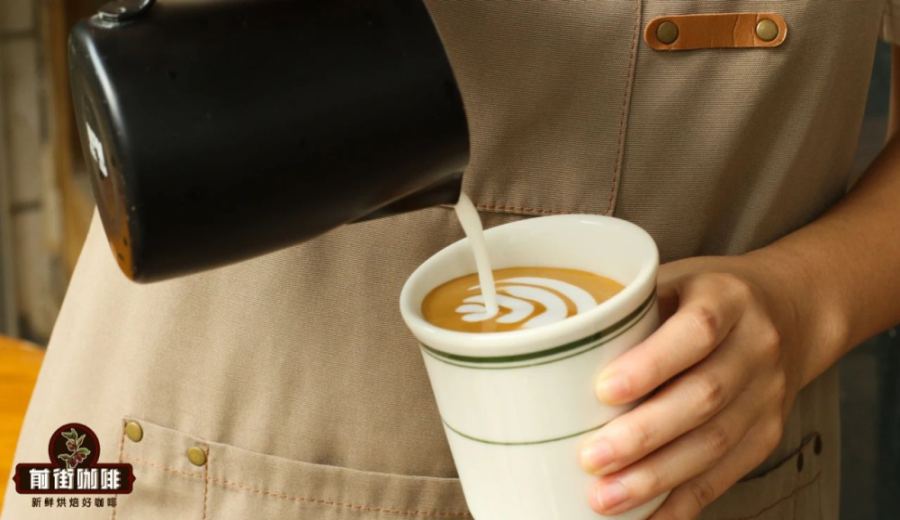
Introduction:Learning to make an espresso with a beautifully crafted heart latte art is a dream for many coffee enthusiasts. But often, it fails at the first pour—could it really be that hard? This article will guide you step-by-step through the core techniques of heart latte art, from steaming milk, to pouring and merging, to holding the pitcher. No need for advanced theories; just master the right methods, and you too can recreate café-level latte art at home.
Want to easily pour a beautiful coffee heart pattern at home but always fail? Many beginners report that as soon as the milk hits the coffee, it turns into a mess and won’t form anything. In fact, the key to successfully pouring a heart pattern lies in three aspects: the texture of the milk foam, the merging technique, and the way you hold the pitcher. Master these fundamentals, and even a beginner can gradually develop professional-level latte art skills.

First, the condition of the milk foam is crucial. If the foam is too thick and doesn’t flow when poured into the cup, it’s impossible to create clear patterns. The ideal latte art milk foam should be fine and have a certain degree of fluidity, so that it can smoothly merge with the coffee when poured, forming a beautiful design.
The position of the steam wand when steaming milk is the first step. Generally, it’s recommended to consider the spout of the pitcher as the 12 o’clock position, and place the steam wand at either the 2–3 o’clock or 9–10 o’clock position. This angle helps create a rotation in the milk, forming a natural whirlpool that draws larger bubbles into the liquid, resulting in finer foam.
The depth at which the steam wand is inserted into the milk also needs to be well controlled. It’s usually recommended to insert it about 1 cm deep, but this can be adjusted flexibly depending on the strength of your espresso machine’s steam. If the steam is too strong, you can insert the wand deeper, up to 1.5 cm, to stabilize the airflow; if the steam is weaker, you can insert it slightly shallower, such as 0.5 to 1 cm, to more easily draw in air and form an appropriate amount of foam.

During the steaming process, you may hear a “hissing” sound, which indicates that air is being evenly incorporated into the milk. If the sound is too soft or absent, it may mean the wand is inserted too deeply or hasn’t properly entered the steaming phase. When the milk volume has expanded to about 80% full, slightly move the steam wand toward the center-right near the side of the pitcher to create a whirlpool. This helps mix the milk and collapse any large bubbles, making the foam smoother.
Temperature control is equally important. It’s recommended to heat the milk to between 60–65 degrees Celsius. Too high a temperature not only risks burns but also makes the foam structure unstable, affecting taste; too low a temperature may result in overly thin foam, which is not conducive to forming good latte art.
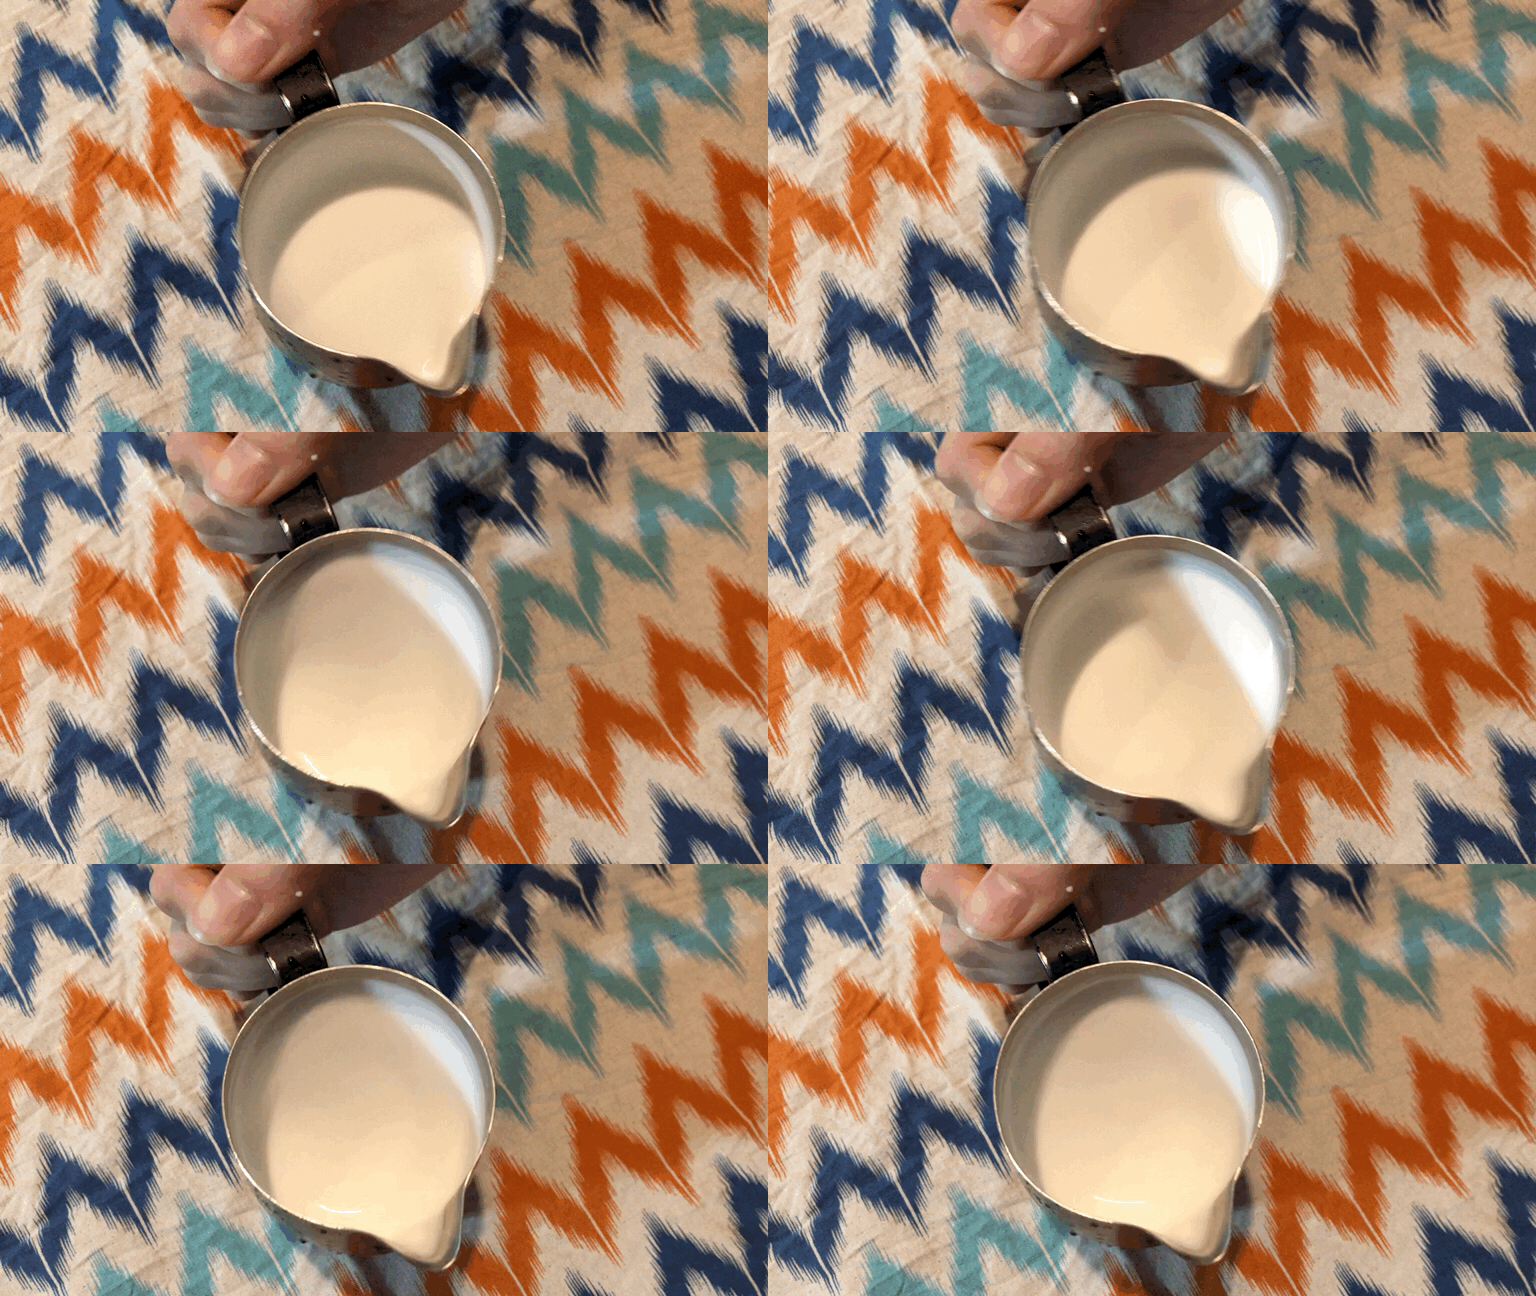
Next comes the merging step, which many people overlook when practicing latte art. Merging refers to the process of evenly combining the milk foam with the coffee liquid. This not only affects the final appearance of the latte art but also directly impacts the taste experience of the coffee.
It’s recommended that beginners first practice with water instead of milk. Tilt the coffee cup at about a 45-degree angle, start with a steady stream of water by pouring in a fixed point, then gradually try varying heights and circular pours. Finally, combine these techniques while maintaining a continuous water flow throughout the practice. This kind of training helps you get familiar with controlling the flow of liquid, laying the foundation for actual milk merging later on.
When you actually use milk foam for merging, be sure to adjust the merging range according to the thickness of the foam. Thicker foam has poorer fluidity, so a wider merging area is needed to allow the milk and coffee to mix thoroughly, maintain good flow, and create favorable conditions for latte art.

The way you hold the pitcher and cup during pouring is also extremely important. It’s recommended to have the handle of the coffee cup facing you. This way, after completing the pour, the pattern naturally faces the customer, aligning better with serving logic. The cup should be tilted appropriately to shorten the distance between the pitcher and the coffee surface, allowing more precise control of the milk flow.
As for how to hold the pitcher, there are two common methods: one is to grip the handle, which allows for better wrist movement and is suitable for creating larger patterns; the other is to pinch the body of the pitcher, offering finer control and ideal for detailed designs. Whichever method you choose, comfort should be the priority so you can maintain stability during longer practice sessions.
Finally, never forget to keep practicing consistently. Latte art skills don’t come overnight—only through continual practice can you improve step by step. If you find practicing with milk too costly, consider using dish soap mixed with water or adding a small amount of dark soy sauce to simulate the fluidity of milk foam. After each practice, take time to review your technique, identify issues, make adjustments, and repeat the practice. Only then can you make steady progress.
The above content is compiled by CoffeeHunters, a coffee news website.


