







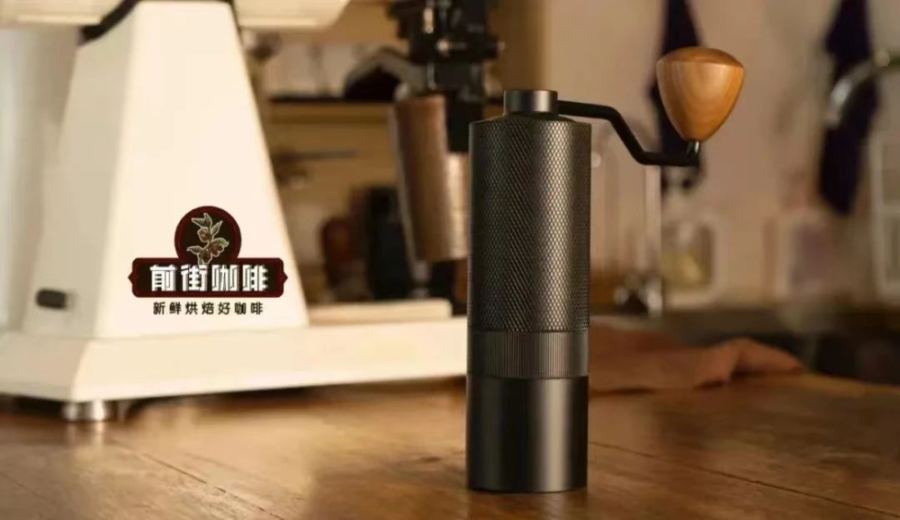
Introduction:Which is better, pour over coffee or drip bags? This in-depth analysis explores the key differences between the two—from equipment needs, ease of use, flavor profiles to suitable scenarios—to help you make a choice based on your personal preferences. It also provides the correct brewing methods and tips for drip bags, so you can enjoy a professional-level coffee extraction experience at home.
It’s a common misconception that people who enjoy pour over coffee wouldn’t touch drip bags, or that drip bags are only for lazy coffee drinkers. In fact, there is no inherent superiority between the two—drip bags can be seen as a convenient version of pour over. Many coffee enthusiasts choose to brew pour over at home but carry drip bags when they’re out, flexibly adapting to different situations.
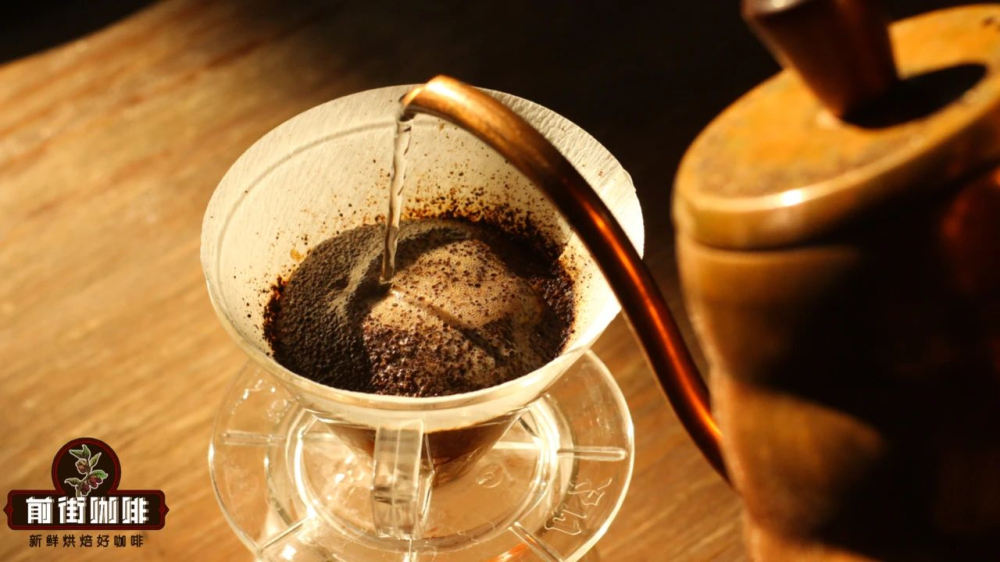
Pour over coffee is a brewing method that emphasizes technique and detail. It requires various tools such as a pour over dripper, filter paper, digital scale, and hand grinder. You also need to precisely control factors like coffee dosage, water temperature, pouring speed, and time. These variables directly affect the final flavor of the extracted coffee, which is why the pour over process is also considered an art of coffee appreciation.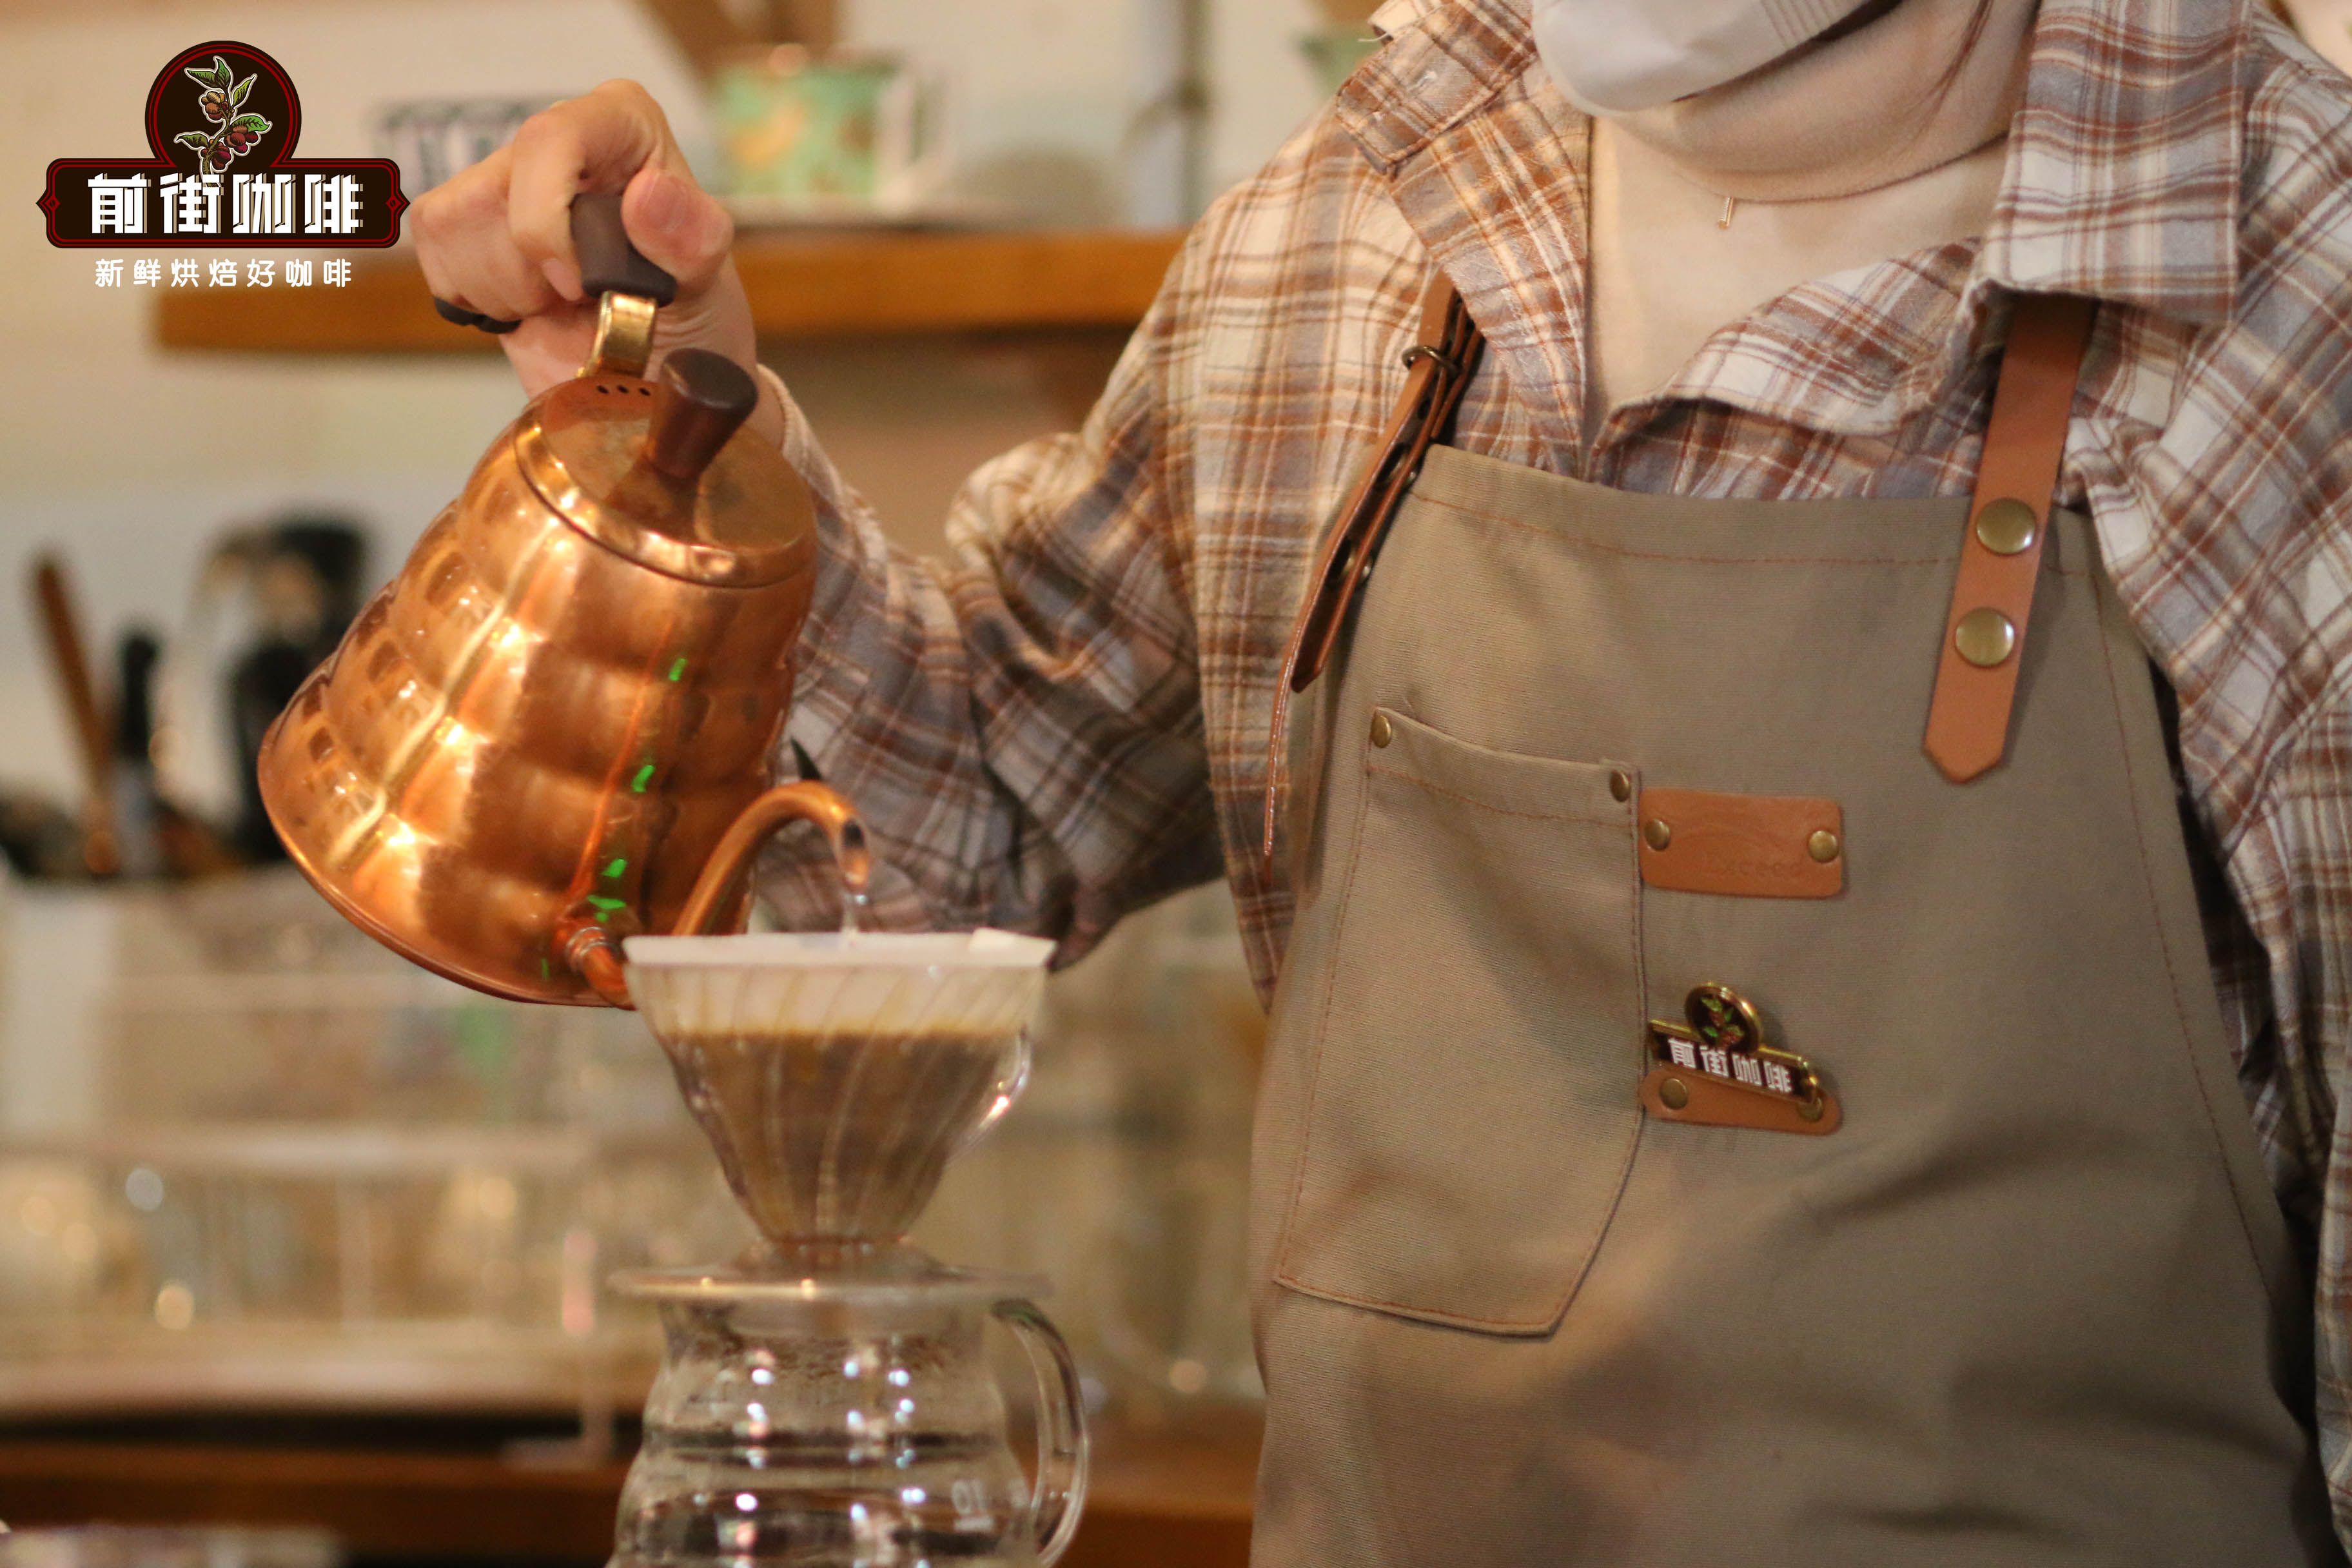 " />
In comparison, drip bags greatly simplify the brewing process. The coffee beans are pre-ground and packed into filter bags. Users only need to prepare hot water and a cup. Although it may be slightly inferior to pour over in terms of flavor finesse, drip bags excel in portability, making them ideal for busy days or travel, allowing you to enjoy a cup of coffee that’s close to pour over quality anytime, anywhere.
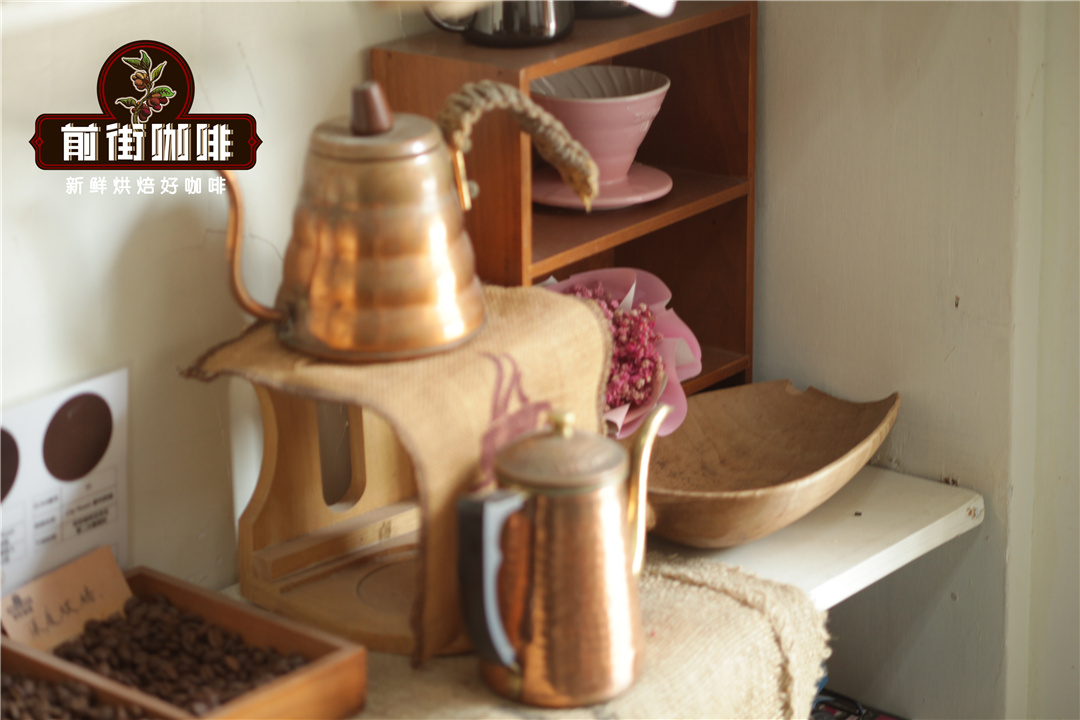
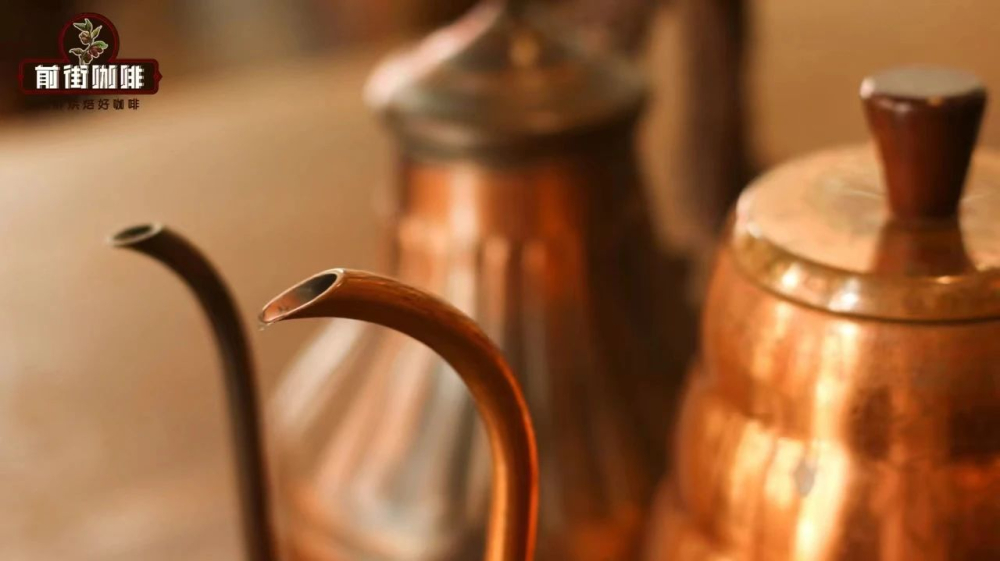
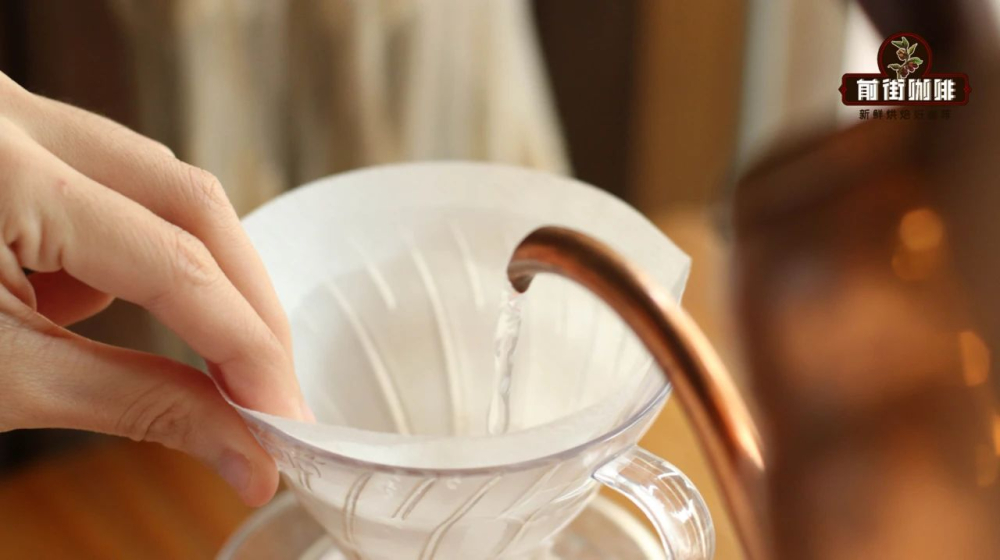
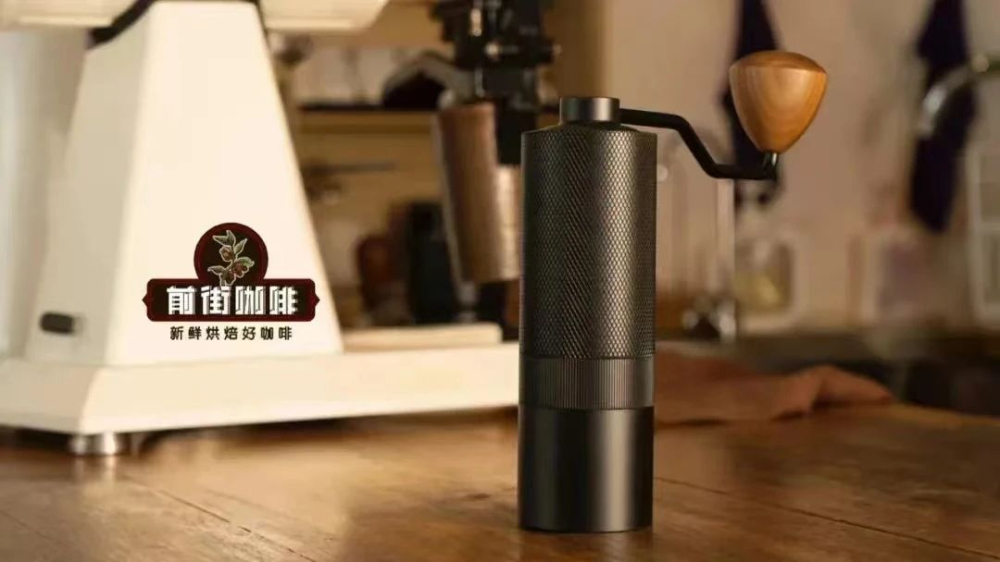
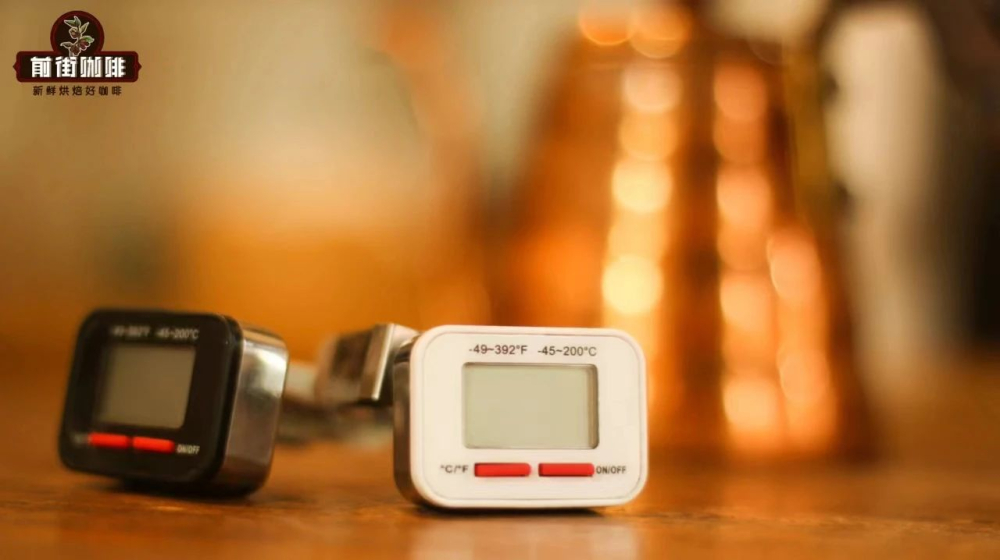
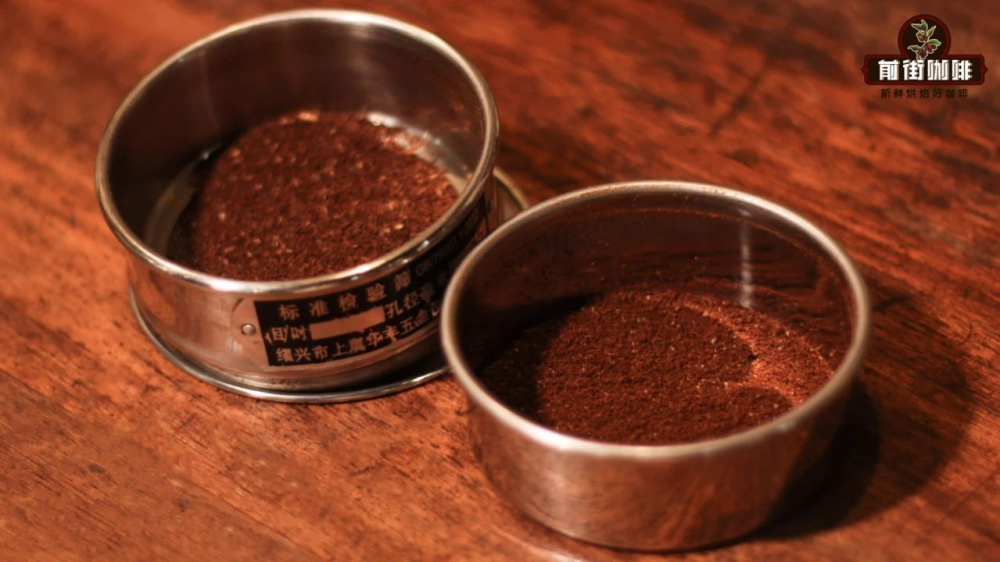
If you want to learn more about pour over coffee, here’s a list of essential equipment: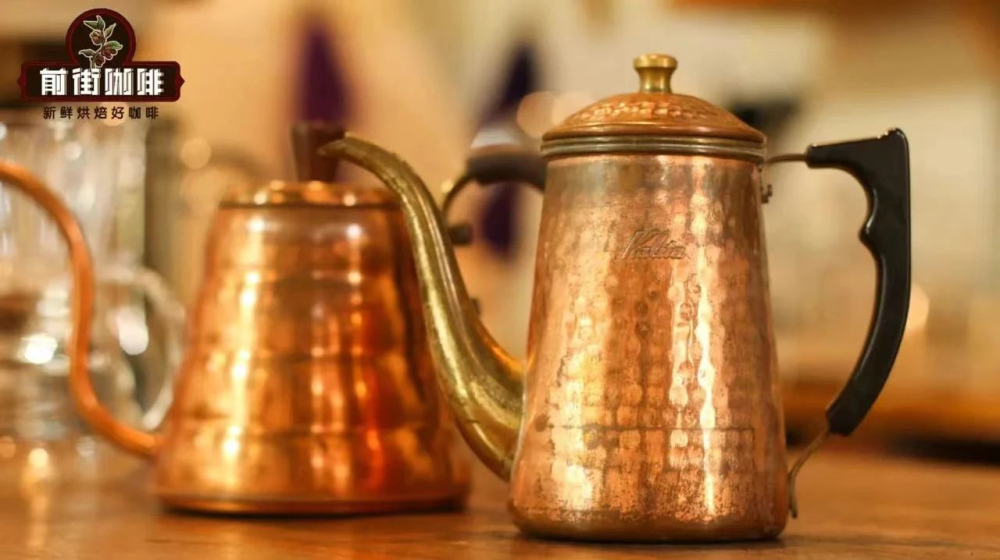 First is the pour over kettle. Beginners are advised to choose a gooseneck kettle for better water flow control. Next is the dripper—common types include the V60 (cone-shaped), Kalita Wave (flat-bottomed/wave-shaped), and others. Different designs affect flow rate and taste. Filter paper comes in bleached and unbleached versions and must be used with the appropriate dripper. Additionally, the choice of grinder is important—flat burr, conical burr, and gear burr grinders each have unique characteristics that influence the uniformity of coffee grounds. A thermometer and digital scale help you accurately control water temperature and coffee-to-water ratio, while a sieve can be used to calibrate grind size and ensure consistent extraction.
The equipment needed for drip bags is much simpler—you only need the drip bag itself, hot water, and a cup. This format eliminates steps like grinding beans, weighing, and placing filter paper, significantly lowering the barrier to entry and making it suitable for quick daily enjoyment. However, since the coffee grounds are pre-ground, they have a larger surface area exposed to air, causing aroma to evaporate more quickly. As a result, the shelf life for optimal flavor is shorter than whole bean coffee. It’s recommended to consume them soon after opening.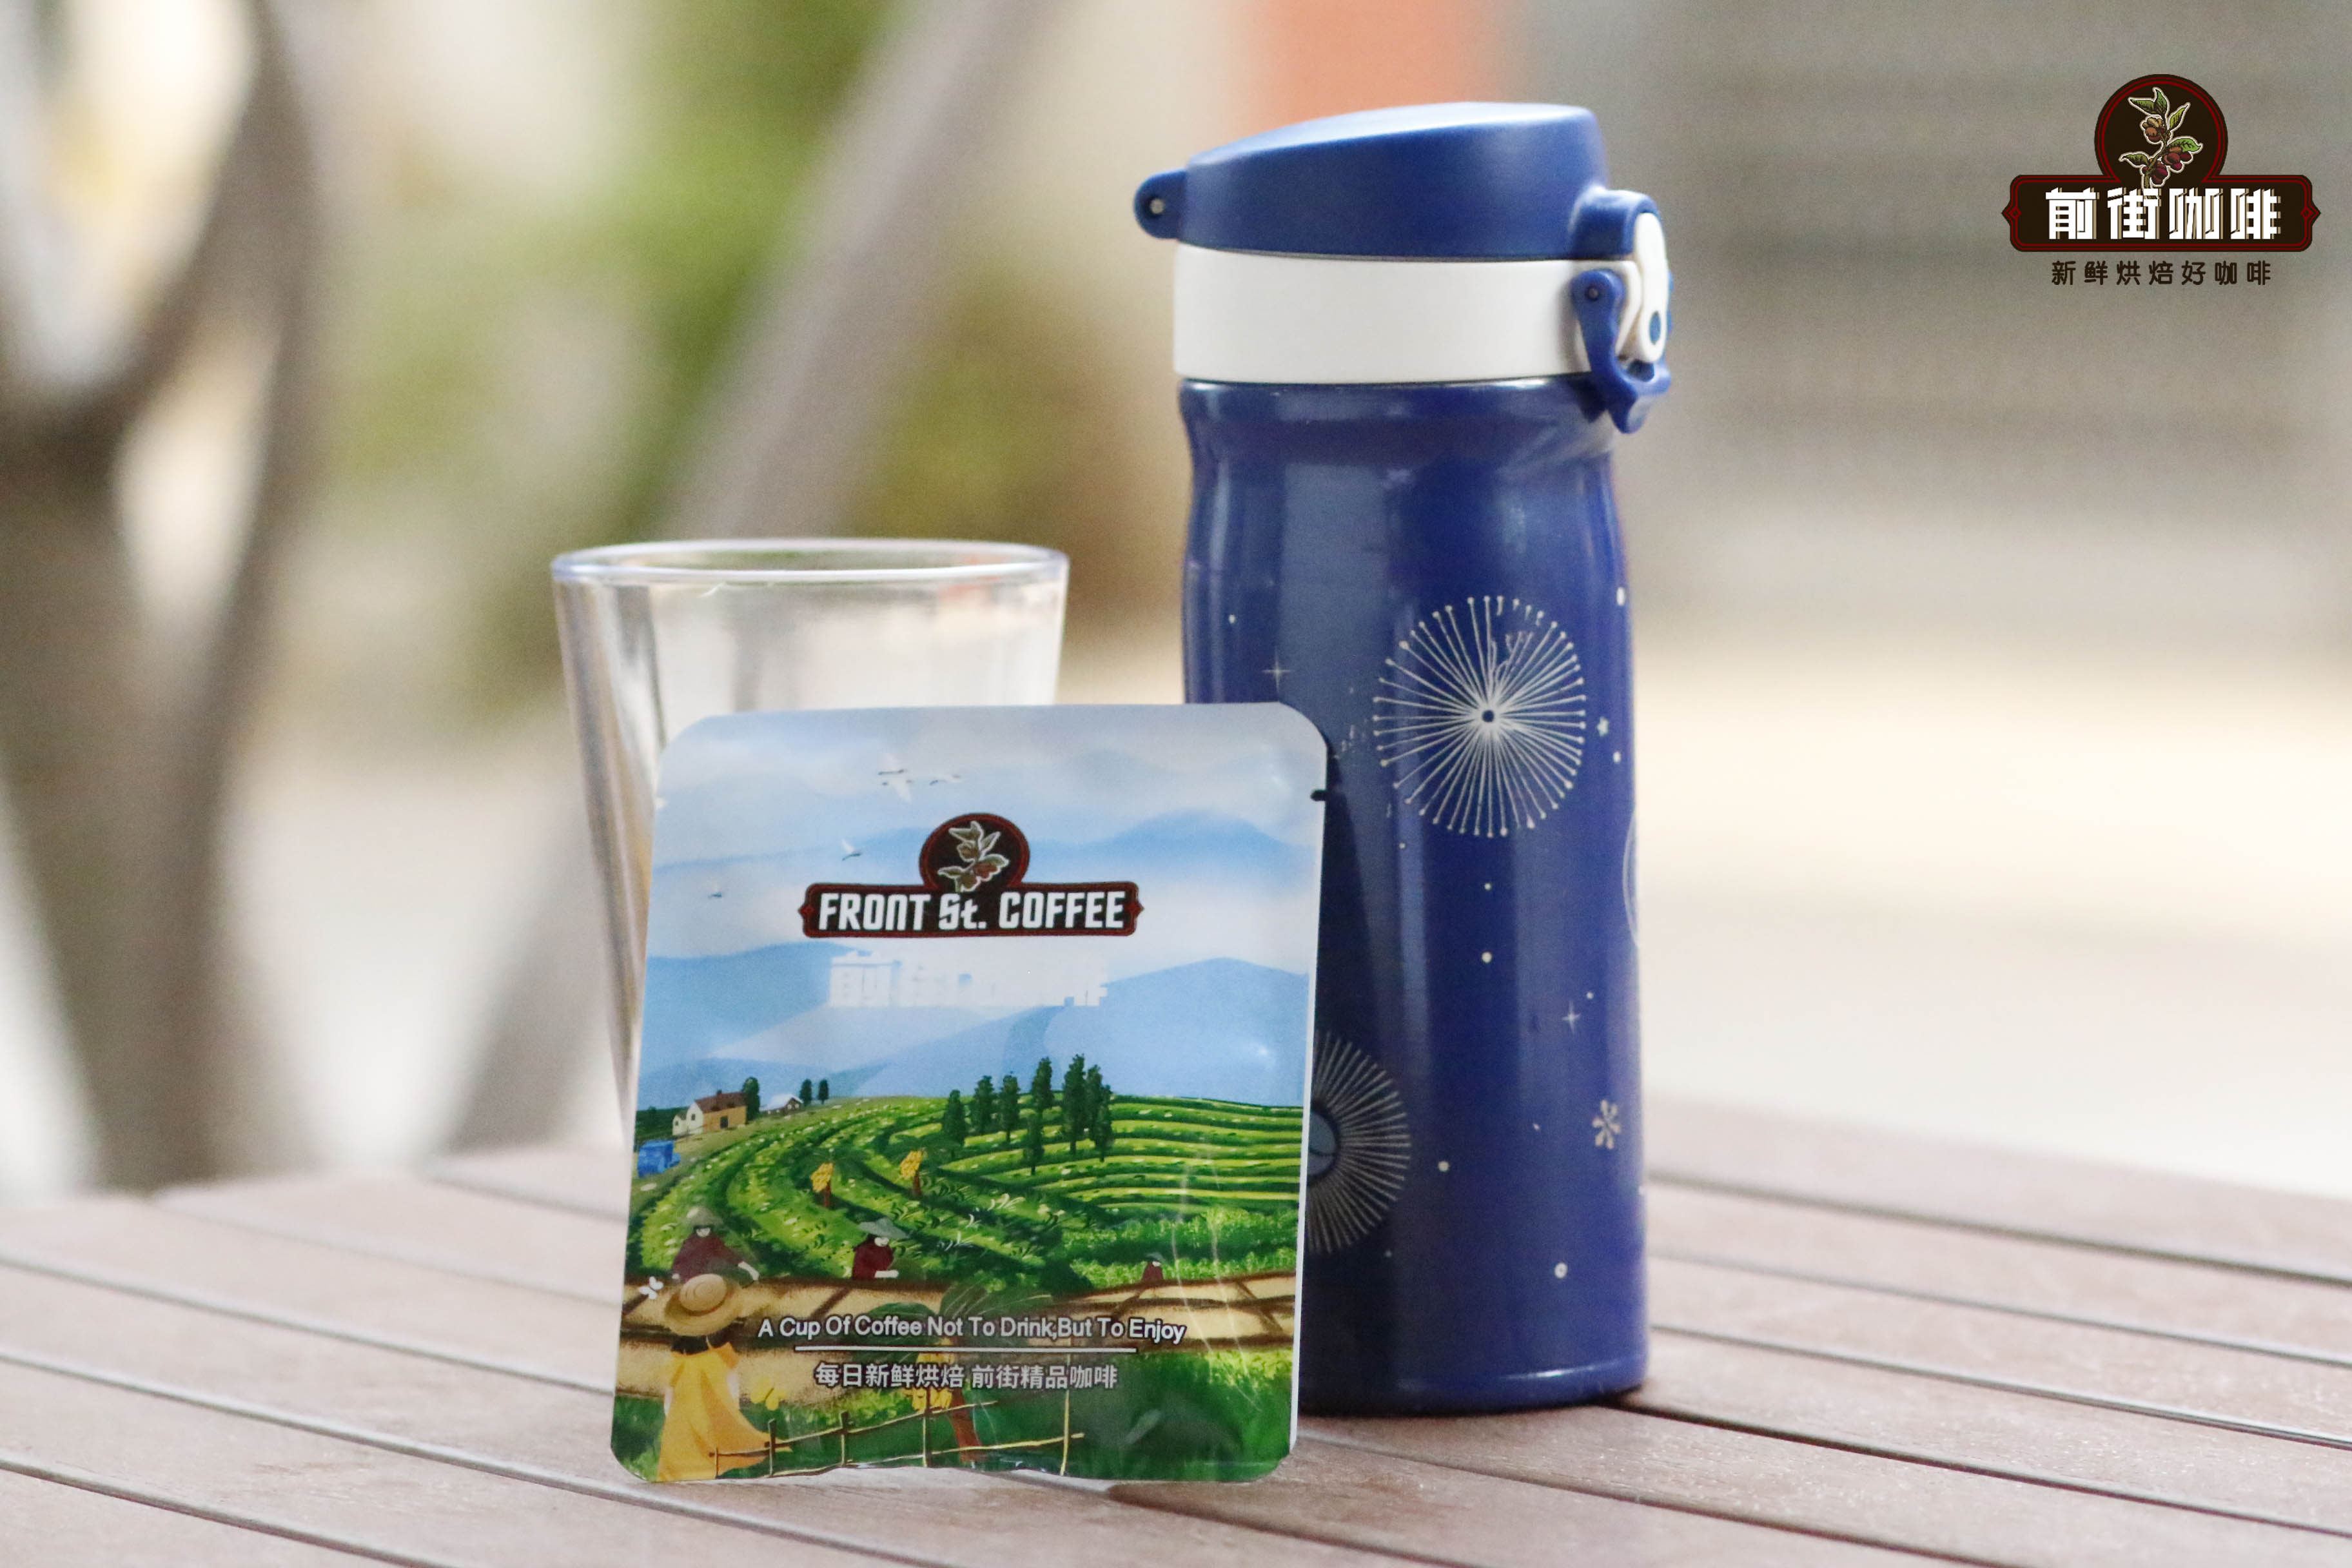 " />
The main differences between pour over and drip bags can be summarized in four points: First, pour over requires more equipment and has a higher learning curve, making it suitable for coffee lovers who pursue nuanced flavors; drip bags simplify the process, are portable, and are ideal for everyday or on-the-go use.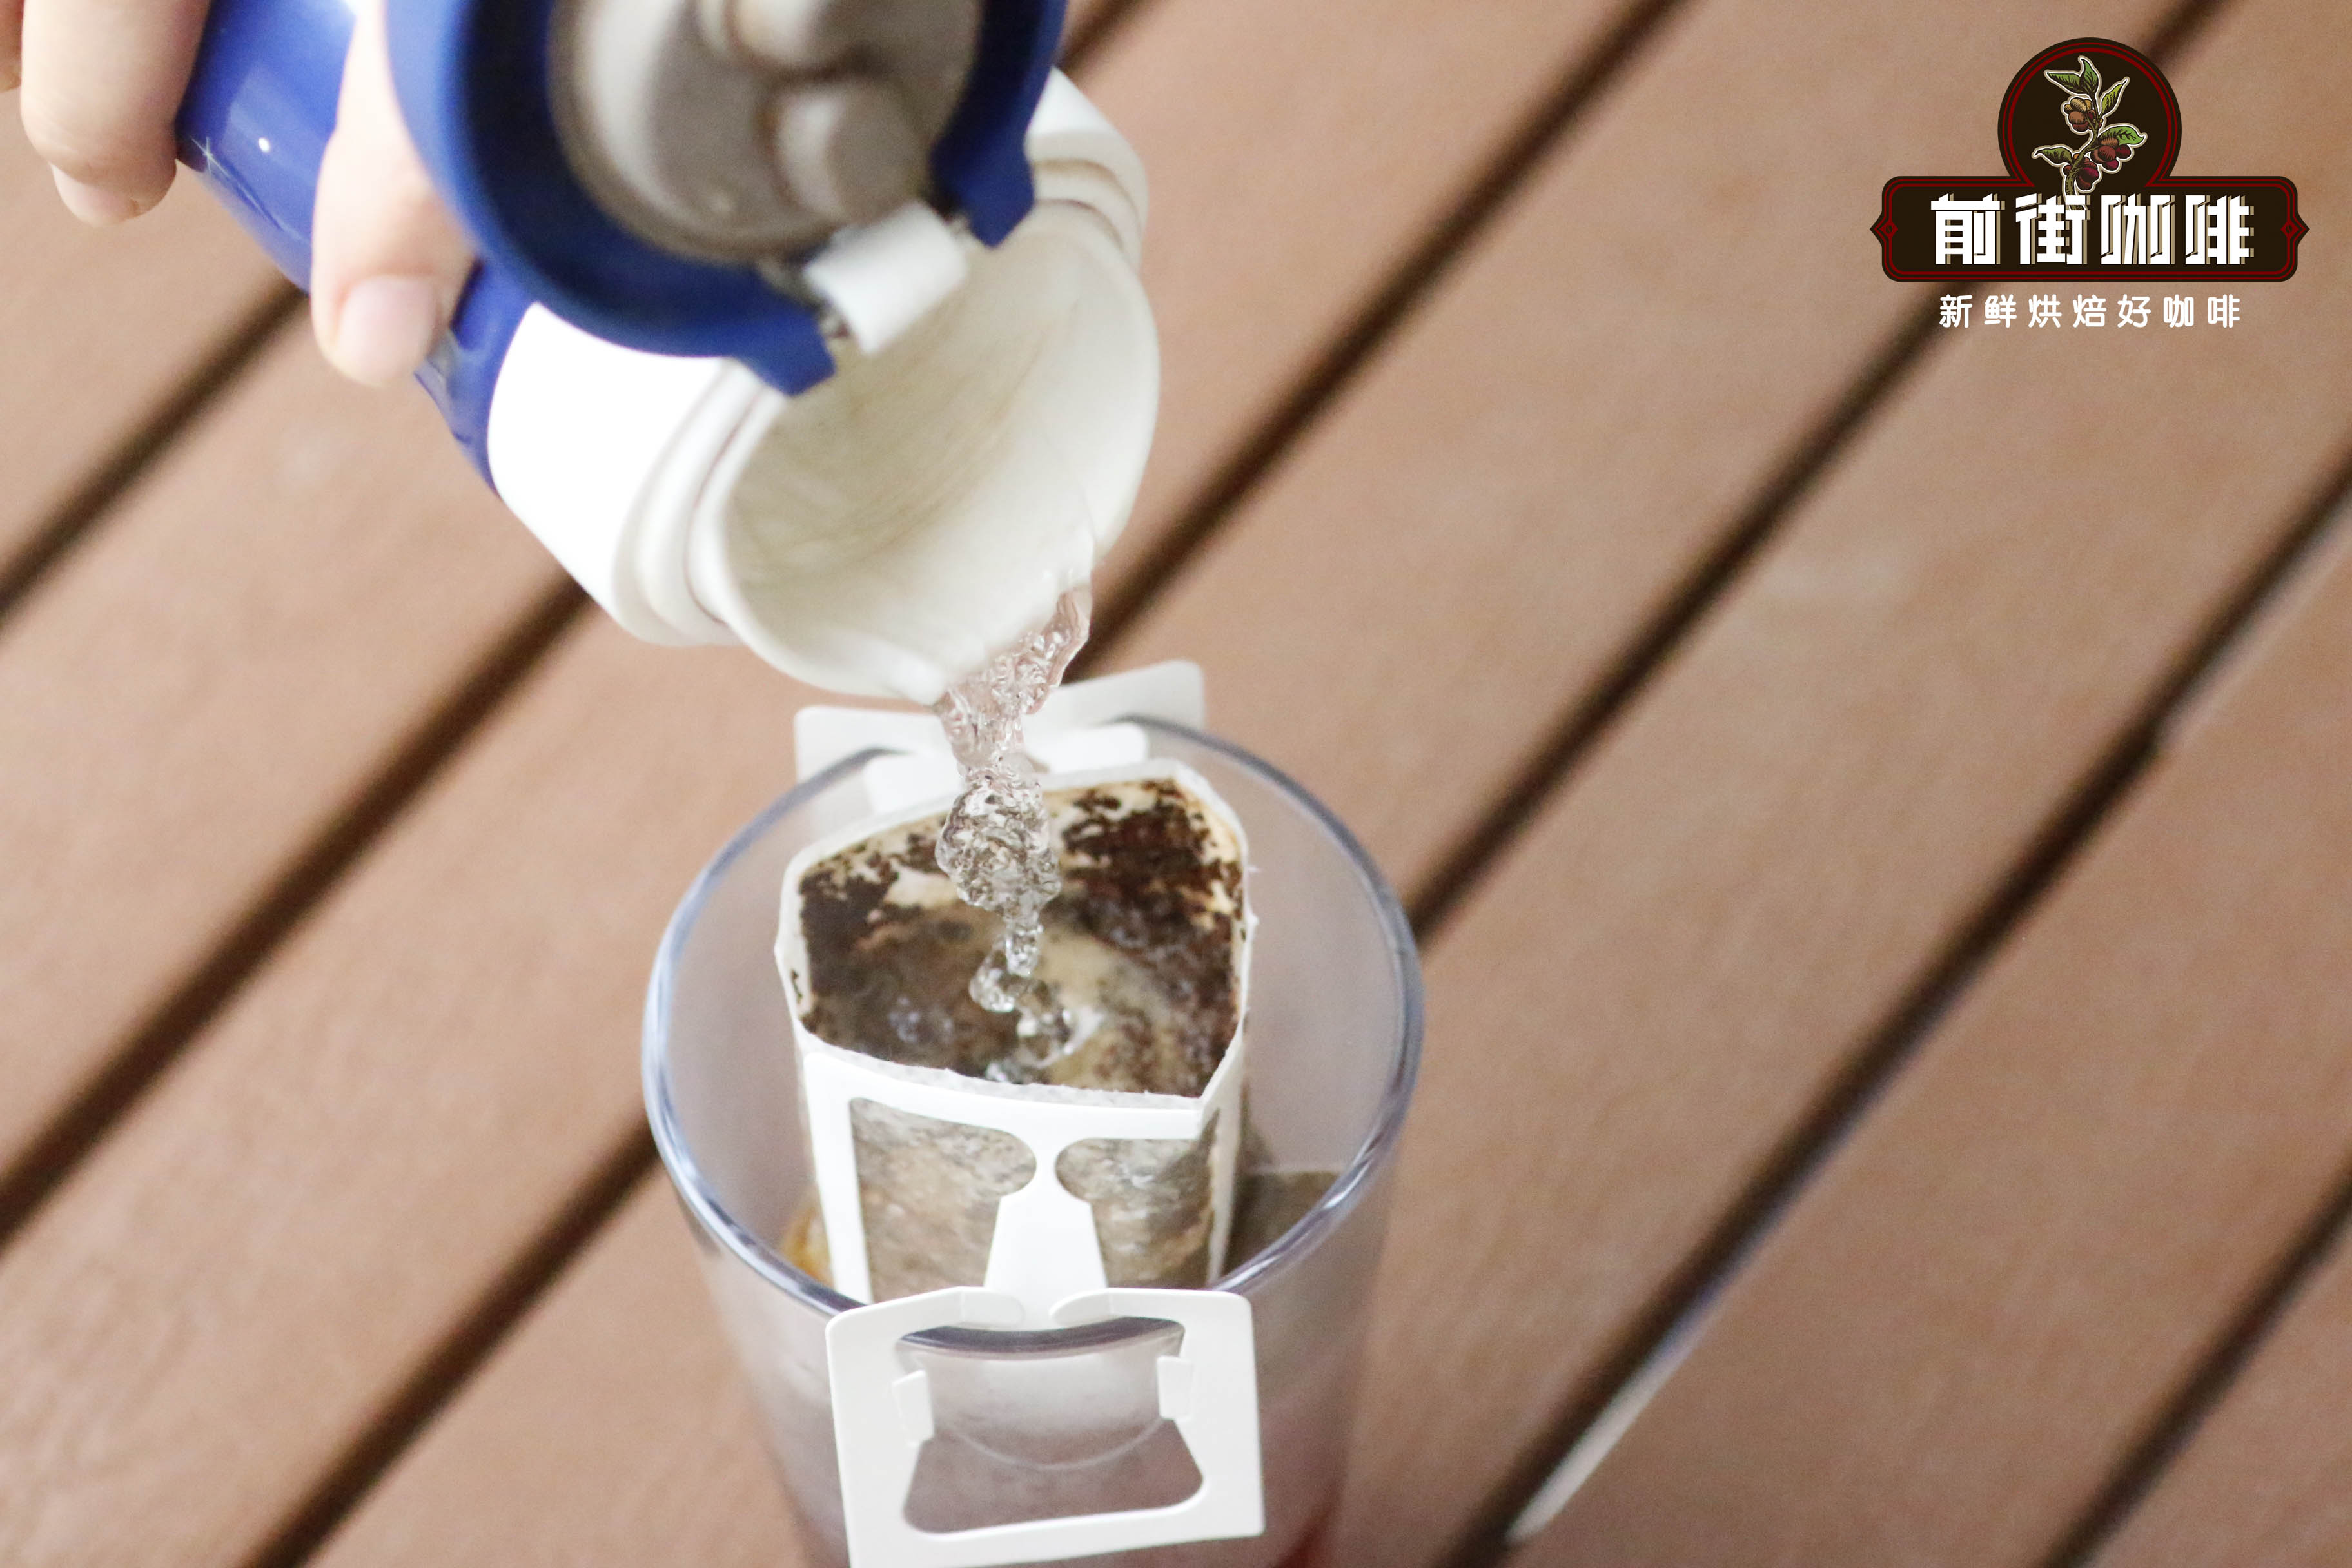 Second, the typical brew time for pour over is under two minutes, while drip bags take about four minutes—but both are still relatively quick. Third, pour over equipment takes up more space and isn’t convenient to carry around; drip bags are compact and can be brewed anytime. Lastly, because drip bag coffee grounds are exposed to air after grinding, their flavor lasts for a shorter period. It’s best to brew and drink them immediately for optimal taste.
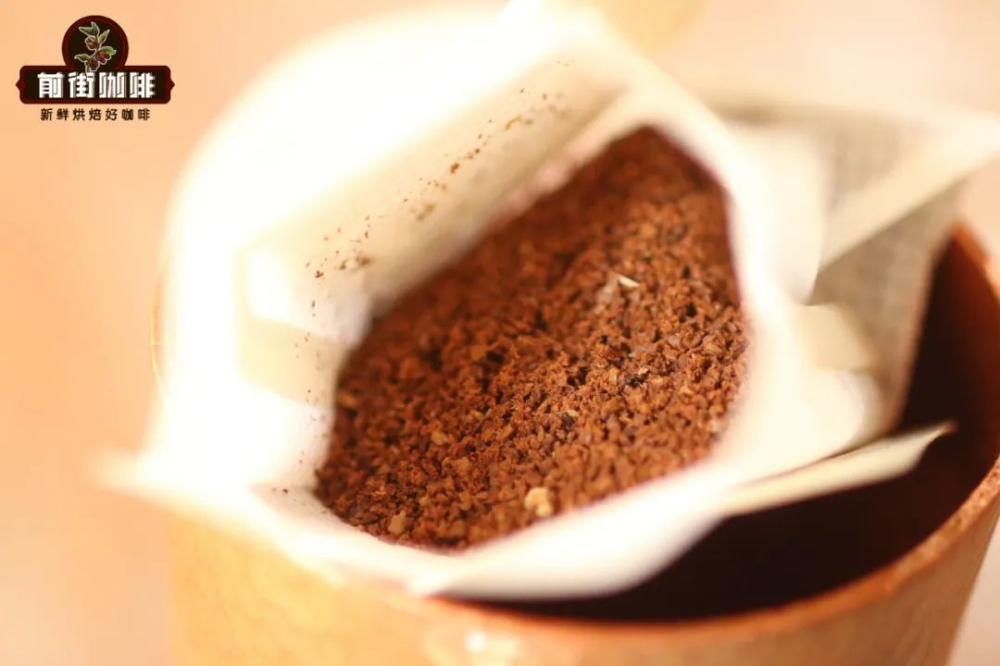
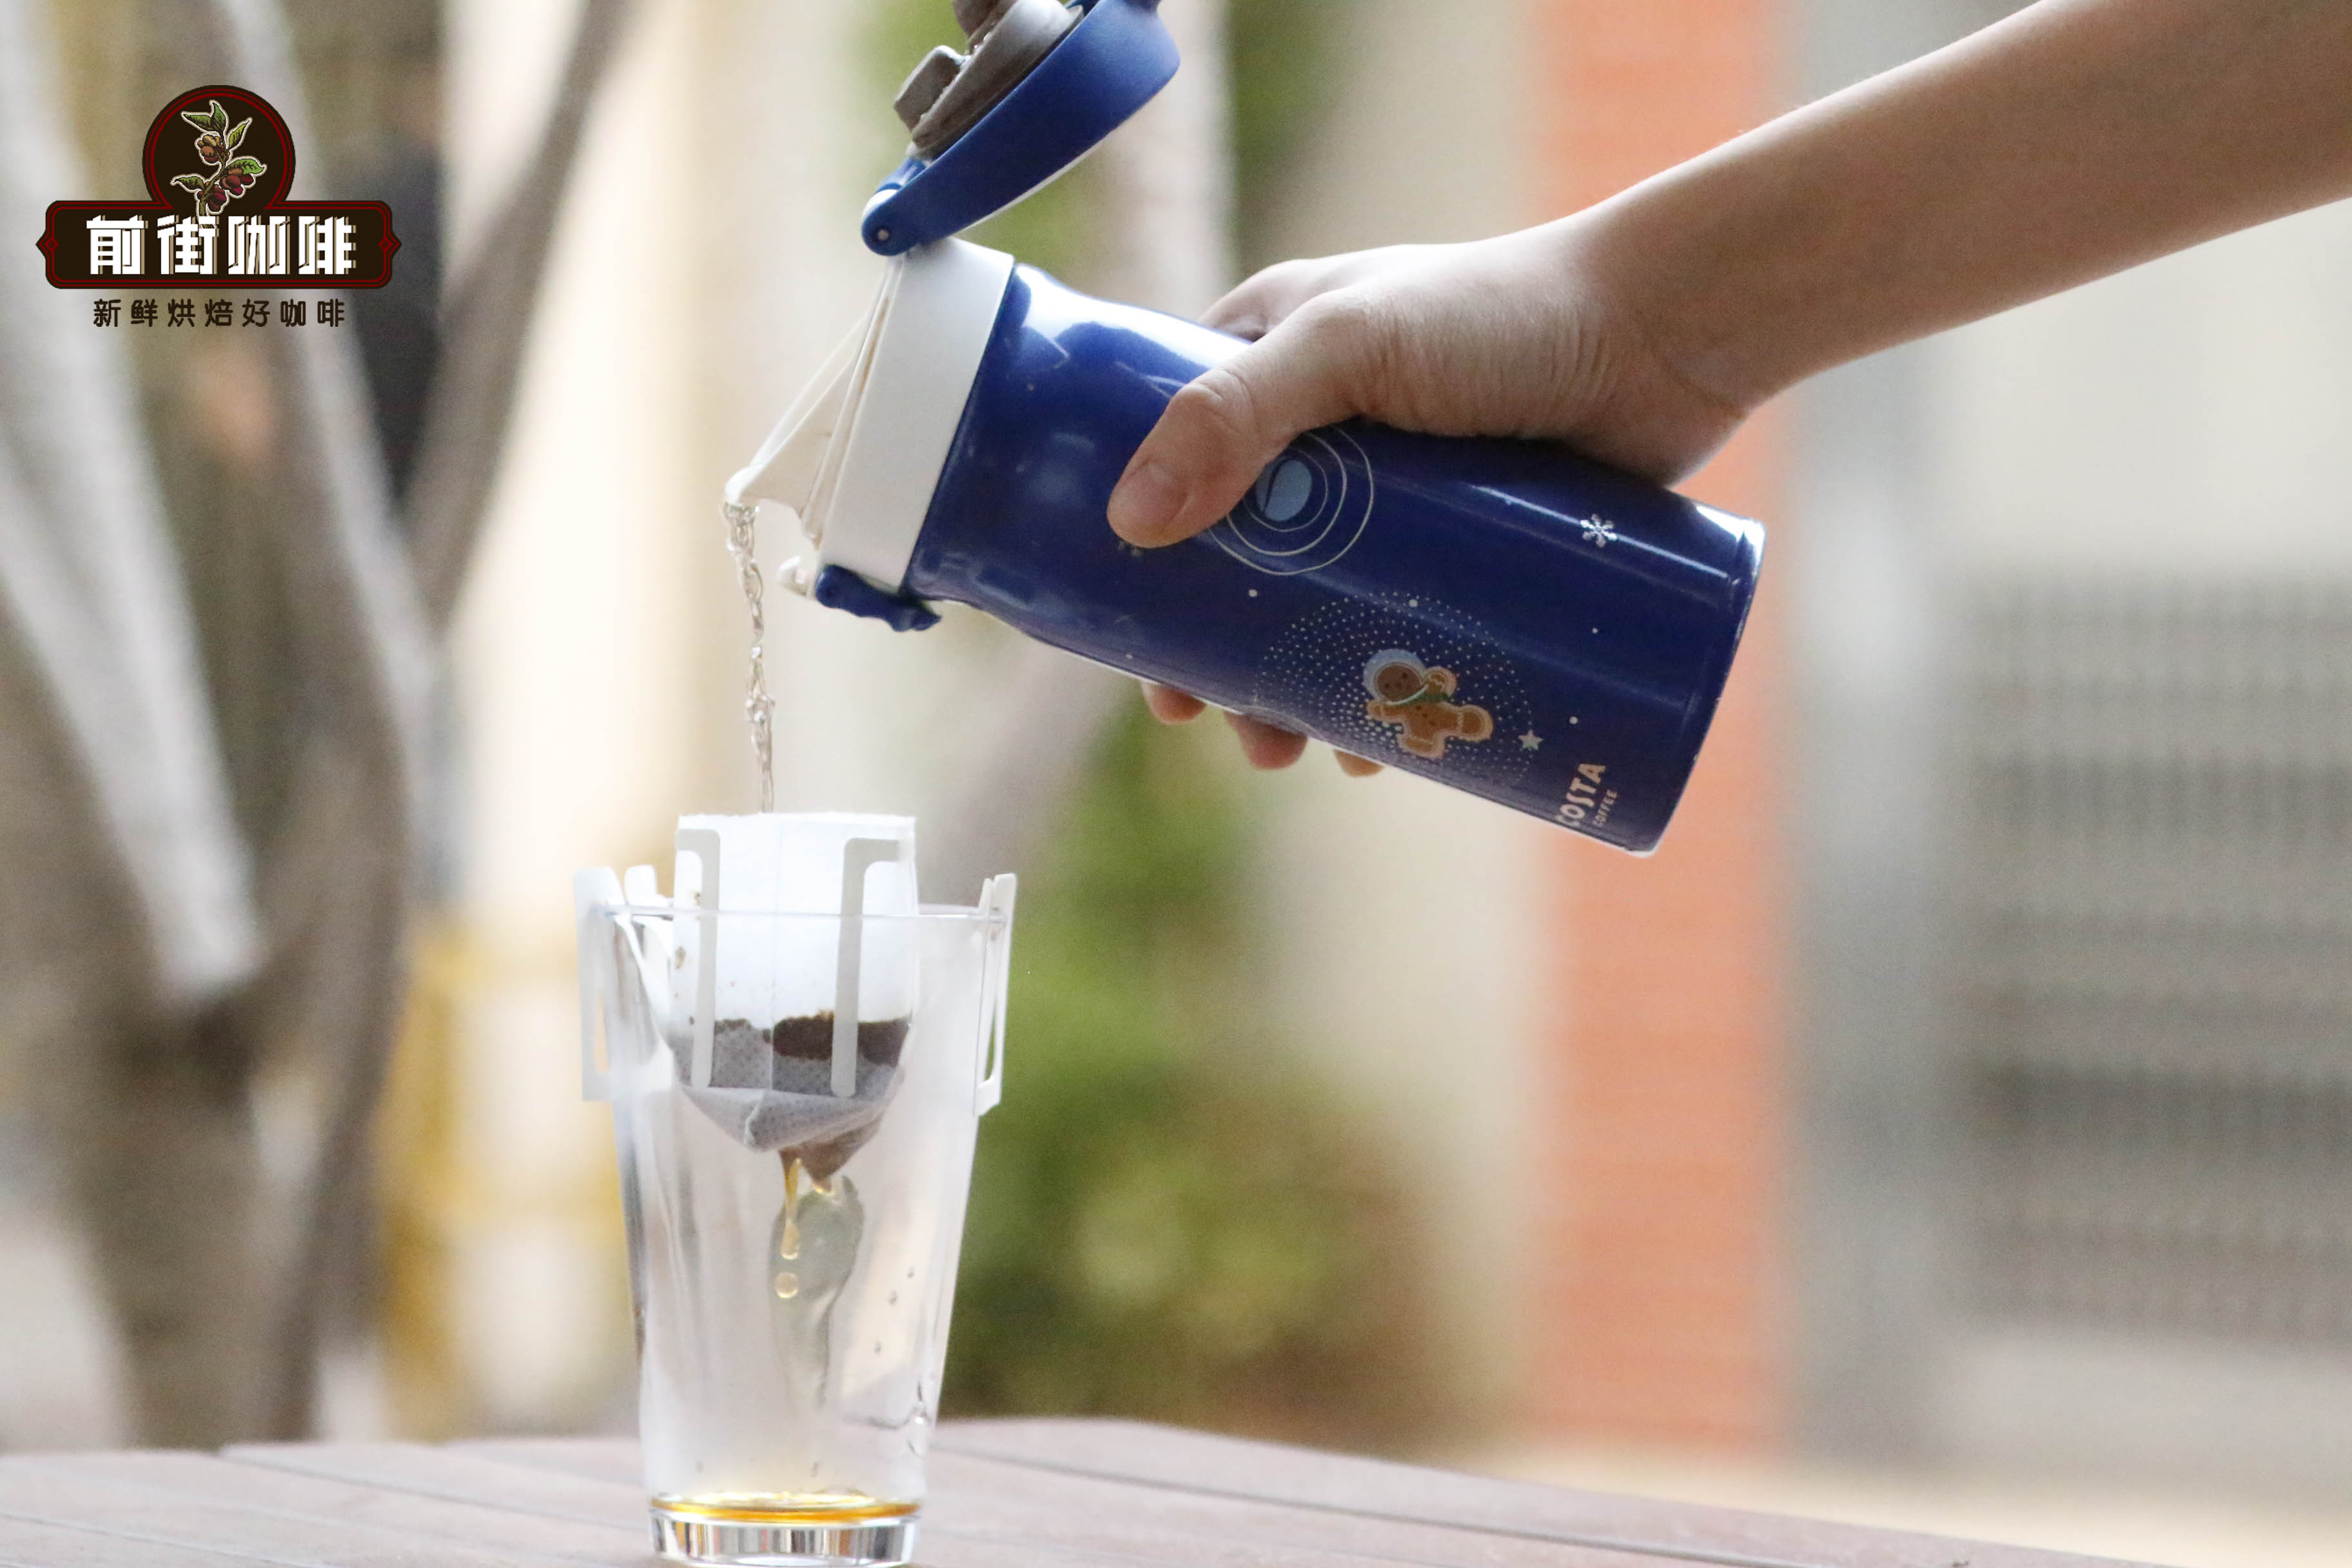
If you choose to use drip bags, here are the correct brewing steps: First, rinse your cup with hot water to help maintain the coffee’s temperature and flavor complexity.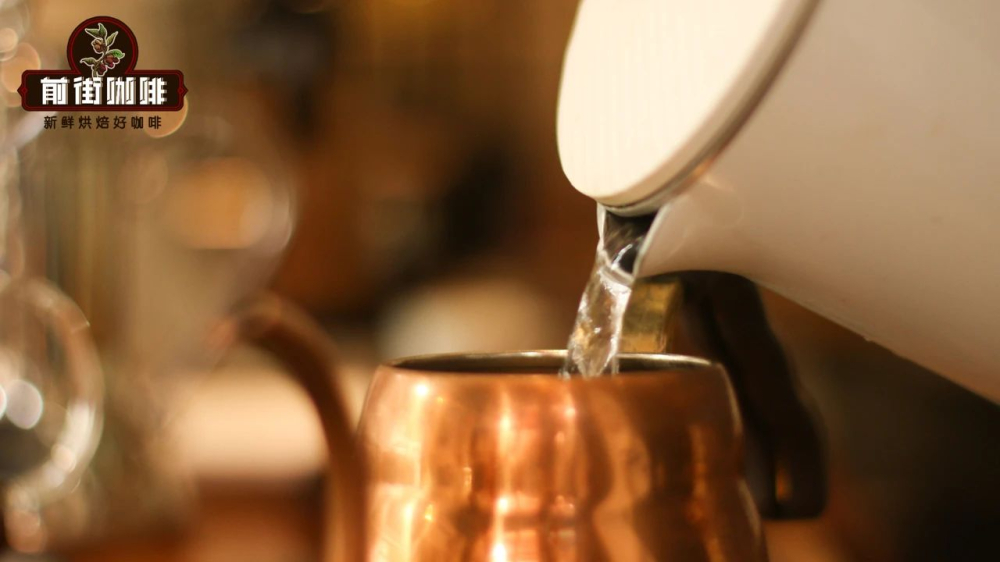 Next, control the water temperature between 85–90°C. This range balances acidity, sweetness, and bitterness. After tearing open the drip bag, gently shake it to evenly distribute the coffee grounds, then open the folds and hang the drip bag on the rim of the cup. For the first pour, add a small amount of hot water to wet the grounds, then let it bloom for about 20 seconds—this step awakens the coffee’s aroma. If you prefer a stronger flavor, you can extend the bloom time to 40 seconds.
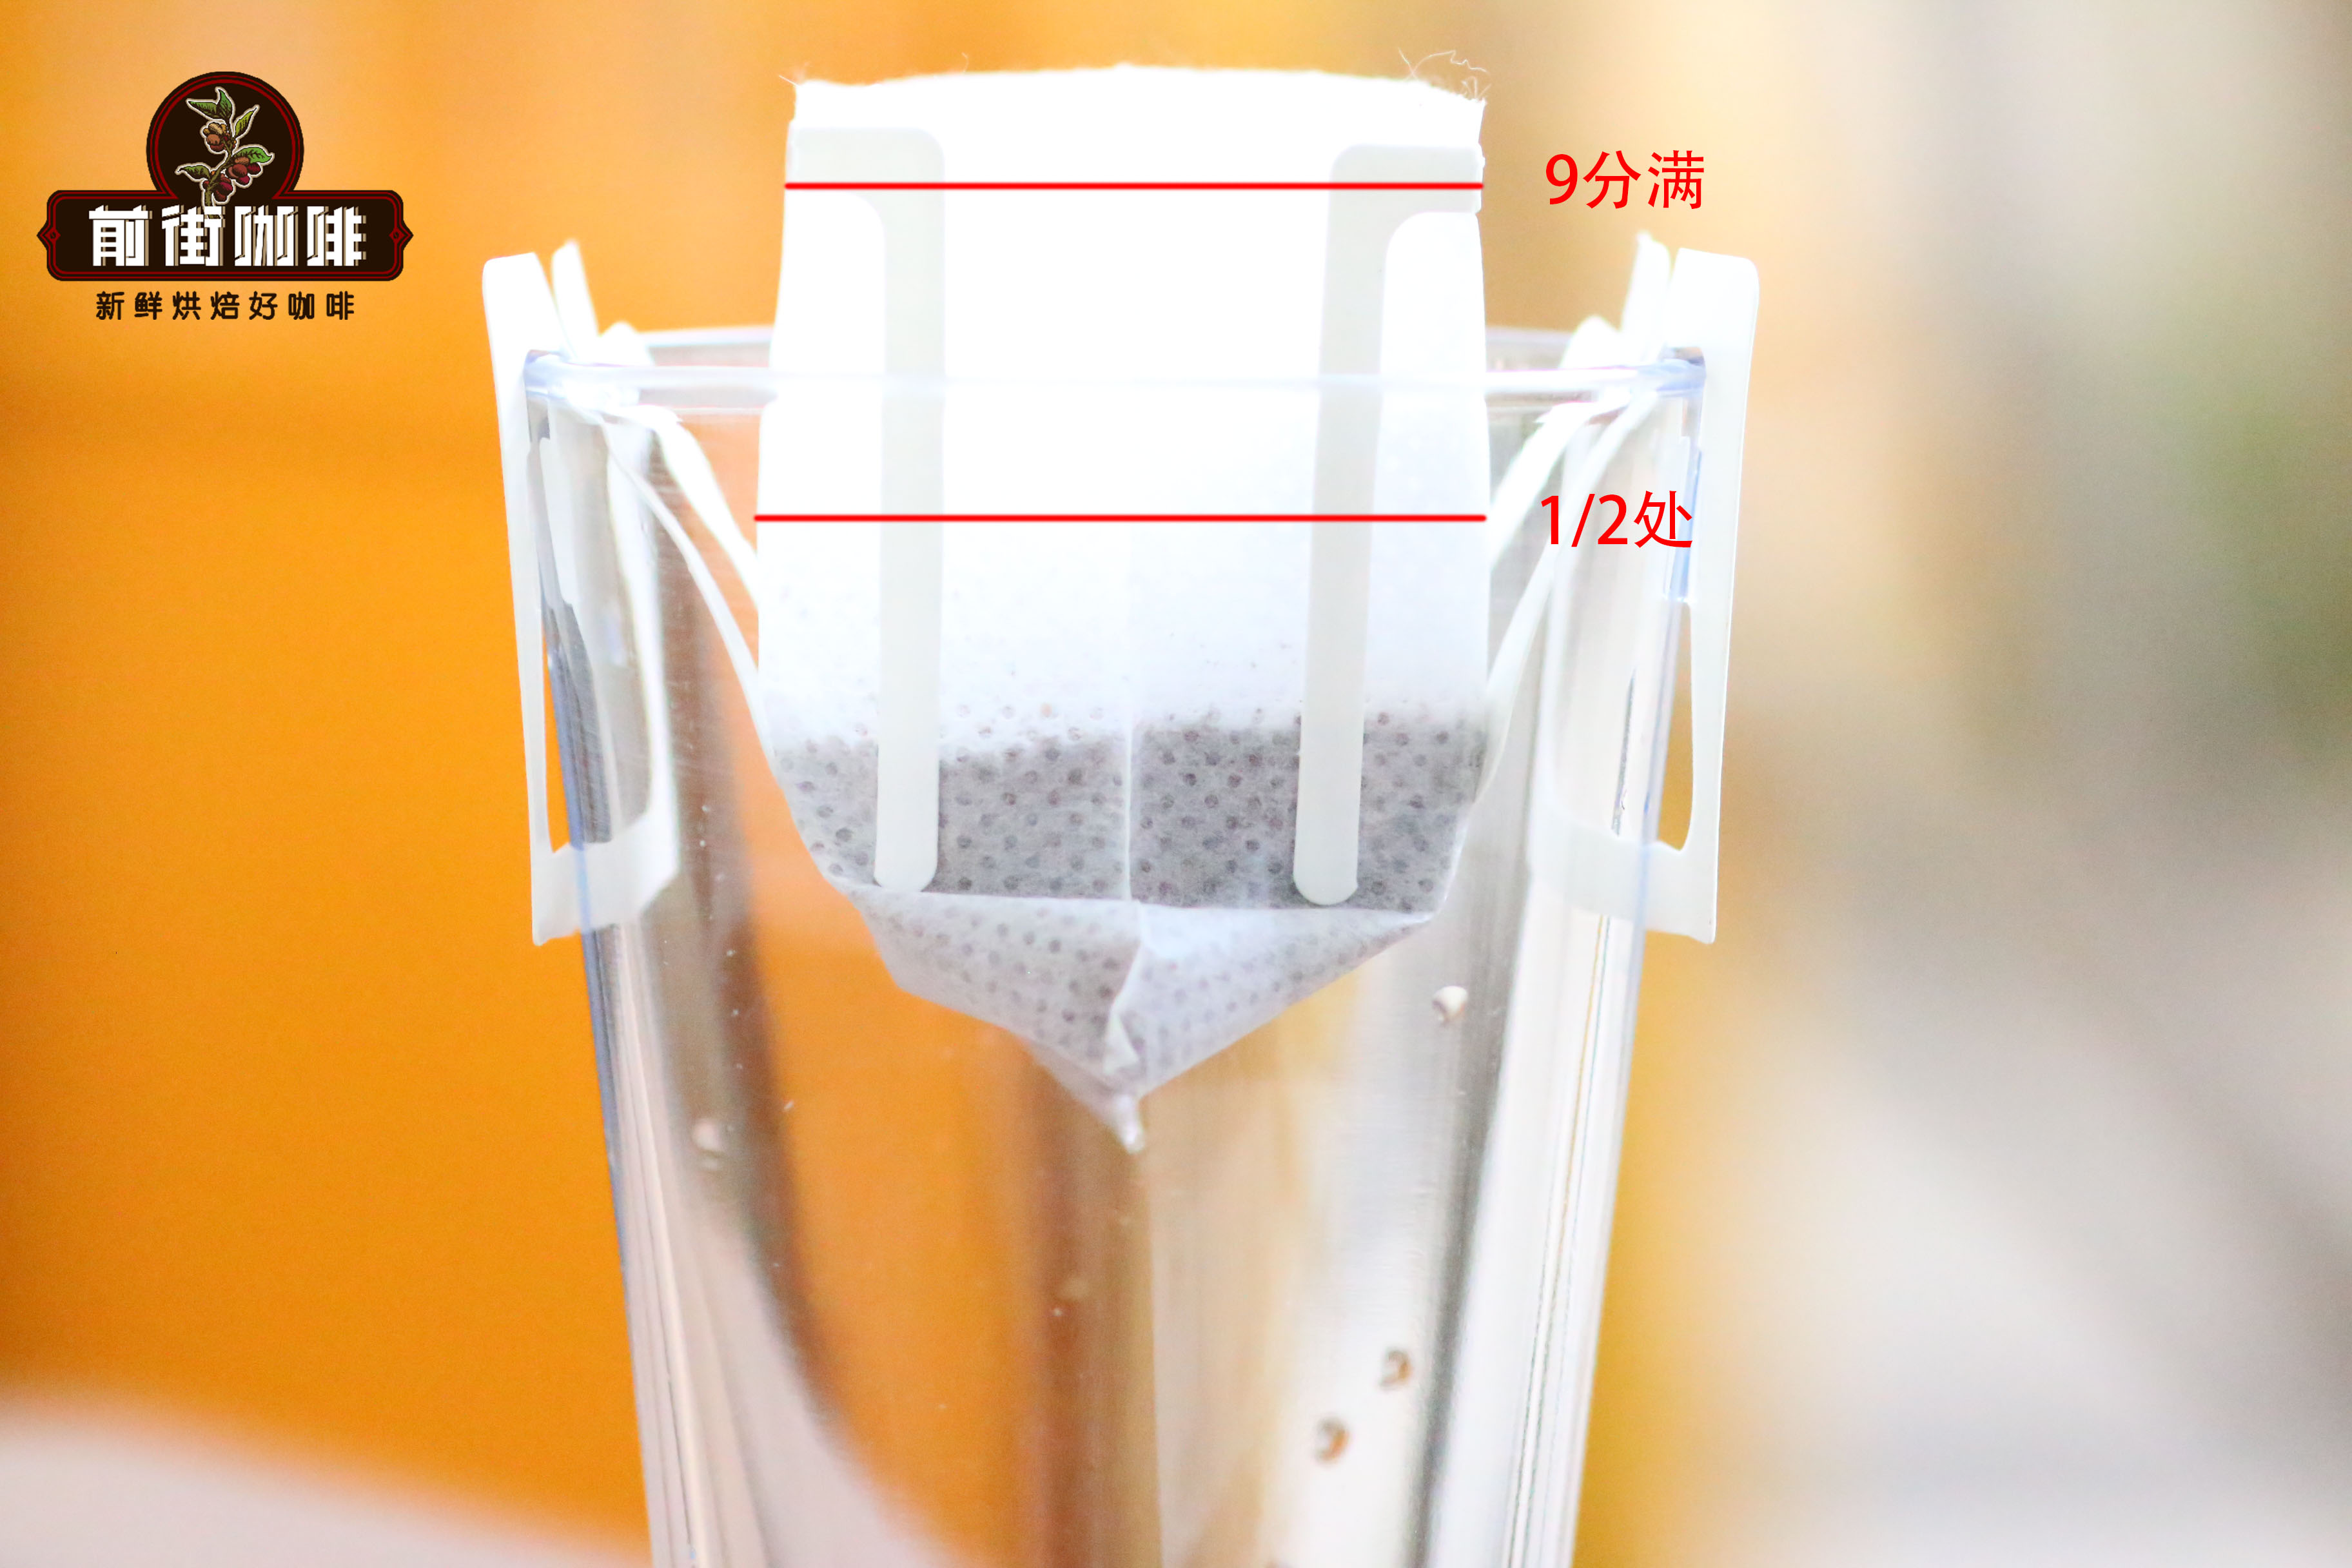
For the second pour, slowly add water using a thin, steady stream until the total brew volume reaches 150–180cc. Pay attention to maintaining a stable flow rate during pouring to avoid over- or under-extraction due to inconsistent speed. When the water level reaches about 80% of the filter paper’s capacity, continue pouring until you reach the desired total volume. Once done, you can remove the drip bag without waiting for all the water to completely drip through.
When brewing drip bag coffee, there are several important notes to keep in mind: First, never re-brew the same grounds, as the soluble compounds are fully extracted during the first brew. Second, do not leave the coffee grounds soaking in the cup after brewing, as over-extraction can lead to bitterness. Lastly, never place the drip bag directly into the cup for brewing—this causes the water temperature to drop before the grounds are fully saturated, negatively impacting flavor.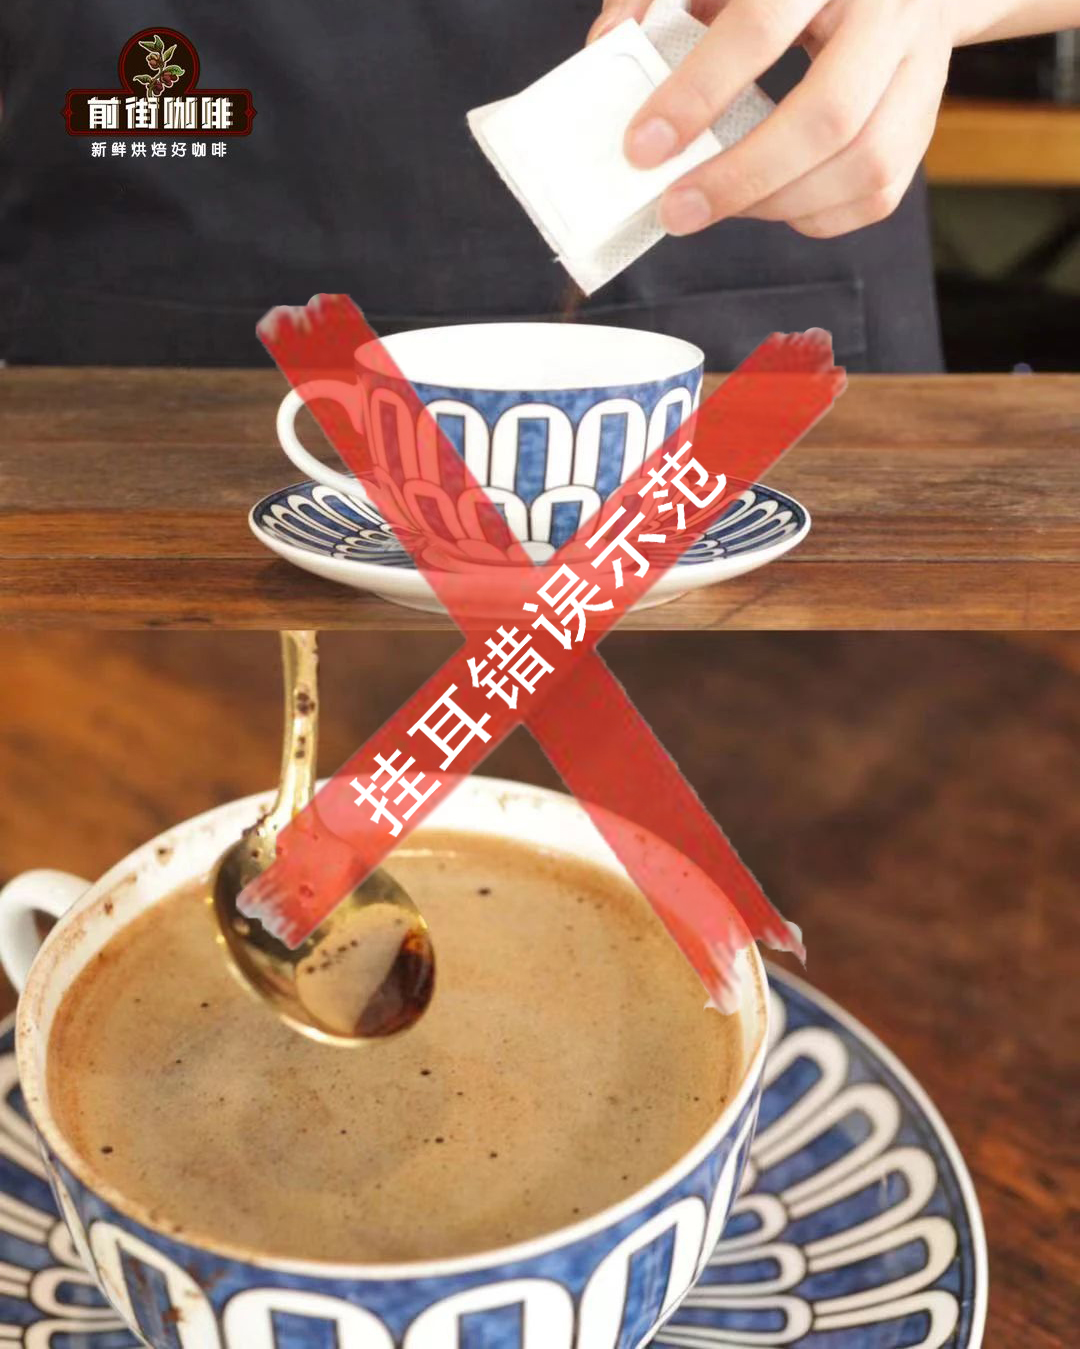 With these tips mastered, you can easily brew a cup of drip bag coffee at home with a flavor profile close to pour over, enjoying a professional-level coffee experience.
The above content is compiled by CoffeeHunters, a coffee news website.


