







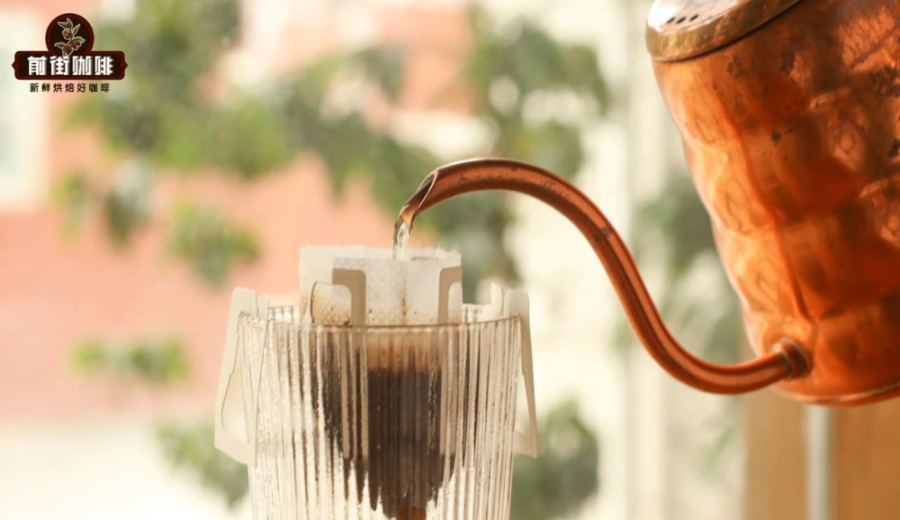
Introduction:Want to easily enjoy professional-grade pour-over coffee at home? This article explains in detail how to make a refreshing iced coffee and a rich cold brew using a single drip bag—covering key parameters such as water temperature control, coffee-to-water ratio, and extraction time all in one go. Special tips on ice-cooling techniques and refrigerator steeping precautions are also included to help you avoid common mistakes. Even beginners can consistently brew flavorful, layered coffee with ease.
DIY Guide to Drip Bag Cold Brew Coffee
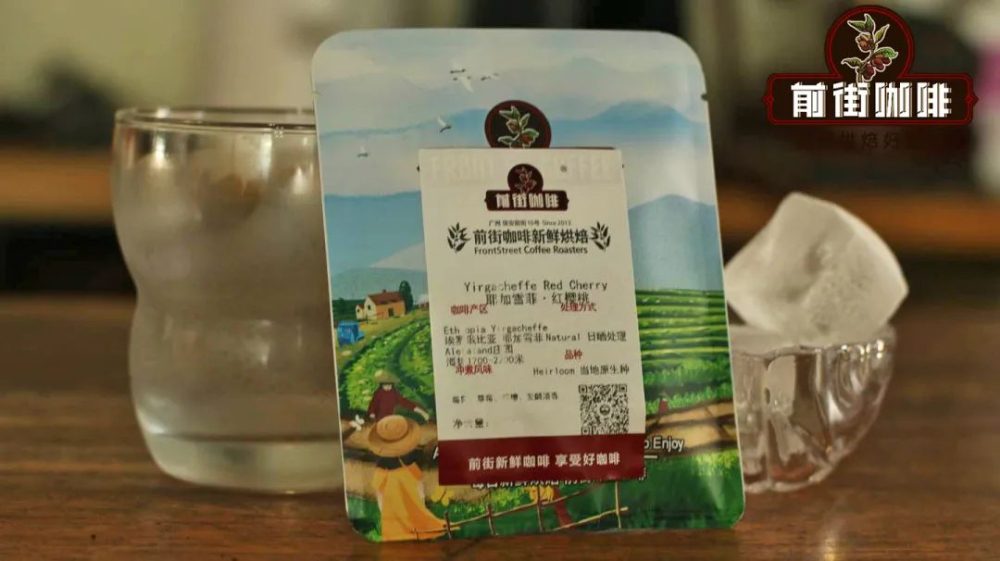
To make the cold brew version, you only need a 200ml airtight container and a drip bag (keep the original packaging bag on!). As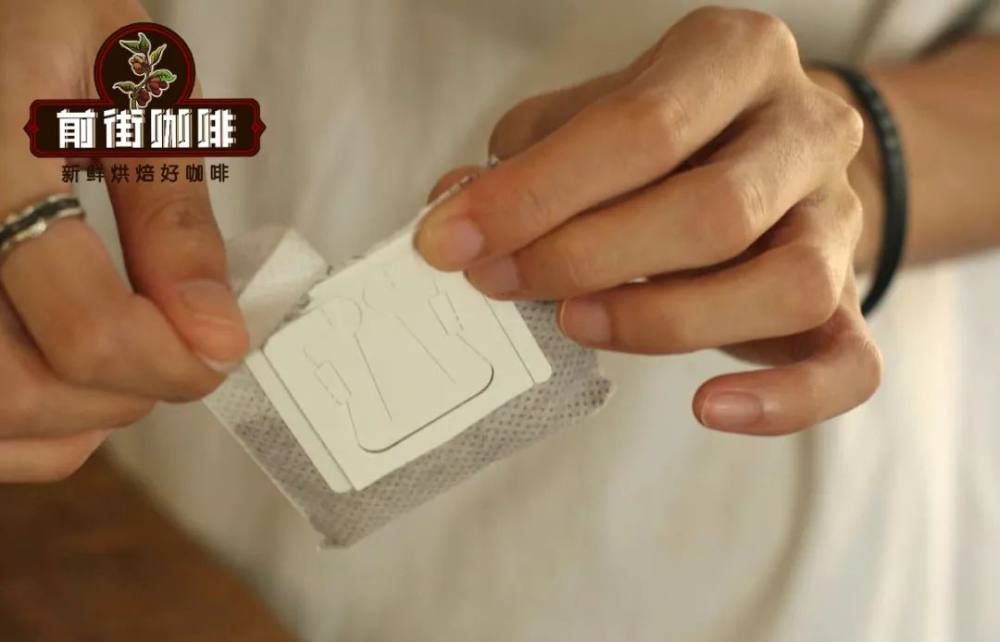 emphasized.
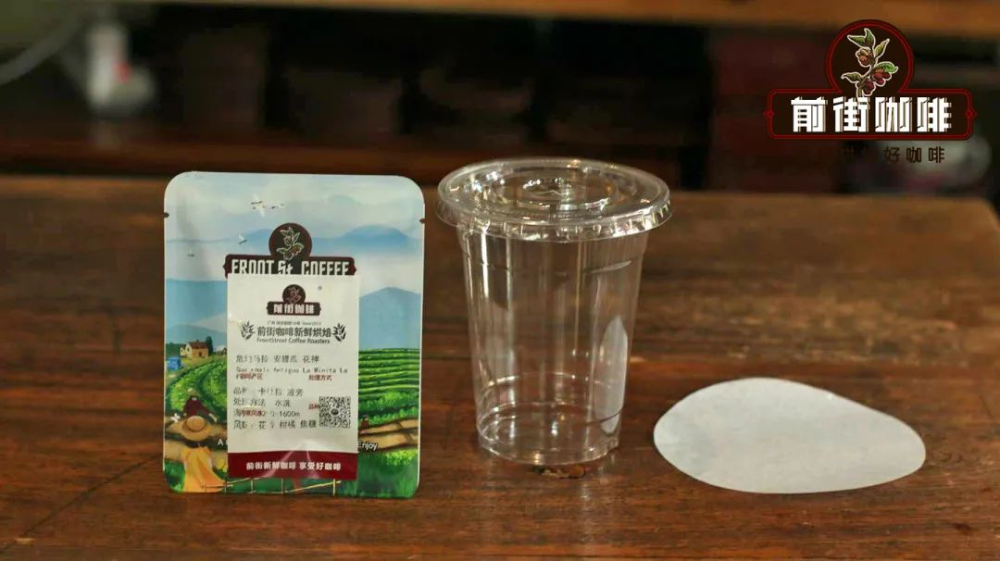 Start by tearing open the outer pouch and pouring the coffee grounds directly into the container without removing the drip filter bag—this design helps with filtering coffee grounds later. It is recommended to use glass or BPA-free plastic materials to ensure safety.
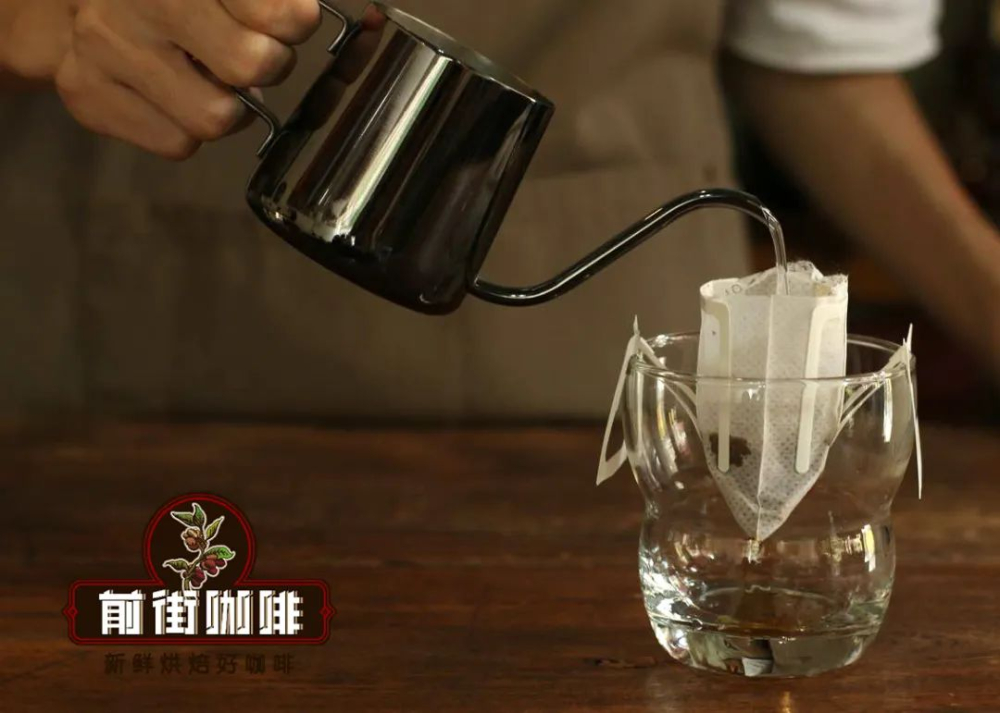
Pour in 100 grams of room-temperature water (about 55% of the cup’s capacity), as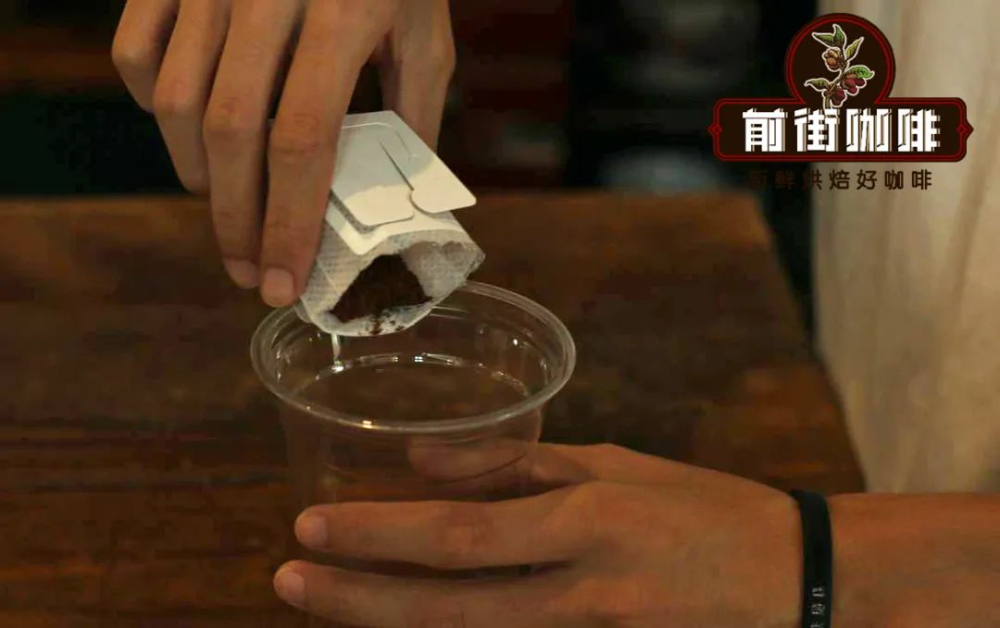 shows. If you don’t have a scale, you can estimate the water level to be slightly above half the cup. The key is to use water at room temperature (about 20–25°C) to avoid high temperatures that can lead to over-extraction and bitter substances. Seal the container and then
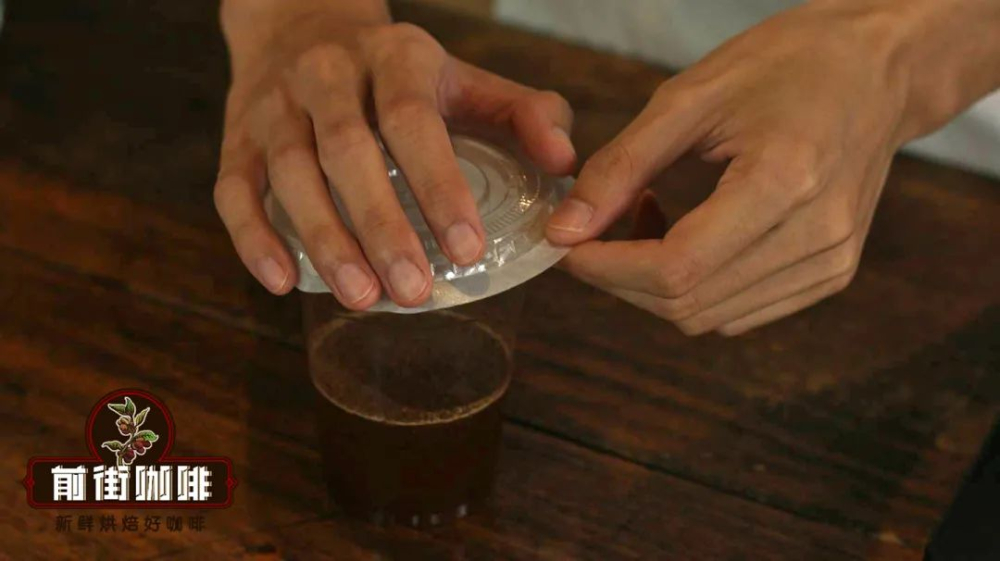 place it in the refrigerator’s chilled compartment, letting it steep for 8 hours in a stable 4°C environment.
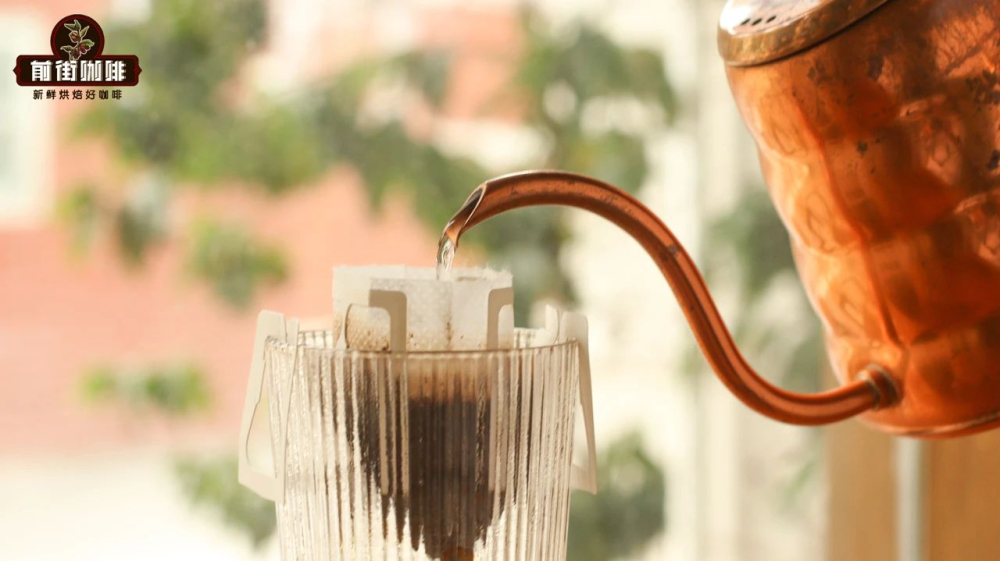
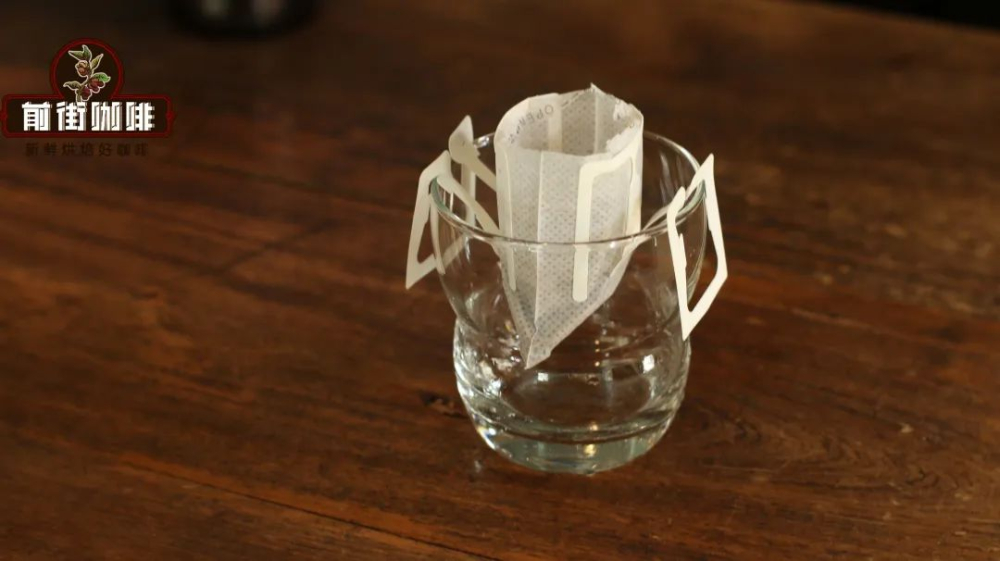
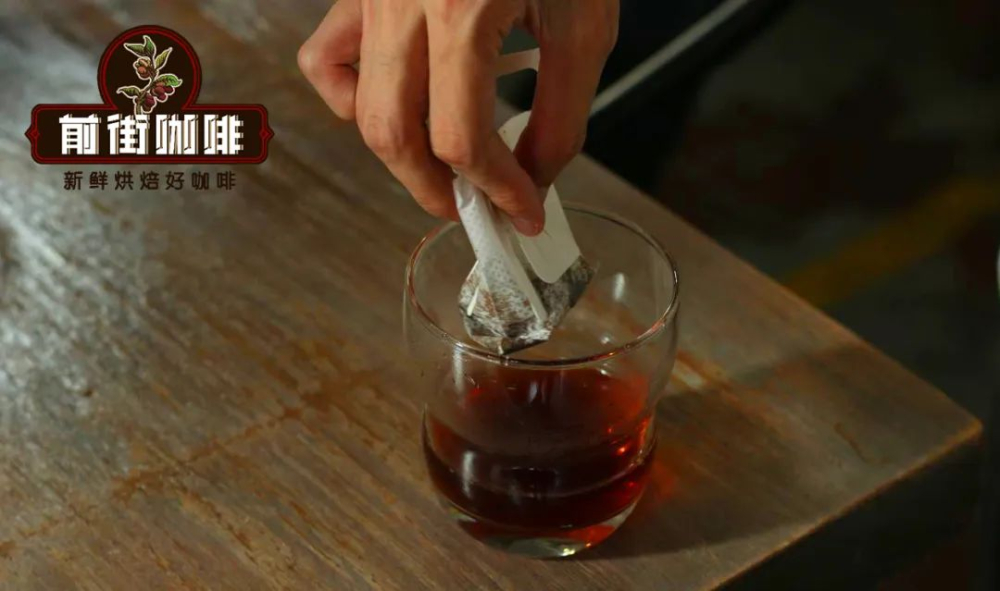
When the time is up, remove the filter bag (refer to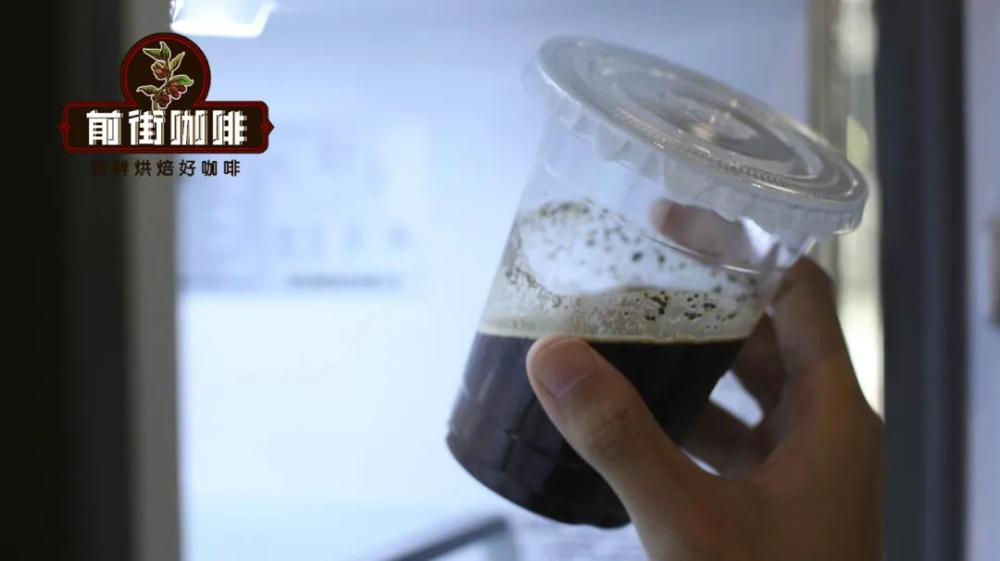 ), hang it over the rim of another clean cup, and
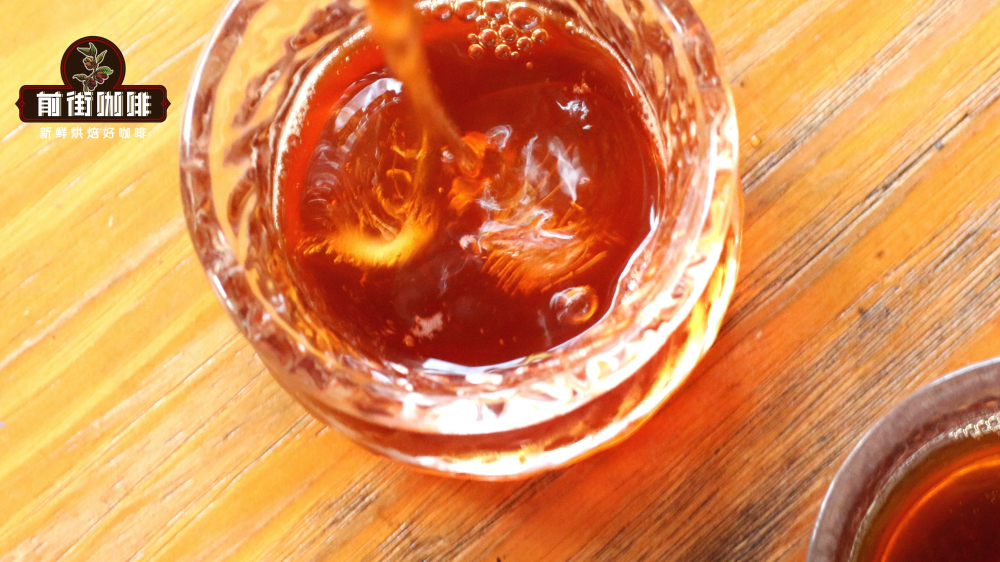
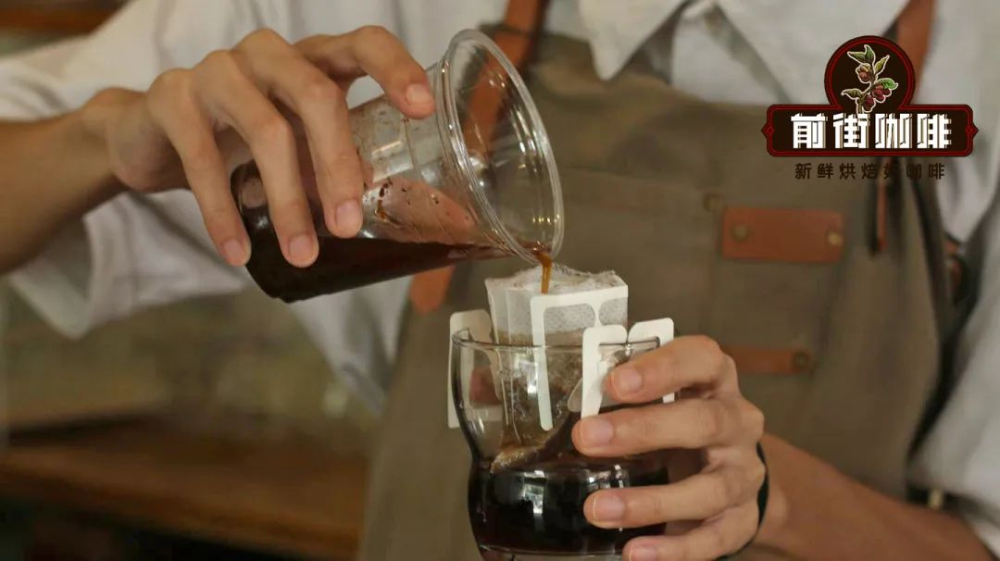 slowly squeeze to extract the coffee liquid. At this stage, you’ll notice that the filter bag effectively traps fine particles, resulting in a clear cold brew. The finished coffee can be enjoyed directly to savor its nutty and caramel notes, or you can add 3–5 ice cubes according to your preference to enhance the flavor profile.
" alt="" />" alt="" />" alt="" />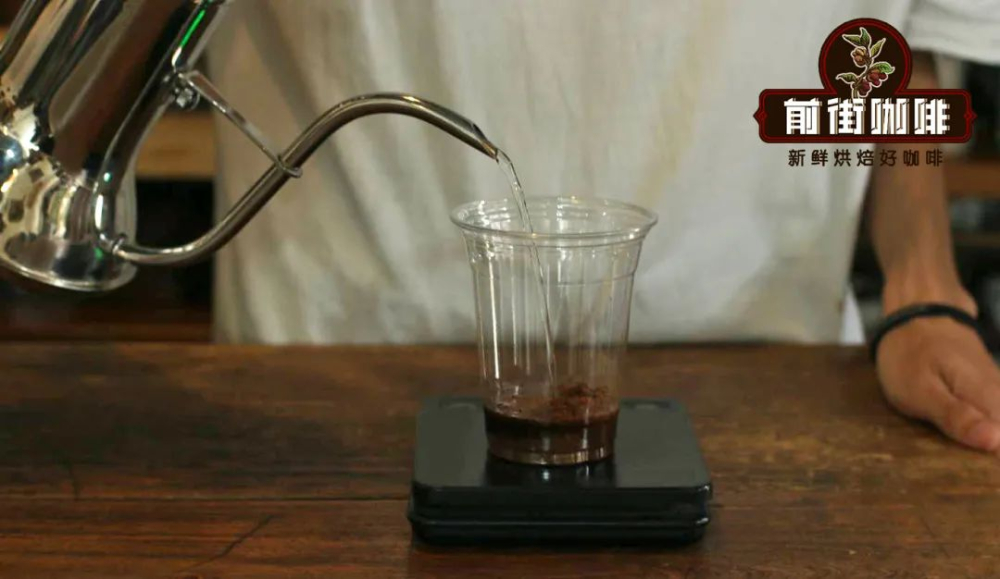 " alt="" />" alt="" />" alt="" />" alt="" />
 " alt="" />


The above content is compiled by CoffeeHunters, a coffee news website.


