







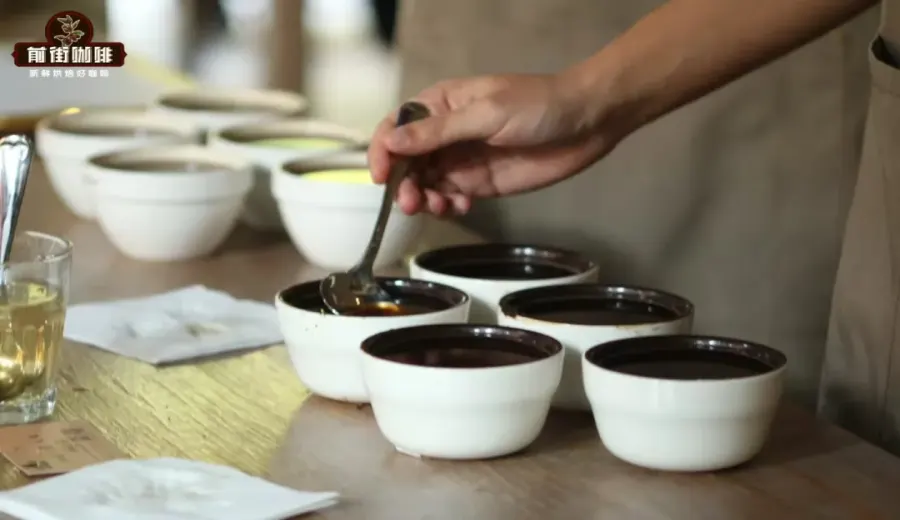
Introduction:Cupping is an evaluation method that can effectively reveal the true flavors of coffee, and in recent years, more and more coffee enthusiasts have tried it at home or in small gatherings. This guide will take you from zero to understanding the preparation process, operational details, and professional scoring points of cupping, and provide standardized extraction parameters—such as 11 to 12 grams of coffee grounds, a brew ratio of 1:18.18, water temperature of 94°C, and a 4-minute steeping time—to help you more objectively perceive the multi-layered flavors of coffee and compare them with your everyday brews.
As a coffee tasting method that strives to minimize human interference, cupping has gradually moved from the professional trade realm into the lives of everyday coffee lovers. Originally designed to quickly assess the quality of coffee beans, this method has, over time, become an industry standard due to its ability to reflect the essential flavors of coffee relatively objectively, and is even used in international coffee competitions.
If you’ve ever wondered how professionals evaluate coffee, or want to explore the hidden flavors of coffee with friends at home, understanding the cupping process is a great place to start. This article will detail the full process—from equipment preparation and operational steps to flavor evaluation and scoring—and offer practical parameter suggestions to help you get started with ease.
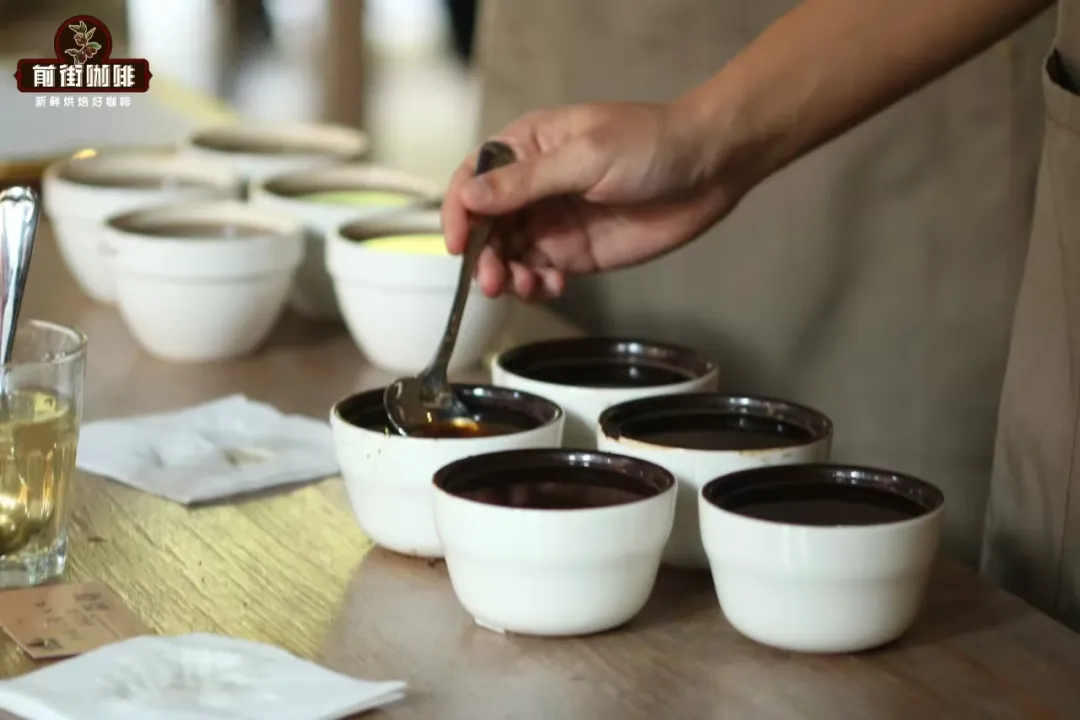
First, let’s look at the basic equipment needed for cupping. If you’re trying it for the first time, you don’t need to buy all the professional gear at once; using regular cups or bowls and spoons can still allow for a basic cupping experience. But if you plan to do it multiple times, investing in a set of professional cupping bowls and spoons can significantly improve efficiency and consistency.
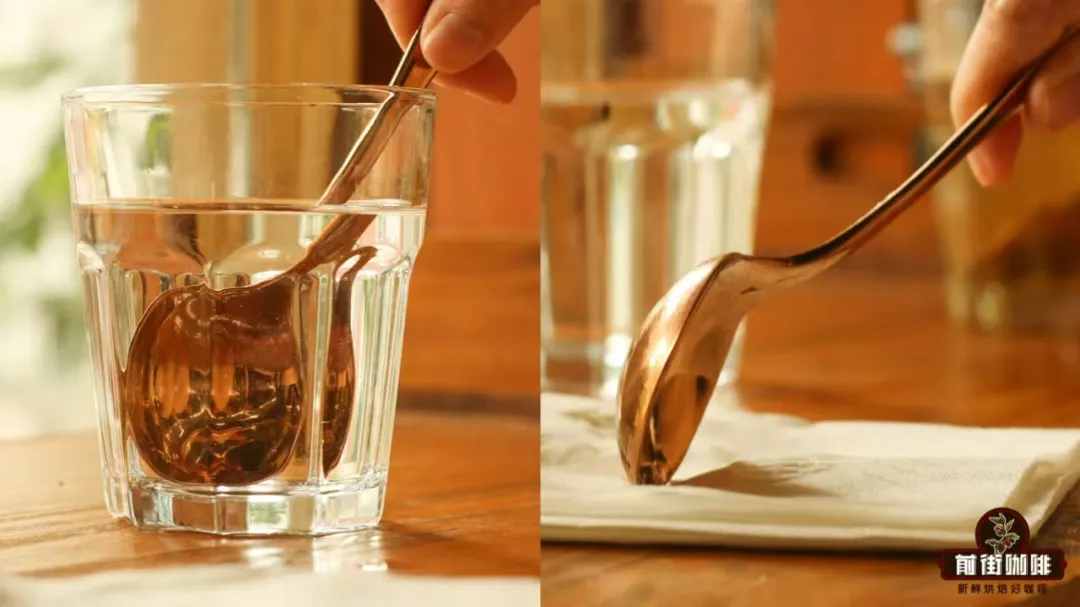
In addition to cups and spoons, you’ll also need to prepare clean water and paper towels. The water is mainly used to rinse spoons that have touched coffee to avoid cross-contamination of flavors; the paper towels are used to dry the spoons to prevent excess moisture from diluting the coffee liquid. Also, if you’re participating in a group cupping session, it’s recommended that each person bring their own small cup to avoid drinking directly from the cupping bowl, maintaining hygiene and reducing flavor interference.
Finally, don’t forget to prepare a cupping score sheet. The two main scoring systems currently in use are SCAA and COE; you can choose the appropriate form based on your needs and print it out in advance.
Before starting the cupping, there are several things to keep in mind to help you achieve a more accurate tasting experience. First, try to avoid wearing perfume or strong hand cream, as these scents can interfere with your judgment of the coffee aroma. Second, it’s recommended to conduct a blind tasting, meaning participants are not told the origin of the coffee, to reduce subjective bias.
Additionally, during the cupping process, it’s not advisable to voice personal opinions immediately, so as not to influence others’ judgments. Remember, the key is to score boldly based on your own sensations. Lastly, it’s best to perform cupping at least eight hours after the coffee beans have been roasted to ensure the flavors have fully developed and are closer to the actual drinking state.
The parameter settings for cupping follow unified standards to ensure each cupping session is comparable. Here are the common standard parameters: approximately 11 to 12 grams of coffee grounds, a brew ratio of 1:18.18, grind size controlled to about 75% passing through a 20-mesh sieve, water temperature maintained at 94°C, water TDS value ideally between 75 and 250 ppm, and a fixed steeping time of 4 minutes.

Next, we move on to the actual cupping steps. The first step is “smelling the dry fragrance.” After grinding the coffee, many aromatic compounds sealed within the beans are rapidly released. At this point, simply lean close to the cup or bowl and focus on sensing the raw aroma emitted by the coffee grounds. It’s recommended to complete this step within 10 minutes to avoid olfactory fatigue. If you feel your sense of smell dulling, take a few deep breaths of fresh air or your own clothing to help restore sensitivity.
The second step is “pouring water and smelling the wet aroma.” Use 94°C hot water and pour according to the standard brew ratio, then immediately start timing. Once the water is poured, the coffee grounds will absorb the water and expand, releasing a wet aroma that is distinctly different from the dry fragrance. The aromas at this stage are usually richer and more complex, serving as an important basis for judging the direction of the coffee’s flavors.
The third step is “breaking the crust.” After the coffee has steeped for four minutes, use the back of a cupping spoon to gently draw three circles on the surface of the coffee liquid, aiming to gather the floating coffee grounds together for easier removal afterward. This movement should be gentle and steady to avoid excessive stirring, which can affect the mouthfeel.
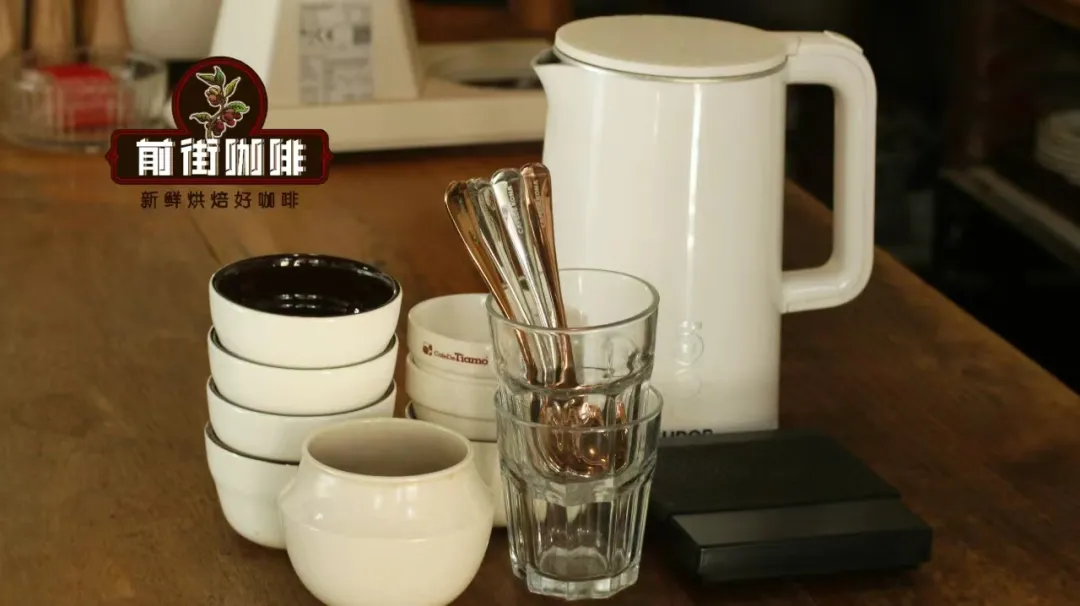
The fourth step is “skimming the crust.” Use another spoon to remove the coffee grounds and foam floating on the surface. Observe whether there is still noticeable foam on the surface; if so, it indicates that the residue hasn’t been completely cleared, and it’s recommended to skim again. This step is very important because residual fine grounds not only affect the mouthfeel but may also leave you with a mouthful of grit. After each skimming, be sure to rinse the spoon with clean water and dry it with a paper towel to avoid contaminating other coffee samples.
The final step is “tasting.” After skimming the crust, you can begin tasting the coffee. It’s recommended to start at the high-temperature stage when the flavors are most pronounced; using the slurping method allows for a more comprehensive capture of the aromas and layered flavors. As the coffee cools down, taste it again at intervals to observe how the flavors change. After each sip, clean the spoon again to prevent flavor mixing.
After tasting, it’s time to score and share. You can refer to the score sheet to rate aspects such as aroma, flavor, aftertaste, acidity, body, and balance, and share your impressions with others. Through discussion, you’ll gain a deeper understanding of the characteristics of different coffees and also train your own taste sensitivity.
The above content is compiled by CoffeeHunters, a coffee news website.


