







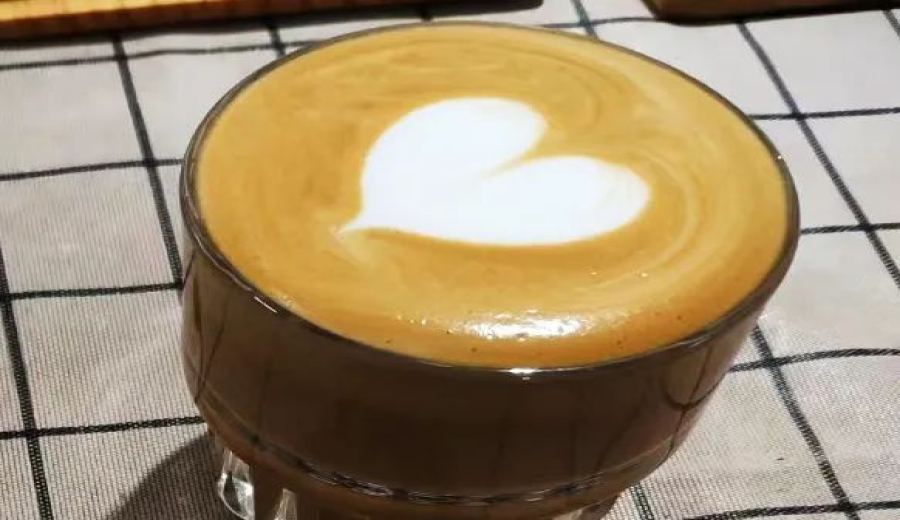
Introduction:When learning latte art, the large heart is one of the most beginner-friendly classic patterns. Not only is it easy to master, but it also serves as the foundation for many advanced designs. This article thoroughly breaks down milk foam thickness, pour ratio, drawing point selection, pouring technique, and finishing skills. It also analyzes common mistakes through real-life failure cases, helping you accurately achieve a symmetrical and full-hearted heart latte art with fewer detours and an enhanced coffee art quality.
Want to try latte art but don’t know where to start? The large heart is the pattern most beginners successfully create on their first try, and it’s also the foundation for many advanced latte art designs. To consistently draw this pattern, you need to master basic elements such as espresso extraction, milk foam texture, pitcher stability, and pouring technique. This article will deeply analyze milk foam consistency, control of the pour ratio, starting point of the design, pouring angle, and timing of the finish, along with real failed examples to guide you step-by-step in creating a centered and plump large heart pattern.
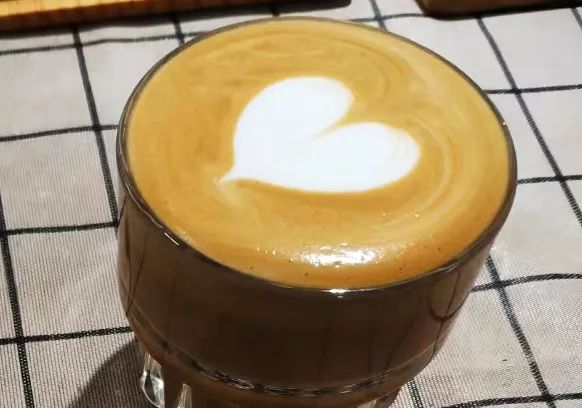 First, let’s talk about milk foam preparation. The large heart has certain requirements for the fineness of the milk foam, but it is more flexible in terms of thickness—just make sure the foam remains fluid. It is generally recommended to steam the milk to about 60–80% of the pitcher’s capacity. This level of thickness helps form a full and defined pattern. In fact, slightly thicker foam can even make the heart appear more three-dimensional with clearer outlines. However, note that baristas who are accustomed to creating textured patterns may find it temporarily difficult to adjust to achieving the ideal large heart due to ingrained pouring habits.
Mastering the pour ratio is also crucial. The pour refers to the process of evenly mixing the milk foam with the espresso, and the amount of pour affects subsequent convection effects. If you want the pattern to have noticeable convection, reduce the pour amount; if you prefer a smoother and softer design, increase the pour amount. For example, when making a “textured tulip,” it is common to only pour to about one-quarter full to generate sufficient convection. Meanwhile, delicate patterns like “wheat ears” require pouring to around seven or eight-tenths full to reduce convection intensity. For the large heart, it is recommended to pour to about seven-tenths full. This ratio maintains moderate convection, resulting in a heart that is just the right size. Insufficient pour will cause the heart to expand excessively, while too much pour will make the heart shrink—both affecting aesthetics.
The choice of the drawing point is key to whether the large heart appears centered. Since the heart emphasizes symmetry, the injection point must follow the central axis of the cup. It is recommended to position the spout at the one-quarter mark on the side of the pitcher. This ensures the pattern lands steadily in the exact center of the cup. Once the injection point shifts, the entire heart is likely to tilt, affecting the overall visual appeal.

During the actual pouring process, it is suggested to initially increase the milk flow to promote convection, making the heart more plump. As you pour, slowly move the pouring point from the one-quarter position toward the center, while simultaneously using your left hand to slowly bring the cup back and your right hand to gradually raise the pitcher’s spout, setting the stage for the final movements. At this stage, it is important to maintain a stable flow rate and angle to avoid distorting the pattern due to uneven pressure.
The finish is the part of the latte art process where mistakes are most likely to occur. When the milk level in the cup reaches about nine-tenths full, it’s time to prepare for the finish. At this point, reduce the milk flow and raise the pitcher’s spout. Move along the central axis to the base of the heart, then decisively cut off the flow, leaving a clean and concise short tail. Be especially careful not to drag the pitcher beyond the rim of the cup, as this can create an overly long tail, which not only affects aesthetics but may also soil the cup edge.
Below is a summary of several common mistakes when drawing the large heart and their causes, to help you avoid these pitfalls:
【Uneven lobes】A common reason is an unlevel cup or improper grip on the pitcher, causing the pouring angle to shift and resulting in left-right asymmetry.
【Distorted heart shape】If the pitcher’s spout is not moved forward during the convection phase and remains at the initial position, it can prevent the pattern from forming a standard heart shape.
【Flat and underwhelming heart】This usually happens because the pitcher is lifted too early during the convection process, leading to insufficient convection and a pattern that fails to expand properly.
【Tail too long with insufficient foam】If the milk foam is not thick enough, or if the pitcher isn’t tilted sufficiently during the pour to produce enough milk flow, the white foam part may end up sparse. Additionally, if the flow is not decisively cut off during the finish, excess milk can be drawn out into a long tail, affecting the overall cleanliness of the design.
【Pattern positioned too low】This issue often stems from an improperly chosen starting injection point. For example, beginning at the exact center of the cup rather than slightly off to the side can cause the entire design to lean downward and fail to center properly.
The above content is compiled by CoffeeHunters, a coffee news website.


