








Introduction:A Moka pot isn't just a simple home coffee brewing device — with clever use, it can produce an espresso-like texture, even with an enticing layer of golden foam on top. This article will dive deep into how to use a Moka pot, coffee grounds, and sugar to create a rich, thick coffee with a luxurious crema layer, and we’ll provide the full step-by-step process along with recommended parameters so you can enjoy café-quality Italian-style coffee at home.
In Italian dietary culture, espresso is almost synonymous with “authentic coffee.” This highly concentrated brew, with its bold body and slight bitterness, has long been a part of their daily life. Whether it's kick-starting the morning, taking a midday break, or winding down in the evening, espresso serves not only as a pick-me-up but also as a daily ritual. With the popularity of the Moka pot, more and more households are choosing it as the ideal tool for making espresso at home.
Recently, a creative method has been circulating online: using just a Moka pot, coffee grounds, and a bit of sugar to brew a thick, golden-foamed coffee. This “foamy espresso” not only looks appealing, but it also offers a smooth and layered taste. Next, we’ll fully break down this practical technique — from bean selection and grinding to brewing and foam creation — guiding you step by step to make this homemade coffee full of Italian flair.

If you want to achieve a beautiful layer of golden foam on the coffee’s surface, it’s recommended to start with medium-dark to dark roasted beans. These beans typically have a richer flavor profile and a higher oil release rate, which helps form the ideal crema layer. If you’re unsure what to choose, consider using a blend specially crafted for espresso machines or Moka pots — these blends are usually better balanced in extraction performance and flavor, offering a higher success rate.
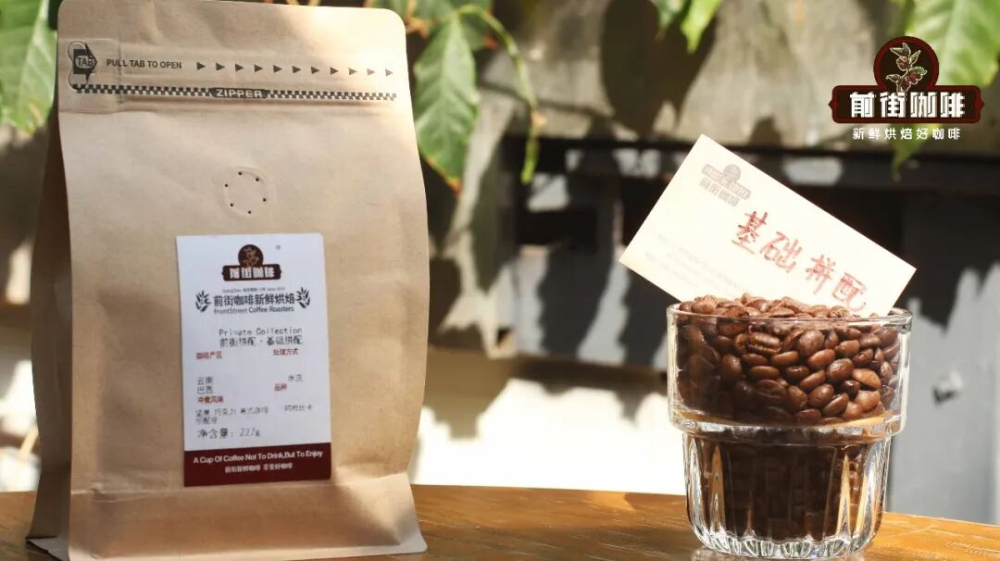
For this practical session, we’ve selected a barista-recommended blend — the Black Cocoa Blend. This coffee combines Yunnan small-bean variety beans with those from Brazil’s Cerrado region. It’s roasted to perfection, featuring rich aromas of nuts, chocolate, maple, and plum. Its balanced flavor structure makes it not only suitable for home use but also frequently used in shop offerings. It’s a highly practical choice.

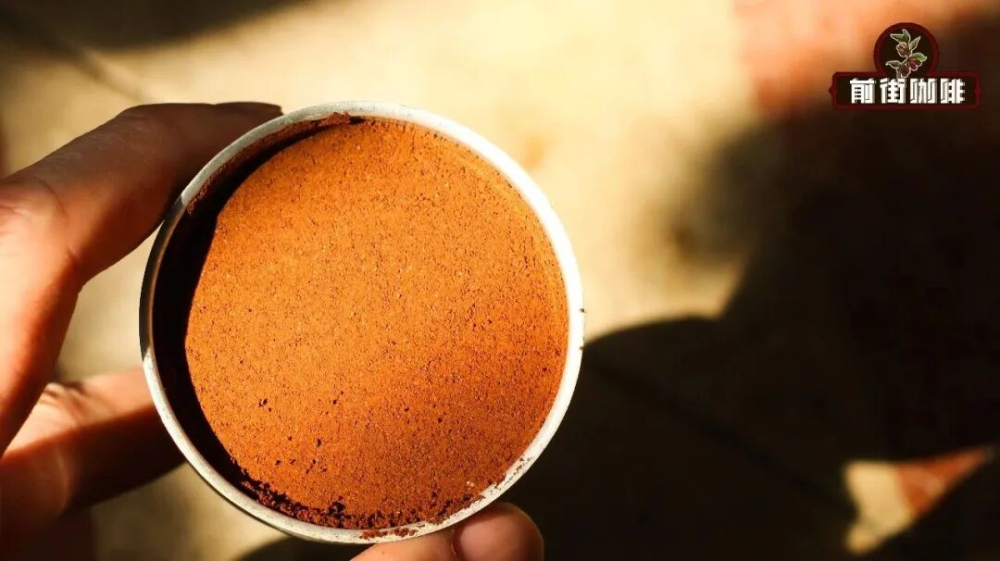
During the preparation phase, controlling the amount of coffee grounds is crucial. Generally, it’s advised to adjust based on the capacity of your Moka pot’s filter basket. If you don’t have a scale, simply evenly fill the basket and gently level the coffee. For this session, we used around 19 grams of coffee. Additionally, the grind size should be slightly coarser than standard espresso — when you rub it between your fingers, you should feel a fine texture with slight granularity, which indicates the correct grind.
The required materials are as follows: one Moka pot, 10 grams of white sugar, and 19 grams of Black Cocoa Blend coffee grounds. It’s recommended to prepare all tools in advance, including your heat source (such as a gas or induction stove), a coffee cup, and stirring utensils, to ensure a smooth process.

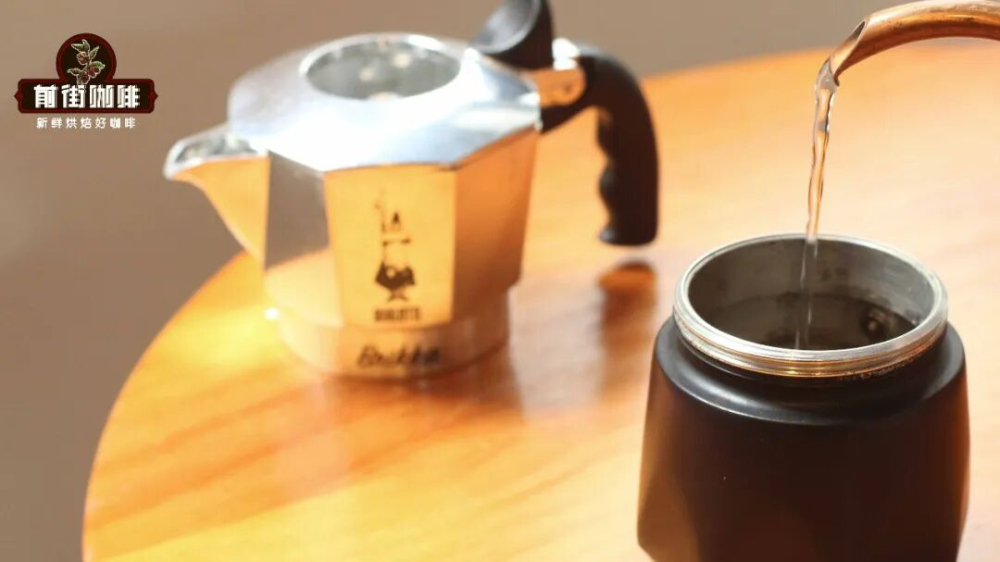
First, add room temperature water to the bottom chamber of the Moka pot. Be sure the water level does not exceed the safety valve, as this could affect proper extraction or cause abnormal pressure. Then, pour the ground coffee into the upper filter basket, gently level it with the palm of your hand to ensure a flat, even surface without any indentations. Reassemble the filter basket into the bottom chamber and securely attach the top chamber to avoid air leakage that could impact pressure.
Before heating, wipe the exterior of the Moka pot dry, then place it on the heat source. It’s recommended to use medium heat; if using an open flame, be sure to control the fire and maintain a small, steady flame to avoid overheating, which can lead to uneven extraction or over-extraction. As the Moka pot heats up, you can prepare a coffee cup and place about 10 grams of white sugar in it as the base for creating the foam.
When you notice coffee liquid beginning to seep out from the bottom and the liquid level has roughly circled the base, quickly remove the Moka pot from the heat source and pour the initial brew directly into the cup with the sugar. Stir rapidly to mix the sugar and coffee thoroughly, then place the Moka pot back on the heat source to continue the extraction.
Use a spoon to continuously stir the coffee and sugar mixture in the cup until it gradually transforms into a fluffy, dense foam. If you have an electric whisk, you can use it to speed up this process, but be sure to keep an eye on the Moka pot’s extraction to avoid overflow due to distraction. This foam layer will become the top decoration of the final coffee, and it’s also a major highlight visually and in taste.
When the brewed coffee reaches about half of the total volume, it’s recommended to turn off the heat immediately and let the remaining water steam off using the residual heat inside the pot, to avoid over-extraction that could result in overly intense or bitter flavors. Then, prepare a clean coffee cup, scoop half of the previously made foam into the cup, slowly pour in the freshly brewed coffee, and gently mix with a spoon or enjoy it directly — savor this multi-layered homemade version of espresso.
When tasting, you’ll first experience a rich layer of coffee foam. Initially, the flavors may not be very pronounced, but you can appreciate the layered roast aromas. Then, as the coffee enters your mouth, notes of roasted chestnuts and hazelnuts gradually emerge, with a mild maple sweetness and a well-balanced bitterness lingering in the aftertaste. Thanks to the addition of sugar, the overall flavor is rounder and smoother, making it easily enjoyable even for those not accustomed to strong coffee — a great new option for home coffee enjoyment.
The above content is compiled by CoffeeHunters, a coffee news website.


