








Introduction:Latte art may seem simple, but it actually involves a delicate balance of milk foam texture, steam control, and pouring technique. This article delves into how to create the ideal milk foam, master the angle and depth of steam wand insertion, and gradually guide you through the essentials of milk blending and pitcher grip—helping you build up from the basics to pour smooth and beautiful latte art step by step.
Many newcomers to coffee often think that latte art is just a matter of waving your wrist to pour out intricate designs. But in practice, they often find the milk either clumping together or failing to form clear patterns. In truth, the key to pouring beautiful designs lies in the quality of the milk foam, the evenness of the blend, and the way you hold the pitcher and cup. This piece will detail every step—from steaming milk and controlling the steam wand, to blending and latte art techniques—to help you grasp practical tips, reduce mistakes, and level up faster.
 Many beginners are filled with aspiration for latte art, thinking that all it takes is to pour out a heart or tulip shape. However, once they actually try, they often find the milk either splashing around or refusing to take shape, making even the most basic patterns difficult to achieve. Don’t be discouraged—this article will break down the practical skills involved in latte art: from milk foam thickness, steam wand positioning, and milk temperature control, to pitcher handling and pouring techniques. We’ll explain it all so you can avoid common pitfalls.
When making lattes or cappuccinos, it’s recommended to use freshly roasted, well-balanced blends. These beans typically combine flavor characteristics from different regions—for example, the sweetness of Central and South American beans with the body of Asian beans—bringing out rich coffee aroma and forming a fine, stable crema during extraction, laying a solid foundation for subsequent latte art.
1. Milk Foam Thickness and Fluidity Are Crucial
To pour clear patterns, you first need milk foam in good condition. The ideal foam for latte art shouldn’t be too thick or too thin. Foam that’s too thick tends to pile up on the surface of the coffee, making it hard to sculpt details. So, how do you produce the right kind of foam?

First is the positioning of the steam wand. It’s generally recommended to align the spout of the pitcher at 12 o’clock, and place the steam wand between the 2 and 3 o’clock positions, or between the 9 and 10 o’clock positions. This setup helps drive the milk to rotate, forming a small whirlpool that draws in large bubbles and breaks them down, creating fine and dense foam.
The depth of the steam wand insertion is equally important. Inserting it too deeply won’t draw in enough air, while inserting it too shallowly might cause the milk to splash or over-froth. In practice, it’s recommended to insert the wand about 1 cm deep. If the steam pressure is strong, you can go slightly deeper to around 1.5 cm; if the pressure is weaker, go a bit shallower, about 0.5 to 1 cm. The goal is to quickly form a stable whirlpool without excessive agitation.
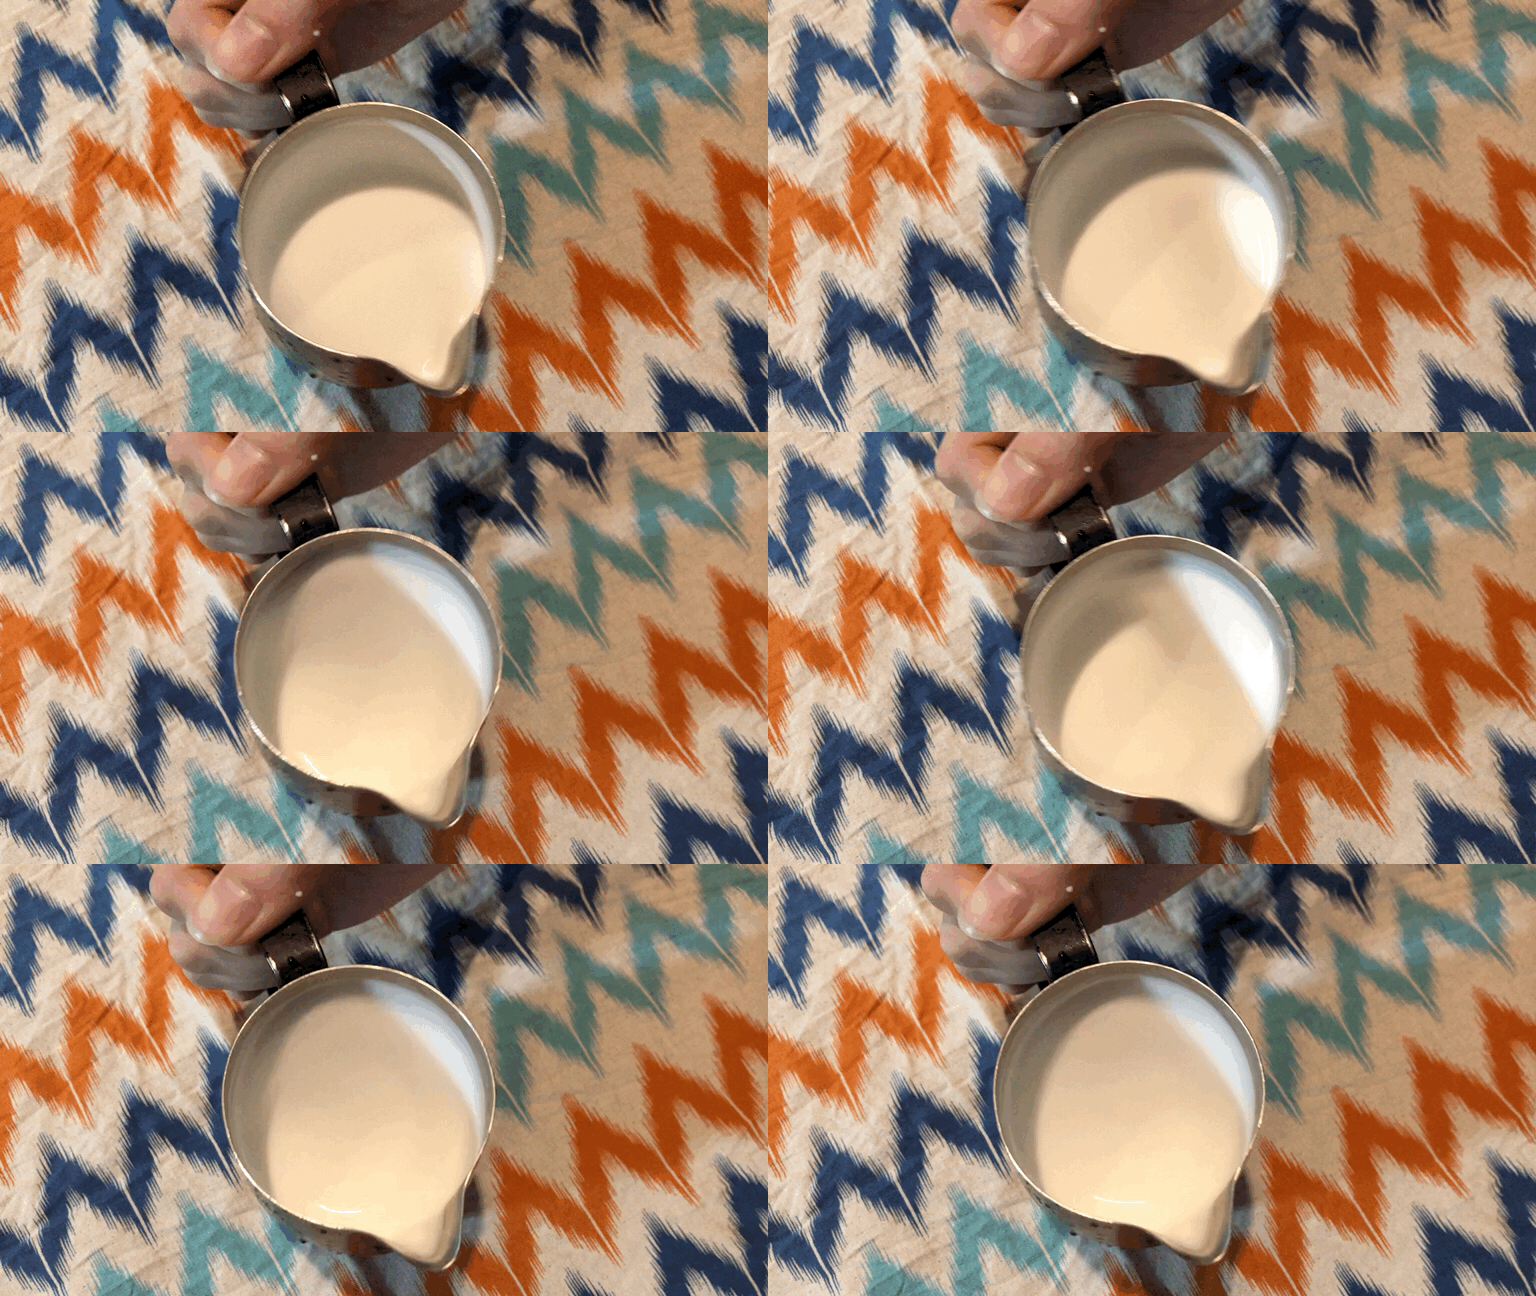
During the frothing process, you should hear a faint “hissing” sound. If there’s no sound, you may have inserted the wand too deeply—try lowering the pitcher slightly. When the foam has expanded to about eight-tenths full, tilt the steam wand diagonally toward the center-right of the pitcher, near the side wall, allowing the foam to roll in a whirlpool. This helps the foam and milk mix thoroughly, tightening the bubbles for a more uniform texture.
2. Controlling Milk Temperature
Temperature control is also key when frothing milk. It’s recommended to heat the milk to60 to 65 degrees Celsius. Temperatures that are too high not only risk burning your hand but can also destabilize the milk foam structure, affecting mouthfeel. Excessively high temperatures may also denature the proteins in the milk, reducing overall flavor performance.

3. Blending Technique: A Crucial Step Before Pouring Art
Many people overlook the importance of blending, but it’s actually the foundation of latte art. Blending refers to evenly mixing the steamed milk foam with the coffee already in the cup. This step not only affects taste but also determines the fluidity and pattern presentation during pouring.
When blending, it’s recommended to use a finer stream of milk to keep the surface of the milk-coffee mixture fluid. The blending range should be adjusted according to the thickness of the foam—the thicker the foam, the larger the blending area needs to be to ensure smoothness on the surface. Beginners can start by practicing with water: tilt the cup about 45 degrees, begin pouring from a fixed point, then try varying the height and circling motions. Finally, combine the two techniques, keeping the stream uninterrupted during practice to gradually develop hand feel.
4. Pitcher and Cup Grip
How you hold the cup affects both the stability of your pour and the symmetry of the design. It’s recommended to have the cup handle facing toward you, so that when serving, the design naturally faces the customer. During pouring, the cup should be tilted moderately to allow the pitcher to get closer to the coffee surface, improving control precision.
There are two main ways to grip the pitcher: holding the handle or pinching it. Holding the handle allows for wrist power, making it suitable for creating bold and smooth patterns. Pinching the handle allows for finer adjustments with your fingers, enabling more detailed work. Either way, keep the spout of the pitcher vertical to the cup to avoid tilting or asymmetrical patterns.

5. Practice More and Learn from Mistakes
Finally, improving your latte art skills comes down to repeated practice. If you find using milk too costly, you can try mixing dish soap with dark soy sauce to simulate milk foam texture. After each practice session, review what went wrong with the patterns, adjust your technique, and try again. That’s how you gradually improve. Remember, latte art is both a skill and an art form. Only through constant practice and observation can you turn every cup of coffee into a double delight for both the eyes and the palate.
The above content is compiled by CoffeeHunters, a coffee news website.


