







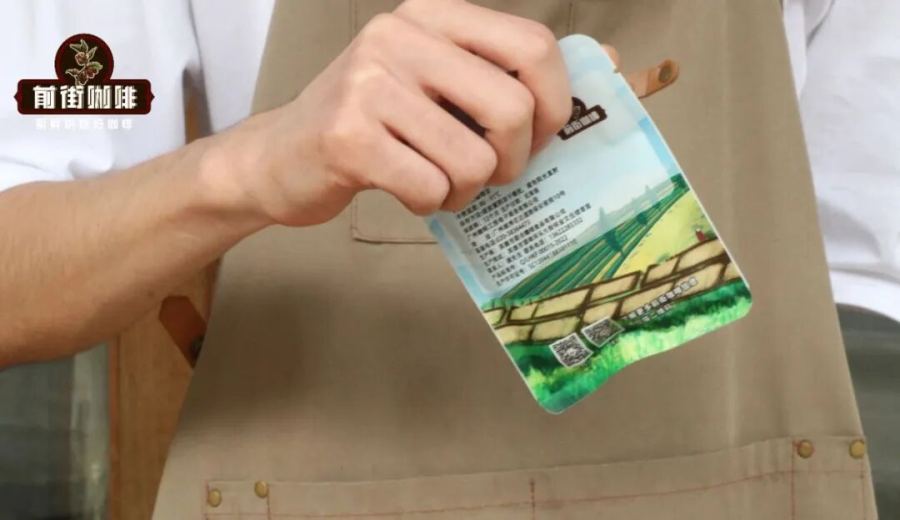
Introduction:Drip bags are a great pick-me-up option for many busy modern individuals. Though not as refined as pour over, with the right technique, they can still brew a well-balanced black coffee. This article delves into the brewing secrets of drip bags—from water temperature control, coffee-to-water ratio, vessel selection to pouring techniques—guiding you step-by-step on how to optimize details to enhance the overall performance of your drip bag coffee, making every cup smoother and more enjoyable.
While drip bags may not fully replace the nuanced layers of pour over coffee, their convenience and speed, along with not requiring specialized equipment, make them a daily favorite for many coffee enthusiasts. Especially in the office or during commutes, all it takes is hot water and a drip bag to easily enjoy a pure black coffee.
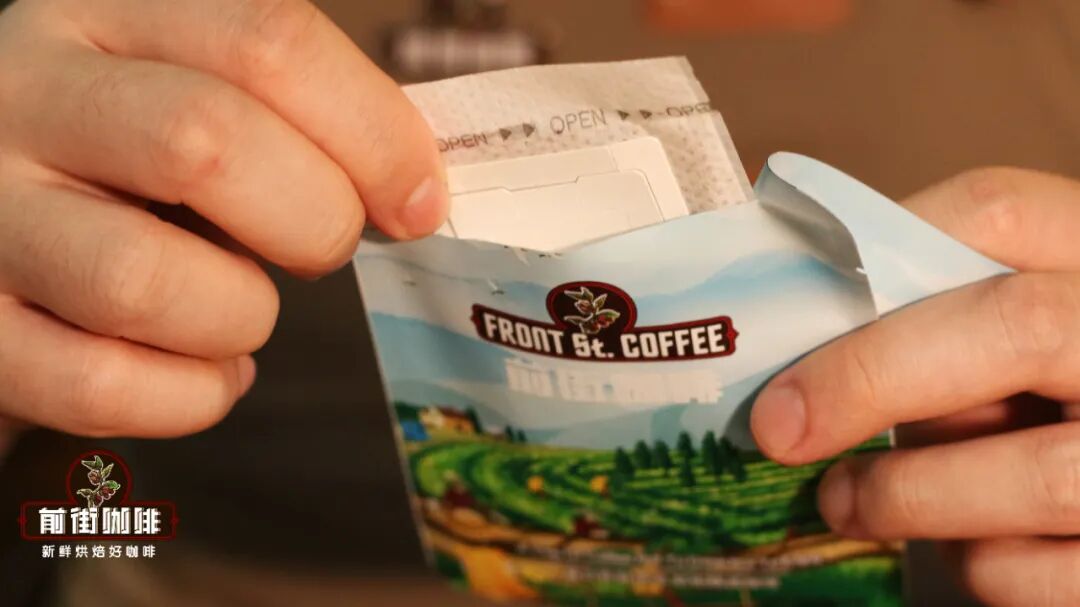
So-called drip bags are essentially pre-ground coffee packed in a filter pouch with two "ears" as supports. By manually pouring hot water and filtering out the coffee grounds, extraction is completed. This drip-style coffee is not only convenient to carry but also suitable for various settings—whether outdoors, on public transport, or at home—just prepare a cup and hot water, and you can enjoy it anytime.
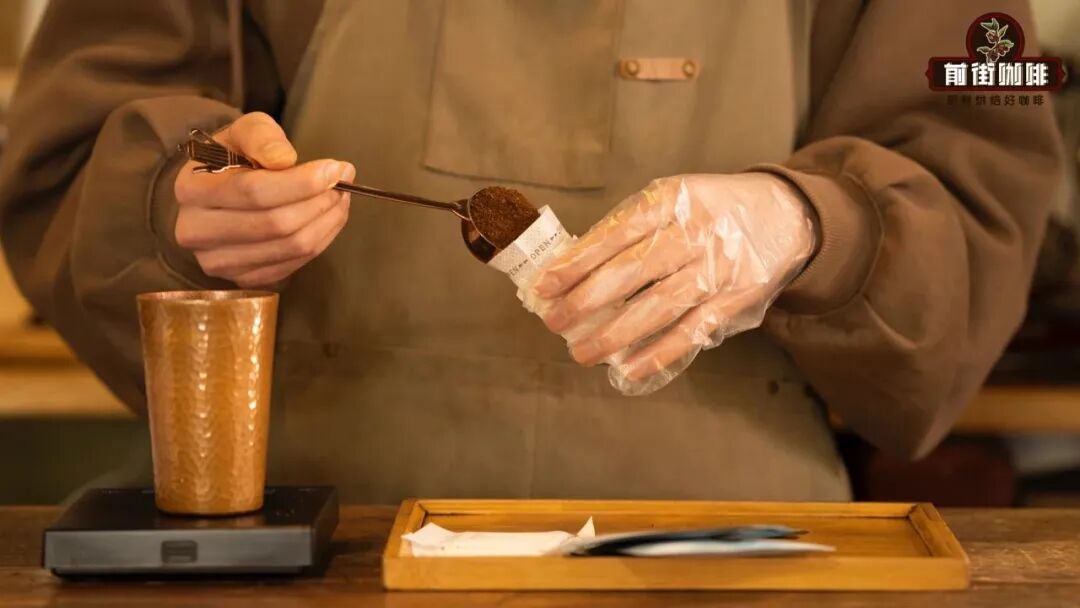
However, since drip bags are pre-packaged, the ground coffee is sealed after grinding. Compared to freshly ground coffee, some aroma is inevitably lost. Additionally, due to the structural limitations of the filter pouch, the extraction process is less flexible than pour over. Improper pouring techniques can easily affect the final flavor. Below are five practical tips to help you brew a more delicious drip bag coffee.
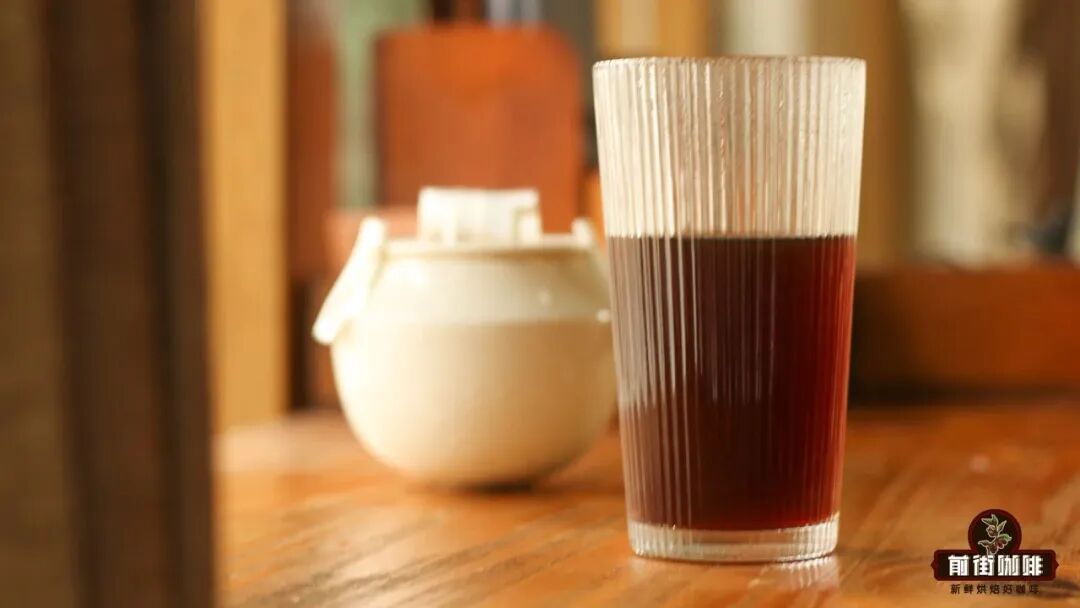
1. Water Temperature Is Key—Avoid Using Water That’s Too Cool
Many office workers are accustomed to using hot water directly from a water dispenser to brew drip bags, but the water from such dispensers is typically heated to only about 80°C. Such a temperature can result in a weak-tasting coffee, or even one with noticeable acidity.
In pour over coffee, water temperature has a significant impact on flavor release.For light to medium roasted coffee beans (which exhibit floral and fruity acidity traits), it is recommended to use 90–93°C water to better bring out bright acidity and fruity notes; whilemedium to dark roasted coffee beans (emphasizing caramel, nutty, and chocolate flavors), are better suited to 86–89°C water to avoid over-extraction that leads to bitterness.
If you don’t have a thermometer, you can use common household tricks to adjust: after boiling the water, turn off the heat and open the kettle lid, let it sit for 2–3 minutes (at room temperature around 25–30°C), and the temperature will drop to approximately 92–95°C—perfect for extracting floral and fruity coffees; if left to sit for 5–6 minutes, the temperature will further decrease to around 87–90°C, which is ideal for brewing darker roasts with richer, caramel-like profiles.
2. Master the Coffee-to-Water Ratio—Avoid It Being Too Weak or Too Bitter
Unlike pour over, drip bags don’t require precise measurement with a scale, and many people often pour water by feel. The result is often coffee that’s either too thin or overly strong and bitter—the issue usually lies in an improper coffee-to-water ratio.
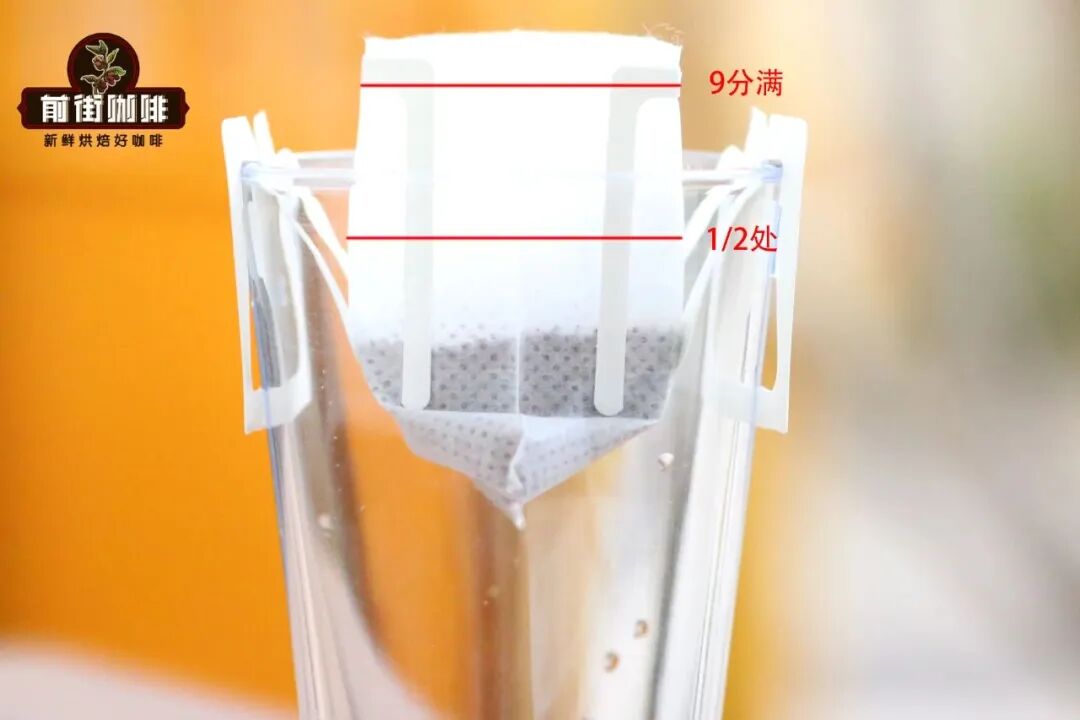
A typical drip bag contains about 10 gramsof coffee grounds. If only about 30–40 grams (around half a cup) of hot water is poured in, the coffee will naturally taste weak; if you pour water up to nine-tenths full (about 60–80 grams), you might end up with a mouthful of bitterness.
Referring to the standard pour over coffee-to-water ratio of 1:15–1:18, for a 10-gram drip bag, it is recommended to use 150–180 milliliters of hot water. If you prefer a stronger profile, you can pour in three stages: first add half the water to wet the grounds, let it bloom for about 20 seconds, then pour in two more increments until it reaches nine-tenths full, with a total water volume of about 140–160 milliliters, and control the brewing time to around 1 minute and 30 seconds. If you enjoy a clean and balanced flavor, you can extend it to four pours with a total water volume of about 200 milliliters, allowing the flavor layers to unfold more fully.
3. Choose the Right Cup—Tall and Narrow Is Better for Extraction
The brewing vessel for drip bags also matters. It is recommended to use a tall glass or mug, preferably with a height of over 12 centimetersand a mouth width of less than 9 centimeters. A tall cup allows the coffee to drip smoothly without backflow that could affect flavor; too wide a cup opening may cause the drip bag to sag under the weight of the water, compressing the coffee grounds and reducing filtration efficiency.
Additionally, if the cup is too shallow, the dripped coffee may re-contact the grounds, leading to over-extraction and a heavy, burnt taste. Therefore, choosing the right cup is also a key factor in enhancing the flavor of your drip coffee.
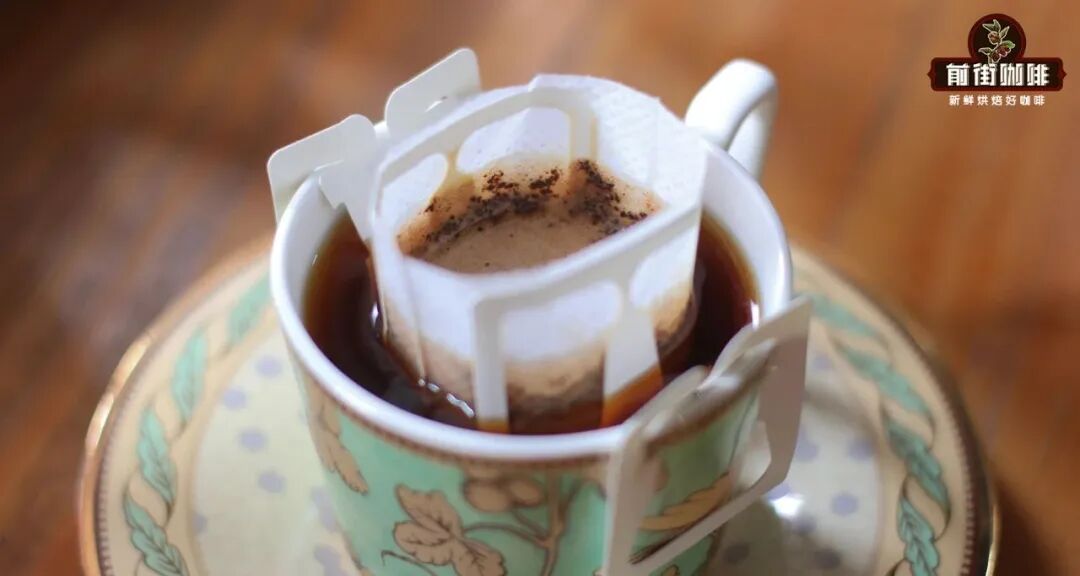
4. Pour in Small Streams and in Stages to Extend Extraction Time
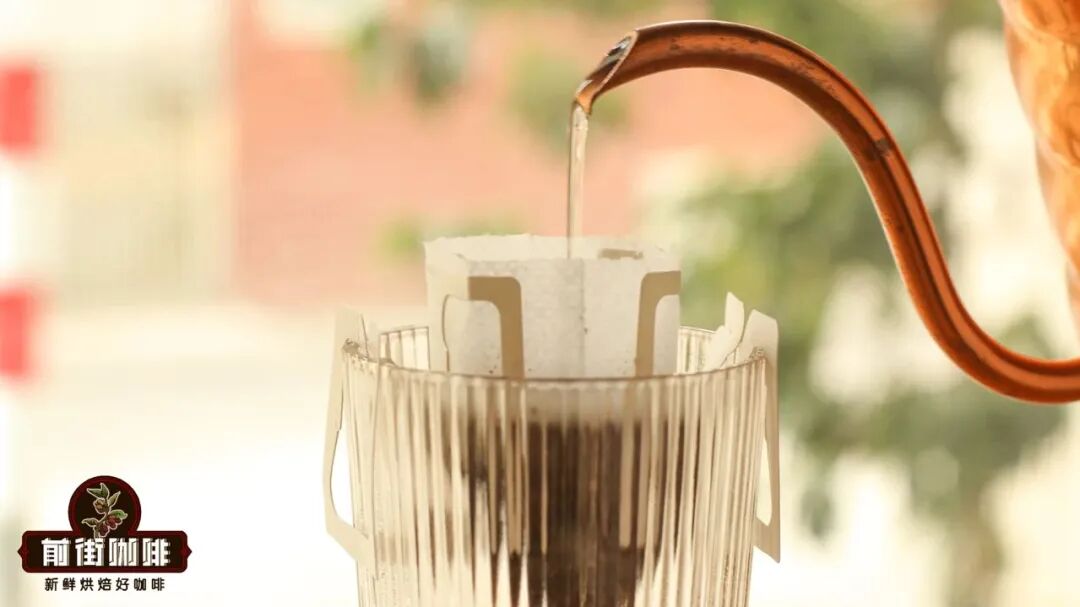
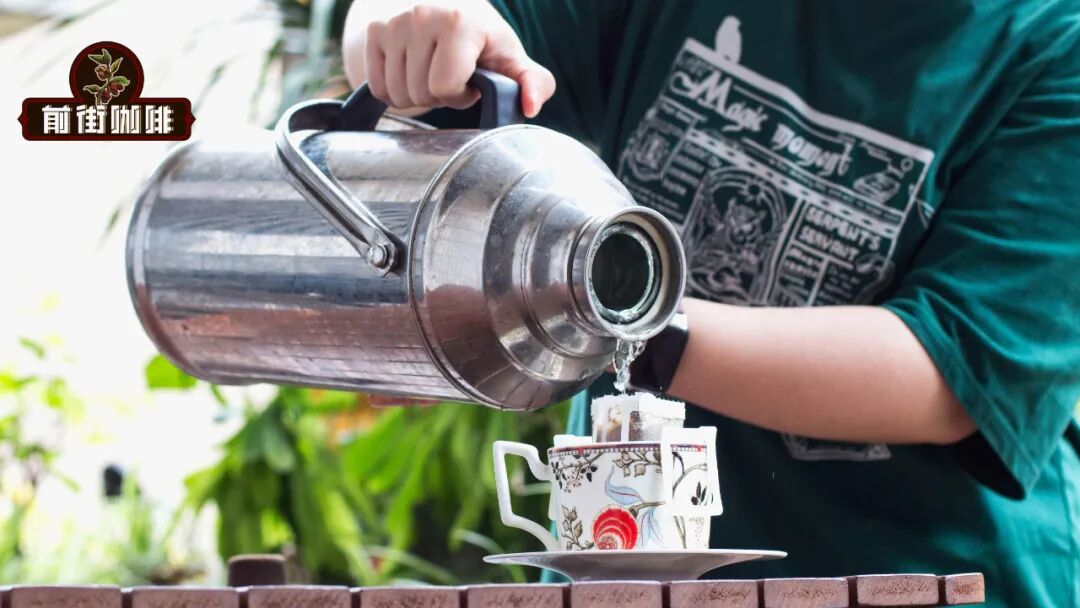
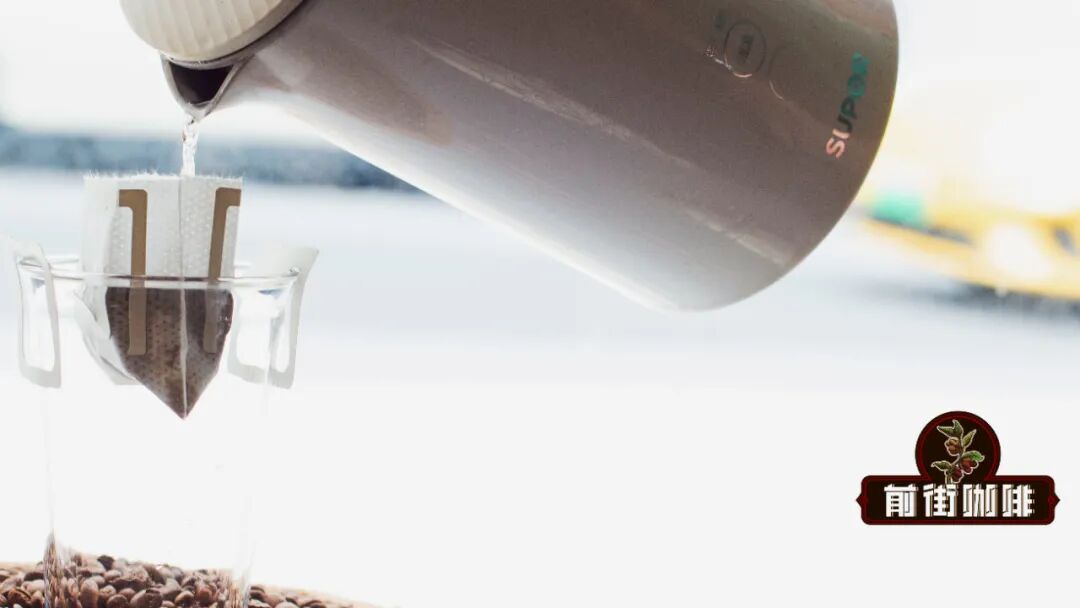
Drip bags don’t require circular pouring, so you can use a regular kettle, thermos, or even a hot water dispenser—but these tools often make it hard to control water flow strength. If the pouring speed is too fast, the contact time between hot water and coffee grounds is too short, resulting in under-extraction and a flat, one-dimensional flavor.
It is recommended to divide the total water volume into 5 stages, pouring about half the drip bag’s capacity each time, and slightly raising the pouring height to make the water flow gentler. This not only extends the total brewing time to 1 minute and 50 seconds to 2 minutes, but also results in a richer, more balanced coffee flavor.
5. Do Not Shake the Drip Bag—Avoid Settling of Fine Particles
Some people habitually shake the drip bag before brewing to distribute the coffee grounds evenly, but this action can actually cause fine particles to settle at the bottom, leading to over-extraction in the final sips and producing bitter, off-flavors. Excessive shaking may also trap fine particles in the seams of the filter, affecting the filtration flow rate.
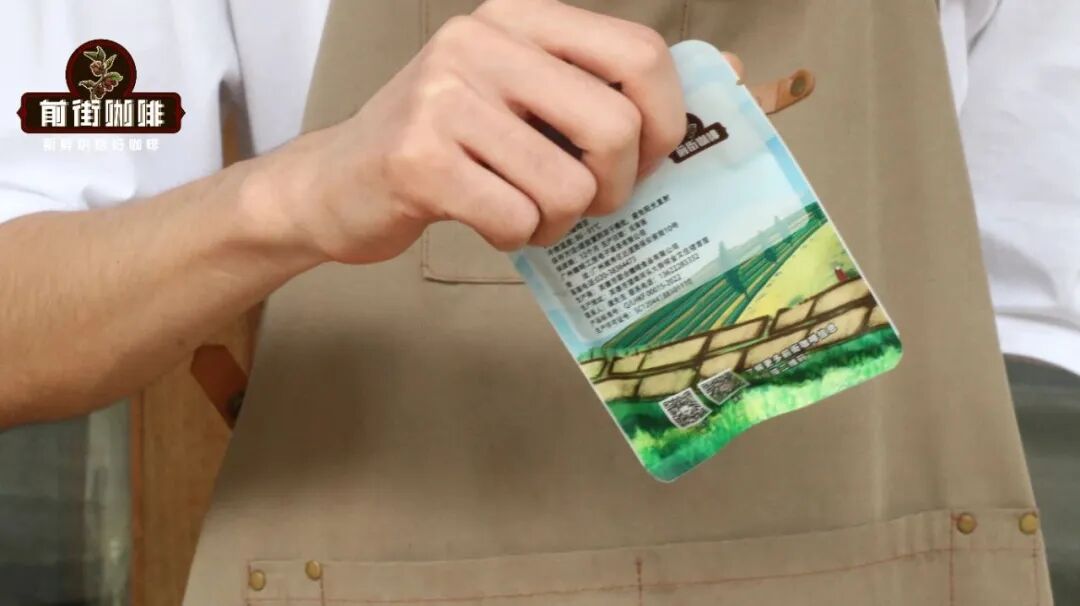
The correct approach is: after removing the outer packaging, gently tap the perforated section of the drip bag’s “ears,” then tear open the seal and hang the two “ears” on the cup. This way, the coffee grounds will naturally settle evenly, helping achieve uniform extraction.
The above content is compiled by CoffeeHunters, a coffee news website.


