







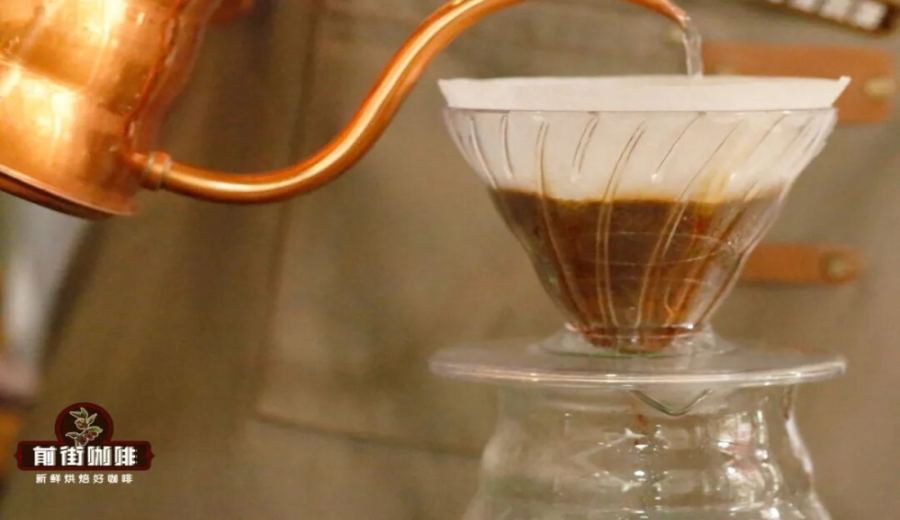
Introduction:For those just starting out with pour over coffee, facing a multitude of technical terms and parameters can be overwhelming. This guide will take you from zero to brewing basics, helping you master the key steps of coffee brewing step by step — including selecting essential equipment, choosing coffee beans based on flavor profiles, accurate weighing and grinding techniques, ideal water temperature control, and practical pouring methods — so that beginners can easily brew a cup of coffee with balanced flavor and great satisfaction.
Many beginners new to pour over coffee are often confused by a series of technical terms such as grind size, water temperature, and extraction time, and become even more flustered during actual brewing. In fact, at the beginner stage, there’s no need to memorize all the parameters. The key is to build an overall sense of coffee brewing, grasp a few core principles, and you’ll be able to get started smoothly.
Step 1: Gather Basic Brewing Equipment
Before you start pour over brewing, you’ll need the following basic tools: a pour over kettle for even water pouring, a filter cone and paper filters to separate coffee grounds, and a grinder capable of stable grinding. Additionally, it’s recommended to have a digital scale with a timer function and a thermometer. Even without professional equipment, a regular sharing pitcher can substitute for specialized containers. A digital scale and thermometer are not only affordable but also help you accurately measure coffee dosage and water temperature, significantly improving brewing consistency.
Step 2: Choose the Right Coffee Beans for Your Preferred Flavor
The flavor profiles of coffee beans can generally be divided into three main categories: acidic, balanced, and bold. If you enjoy bright acidity, you can opt for beans with floral, citrus, or berry notes. For those seeking an overall balanced taste, choose beans that combine fruity aromas with roasty notes such as nuts and chocolate. If you prefer a rich and intense flavor, dark roasted beans are a good choice. For example, a medium-light roasted bean often features floral and citrus acidity, along with subtle nutty and melon seed aromas, making it perfect for beginners to try.
Step 3: Accurately Weigh Coffee and Grind Appropriately
Before you start brewing, first weigh out the desired amount of coffee beans. It’s generally recommended to start with a baseline of 15 grams. If you don’t have a digital scale, you can also refer to simple conversion methods. After weighing the beans, it’s a good idea to test grind 2–3 beans first to check if the grind size is close to that of granulated sugar, then grind the rest. If the ground coffee is noticeably coarser than sugar, adjust the grinder setting 3–5 clicks finer; if it’s finer, adjust coarser. Note that this is just a preliminary judgment, and the final grind size may still need fine-tuning based on actual brewing performance.
Step 4: Control Water Temperature for Stable Flavor Foundation
Water temperature is one of the key factors affecting coffee extraction flavor. For beginners, there’s no need to worry about various temperature ranges. It’s recommended to simply use water around 90°C, which is suitable for most coffee beans and helps avoid over-extraction or under-extraction. If you don’t have a thermometer, you can boil the water, then let it sit uncovered for 2 minutes and 30 seconds to 3 minutes to allow the temperature to naturally drop to the target range.
Step 5: Master Coffee-to-Water Ratio and Pouring Rhythm
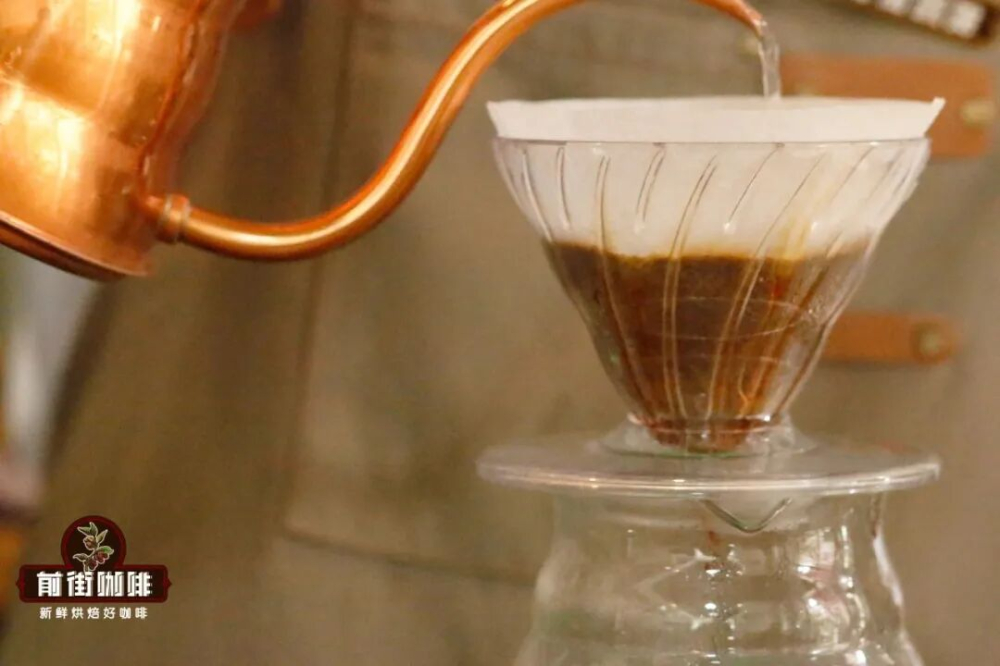
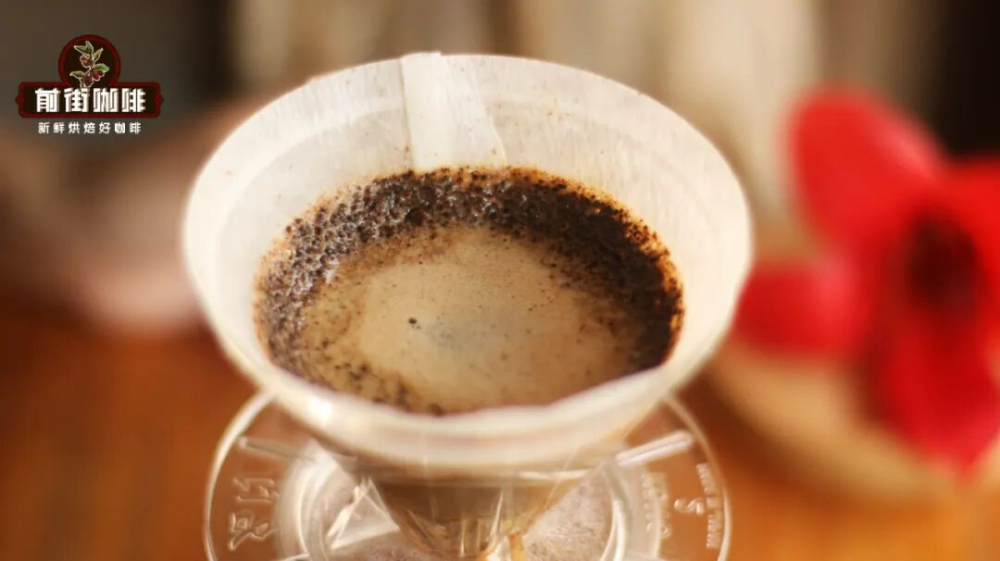
For beginners, it’s recommended to use a 1:15 coffee-to-water ratio, meaning 15 grams of coffee grounds with 225 grams of hot water. If you find the coffee too strong, next time you can increase the water amount to a 1:16 or 1:17 ratio. If you don’t have a digital scale, you can also use other methods to estimate the water volume. When pouring, aim to finish within about 2 minutes to ensure each coffee particle is evenly saturated. A common practice is to divide the total water into three pours — for example: first pour 30 grams, second pour 125 grams, and final pour 225 grams — with the total dripping time controlled between 1 minute 50 seconds and 2 minutes 10 seconds. When the coffee grounds form a nice “bowl shape,” it indicates an ideal brewing state.

If the dripping time is less than 1 minute 40 seconds, the coffee may turn out weak or overly acidic — in which case, try using a gentler, smaller stream. If it exceeds 2 minutes 20 seconds, the taste might become overly bitter and strong — you can try increasing the water flow rate and improving your circular pouring technique. Remember, at the beginning, you don’t need complex techniques — maintaining a steady flow and even pouring is the key. Once you successfully brew a cup of coffee with balanced flavor, it means you’ve mastered the basic steps of pour over, and you can then further explore how different parameters affect flavor and gradually improve your brewing skills.
The above content is compiled by CoffeeHunters, a coffee news website.


