







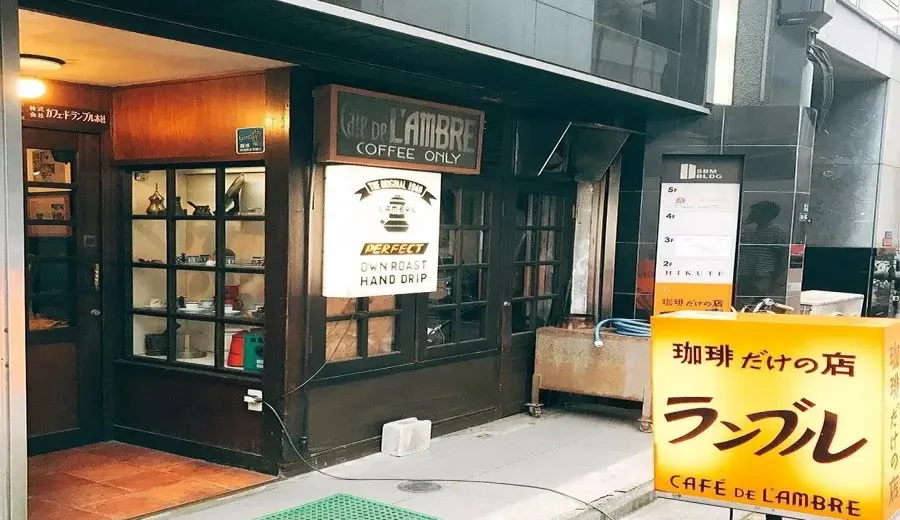
Introduction:Amber Queen Coffee is a beloved classic drink originating from the iconic Tokyo Ginza café “Amber Café.” It’s renowned for its stunning layered presentation of black coffee and unsweetened condensed milk. This article delves into the making process — from bean selection, grinding, brewing parameters, to cooling and layering techniques — guiding you step-by-step to recreate this visually and flavorfully delightful Japanese-style layered coffee. We’ll also solve common issues like the condensed milk sinking.
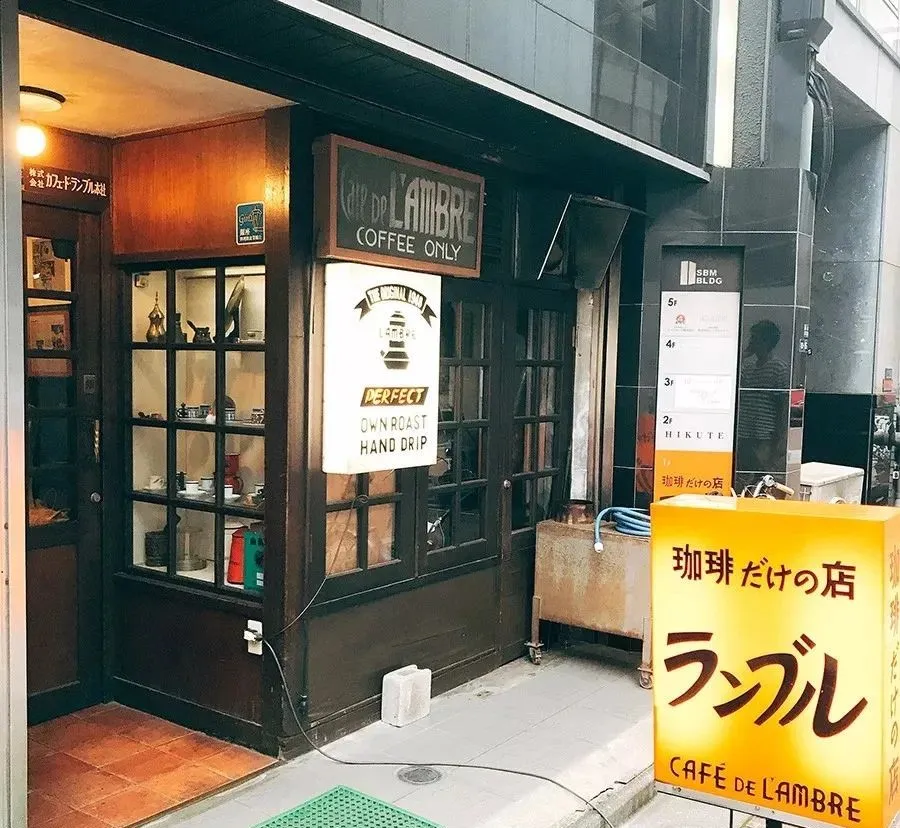
In Tokyo’s Ginza district, there’s a long-established high-end café since 1948 — Amber Café — widely respected for founder Sekiguchi Ichirō’s pursuit of coffee perfection. However, more talked about than the café itself is their signature drink, the “Amber Queen.” This specialty coffee is served in layers: the bottom layer is cooled black coffee with sugar, topped by a float of unsweetened condensed milk. With one sip, you enjoy both the richness of coffee and the sweetness of the milk — a double treat for the eyes and taste buds.
Though the Amber Queen may seem ceremonial, it can actually be easily replicated at home by mastering just a few key techniques. However, many coffee enthusiasts attempting to make it often encounter the issue of the condensed milk not floating but quickly sinking to the bottom, resulting in failed layering and poor presentation. This article will thoroughly explain the principles behind making the Amber Queen — from brewing, cooling, to layering — providing a complete operation guide to help you successfully create this distinctively layered classic Japanese coffee.

The main ingredients of the Amber Queen are actually quite simple: black coffee, unsweetened condensed milk (or light cream), and sugar. These items are readily available at most supermarkets or coffee supply stores, which is why many are tempted to try making it at home. Yet, this seemingly simple combination poses a challenge in layering due to differences in density. Coffee naturally has a lower density and cannot support the weight of condensed milk or cream on its own. Therefore, it's necessary to adjust the concentration and temperature of the coffee to enhance its “carrying capacity.”
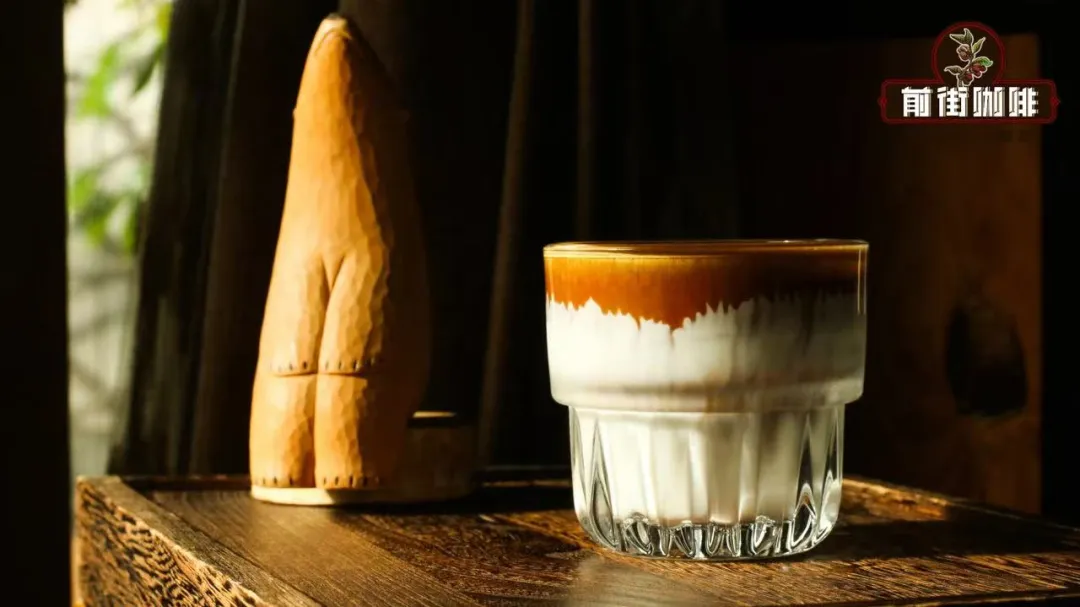
The key principle lies in lowering the coffee’s temperature while increasing its concentration. Cooled coffee has a higher density, which better supports the upper layer of condensed milk. In addition, adding sugar not only neutralizes the bitterness of the coffee but also further increases the liquid’s density — an unsung hero that stabilizes the layers. These principles are actually similar in concept to the popular Dirty Coffee nowadays, except that the Amber Queen places the condensed milk on top, creating a completely different visual and flavor experience.

Now let’s get hands-on and make this stunning Amber Queen Coffee step by step. It’s recommended to start with a dark roasted coffee bean, such as Indonesia’s Golden Mandheling, whose rich and bold flavors contrast beautifully with the condensed milk. To fully showcase the aroma and layers of the coffee, it’s advised to use a flannel filter for pour over brewing, which brings out a rounder mouthfeel and richer aftertaste. Also, it’s suggested to chill both the serving cup and the condensed milk in advance to help maintain the stability of the layers.
Before you begin brewing, you can add 5ml of honey to the coffee pot or shaker, allowing the honey to naturally blend with the coffee during extraction. This enhances sweetness and increases the overall density of the coffee. Then, use 20 grams of dark roasted beans, and set the grind size to around 9 on the Ek43 grinder — or a coarseness equivalent to 90% passing rate through a #20 mesh sieve — suitable for flannel pour over extraction. The recommended coffee-to-water ratio is 1:8, with water temperature controlled at around 90°C, using a multi-pour method for extraction.
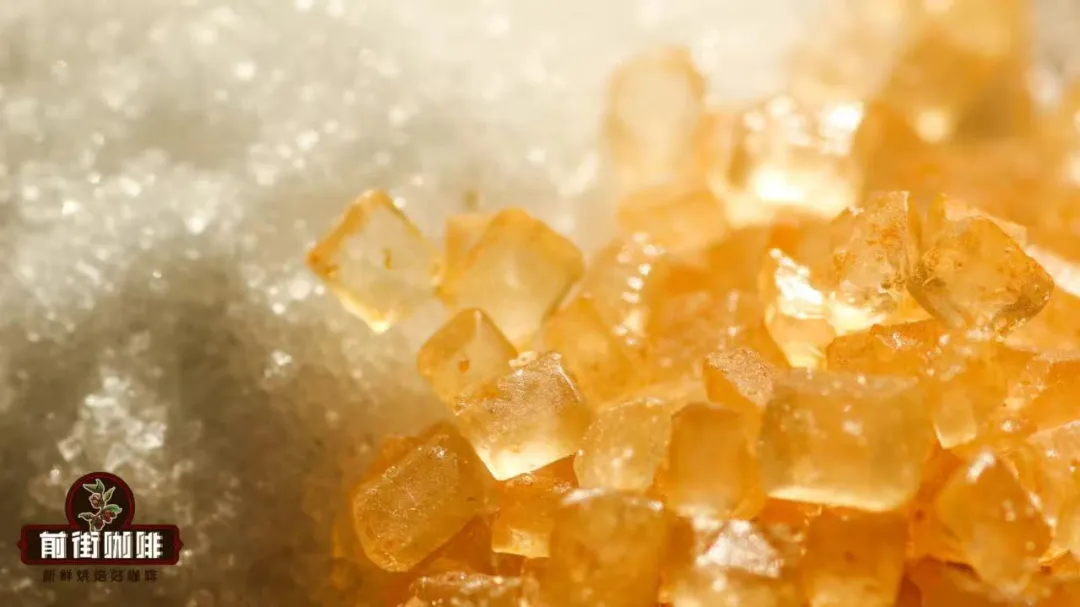
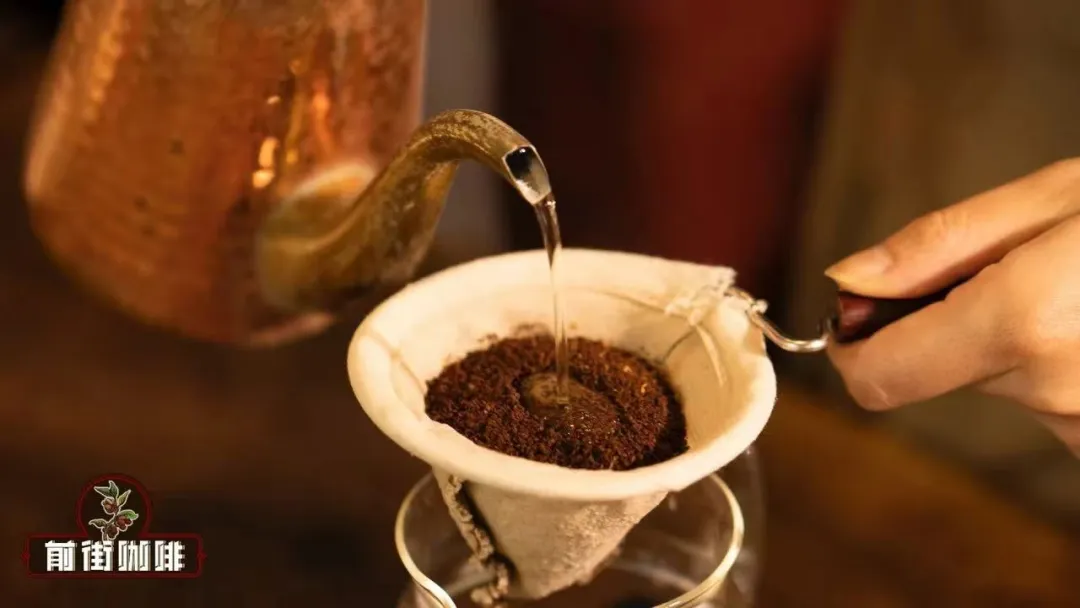
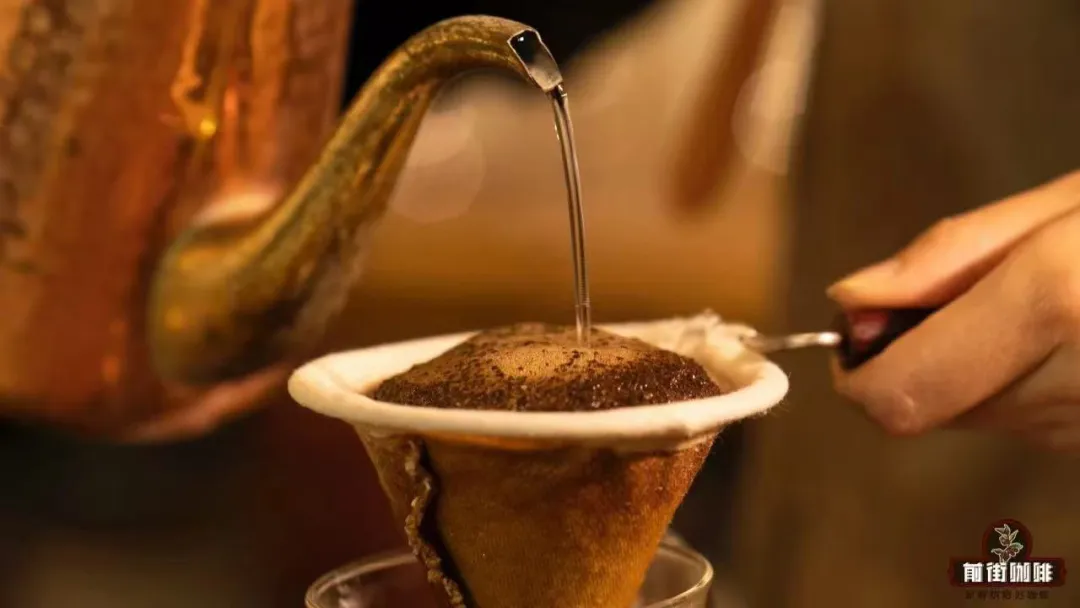
The specific brewing steps are as follows: first, pour water equal to twice the amount of coffee grounds (about 40ml) for a 30-second bloom to awaken the grounds. After blooming, pour the remaining 120ml of water in three even stages, about 40ml per stage, using a slow, thin stream and pausing slightly between each pour to allow full absorption. Keep the total extraction time around 2 minutes. These parameters fully extract the caramel, chocolate, and bold body flavors of dark roast beans while avoiding over-extraction and bitterness.
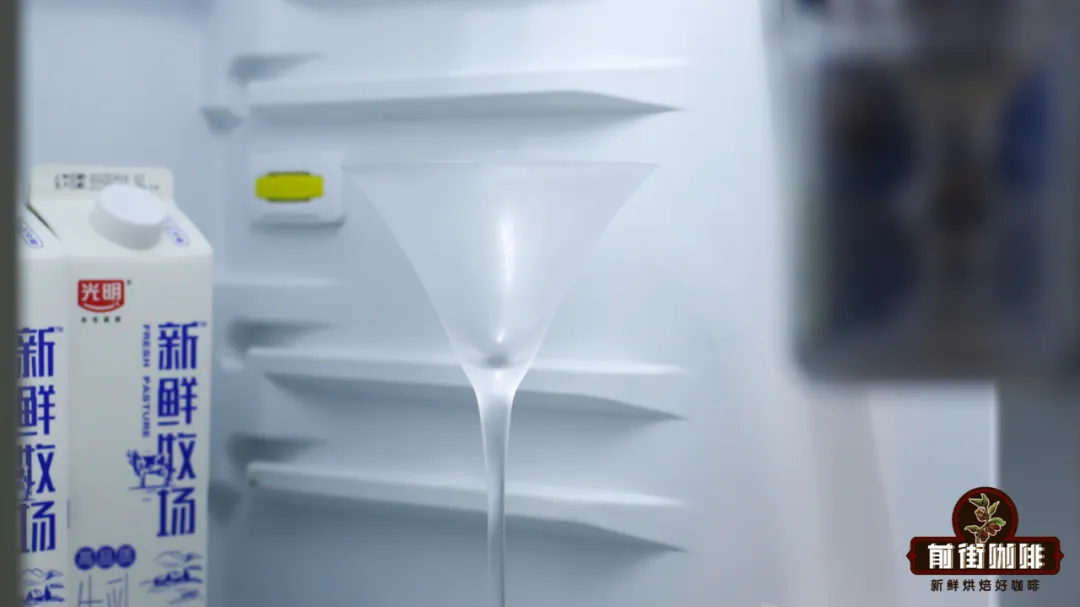
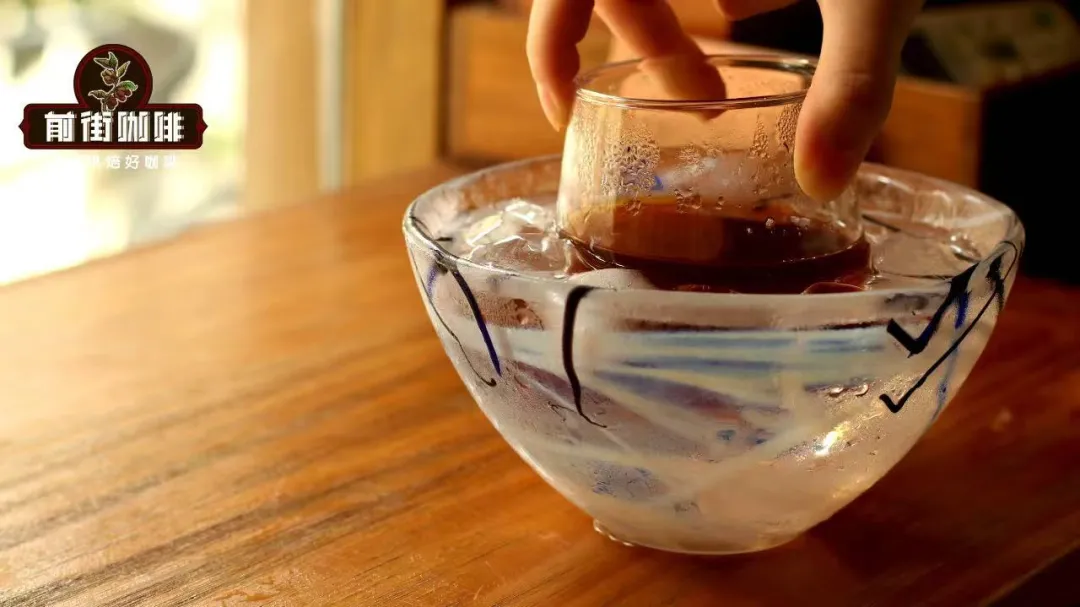
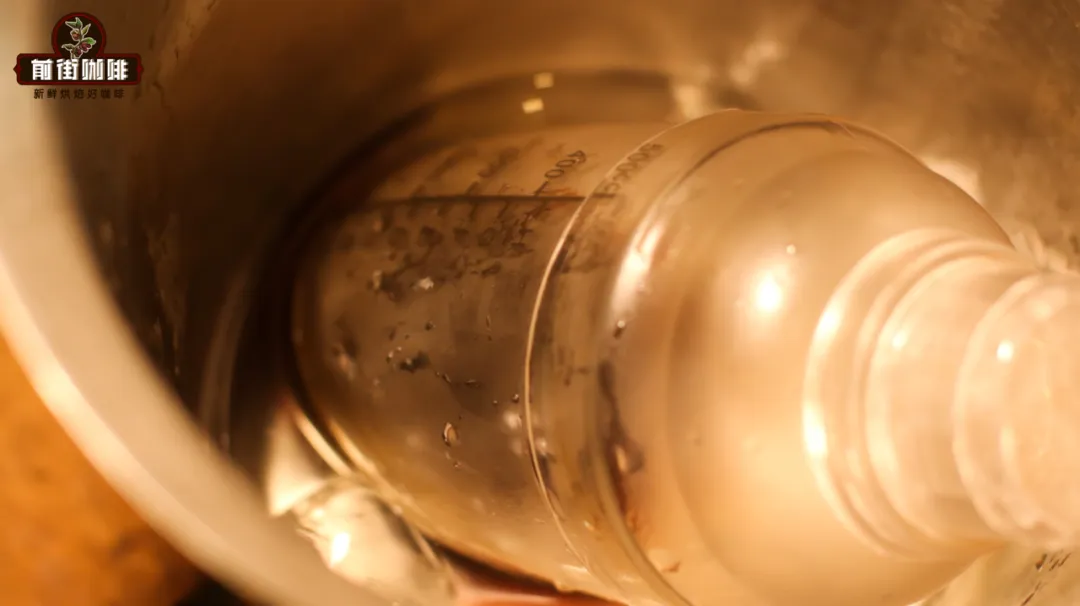
After extraction, it’s recommended to pour the coffee into a shaker and place it in an ice bath to cool indirectly. This step is crucial — it effectively increases the coffee’s density without diluting it, laying the foundation for successful layering. If no ice bath is available, the shaker can be placed in the fridge for cooling, but timing must be carefully managed to avoid excessive cooling that could negatively affect flavor. The goal is to reduce the coffee temperature to between 10-15°C, and never below 4°C, in order to preserve taste and density.
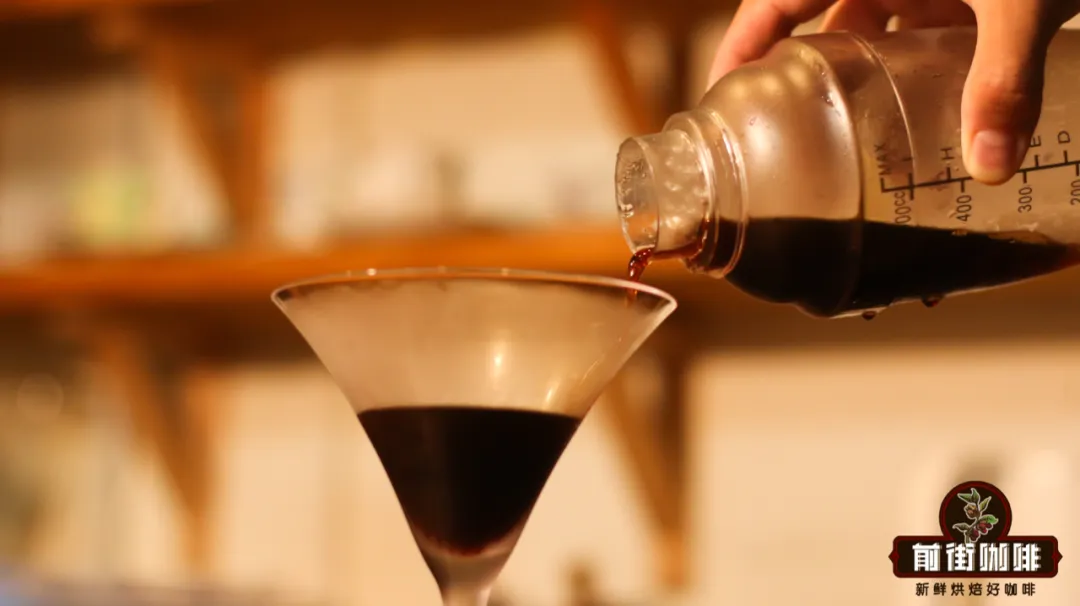
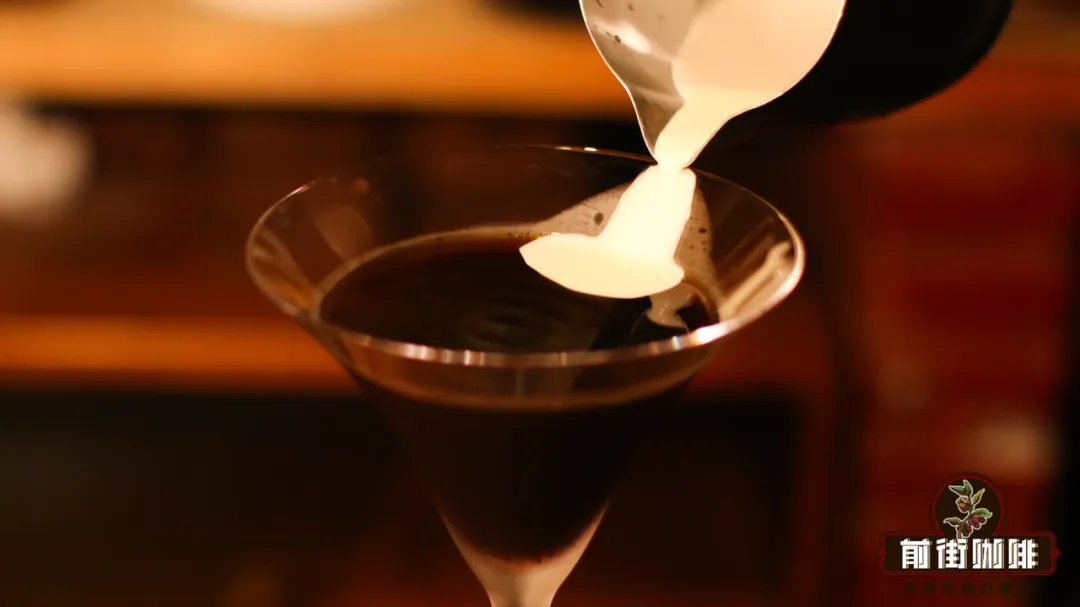
Once the coffee has cooled, pour it into a pre-chilled cup. At this point, it’s advisable to choose a cup of moderate size to avoid using too much condensed milk if the cup is too large, which could throw off the overall flavor balance. Next comes the most critical step for layering: slowly pour the chilled unsweetened condensed milk or light cream along the inside wall of the cup. Be gentle to ensure the condensed milk floats atop the coffee. Done correctly, the condensed milk will naturally form a pristine white layer on top, creating a striking contrast with the dark coffee beneath — a highly visual effect.
If you notice the condensed milk starting to sink, it may be due to the coffee being too warm or not concentrated enough. It’s recommended to revisit the cooling and sugar addition steps. Alternatively, using honey instead of some sugar is also a good option — it adds sweetness while further increasing the coffee’s density, helping stabilize the layered effect. The entire Amber Queen is best consumed immediately after preparation to enjoy the optimal flavor and visual experience.
When drinking, it’s suggested to take a big sip like you would with a Dirty Coffee, letting the coffee and condensed milk hit your palate at the same time. The richness of the coffee and the sweetness of the milk merge into a richly layered experience in your mouth — smooth yet contrasting — making it a classic Japanese coffee well worth savoring slowly. Whether as an afternoon pick-me-up or a dessert coffee after a meal, it offers a unique experience.
In summary, the charm of Amber Queen Coffee lies not only in its unique visual layering but also in the flavorful dialogue between coffee and condensed milk. By mastering brewing parameters, cooling techniques, and layering methods, you can easily recreate this classic drink from a renowned Tokyo Ginza establishment. Whether you’re a coffee newbie or a seasoned enthusiast, the Amber Queen is a rewarding creation to challenge and savor.
Through this making guide, you’ll not only learn how to craft a visually and flavor-packed Amber Queen, but also gain deeper insight into the science behind coffee density, temperature, and layering. These insights are equally applicable to making other layered coffees, such as Dirty Coffee or Reverse Latte, giving you more confidence and inspiration in your coffee creations.
The above content is compiled by CoffeeHunters, a coffee news website.


