







Introduction:When making espresso, the two seemingly simple steps of distributing and tamping the coffee — though they may appear straightforward — actually have a significant impact on the final extraction. Many coffee enthusiasts wonder: are these two steps really indispensable? This article will delve into the practical roles of coffee distribution and tamping, debunk common operational misconceptions, and provide a clear and easy-to-follow standard procedure. By mastering these key details, you can consistently brew espresso at home with distinct layers and outstanding flavors.
When you begin learning to manually extract espresso, you may find that professional baristas always emphasize the importance of the three steps: dosing, distributing, and tamping. However, many people often overlook the details of distribution and tamping when operating at home, or even doubt whether these steps are truly necessary. In fact, although the final appearance of the compacted coffee puck isn’t a 100% guarantee of delicious coffee, how evenly the puck demolds is indeed one of the key indicators of whether the extraction process went smoothly.
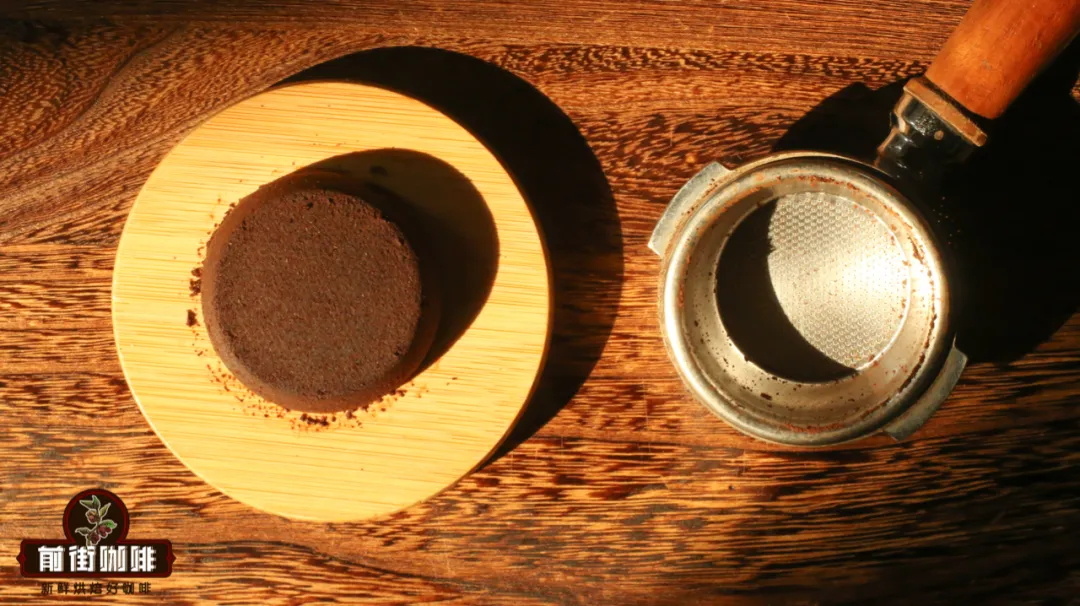
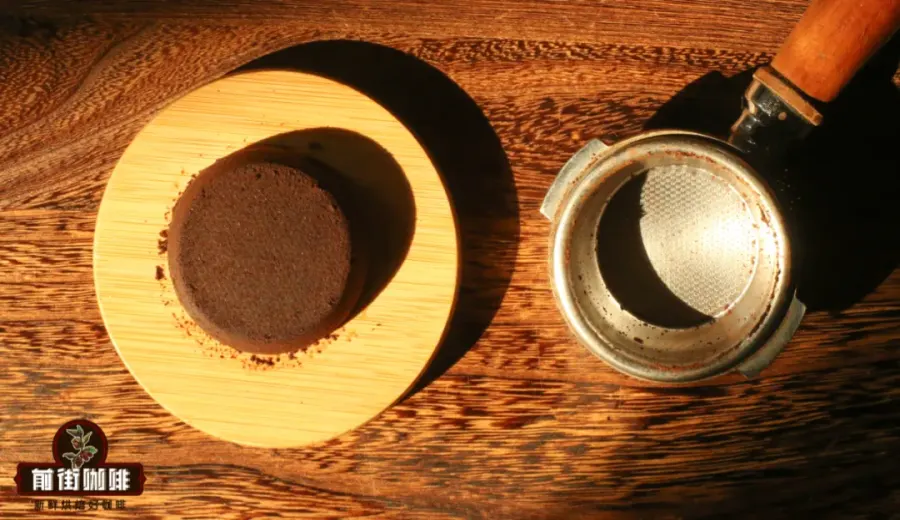
The integrity of the coffee puck matters because it reflects whether you controlled the pressure distribution and the evenness of the coffee dose during the tamping process. These factors directly affect the speed and uniformity of water flowing through the coffee puck, thereby altering the extraction efficiency and the final flavor profile. In other words, distribution and tamping aren’t just formalities — they are the foundation that influences the intensity, acidity-sweetness balance, and aftertaste complexity of your espresso.
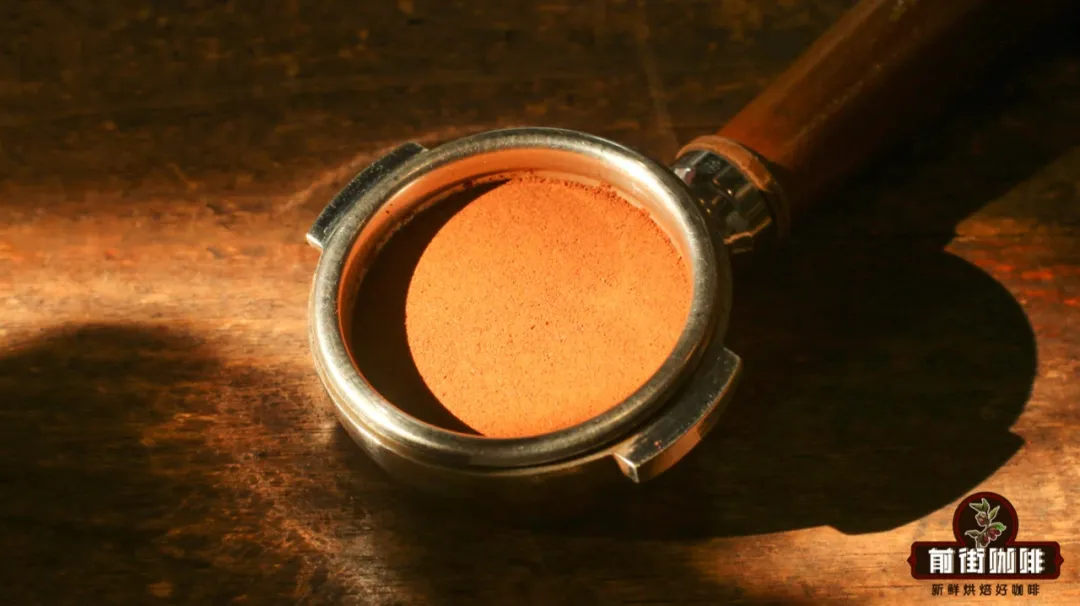
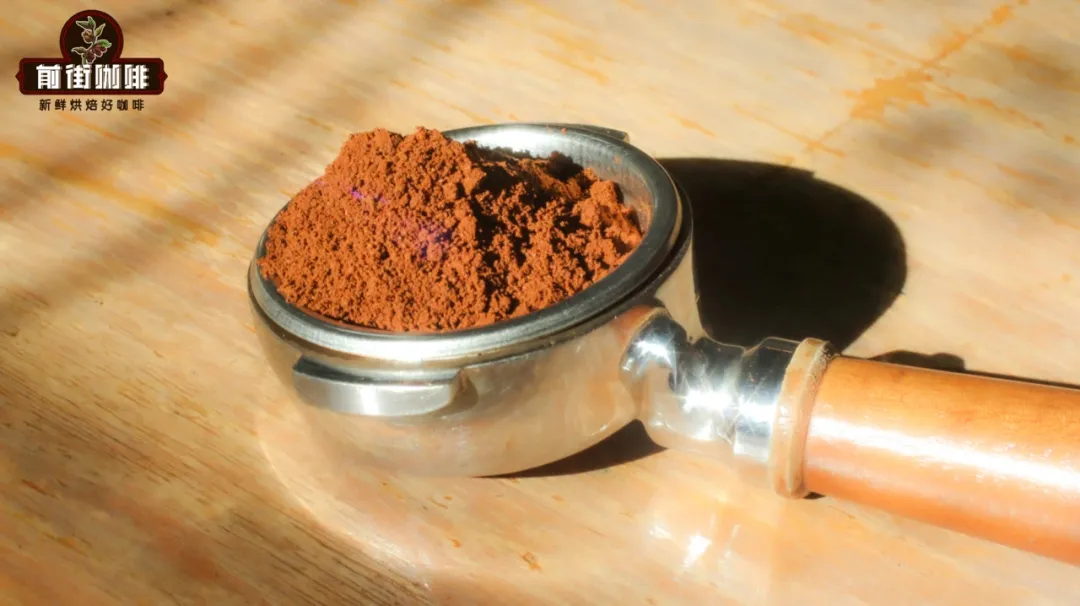
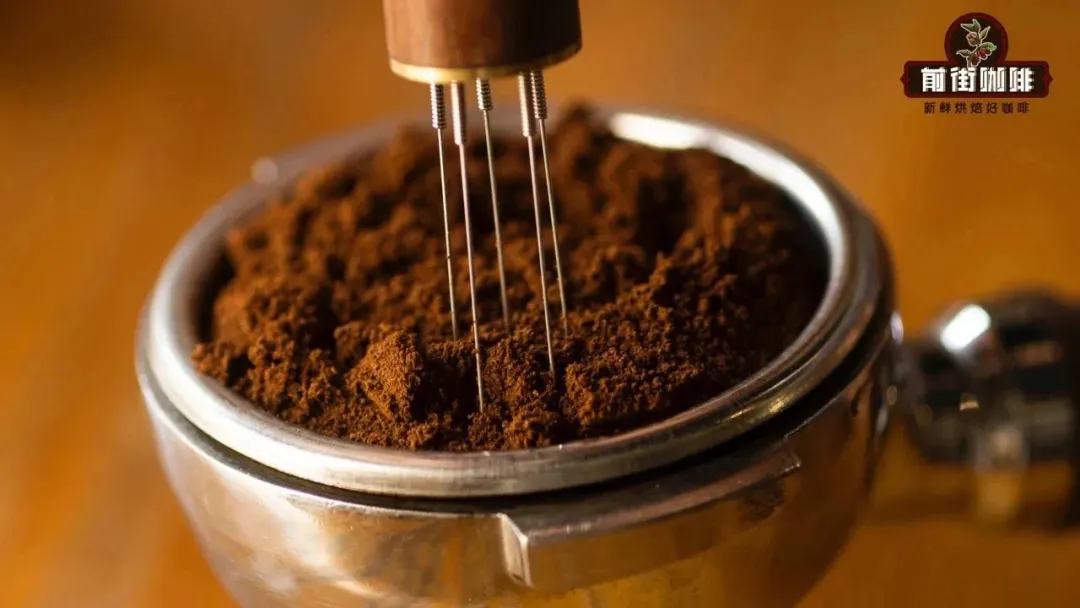
So, what exactly is distribution? Simply put, it’s the process of evenly dispersing the coffee grounds that have been dosed into the portafilter. This step helps prevent uneven clumping of coffee grounds, which could otherwise lead to over-extraction in some areas and under-extraction in others during brewing. Common distribution methods include gently tapping the portafilter by hand, using a distribution tool, or relying on the natural settling of the grounds during tamping. If this step isn’t done well, you may end up with uneven density in certain parts of the puck during tamping.

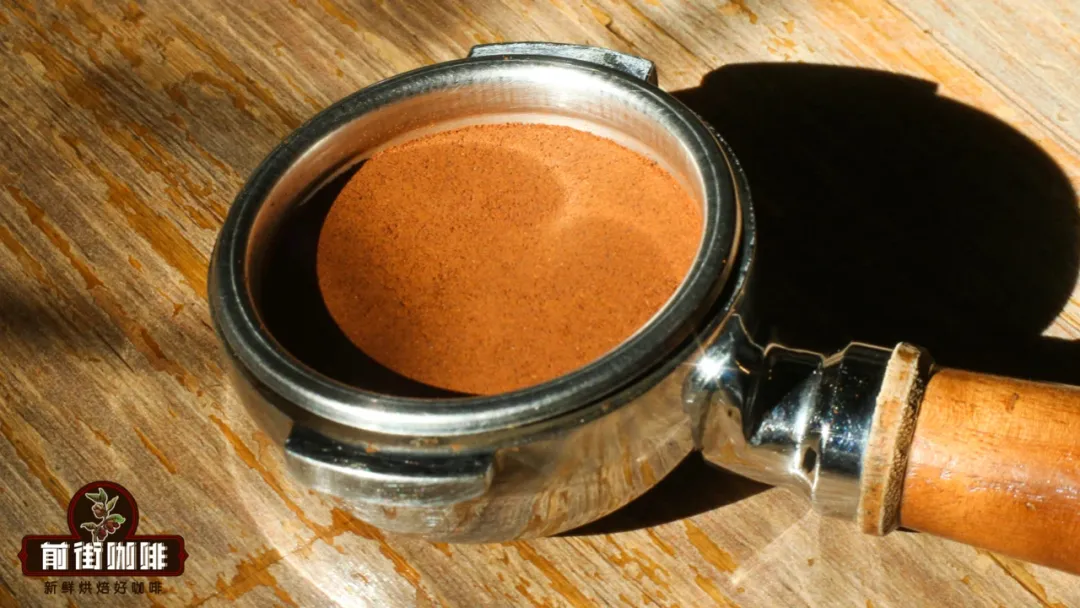
Next comes tamping — the crucial step of compressing the distributed coffee grounds into a solid puck using consistent pressure. It’s recommended to use a professional tamper and apply stable pressure of around 30 pounds (approximately 13–15 kilograms). Insufficient pressure can result in a loose puck structure, allowing water to pass through too quickly and causing under-extraction. On the other hand, excessive pressure makes it difficult for water to penetrate, leading to over-extraction and increased bitterness. Additionally, it’s important to ensure the tamper is applied vertically and with even force to create a flat, compact puck surface.
Many people wonder: why is it that sometimes, even if the puck demolds cleanly, the resulting coffee still doesn’t taste quite right? This is often because other variables — such as the coffee grind size, dose height, and the fit between the portafilter and basket — were overlooked during the distribution or tamping stages. For instance, if the coffee is ground too coarse but tamped with excessive pressure, channeling may occur, where water finds the path of least resistance and affects overall extraction uniformity.
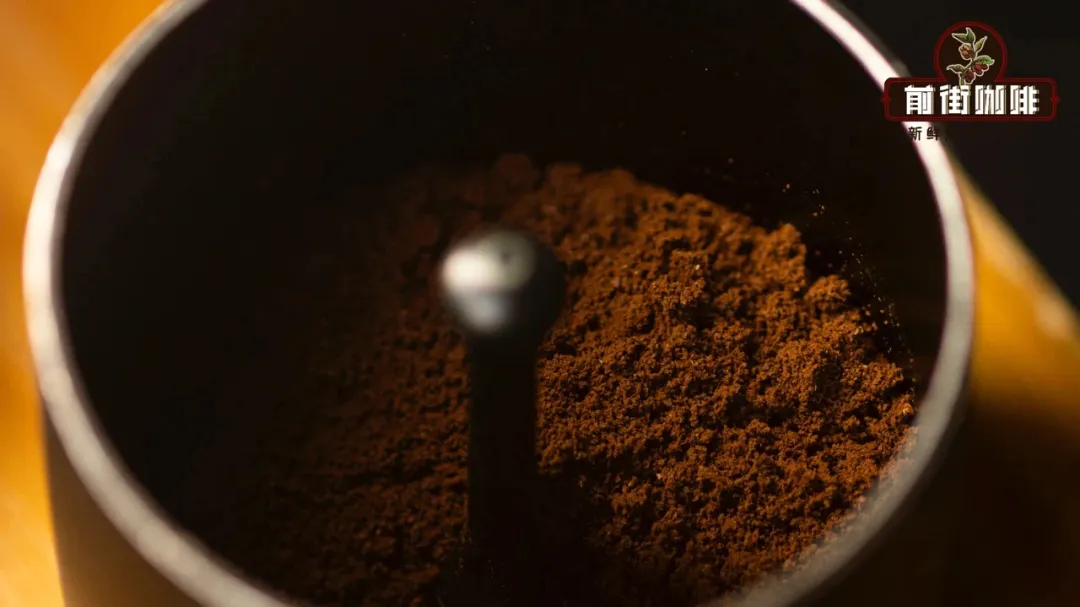
Therefore, when brewing at home, it’s recommended to follow this basic procedure for consistent results: First, dose the pre-weighed coffee grounds (typically about 7–9 grams for a single shot of espresso) evenly into the portafilter. Lightly tap the bottom of the portafilter to initially break up the coffee grounds, then use a distribution tool or your hand to evenly smooth the surface. Next, tamp the coffee with steady, vertical pressure using a tamper, ensuring the puck has consistent thickness and a level surface. Finally, give the edges of the puck a gentle tap to help release it from the portafilter wall, which aids in maintaining its shape during demolding.

It’s worth noting that each type of coffee bean varies in roast level, grind size, and machine pressure characteristics. Therefore, in practice, it’s a good idea to fine-tune parameters based on the beans and equipment you’re using — such as adjusting tamping pressure or slightly modifying grind size — and observe how these changes affect the final flavor. Keeping records of each set of parameters and your sensory impressions can help you quickly master the distribution and tamping techniques that work best for you.
In summary, distribution and tamping may seem straightforward, but they are critical, often overlooked steps in the espresso-making process. They not only affect the structure of the puck and how well it demolds, but are also directly related to extraction consistency and flavor release. By mastering the correct techniques and principles, even beginners can gradually improve the quality and consistency of their espresso.

Never underestimate these small details — they are the key differences between professional and amateur results. The next time you stand in front of your espresso machine, don’t rush to press the brew button. Take a moment to review your distribution and tamping process. Perhaps a more balanced and smoother espresso is just a few small adjustments away.
Whether you’re a beginner coffee enthusiast or an experienced home brewer, performing distribution and tamping consistently and correctly is an essential step toward brewing delicious espresso. With continuous practice, observation, and adjustment, you’ll discover that every cup of coffee holds far more potential than you might imagine.
The above content is compiled by CoffeeHunters, a coffee news website.


