








Introduction:Latte art may seem simple, but it often fails due to poor milk foam fluidity. This article delves into the common causes of overly thick milk foam, breaking down issues from air intake time, steam wand angle, milk temperature to milk type selection, and provides specific improvement techniques. It also shares emergency remedies for overly thick foam and recommends espresso beans suitable for latte art to help you practice steadily and pour beautiful patterns.
Latte art is the first hurdle for many entering the world of espresso. Those smooth lines and delicate designs are always fascinating. However, many beginners often encounter problems such as the milk foam being too stiff and having poor fluidity, resulting in blurry or even unachievable designs. What exactly is the issue? How can adjustments be made to achieve the ideal foam state? Next, we’ll start with the basic principles of frothing milk and guide you step by step to identify the causes and solutions.
Why is milk foam fluidity so important for latte art?
Latte art is essentially painting designs on espresso using milk foam as the “brush.” The texture of the milk foam directly affects whether lines and shapes can be smoothly created. Ideal latte art foam should be as smooth as silky ice cream, with a slight gloss, and you should feel its fluidity when gently shaking the pitcher—not like a clump of lifeless bubbles. If the foam is too thick and dense, it tends to sink all at once when poured into the cup, making it impossible to depict detailed patterns.

Five Common Causes of Overly Thick Milk Foam
To improve milk foam fluidity, you first need to understand the common issues that lead to overly thick foam:
1. Excessive Air Intake Time: Frothing milk can be divided into two stages: air intake and stretching. Air intake involves using the steam wand to introduce tiny air bubbles into the milk. However, if the air intake time is too long (generally recommended to be controlled within3–5 seconds), too much air will be introduced, making the foam rough and hard.
2. Incorrect Steam Wand Depth: The position of the steam wand is crucial. Inserting it too shallow will draw in too much air; inserting it too deep prevents effective air intake. The optimal position is to have the tip of the steam wand just below the milk surface, about0.5–1 cmdeep. At this point, you should hear a consistent “hissing” sound, indicating good air intake.
3. Milk Temperature Too High: When milk is heated beyond70°C[a specific temperature not provided], the protein structure changes, making the foam rough, losing elasticity and fluidity. It’s recommended to control the latte art foam temperature between55°C–65°C
4. . By feel, when the bottom of the pitcher becomes hot to the touch but still manageable, you should stop heating.Milk Type Makes a Big Difference
5. : Milk with different fat contents has vastly different frothing characteristics. Whole milk (around 3.5% fat) can produce dense yet fluid foam, ideal for latte art. Skim milk, lacking fat, often results in dry and unsmooth foam even if it can be frothed. If you’ve been practicing with skim milk, try switching to whole milk to see the difference.Insufficient Steam Pressure: Commercial espresso machines typically have steam pressure between1–1.5 bar

. If the pressure is too low, the frothing process takes longer, and excessive water evaporation during prolonged heating can also lead to overly thick foam.
What Are Some Remedies If the Foam Is Already Too Thick?
• If you accidentally froth the milk too hard, don’t give up right away. You can try the following remedies:Add a Small Amount of Unfrothed Cold Milk
• : Pour some cold milk into the foam and gently shake the pitcher to mix the foam with the cold milk. This can slightly reduce thickness and improve fluidity, but be sure to control the amount to avoid over-dilution.Skim Off the Thick Top Foam
• : Carefully scoop off the thickest and driest layer of foam on top using a spoon, and use only the smoother part underneath. This helps improve fluidity during pouring.Switch to Making a Cappuccino
• : Thick foam is well-suited for making cappuccinos. If you’re not in a rush to practice latte art, consider repurposing the foam.Re-froth or Adjust Your Technique
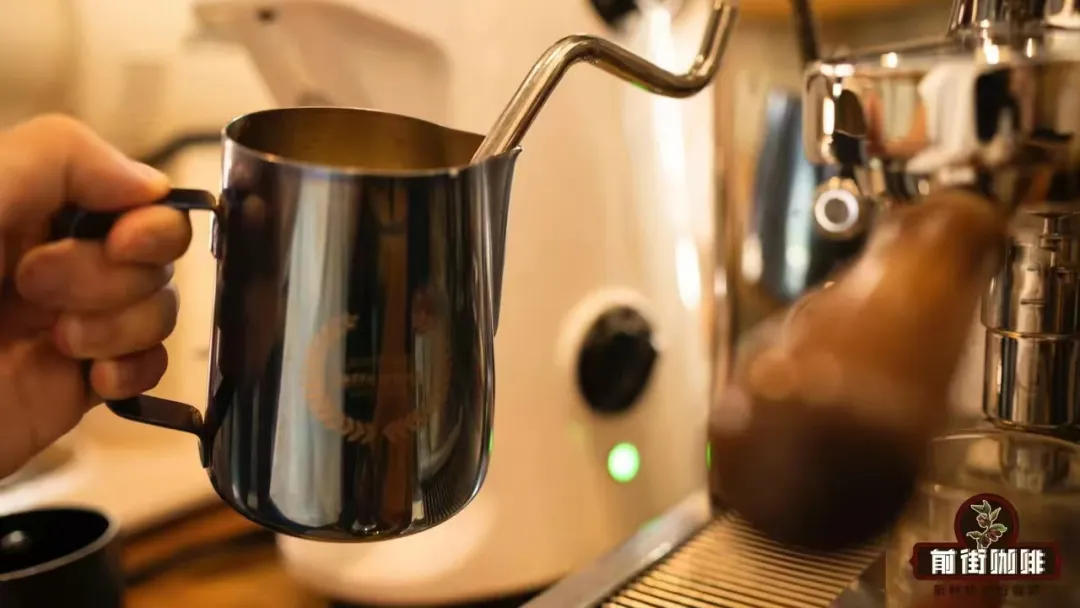
: If possible, re-frothing a new batch of milk is the most straightforward solution. Also, in future frothing, pay close attention to air intake time, steam wand position, and temperature control, gradually getting familiar with your machine’s characteristics.
Extended Tip: Choosing the Right Espresso Beans Makes Latte Art Easier

In addition to the milk foam, the crema of the espresso also affects the final presentation of latte art. Too thin or overly loose crema may make patterns difficult to form. It’s recommended to choose espresso blends with stable and balanced crema performance. For example, certain classic blend recipes produce rich and long-lasting crema, which, when combined with milk foam, can present clear, contrasting pattern textures—perfect for beginners practicing basic designs.
The above content is compiled by CoffeeHunters, a coffee news website.


