







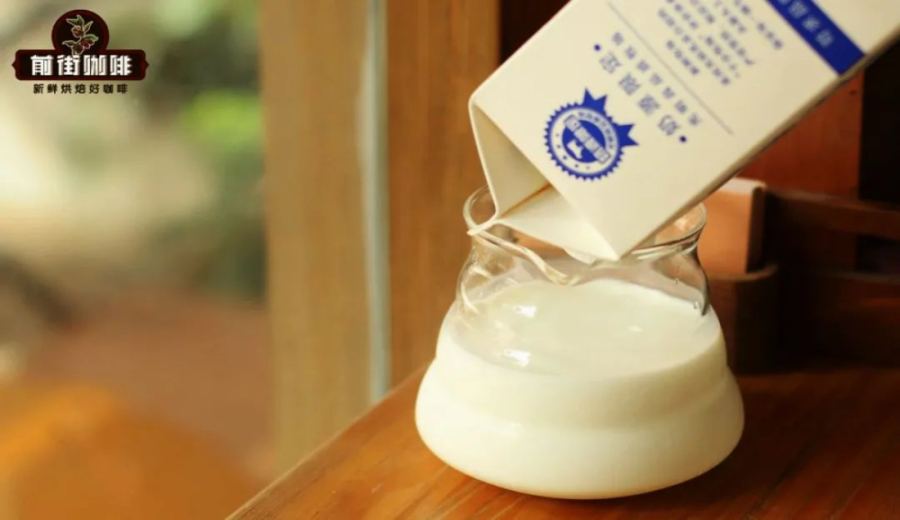
Introduction:Due to its rich, creamy texture and distinctive savory-cheesy flavor, Iced Buck milk has become a favorite among specialty coffee enthusiasts. This article delves into the purification principles behind Iced Buck, provides step-by-step guidance on making it at home using just your refrigerator and fresh milk, and shares hands-on test results on concentration differences and flavor experiences. It also includes complete brewing parameters for a Dirty coffee, serving size recommendations, and a breakdown of layered flavors — so you can recreate that café-quality intense experience at home.
Can Iced Buck milk be consumed directly? Is making an Iced Buck Dirty coffee at home really that difficult? The answer might be much simpler than you think. This article starts with the freezing-purification principle of Iced Buck milk, helping you understand what makes this concentrated milk unique, and then step-by-step demonstrates how to produce rich, creamy, subtly cheesy-pungent purified milk using just a refrigerator and store-bought fresh milk. We’ve also tested the clear differences in concentration and flavor between it and regular fresh milk, and fully shared the steps for making a Dirty coffee by pairing Iced Buck with espresso — including cup volume selection, extraction parameters, and actual flavor performance — so you can easily master this café-grade technique.
Not long ago, while visiting a café, I happened to witness a barista handling a bottle of Iced Buck milk that was slowly dripping. Through the transparent container, I could see the thick milk slowly trickling down — a sight that instantly made me imagine how delicious a Dirty coffee made with it would be. Unfortunately, there wasn’t much left to taste, leaving me longing for more. So why not try making it yourself?
The term “Iced Buck” is actually a transliteration from the German word Eisbock, which originally refers to a process of concentrating beer through freeze distillation. The core of this technique lies in leveraging the different freezing points of substances: water freezes at 0°C, while the solid components in milk such as proteins, fats, and lactose all have freezing points lower than this temperature. Therefore, when milk is frozen, the water freezes first, while the other components remain liquid. Later, during natural thawing, the less-freezable solids will flow out first, while the water melts later. If separated at the right time, some of the water can be effectively removed, achieving a purification effect.
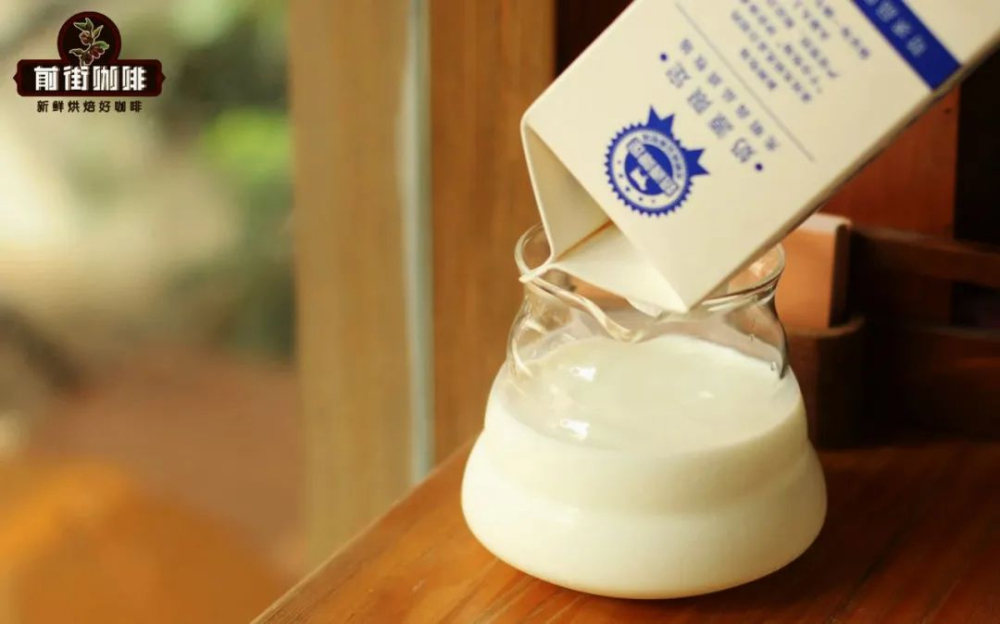
Applying this principle to milk results in the concentrated liquid that baristas often refer to as “Iced Buck milk.” Because some of the water has been removed, the concentrations of proteins, fats, and lactose in Iced Buck are significantly increased, resulting in a richer, creamier texture and even a slight savory-cheesy note — one of the reasons it’s so well-loved.
So, how do you make Iced Buck milk at home? The steps are actually very simple: all you need is a household refrigerator, a carton of room-temperature fresh milk, and a clean container to collect the purified milk.
First, place the whole carton or bottle of fresh milk (preferably whole milk for a fuller flavor) into the freezer until it is completely frozen solid. For this test, I used a 950ml carton of fresh milk, which I placed in the freezer the night before and found fully frozen by the next morning. If you live in an area with extremely low temperatures (such as the northeastern region in winter), it’s said that simply placing the milk in a cool, shaded outdoor spot for several hours can achieve a similar freezing effect.
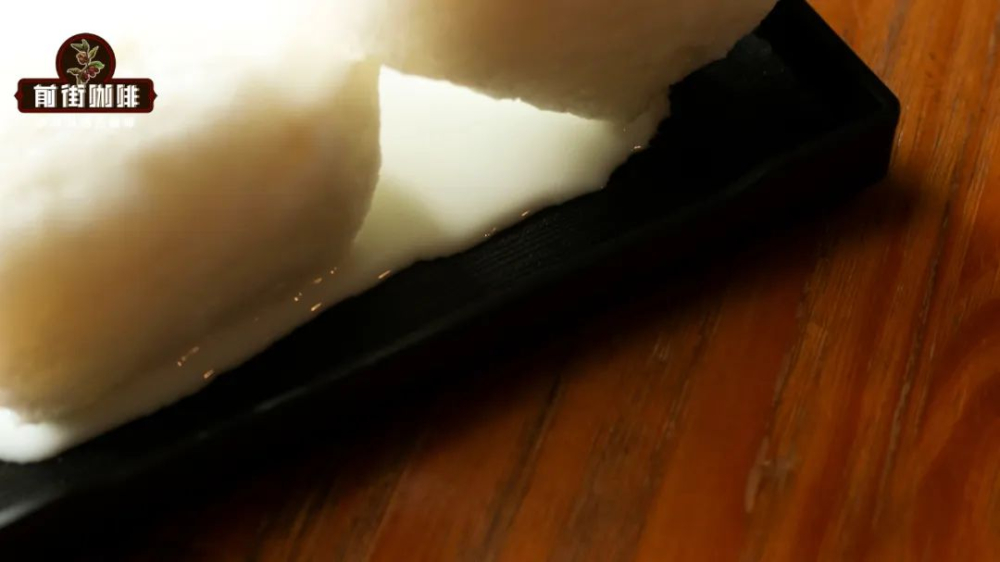
Once the milk is completely frozen solid, the next step is to create a small hole in the “ice block” — similar to pouring out regular milk. Place the frozen milk carton upside down on top of a clean pitcher or bottle (a container with a spout is recommended for easier collection), and wrap the exposed part of the box with plastic wrap to prevent dust or insects from getting in, while also stabilizing the structure to prevent tipping.
As for the melting environment, it’s best to let it thaw naturally at room temperature, which usually takes about 3–4 hours to complete the purification. In my test, it took approximately 3.5 hours, and I ultimately collected about 400ml of Iced Buck milk, with a yield rate of around 42%. If you can’t monitor the process the whole time, you can also place it in the upper refrigerated section of your fridge to drip slowly. Although this takes longer, it ensures the entire process remains at a low temperature, reducing the risk of spoilage, and can still successfully purify the milk.
After preparation, it’s recommended to seal the Iced Buck milk and store it in the refrigerator, ready to be paired with coffee or other beverages at any time.
To more直观ly compare the difference between Iced Buck milk and regular fresh milk, I conducted a test using a concentration meter. The results showed that regular fresh milk has a concentration of about 12.11%, with total solids content of about 14.39%; whereas Iced Buck milk has a concentration as high as 16.22%, with total solids content increased to 18.94% — a quite noticeable difference.
In terms of actual taste, the high-concentration Iced Buck milk has a rich milky aroma, noticeable sweetness, a smooth mouthfeel, and a thick, full-bodied texture, making it more luxurious and complex compared to regular fresh milk. However, due to its higher concentration, it’s not recommended to drink it alone in large quantities to avoid it becoming cloying. When paired with espresso to make a Dirty coffee, though, it’s a match widely celebrated in the coffee community.
There’s no fixed ratio for a Dirty coffee — it mainly depends on the capacity of the cup used. For this test, I used a transparent, open-top cup with about 250ml capacity. I first poured about 200ml of Iced Buck milk into the cup, then placed the cup directly under the espresso machine’s portafilter for extraction. Using 20g of coffee grounds, I extracted about 36ml of espresso in 30 seconds (using the Warm Sun blend parameters), allowing the crema to naturally float on the surface of the concentrated liquid, creating a striking black-and-white layered effect — not only visually appealing but also offering an outstanding layered taste experience.
Upon tasting, the rich iced milk and the bitter-sweet concentrated espresso collide in the mouth, delivering a strong flavor contrast; this is followed by a sweet aftertaste reminiscent of White Rabbit Creamy Candy and hazelnut biscuits, while the distinctive cheesy saltiness of the Iced Buck gradually emerges after blending. Paired with a silky, creamy texture, the overall layers and flavors of the coffee become even more rich and captivating.
The above content is compiled by CoffeeHunters, a coffee news website.


