







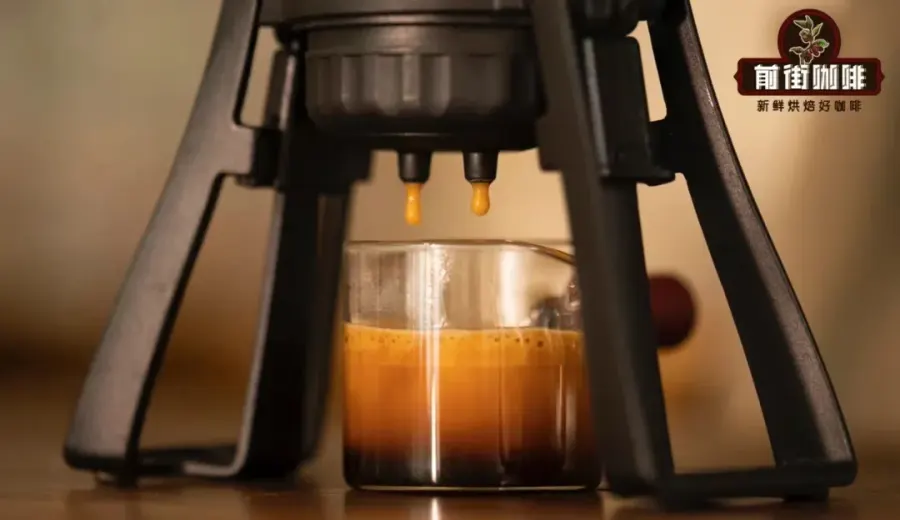
Introduction:Even without a professional semi-automatic or fully automatic espresso machine at home, you can still extract coffee liquid close to espresso using a high-pressure hand pump or moka pot. However, creating latte or cappuccino with the same velvety, fine microfoam as in cafés remains a key challenge. This article delves into the science of microfoam formation and guides you step-by-step on how to create the ideal milk foam at home using an electric frother. It also addresses common issues such as overly thick foam or uneven surfaces, offering practical tips for improvement, and shares the optimal milk temperature for cappuccino to help elevate your home coffee experience.
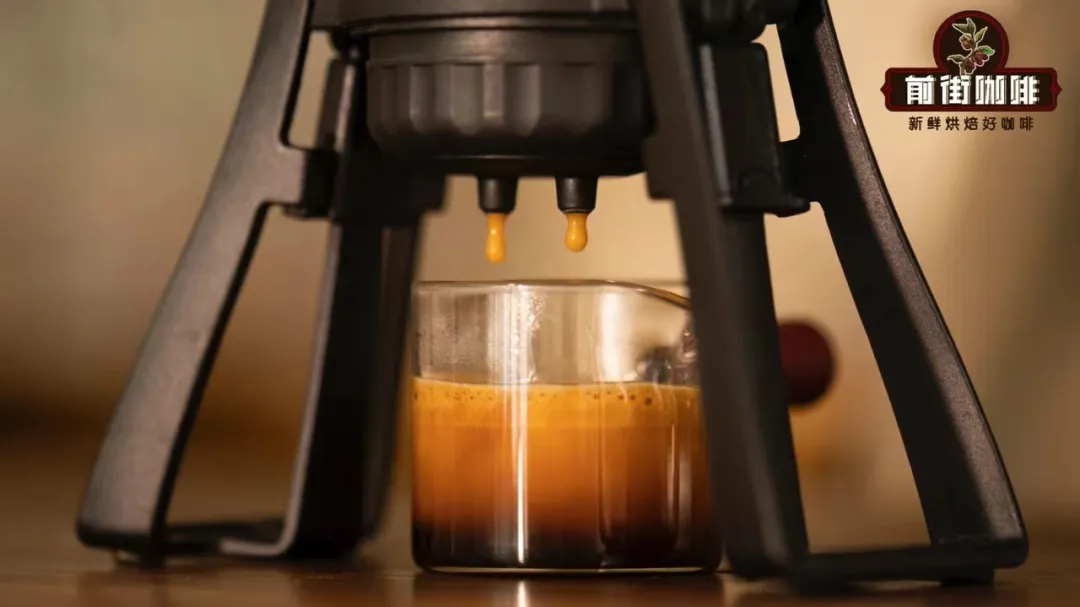
Nowadays, various high-pressure brewing tools such as hand pumps and dual-valve moka pots have become widely available. Even without investing in an expensive semi-automatic or fully automatic espresso machine, you can use these tools to brew a rich, espresso-like base. With the right technique, these homemade espresso alternatives can deliver quite impressive extraction results. However, these tools do not come with a built-in milk frothing system like professional machines. Therefore, if you want to enjoy a latte or cappuccino with delicate foam at home, you’ll need to find another solution.
This article will help you understand the scientific principles behind milk foam creation and teach you, step by step, how to use an electric frother to easily produce smooth, even milk foam at home. It also provides specific suggestions for improving common issues such as overly thick or coarse foam. Finally, we’ll explain the ideal temperature range for milk when making cappuccino, ensuring you master the key details from extraction to foam preparation.
Milk foam, as the name suggests, is a delicate structure of tiny bubbles formed by the combination of milk and air. Simply put, it’s the process of injecting air into milk so that the proteins and fat molecules envelop the gas, forming stable bubbles. The initial bubbles formed are relatively large, but through continued stirring and rotation, these larger bubbles can be broken down into countless tiny, uniform ones, resulting in a smooth and silky texture. As long as you have the right tools and techniques to evenly introduce air into the milk and refine the bubbles, producing café-quality foamed milk at home is absolutely achievable.

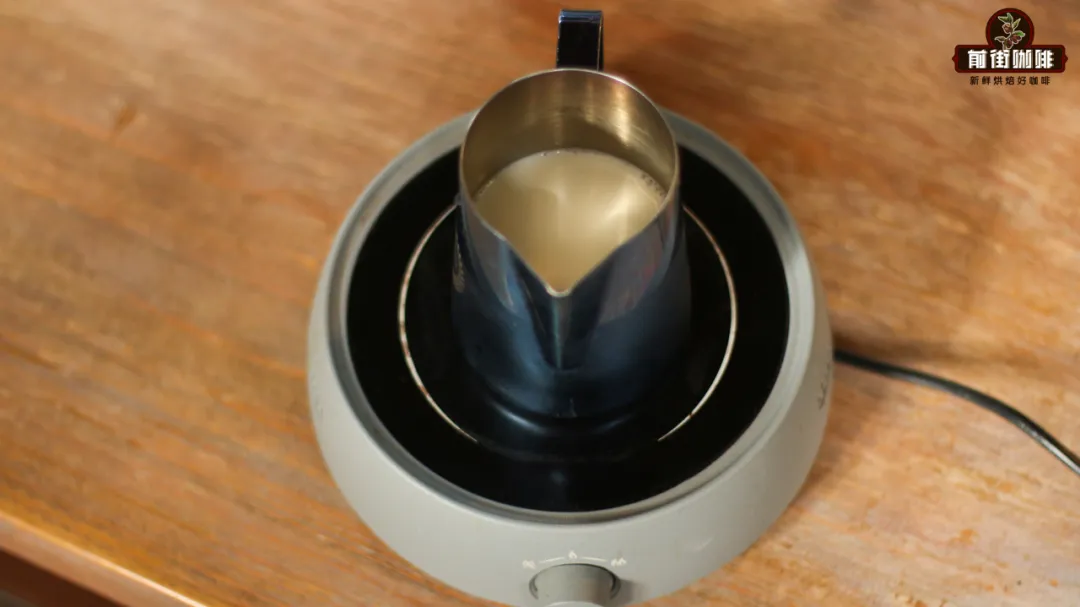
Before you start frothing the milk, the first step is to heat it. It’s recommended to use any convenient heating tool to warm the milk to between 60°C and 70°C. This temperature range helps release the sweetness of the milk’s lactose and lays a solid foundation for later blending with the foam. Once the milk reaches the appropriate temperature, you can begin the frothing process.
In a home setting, suitable tools for frothing milk include electric frothers and versatile French presses. Although their operation methods differ, both can successfully produce milk with a foamed layer. This article focuses on the detailed steps for using an electric frother, but if you’re interested in the French press method, you can also refer to the extended tutorial content.
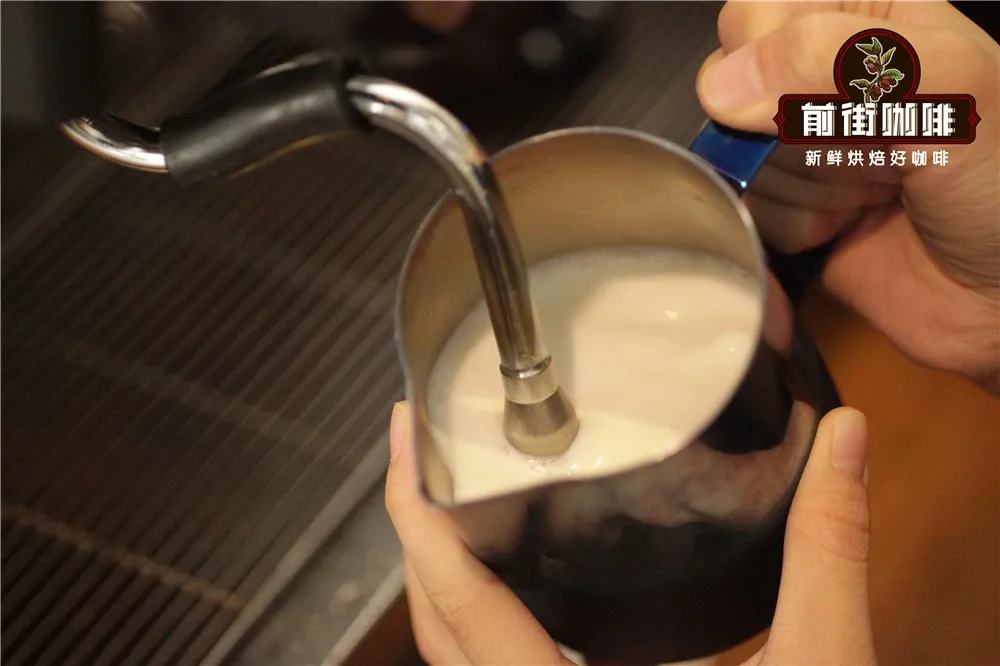
Frothing milk is mainly divided into three stages: frothing, texturing, and blending. The first stage is frothing, whose purpose is to inject air into the milk to form initial larger bubbles. During this step, insert the electric frother’s whisk halfway into the milk, leaving the other half slightly above the surface. Once the machine is activated, the whisk will draw air into the milk, forming a cluster of larger bubbles. If your frother supports speed adjustment, it’s recommended to use a lower speed at this stage to more precisely control the foam thickness and avoid incorporating too much air, which could make subsequent adjustments difficult.
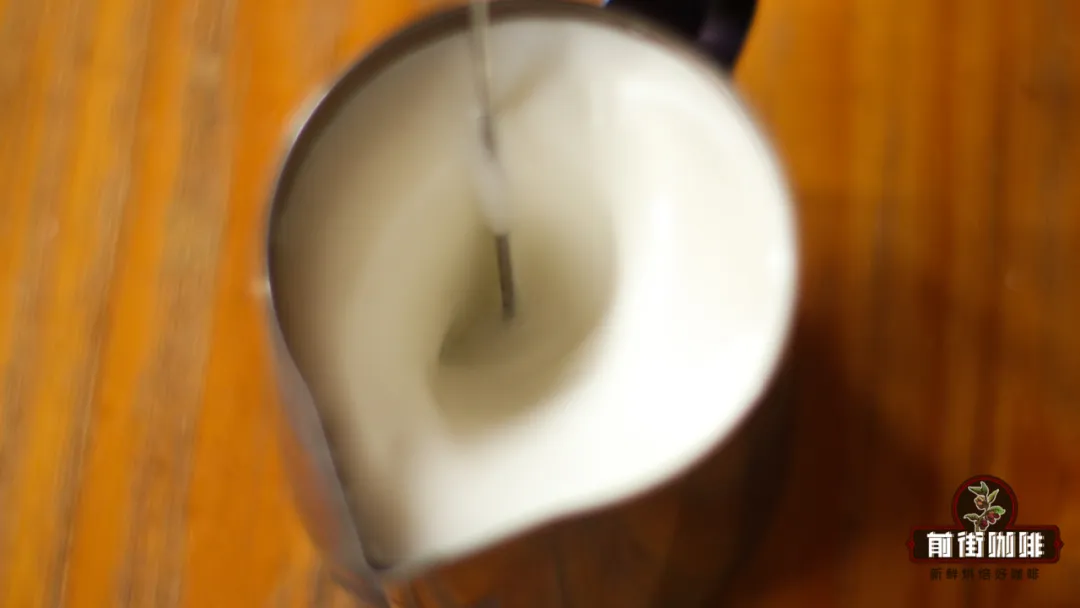
Next comes the texturing and blending stage, which is crucial for determining the quality of the foam. The goal here is to break down the previously formed large bubbles into numerous fine, small bubbles and to thoroughly mix the foam with the milk itself, achieving a smooth and uniform texture. The method involves submerging the whisk fully into the milk (it was previously partially above the surface), causing the entire contents of the pitcher to form a whirlpool, thereby drawing the larger bubbles toward the center and breaking them down. This not only reduces roughness but also allows the foam and milk to blend more perfectly.
When you notice that no significant large bubbles remain on the milk’s surface, it indicates that most bubbles have been successfully refined. At this point, you can slightly increase the stirring speed to complete the frothing process more efficiently. Continue whisking until the surface becomes smooth and even—this is your sign to stop the machine, meaning the frothing is complete.

After frothing, the final step is to combine the foam with the previously brewed coffee, whether it’s a latte or cappuccino. This method allows you to achieve a delicate texture similar to that of café-made drinks. Remember to use proper latte art techniques or pour slowly when combining to further enhance the visual and flavor layers of your beverage.
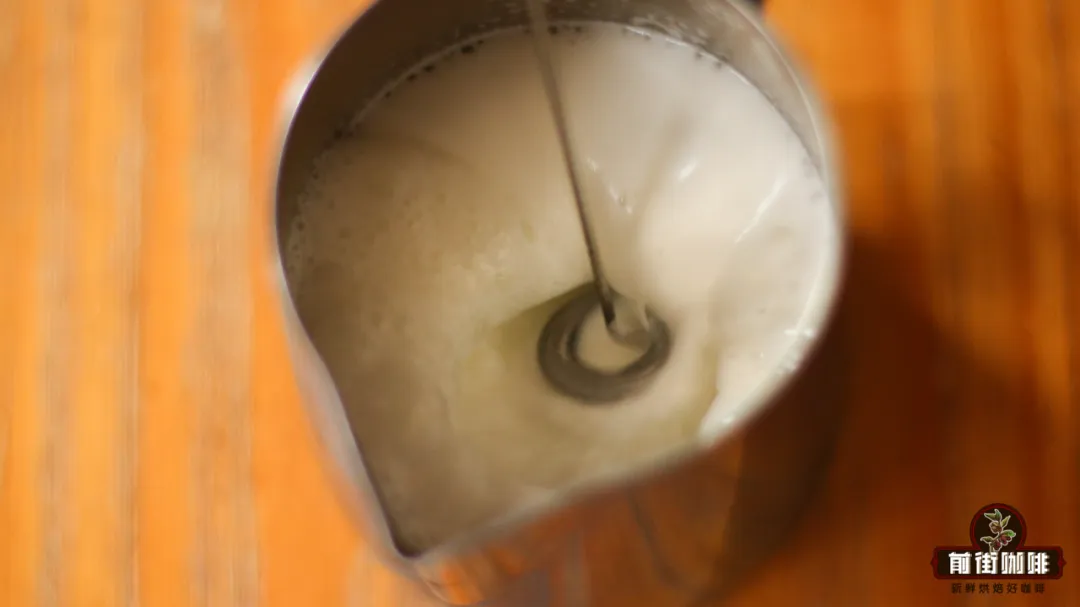
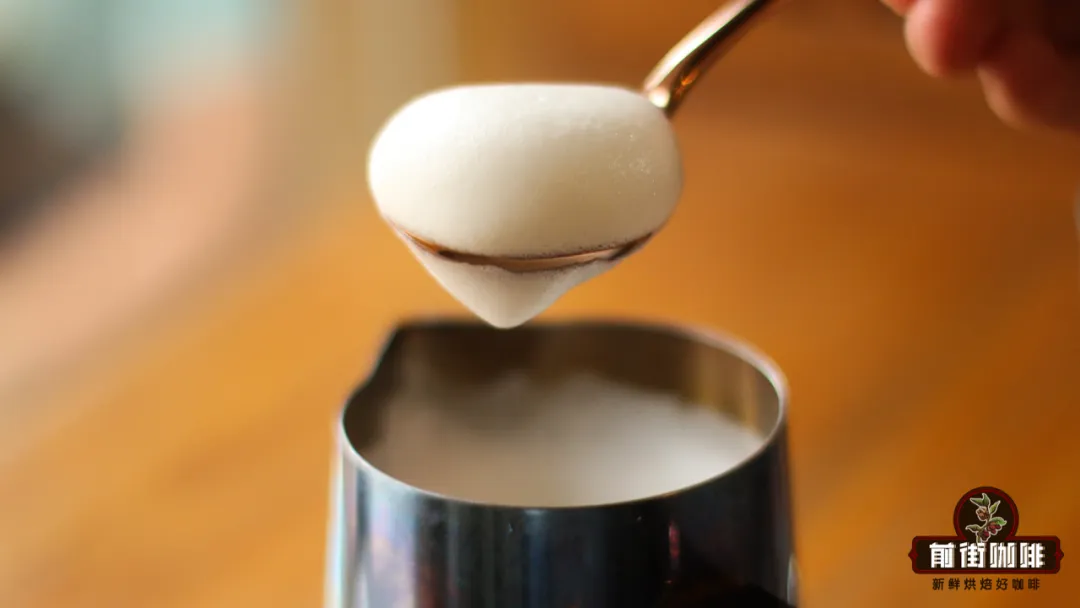
However, in practice, you may often encounter situations where the foam is not as thick as desired. If the foam turns out too thick, you can easily remove some of the top layer using a spoon or a dedicated foam skimmer, adjusting it to a more suitable consistency. This way, you can achieve a foam layer closer to the ideal state, making the final drink smoother on the palate.
Additionally, sometimes the frothed milk may appear rough on the surface or have noticeably large bubbles. In such cases, it’s recommended to prepare an extra cup and gently pour the foam back and forth between cups. This method gradually breaks down larger, irregular bubbles, smoothing the overall texture and enhancing both the drink’s smoothness and overall flavor.
Lastly, it’s particularly important to note that controlling the temperature of the milk is crucial when making cappuccino. It’s generally recommended to heat and maintain the milk between 60°C and 70°C. This temperature range not only highlights the natural sweetness of the milk but also helps stabilize and integrate the foam. If the temperature is too high, the foam may become overly rough or even collapse, negatively affecting the overall taste. Conversely, if the temperature is too low, the foam may not form well and will have difficulty blending thoroughly with the coffee.
In summary, even without a professional coffee machine, mastering the correct milk frothing techniques and temperature control allows you to easily create café-quality lattes and cappuccinos at home. From understanding the principles of milk foam formation, to the actual steps of frothing, texturing, and blending, and on to solving common foam issues and nailing the ideal milk temperature—each step influences your final coffee experience. Why not give it a try and add more depth and enjoyment to your daily coffee moments?

The above content is compiled by CoffeeHunters, a coffee news website.


