







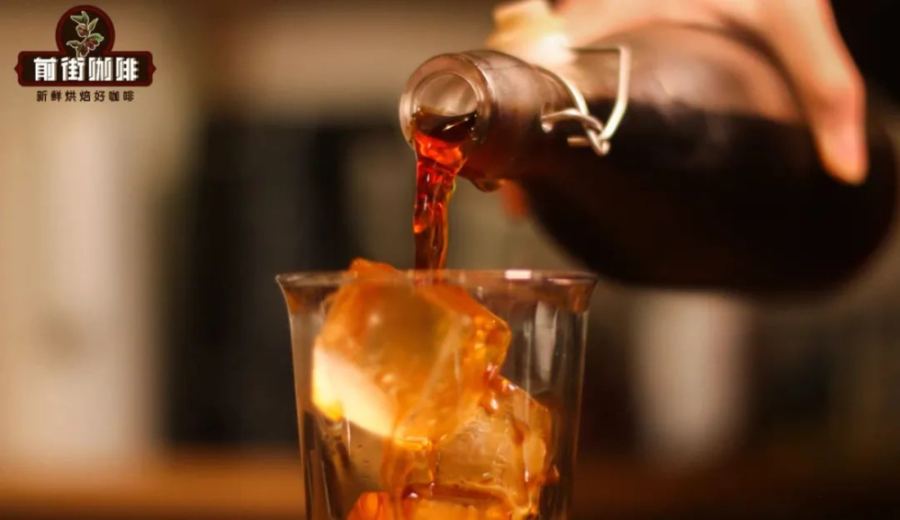
Introduction:Want to enjoy a low-acid, richly flavored cold drip coffee without spending a fortune on a professional cold drip brewer? With just a V60 dripper, flat-bottomed dripper, and a server you already have at home, you can DIY a practical and economical cold drip system. This article delves into the principles of cold drip brewing, teaching you how to precisely control coffee dosage, ice cube size, and dripping time, while also covering key details like dripper selection and refrigerated fermentation—so you can easily brew crystal-clear, smooth, and distinctly layered handcrafted cold drip coffee at home.
As summer arrives, many coffee enthusiasts crave a cool, richly flavored cold drip coffee. However, commercial cold drip brewers are often pricey and complicated to operate, quickly becoming mere decorations. In fact, by using common household items like a V60 dripper, a flat-bottomed dripper, and a server, you can easily create an affordable cold drip setup. Not only will you save money, but you’ll also have full control over every step of the brewing process and enjoy the fun of DIY.
First, let’s understand the basic principle: a traditional cold drip brewer consists of three parts—the upper chamber that holds ice, the middle chamber that holds the coffee grounds, and the lower chamber that collects the brewed coffee. The upper chamber is equipped with an adjustable valve to ensure the ice water drips at a steady rate. However, we can simplify this system: skip the valve and use large, solid ice cubes that melt naturally and slowly. This method can still control the dripping rate and achieve similar results.
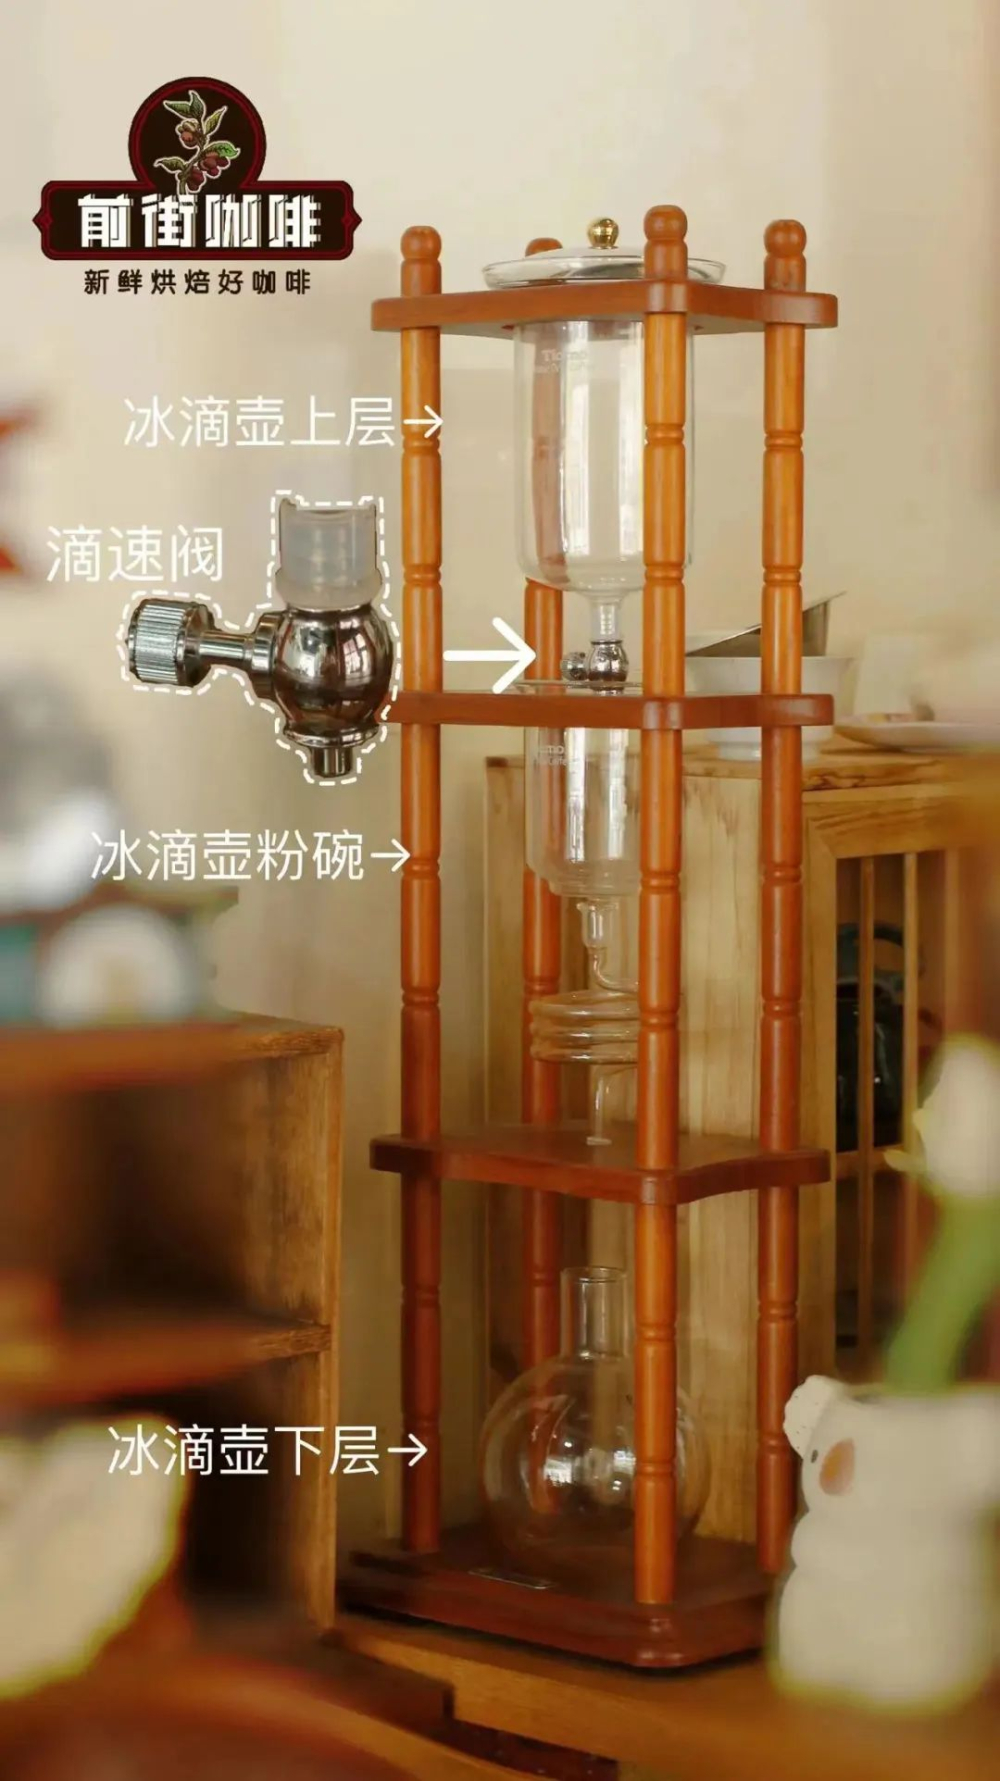
In practice, you can use a server as the lower chamber to collect the coffee, a V60 dripper as the middle chamber to hold the coffee grounds, and a flat-bottomed dripper as the upper chamber to hold the ice cubes. Suggested reference parameters: use 24 grams of coffee grounds, ground slightly finer than regular pour over (e.g., EK43 setting 9.5, about 85% passing through a #20 sieve), with a coffee-to-water ratio of 1:10. This yields about 240 ml of brewed coffee, striking a balance between concentration and taste that suits most palates.
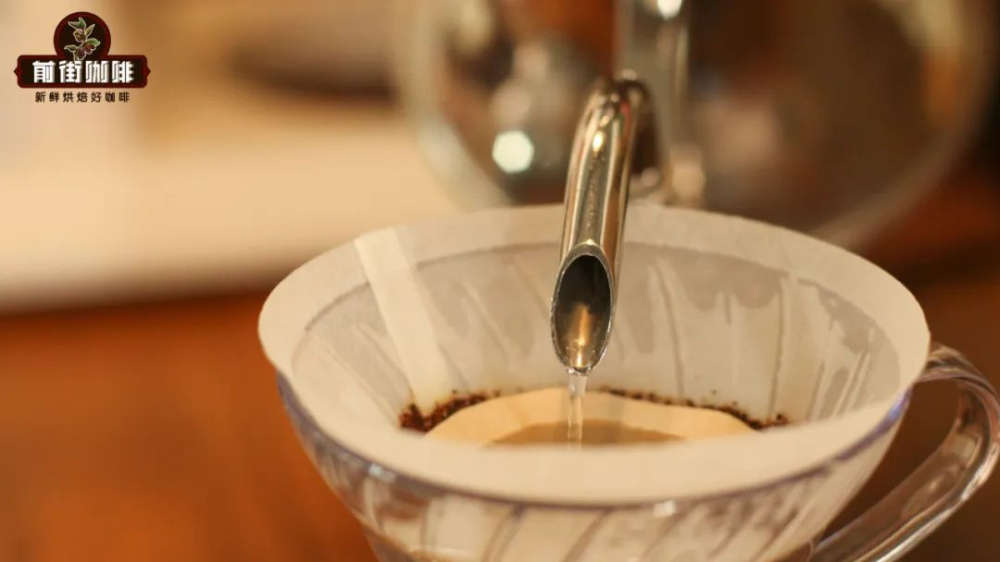
First is the blooming—or rather, pre-wetting—step: place the dripper securely on the server, lay a suitably sized filter paper inside, then evenly pour the ground coffee in and gently tamp it to flatten the coffee bed. Ensure the surface is level. Next, cover it with another round filter paper, which helps the subsequent ice water penetrate more evenly. At this point, add a small amount of room-temperature water for pre-wetting. You don’t need much—just enough to activate the coffee’s capillary action, allowing the following ice water to better contact each coffee particle. Remember, this step is just wetting, not blooming, so there’s no need to use hot water.
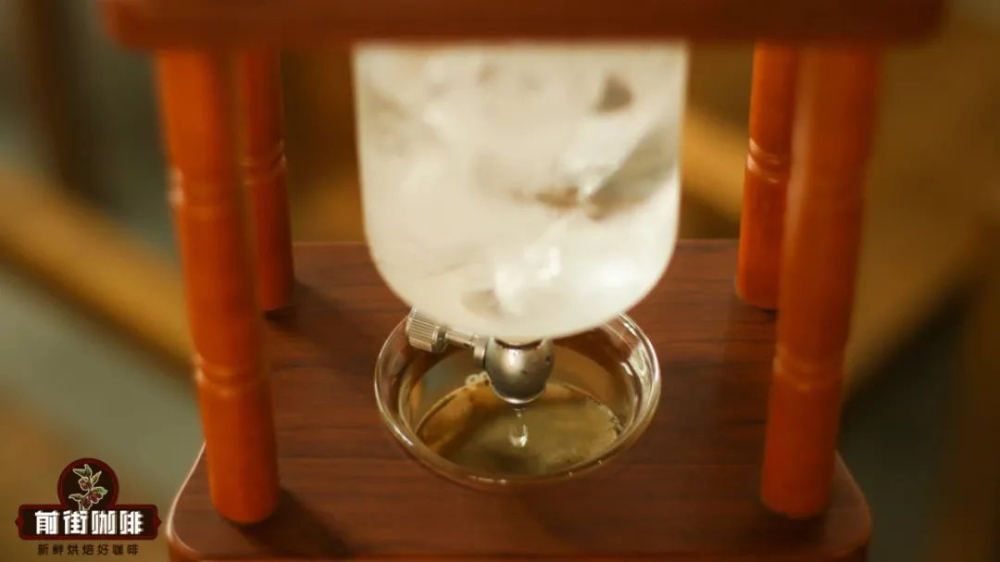
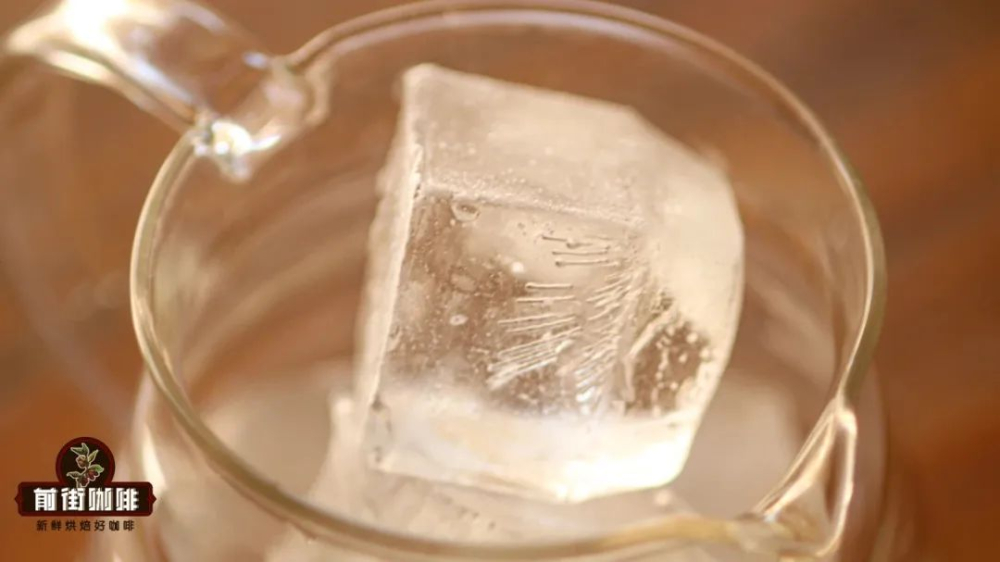
Next, set up the upper chamber: invert or stack the flat-bottomed dripper on top of the V60 coffee chamber, then add a generous amount of ice cubes. It’s recommended to use larger ice cubes that have been frozen for a sufficient amount of time—they melt slowly, extending the contact time between the ice water and coffee grounds, thus extracting richer and more layered flavors. If the ice cubes just taken out of the freezer are slow to melt, you can sprinkle about 10–20 ml of room-temperature water to help initiate the melting process. If you have a dripper lid, it’s advisable to use it to minimize dust or odor interference, creating a relatively enclosed brewing environment. Then, simply wait for the ice water to slowly drip down.
When the coffee liquid in the lower chamber accumulates to the target weight (e.g., 240 ml), you can remove the dripper and stop the dripping process. However, note that the coffee at this stage hasn’t yet reached its optimal flavor. It’s recommended to pour it into a sealed container and refrigerate for about 8 hours. This allows the coffee to continue maturing and fermenting in a low-temperature environment, further softening acidity and enhancing overall balance, resulting in a smoother and more rounded taste.
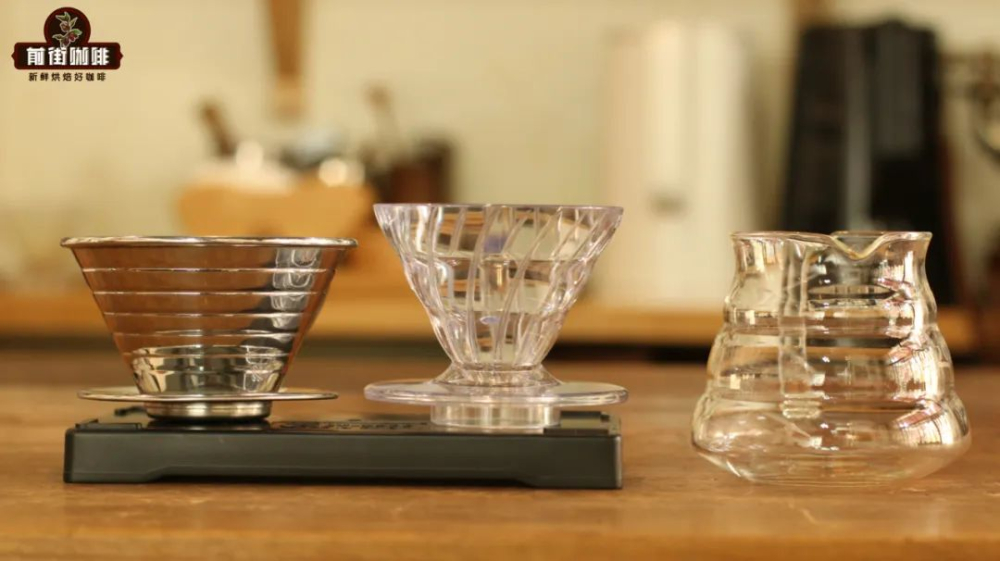
Additionally, here are some practical tips worth considering: adjust the coffee dosage according to the size of your dripper—for example, a V60 01 model can accommodate about 24 grams of coffee, ensuring the coffee bed isn’t too thick or thin, and maintaining proper distance from the upper chamber to allow even distribution of the ice water. As for the ice cubes, be sure to choose solid, slow-melting ones—small or freshly frozen cubes tend to release cold water too quickly, leading to uneven extraction and ultimately a diluted flavor, almost like coffee-flavored water.
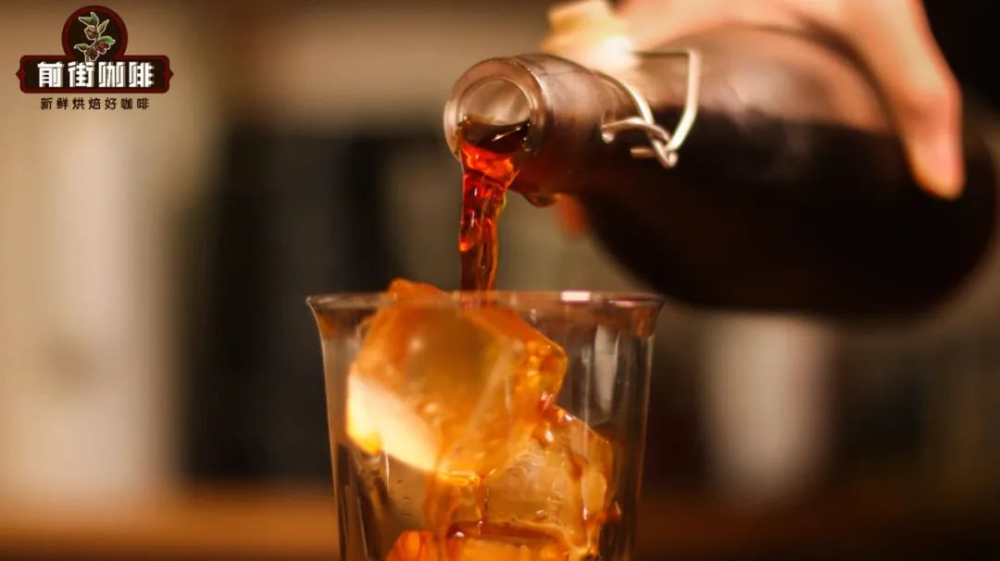
With this DIY cold drip system, you not only save on the cost of professional equipment, but you can also fine-tune various parameters like grind size, ice quantity, and refrigeration time to gradually discover your ideal cold drip flavor. For coffee enthusiasts who love experimentation and exploration, this is both an economical and fun challenge. Why not give it a try and brew your own exquisite cup of cold drip coffee?
The above content is compiled by CoffeeHunters, a coffee news website.


