








Introduction:The latte art looks beautiful, but the surface of the drink appears messy? The issue likely lies in the crucial step of blending (frothing integration)! Good blending not only ensures thorough mixing of coffee and milk, but also guarantees clean and clear latte art patterns. This article will take an in-depth look at four key details during blending: the height of milk pouring, the flow rate, the pouring point, and the condition of the milk foam and crema, helping you achieve professional-level latte art results.
Many baristas often encounter the problem where the latte art pattern looks great, but the overall drink surface appears chaotic and unclean. In fact, the issue often doesn’t lie with the latte art technique itself, but rather with the blending process—a foundational yet crucial step. Blending refers to the process of evenly mixing steamed milk with freshly extracted espresso. This step not only affects the cleanliness of the final pattern, but also determines the balance of the coffee’s flavor and the smoothness of its mouthfeel.
If blending is done improperly, not only will the background of the pattern look murky, but the taste may also come across as disjointed—"a sip of coffee, a sip of milk." To fix this issue, we need to focus on four key details: the height of the milk pour, the flow rate and amount of milk, the location of the pour point, and the quality of the milk foam and crema. Mastering these points is essential for presenting your latte art patterns on a clean "canvas."
I. Mastering the Height of Milk Pouring

During the latte art drawing stage, we usually lower the pitcher as much as possible so that the milk foam gently floats on the crema, allowing for the creation of delicate patterns. However, the blending stage is the exact opposite—it requires slightly raising the pouring height to generate enough impact force to effectively push the milk foam into the espresso, preventing the foam from remaining on the surface and ruining the overall visual effect.
But it’s important to note:the distance between the spout of the pitcher and the coffee surface during blending should be controlled between 5 to 8 centimeters,roughly the height of a fist. This height provides moderate impact force, ensuring even mixing without creating too many bubbles due to excessive height. If the height is too low, mixing may be uneven; if it’s too high, it can easily create excessive large bubbles, affecting both the appearance and mouthfeel of the drink.

II. Controlling the Amount and Flow Rate of Milk
The amount of milk poured during blending is equally crucial. If the flow rate is too low, the milk will only mix near the pour point, leaving the surrounding coffee and crema unevenly stirred, which can easily lead to inconsistent blending. On the other hand, if the flow rate is too high, the excessive impact force might cause the surface crema and coffee to splash back, resulting in a messy drink surface.
It is recommended to useslightly less milk than during actual latte artduring the blending phase, and to pour it at a stable and controllable speed, allowing the milk to evenly penetrate the entire liquid and achieve the ideal blending effect. A stable flow rate helps maintain a smooth drink surface and avoids pattern distortion caused by sudden impacts.
III. Choosing the Milk Pouring Point
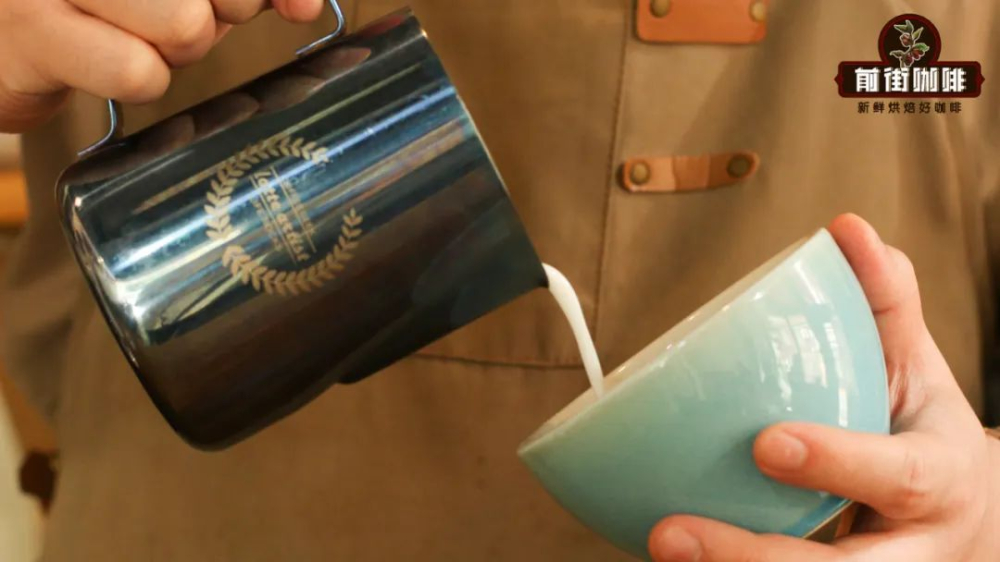
To allow the milk to smoothly enter the deeper part of the coffee liquid, we usually tilt the cup slightly so that the liquid gathers on one side, forming a deeper area. In this state, the optimal pouring position is usually near thecenter of the coffee surface,as this area is typically the deepest, helping the milk mix more deeply with the coffee.
In practice, it’s recommended to use the center as a baseand pour the milk in a circular motion,with the range slightly expanded but still focused on the central area. This circular motion helps ensure comprehensive blending of the milk foam and coffee, avoiding situations where some areas are overly mixed or remain unmixed.
IV. Managing the Quality of Milk Foam and Crema
The texture of milk foam and coffee crema changes over time. If blending is delayed too long, the foam may gradually dissipate or clump together, leading to reduced fluidity and consequently affecting the uniformity of blending and the cleanliness of the drink surface. To ensure the best blending effect, it’s advisable to plan the timing of espresso extraction and milk frothing in advance, aiming to complete both almost simultaneously to achieve optimal conditions.
For example, if espresso extraction takes about 30 seconds and milk frothing takes about 20 seconds, you can start the milk frother about 15 seconds after beginning the extraction. This way, both will be ready at the same time, ensuring blending occurs when both the milk foam and crema are in their best states, resulting in the smoothest and cleanest drink surface.
These four key points—pouring height, milk volume control, pour point selection, and milk foam quality—are essential factors that influence the success of latte art blending. Beginners are advised to practice blending with water instead of milk before actual operations to get familiar with hand feel and flow rate control. Even if there is some milk foam on the surface initially, it can be naturally incorporated into the liquid through subsequent pours, gradually adjusting to the ideal state.

The above content is compiled by CoffeeHunters, a coffee news website.


