







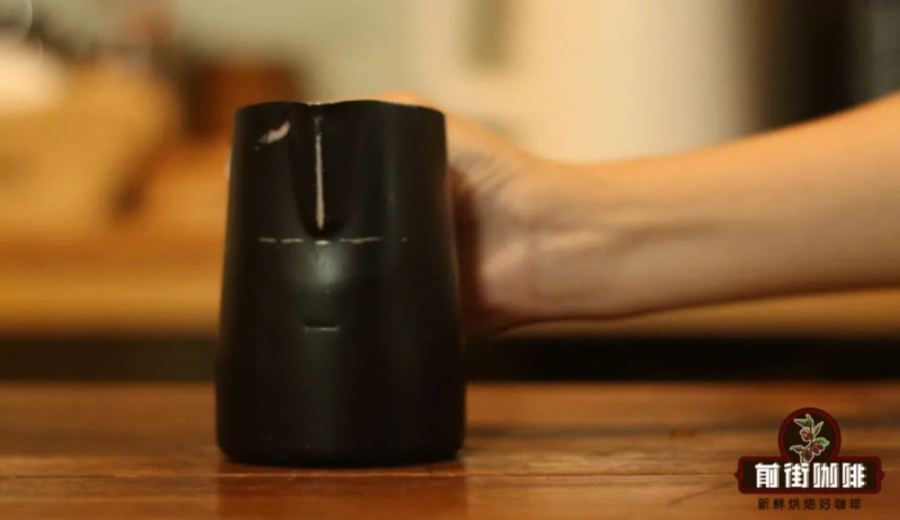
Introduction:Are your milk microfoam bubbles always covered with tiny air pockets, making your latte art patterns blurry and the surface rough? Often, the issue lies in the details of steaming milk. This article dives deep into the three stages of milk foam formation—stretching, texturing, and blending—and highlights common causes of excessive bubbles, such as insufficient texturing, repeated stretching during blending, and overheating the milk. It also offers practical tips on steam wand angle, pitcher selection, and temperature control to help you consistently produce smooth, fine-textured milk foam.
Many home coffee enthusiasts often encounter a frustrating issue when practicing latte art: the milk foam surface is covered with numerous small bubbles that persist no matter how much they tap the pitcher, resulting in unclear latte art patterns that affect both visual appeal and taste. In reality, this isn’t just about luck—it’s closely related to the milk foaming process. By mastering the correct foaming steps and details, you can significantly improve the quality of your milk foam.
Milk foam production can be divided into three main stages: first is stretching, where steam creates initial large bubbles on the milk’s surface; next is texturing, where a vortex motion breaks down the large bubbles into fine, small ones; and finally, blending, where the milk foam and milk itself are evenly mixed to achieve an ideal smooth and silky state. None of these stages can be skipped—any misstep may lead to subpar milk foam.
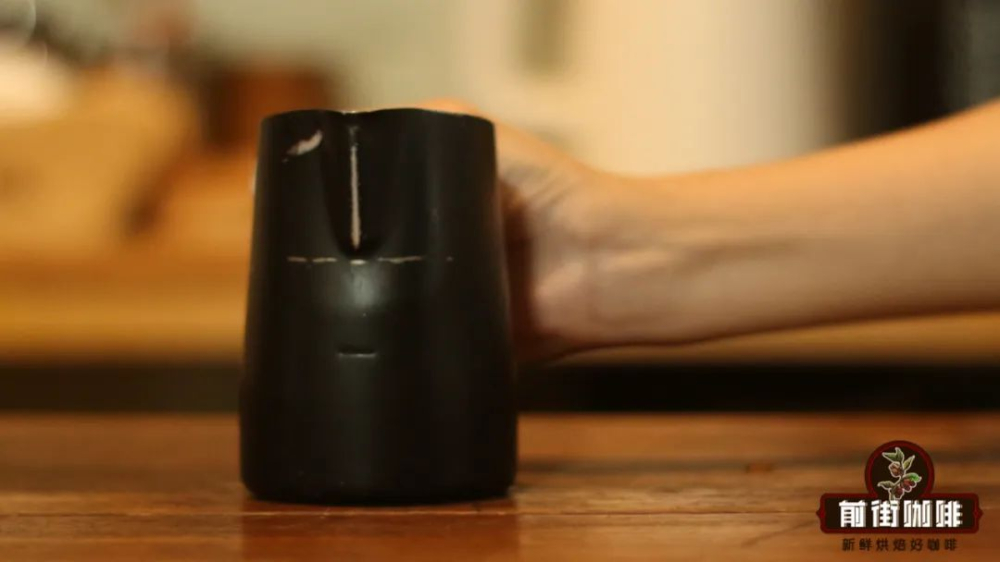
Common issues with milk foam bubbles can generally be attributed to three causes: first, inadequate texturing, leaving some large bubbles unbroken; second, accidentally letting the steam wand hole breach the milk surface again during blending, causing additional foaming; and third, excessively high initial milk temperature, which affects blending effectiveness and fineness. Understanding these causes is key to applying the right fixes and improving results.
Let’s start with the crucial step of texturing. Many beginners assume that strong steam alone is enough to create good milk foam, but what matters more is how you control the relative position of the steam wand and the pitcher, as well as how you create an effective vortex. The correct approach is to place the steam wand between the3 o’clock and 9 o’clock positionsof the pitcher—that is, close to the center but not directly facing it—allowing the steam to drive the milk in a rotation and form a stable vortex. This effectively draws in the large bubbles and gradually breaks them into smaller ones.
The angle between the steam wand and the milk surface is also extremely important. It’s recommended to maintain an angle of about60 degreesto enhance the vortex’s suction power, making it easier for bubbles to be drawn in and refined. Additionally, slightly tilting the pouring pitcher can help increase the surface area in contact with the milk, further improving the vortex’s suction and stability.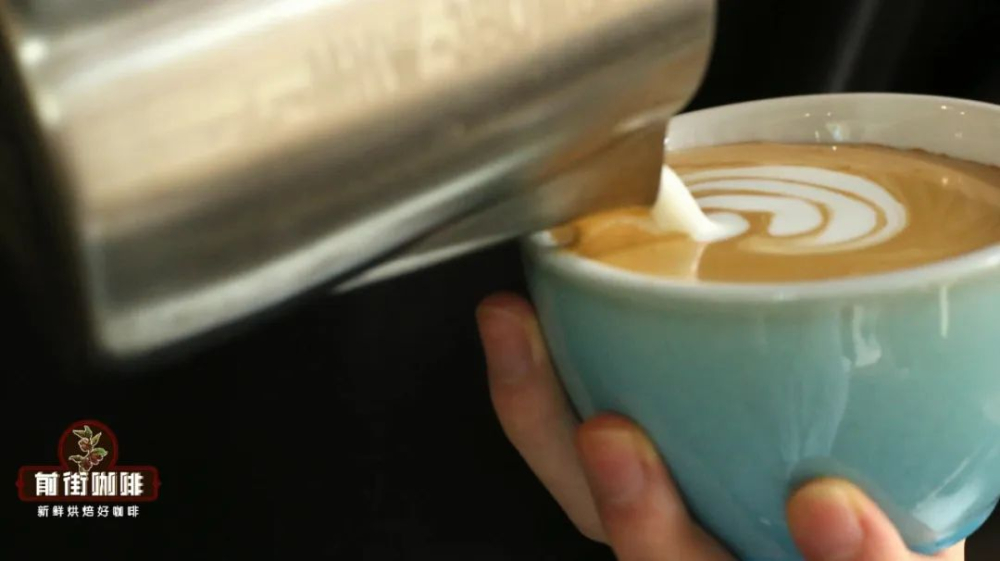
It’s worth noting that not everyone owns a professional-grade espresso machine with a steam wand. Some home machines have shorter or fixed-position steam wands that may not allow for a deep enough vortex with larger pitchers. In such cases, it’s suggested to use a smaller pitcher during the initial foaming stage for better angle and surface control. Once the milk foam is initially textured, you can then pour it into the pouring pitcher for subsequent blending and latte art.
The second common issue occurs during the blending stage after texturing, where improper handling leads to additional foaming. Some people accidentally let the steam wand hole re-emerge above the milk surface when lifting it, causing extra bubbles. Even if you try to fix it with additional steaming, it’s hard to restore the milk foam to a fine state. Therefore, it’s advised to pay special attention to the depth control of the steam wand during the blending stage to avoid exposing the steam hole to air again, minimizing unnecessary foaming.
The last key factor is the milk’s initial temperature. If the milk is too hot—especially when using an espresso machine with a high-power steam wand—it might overheat before the stretching and blending processes are complete. This not only affects the fineness of the milk foam but may also result in a loose foam structure. It’s recommended to refrigerate the milk beforehand, and if possible, set the fridge temperature close to freezing point to extend the effective foaming time window and improve operational tolerance.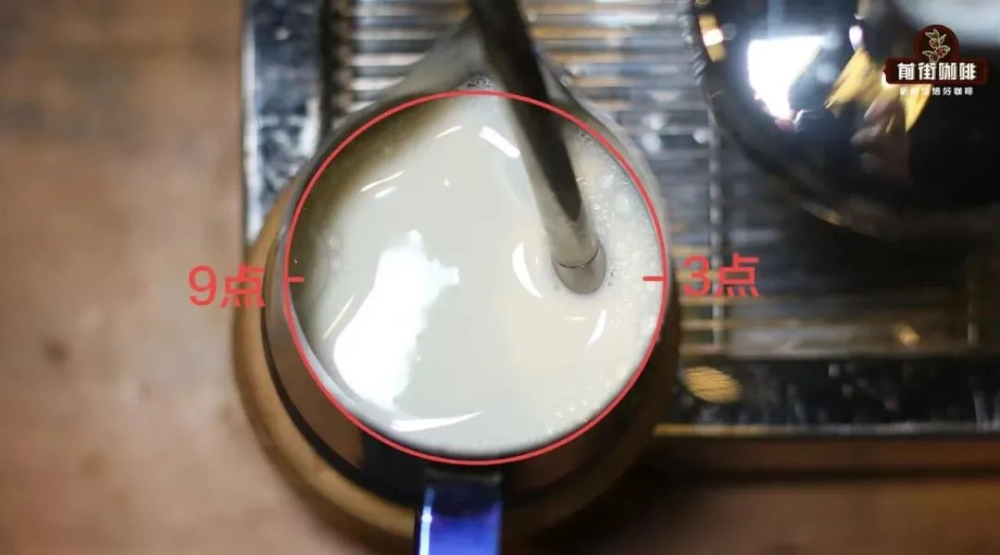
In summary, to achieve smooth, bubble-free milk foam, the key lies in mastering the three stages of stretching, texturing, and blending, while paying attention to the coordination of steam wand angle, pitcher selection, milk temperature, and technique. With careful adjustments and repeated practice, even at home, you can consistently produce high-quality milk foam suitable for latte art.
Details determine success. Starting today, re-examine your milk foaming process and let every cup of coffee latte art showcase a silky, smooth texture.
The above content is compiled by CoffeeHunters, a coffee news website.


