







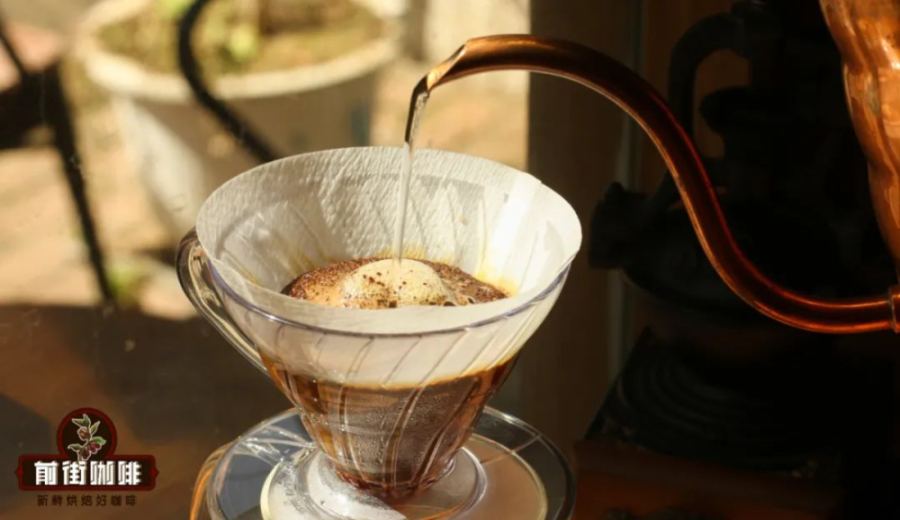
Introduction:Want to master the layered complexity and balanced flavors of pour over coffee? This article delves into the science behind the three-stage pour over method—from the bloom phase releasing CO₂, the extraction logic of segmented pouring, to how each interval affects flavor and temperature. We provide complete parameters and step-by-step instructions, perfect for coffee enthusiasts aiming to refine their pour over skills and help you brew clean, distinct-tasting coffee step by step.
In the world of pour over coffee, the three-stage pouring technique is widely favored by both professional baristas and enthusiasts. Beyond being a simple multi-stage brewing method, it reflects a deep understanding of extraction efficiency, temperature control, and flavor balance. If you've ever wondered why the three-stage method yields better layering and more consistent results, this article will take you from principle to practice for a comprehensive breakdown.
First, understanding the basic principles of pour over is essential. When we pour hot water over coffee grounds, we’re actually using high-temperature water to dissolve soluble compounds in the coffee—including acidity, sweetness, and bitterness. These components are released at different rates, typically with acidity being the fastest, sweetness moderate, and bitterness the slowest. As such, controlling water temperature, timing, and flow rate becomes crucial to shaping the final flavor.
In the three-stage pour over, the first step isblooming,which is an often overlooked but extremely critical phase.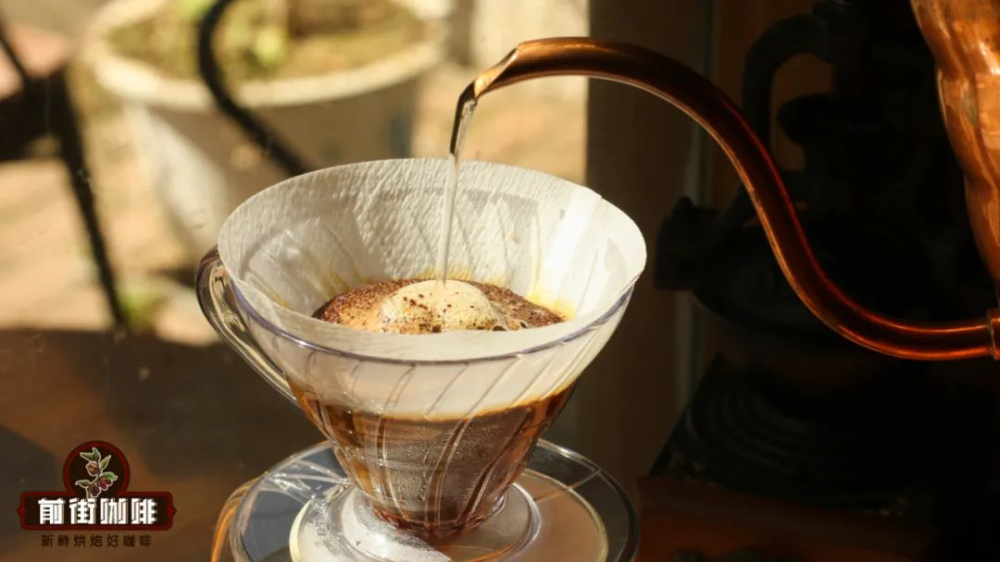 The primary purpose of blooming is to use a small amount of hot water to release carbon dioxide trapped in the coffee grounds. If this gas isn’t released, it can hinder water contact with the grounds, leading to uneven extraction later on. It’s generally recommended to use about twice the weight of the coffee in water—i.e., 15 grams of coffee beans to 30 milliliters of water—and pour quickly in a circular motion from the center outward. Keep the time around 30 seconds. Remember to start your timer as you begin pouring to accurately track the subsequent steps.
After blooming, you move on tothe main extraction phase,which is key to forming the overall flavor profile. At this stage, pour about 120 milliliters of water, using a small, steady stream and a wide, stable circular motion. This should take roughly 55 seconds in total. By now, most of the CO₂ has been released, so the higher water temperature can effectively extract acidic compounds and sugars from the coffee, laying a bright foundation and sweet structural base for the cup. It's worth noting that the coffee bed still retains relatively high temperature at this point, promoting efficient extraction.
Finally, there is thefinishing stage,where, as the water level nears the bottom—meaning the coffee grounds surface begins to show—you pour an additional approximately 75 milliliters of water. Though this is a smaller volume, it helps fine-tune the overall extraction balance. It’s recommended to pour in small circles around the center of the filter, adjusting flexibly based on the flow speed and drainage of the second stage. If the second stage drains too quickly, it may lead to under-extraction, in which case you can use an even smaller stream to extend extraction time. Conversely, if the flow is too slow or clogged, slightly increasing the flow rate can help avoid over-extraction and unpleasant bitterness.
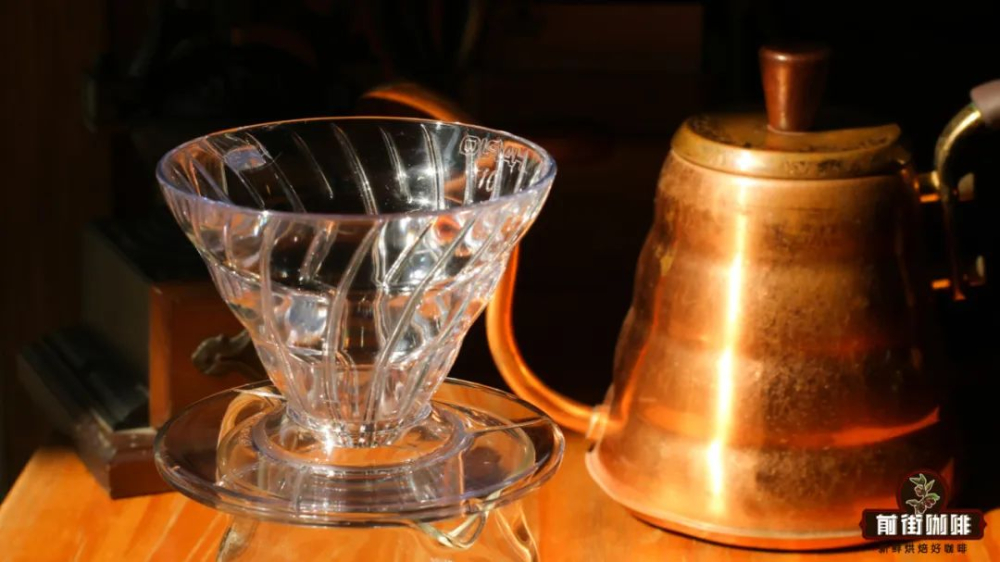
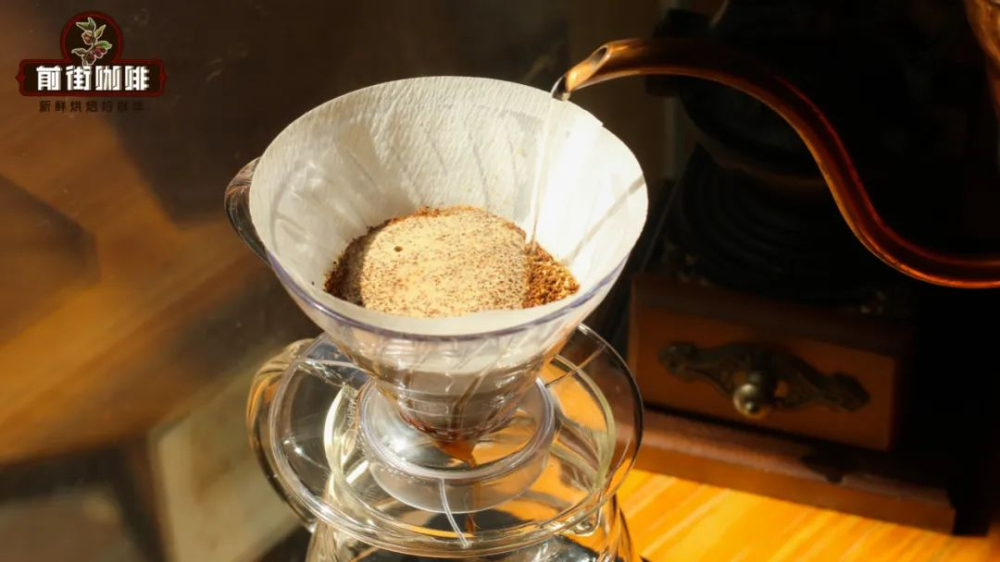 When performing a three-stage pour over, it’s recommended to use the following parameters for optimal results: 15 grams of coffee grounds; for light roasts, use EK43 grind setting 10 (80% through a #20 sieve), and for dark roasts, use setting 10.5, also at 80% sieve passing rate; water temperature should be 90°C to 92°C for light roasts and 86°C to 88°C for dark roasts; maintain a 1:15 coffee-to-water ratio, and either V60 or Kono filters can be used, depending on personal preference.
Additionally, one often overlooked yet extremely important detail is theinterval between pours.Many guides only mention pouring in three stages but neglect to emphasize the waiting time between them. In fact, after the second pour, you should wait until the water level is close to the bottom before proceeding to the next pour. This pause not only allows the coffee bed proper time to drain and “breathe,” but also lets the temperature naturally drop and rise in cycles. Online observations suggest that the 30-second bloom plus these waiting periods cause fluctuations in the coffee bed temperature, thereby affecting overall extraction efficiency—especially in the third stage, where extraction capacity has already decreased from the start, thus preventing over-extraction of bitter compounds. This is one of the keys to how the three-stage method achieves both flavor and balance.
Once all three pours are completed, don’t rush to taste the coffee right away. Since the compounds extracted in each stage have varying concentrations and characteristics, pouring out immediately might result in a disjointed and unbalanced flavor. Instead, it’s recommended to gently swirl the coffee server to allow the extractions from each stage to mix thoroughly, resulting in a smoother and more layered tasting experience.
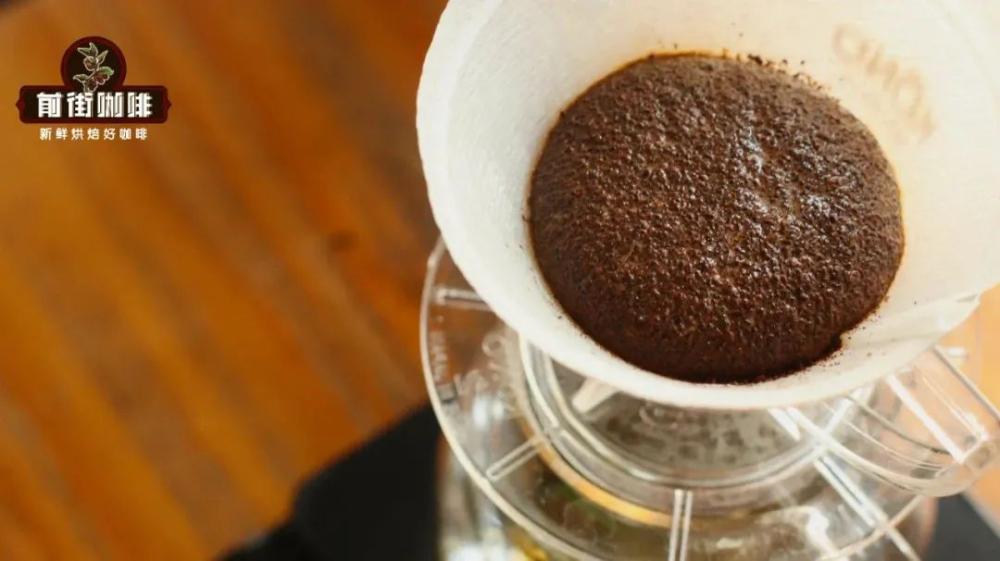 In summary, the three-stage pour over is not just a brewing technique, but a systematic approach to mastering coffee flavor, extraction efficiency, and operational rhythm. From the initial gas release during blooming, to the release of acidity and sweetness in the main extraction, and finally the balance adjustment in the finishing stage—each step influences the final cup. With the right parameters and attention to detail, even beginners can gradually brew high-quality pour over coffee with their own personal touch.
The above content is compiled by CoffeeHunters, a coffee news website.


