







Introduction:To create smooth and layered latte art, steaming milk is just as important as extracting espresso. This article delves into the key techniques of milk steaming, including steam wand immersion depth, the difference between stretching and texturing, and how to create a vortex with the right angle and motion. It also provides recommendations on beginner and commercial coffee bean selections to help you master latte art milk skills from basic to advanced levels.
To pour a beautiful and enjoyable latte art, besides mastering your pouring technique and pitcher handling, the texture of the milk foam is crucial. Equally important is a well-extracted shot of espresso. This article will thoroughly explore common issues in the milk steaming process — from steam wand immersion depth, the fundamentals of stretching vs. texturing, to how to create a stable vortex by adjusting angles and positions — step by step guiding you to craft fine, even milk foam and build a solid foundation for exquisite latte art.
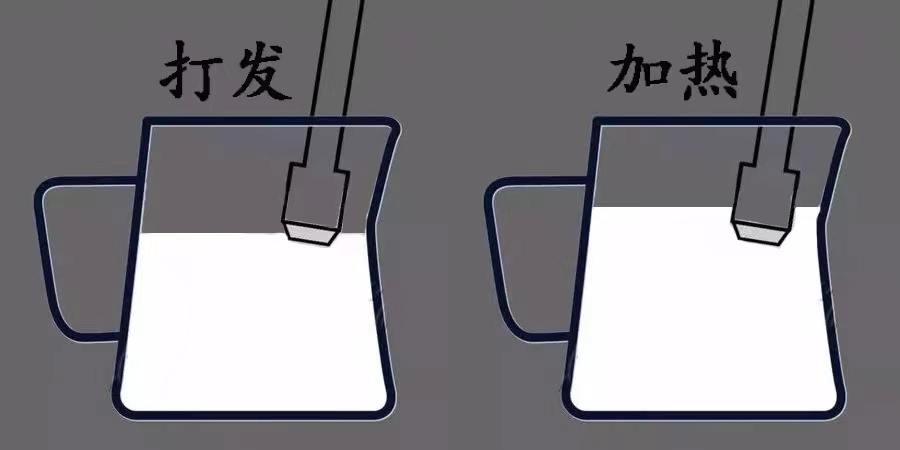
Steaming milk may seem simple, but it’s one of the most error-prone aspects of latte art. Common problems include: no foam being produced, overly coarse foam, or an excessively thick and uneven foam layer. These issues often stem from how the steam wand is used and the details of milk control. To improve these situations, it’s essential first to understand how the steam wand works. The steam wand releases high-temperature steam. If the steam tip is fully submerged in milk, it will only heat the milk without creating foam. Only when the steam holes come into contact with air and mix air into the milk can foam be formed — at this point, you’ll hear a distinct “hissing” sound. Therefore, controlling the immersion depth of the steam wand is critical.
If the steam wand is completely submerged in the milk, not only will no foam be created, but there’s also a risk of uneven heating or overflow. It’s recommended to partially submerge the steam wand in the milk. For multi-hole wands, just ensure that at least one hole is exposed. This approach allows enough air to be incorporated while preventing the foam from becoming too thick or unmanageable. The best practice is to tilt the steam wand slightly, keeping one hole just above the liquid surface to achieve stable steaming.
Next, many people succeed in creating foam but then face the issue of uneven, coarse texture. This is where the texturing technique comes into play. Texturing refers to refining large, unstable bubbles into fine, uniform micro-foam. The traditional method involves separating stretching and texturing, but in fact, they can be done simultaneously, which helps reduce the pressure of later refinement. The core of texturing is creating a stable vortex. By using the rotational force of the steam, larger bubbles are broken into smaller ones, resulting in a silky-smooth, velvety layer of milk foam.
To create an effective vortex, attention must be paid to the insertion angle and position of the steam wand. It is recommended to position the steam wand at the 3 o’clock or 9 o’clock direction on the milk surface, forming an angle of about 60 degrees with the surface, which generates sufficient horizontal rotation. Additionally, maximizing the milk surface area also aids in vortex formation. A larger surface means a thinner milk foam layer, making the vortex easier to control. Some baristas slightly tilt the pitcher to increase the surface area, helping to produce finer foam more smoothly. Beginners can practice with water instead of milk to get familiar with the coordination of angles and rotation.
However, even after successfully creating a vortex, many still report that the milk foam texture isn’t ideal. A common reason is that the vortex acts beneath the foam layer — what’s known as “under-vortexing” or “dark flow.” To effectively texture the milk, the steam tip needs to be moved above the foam layer to refine the already-formed foam. Some operators find that when they slightly raise the angle of the steam wand, they hear the “hissing” sound again, indicating the foam is being over-steamed. It’s advised to maintain a steam wand-to-milk surface angle of at least 45 degrees to avoid excessive agitation that leads to rough foam.
To complete both stretching and texturing more efficiently, you can try a combined technique. In the initial stage, fully submerge the steam wand in the milk to heat it and begin rotating to form a vortex. Then slowly lower the pitcher so the steam holes gradually emerge above the milk surface to start stretching the milk. This method allows you to control the amount of foam while maintaining vortex stability, keeping the foam fine throughout. Once the desired amount of foam is achieved, fix the pitcher position and continue texturing until the foam reaches the ideal texture.
To perform this operation stably, it’s recommended to use the spout of the pitcher to hook onto the steam wand, creating a controllable pivot point for up-and-down movement. With practice, you’ll be able to more precisely control the position and angle of the steam wand, thereby crafting consistent and fine milk foam layers. Beginners can start by practicing with water to get familiar with the movement rhythm and angle changes, and after a few tries, you’ll get the hang of it.
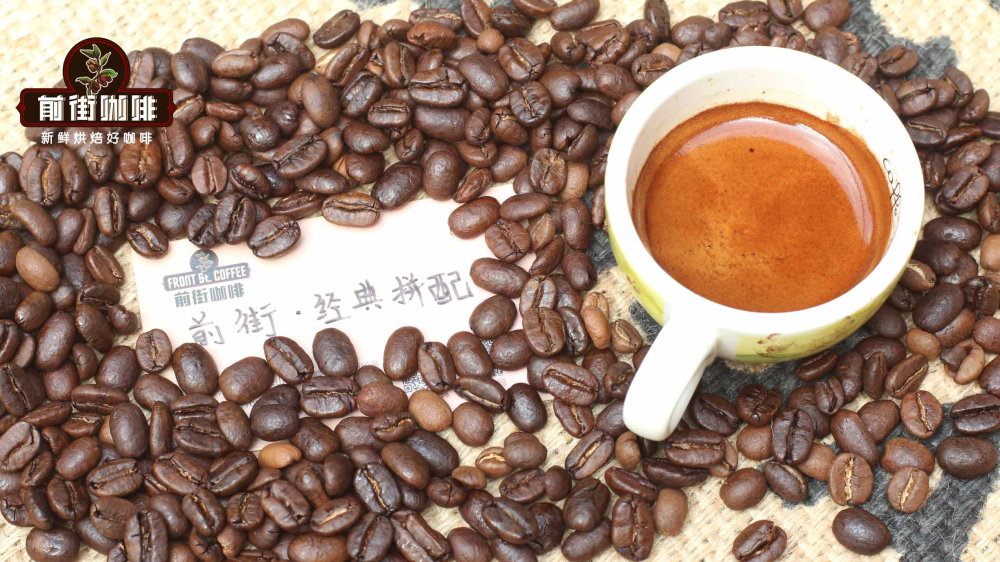
Besides milk foam techniques, the quality of the espresso also forms the foundation for successful latte art. It’s recommended to use medium-dark roasted espresso blends, which provide rich crema and aroma, aiding in the fluidity and pattern presentation during pouring. For beginners, a blend of beans from three different regions offers a balanced acidity and sweetness with a full-bodied taste, easily producing a golden crema. If you prefer a pure Arabica flavor, you can also choose a blend of Yunnan and Brazilian beans, showcasing nutty and chocolatey notes with a bright, glossy crema layer — equally suitable for home and commercial use.

The above content is compiled by CoffeeHunters, a coffee news website.


