







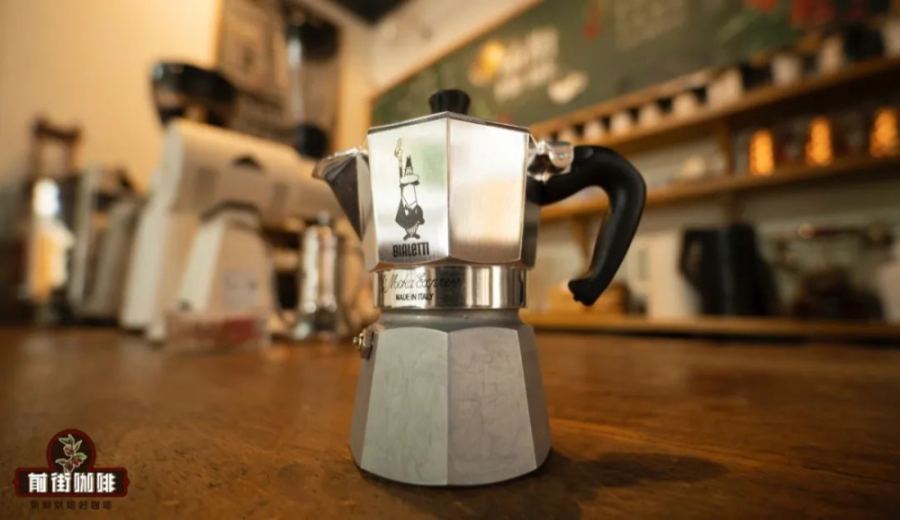
Introduction:The Moka pot is a common and practical Italian-style coffee brewing device found in homes and offices. With the right usage, you can easily brew a richly flavored cup of coffee at home. This article will delve into the working principles of the Moka pot, help you understand the key parameters such as grind size, coffee dosage, water volume, and bean selection, and provide a complete step-by-step guide to help you avoid common mistakes and extract a balanced and aromatic Moka pot coffee.
Thanks to its high cost-performance ratio and ease of use, the Moka pot has become the go-to tool for many coffee enthusiasts in both home and office settings. However, first-time users often encounter issues such as overly bitter or overly bland coffee due to unfamiliarity with operational details. This article will start by introducing the basic structure and working principle of the Moka pot, then gradually analyze the ideal grind fineness for coffee powder, appropriate dosage and water control techniques, and explore suitable scenarios for different roast levels. Next, we will explain each step from adding water, filling coffee, to heating and extraction in detail, helping readers avoid common errors and successfully brew a well-balanced Moka pot coffee.
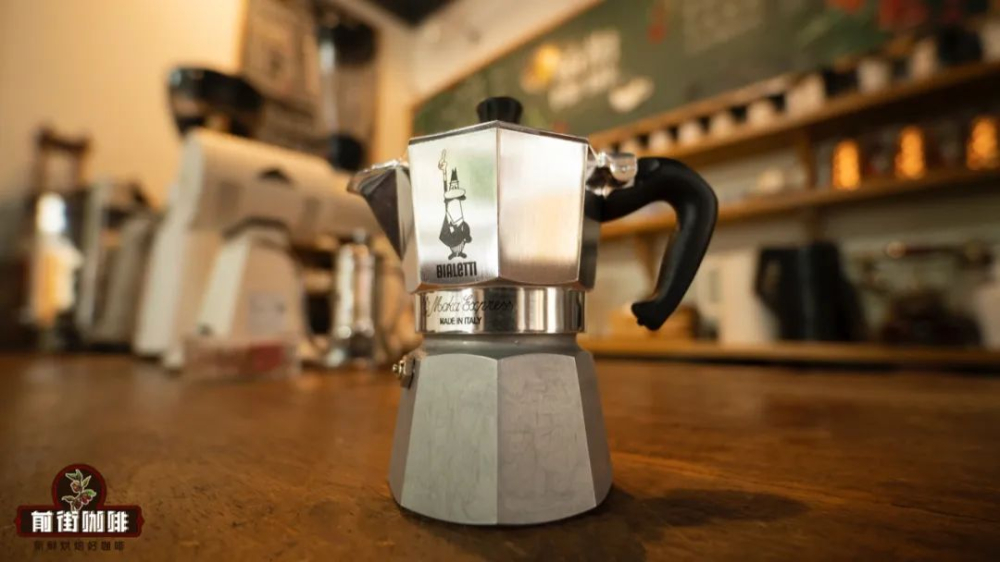
With the growing popularity of coffee culture today, the Moka pot has gradually entered more people’s daily lives due to its affordable price and portability. Whether at home or in the corner of an office, having a Moka pot on hand allows you to enjoy freshly brewed coffee anytime. However, many users, after purchasing one, encounter extraction results that don’t meet expectations due to unfamiliarity with proper operation. To help everyone get started smoothly, we have compiled a comprehensive Moka pot usage guide to help you master key techniques step by step and easily brew satisfying coffee.
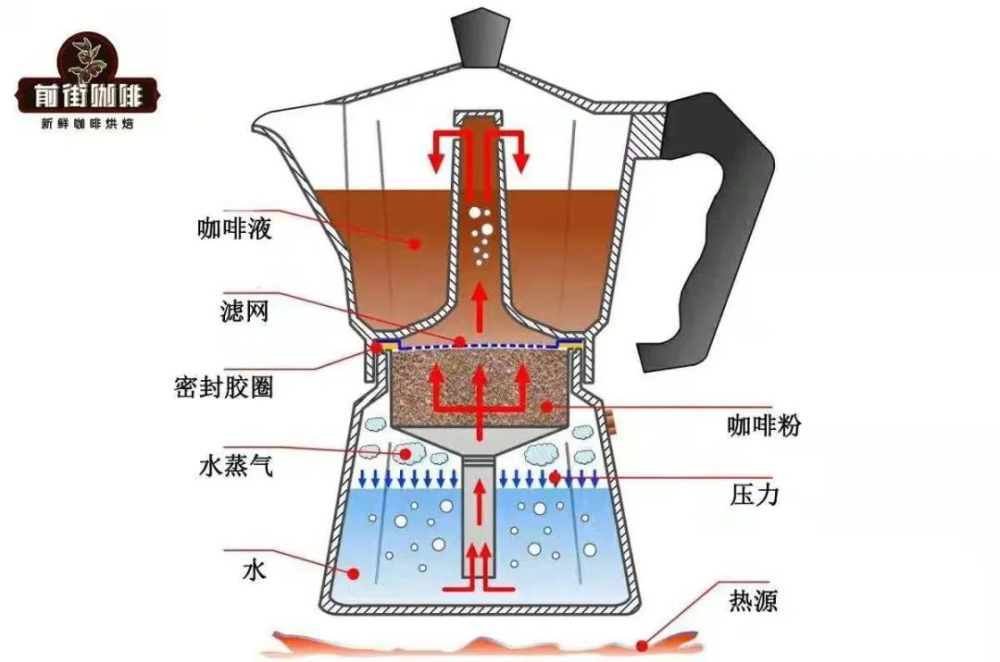
The Moka pot mainly consists of three parts: the lower chamber at the bottom for holding water, the filter basket in the middle for placing coffee grounds, and the upper chamber at the top for collecting the extracted coffee liquid. Its working principle is quite straightforward: when the lower chamber is heated, the water inside gradually warms up to boiling point and turns into steam. Due to the airtight design of the pot, the steam cannot escape and thus builds up pressure. Once the internal pressure reaches a certain level, the hot water is forced through the middle filter basket, extracting the coffee grounds in the process. The resulting liquid, rich in coffee flavor compounds, then rises and flows out from the spout of the upper chamber, forming the familiar coffee liquid.
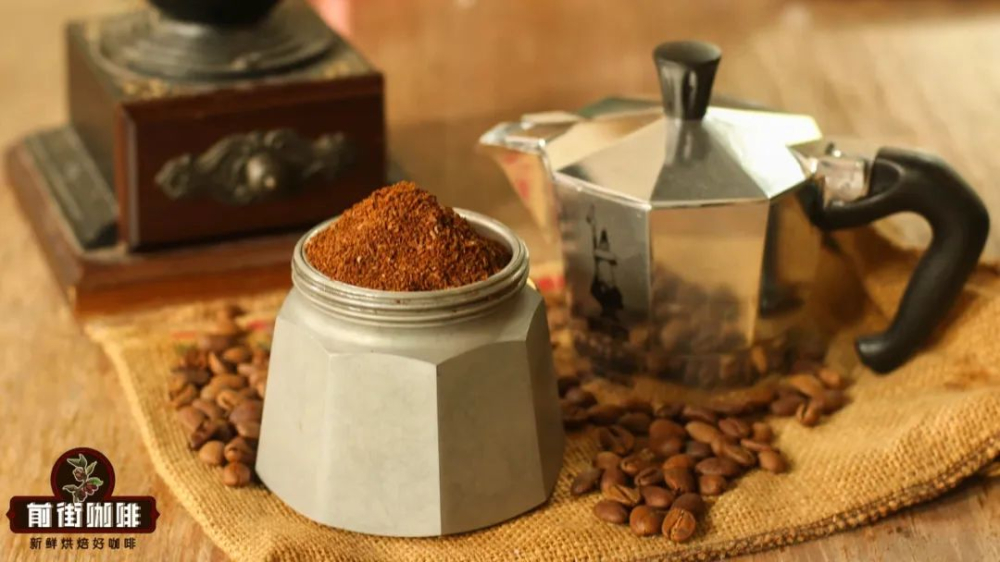
In terms of grind fineness, the Moka pot has a relatively wide range of adaptability. Whether it's an espresso machine-level extremely fine grind or a granulated sugar-like fineness commonly seen in single-origin coffee, you can try using either. However, special attention should be paid to not going to extremes. For example, using a grind as coarse as what’s typically used for pour over coffee, or even coarser, will result in insufficient resistance against the hot water, causing it to pass through the filter basket too quickly and leading to under-extraction. Conversely, if the grind is too fine—close to the extremely fine powder used in Turkish coffee—it will significantly increase water flow resistance, not only slowing down the extraction but also potentially raising the risk of the pot exploding due to excessive pressure. If you find that the water has been boiling for a while but no coffee liquid is dripping out, it is recommended to immediately turn off the heat, check and adjust the grind fineness, and then re-brew to ensure safety.
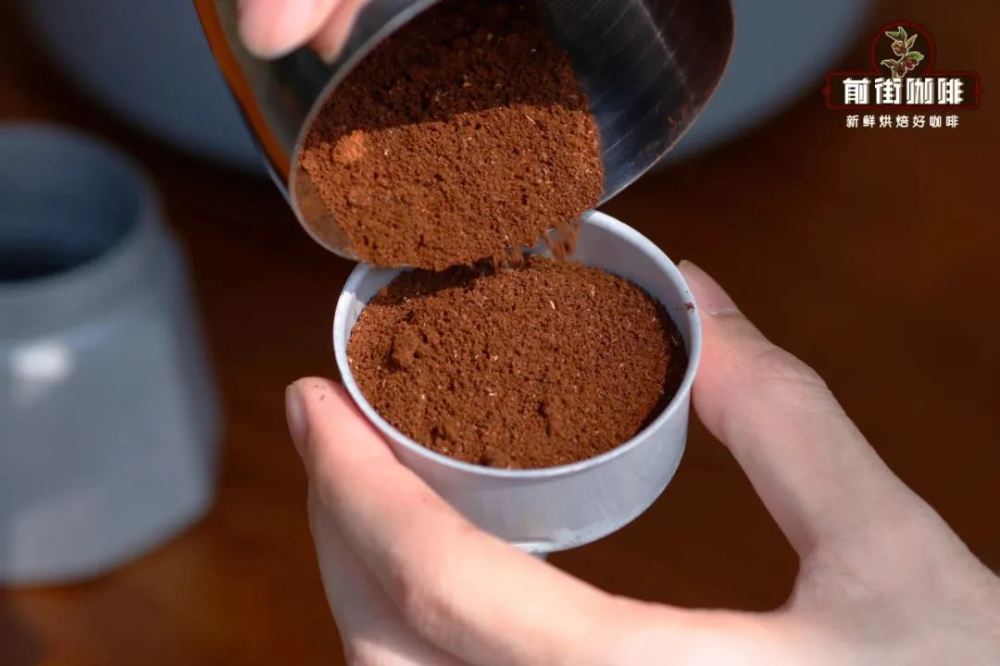
Controlling the coffee dosage is also one of the keys to influencing extraction success. Different models of Moka pots require varying amounts of coffee grounds, and the fineness of the coffee itself also affects how much volume it occupies. At the same time weight, finer-ground coffee takes up less space. Therefore, even if you follow the manufacturer’s recommended dosage, failing to consider the actual grind fineness may still lead to suboptimal extraction. To improve success rates, a simple and effective method is to fill the filter basket completely with coffee grounds and then level the surface with a flat tool. This ensures an even distribution of the coffee layer, reduces channeling effects, and enhances the stability and margin of error for overall extraction. Keeping a record of the amount of coffee used each time will help you make fine adjustments later based on different beans and taste preferences.
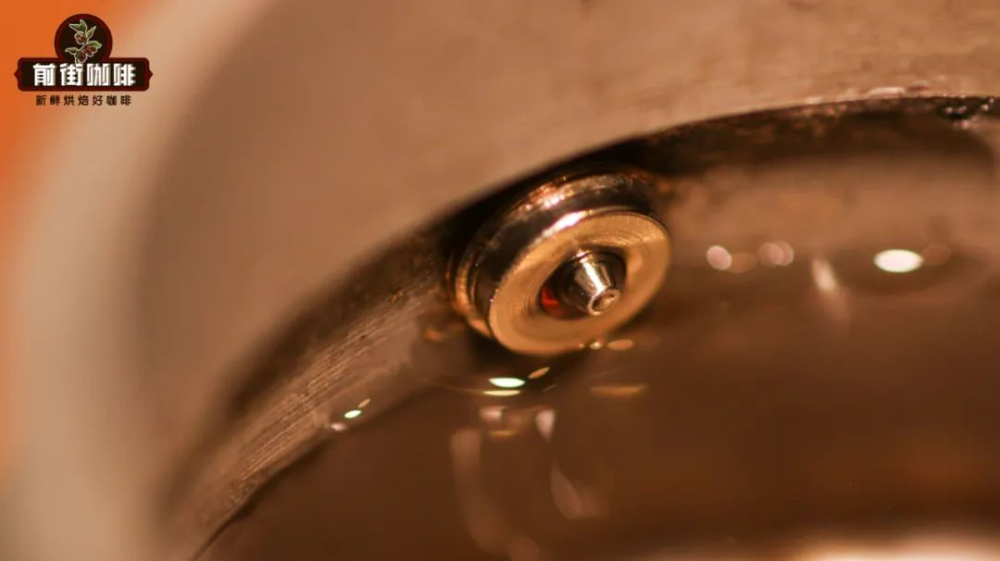
Water volume control is equally important. Carefully observing the lower chamber of the Moka pot, you’ll notice a metal valve inside the water reservoir, known as the “pressure relief valve.” This design is intended to prevent safety hazards caused by abnormal pressure increases due to overly fine grinds or other unforeseen factors. Therefore, when pouring water, be sure to keep the water level below the pressure relief valve. If the water level exceeds the valve position, it may cause it to malfunction, increasing the risk of the pot cracking. To more precisely control extraction conditions, it is recommended to record the amount of water added each time for future adjustments and to recreate your desired flavor profile.
As for coffee bean selection, the Moka pot is actually quite versatile and suitable for nearly all types of coffee beans—the key lies in the flavor characteristics you wish to achieve. If you plan to use Moka pot coffee as a base for a latte, it is recommended to choose a dark roast bean. These beans usually exhibit a thick crema layer and prominent bitterness, maintaining distinct coffee flavors even when milk is added—examples include dark-roasted Colombian Huila, classic blends, or rich-flavored Queen Estate beans. On the other hand, if you prefer a lighter, brighter black coffee with pronounced acidity, you can opt for lightly roasted beans. These typically offer pronounced floral and fruity notes, such as Huakui SOE, Mozart, or Strawberry Sugar-flavored espresso beans. The choice ultimately depends on your personal taste preference at the moment.
Having understood these basic elements, we will now move on to the practical operation phase and detail how to use a Moka pot to brew a delicious cup of coffee. First, prepare the necessary materials: fresh coffee grounds, purified water, a Moka pot, and an appropriate heat source.
The first step is to add water. It is recommended to use warm or preheated water to shorten the time it takes for the water to reach boiling point, allowing you to enjoy freshly brewed coffee sooner. Be careful not to fill the water above the pressure relief valve to maintain safe usage.
The second step is to fill the coffee grounds. Pour the pre-ground coffee into the filter basket. It is recommended to fill the basket completely and then gently level the surface with your finger or an appropriate tool. If the coffee grounds are finely ground, avoid pressing them down forcefully to prevent increasing water flow resistance. After filling, you can lightly tap the filter basket to help the coffee grounds settle naturally, reduce channeling, and improve extraction uniformity.
The third step is to place the filled filter basket into the lower chamber, and carefully screw the upper chamber onto the lower one. If the lower chamber contains hot water, use a damp cloth for insulation to avoid burns during handling.
The fourth step is to place the fully assembled Moka pot on the heat source and begin heating. Choosing a heat source with good thermal conductivity—such as a gas stove or induction cooktop—can brew more efficiently.
The fifth step is to observe the extraction. When the Moka pot starts to make a noticeable sound, it means internal pressure is gradually building up and the hot water is about to push the coffee liquid out. At this point, it is recommended to lower the heat to avoid overly fast water flow, which could result in under-extraction and negatively affect the final flavor complexity.
The sixth step is to turn off the heat when about half of the coffee liquid has flowed out. By this time, the remaining heat inside the pot is sufficient to push out the rest of the coffee, so continued heating is unnecessary.
Finally, once the coffee liquid stops flowing, you can pour it into a cup and enjoy. If you notice the coffee has an overly strong burnt or bitter taste, it may be over-extracted—try ending the extraction earlier next time. If the taste is overly acidic with noticeable off-flavors, it may be under-extracted. You can try adjusting the grind fineness or slightly increasing the water volume to achieve a better extraction result.
The above content is compiled by CoffeeHunters, a coffee news website.


