







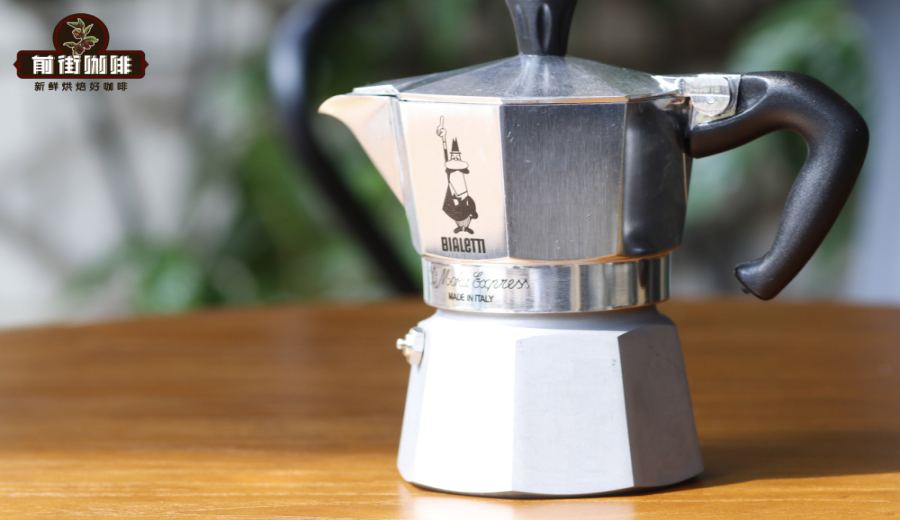
Introduction:Want to brew espresso at home that tastes close to what you’d get in a café? The moka pot is one of the most classic and beginner-friendly tools. This article not only explains the structure, brewing principle, and operation steps of the moka pot, but also offers practical suggestions on coffee-to-water ratio, grind size reference, as well as heating techniques to help you master key parameters, avoid common mistakes, and easily brew rich and bold coffee.
The moka pot is an extremely common coffee tool in Italian households and has become a daily choice for many families due to its simplicity and ease of use. Although this tool is also quite popular in international markets, many users still have only a partial understanding of its operation details. This article will deeply analyze the basic structure and brewing principles of the moka pot, and gradually guide readers on how to correctly set the amount of coffee grounds, control water volume, choose the appropriate grind size, and what to pay attention to during the heating process. The article is also accompanied by illustrations to help you follow along and get started with ease.
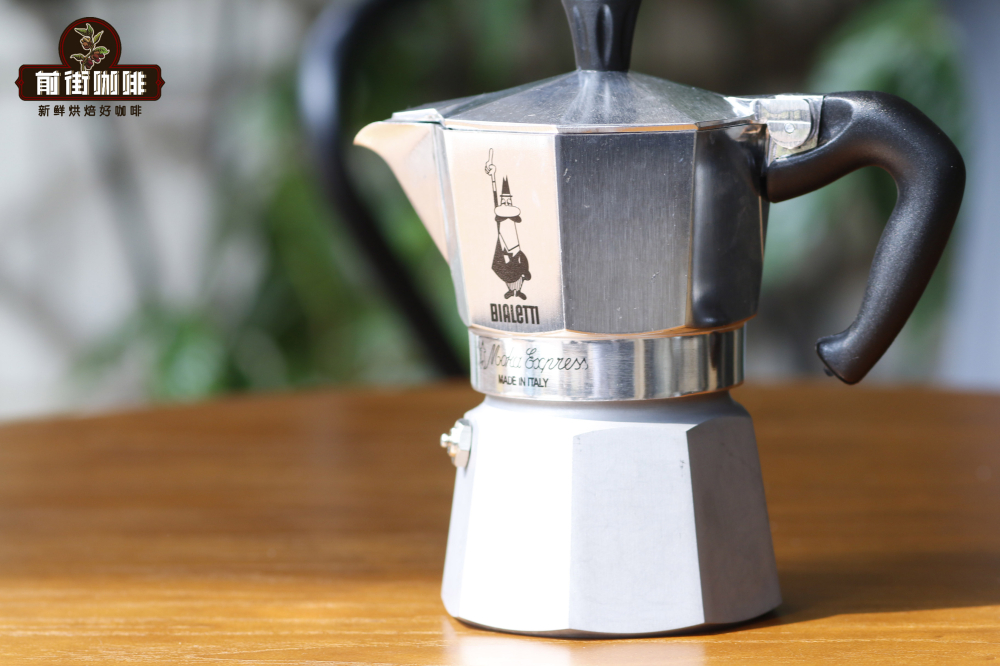
The moka pot is primarily used to produce a coffee base with flavors similar to espresso. Due to its relatively low barrier to entry, it enjoys a very high penetration rate in Italian households—reportedly eight out of ten households own one. Its design has remained largely unchanged since the mid-20th century and remains a staple tool in the homes of many coffee enthusiasts. However, in Taiwan or other Chinese-speaking regions, there is still a lack of complete understanding and guidance on its correct usage.
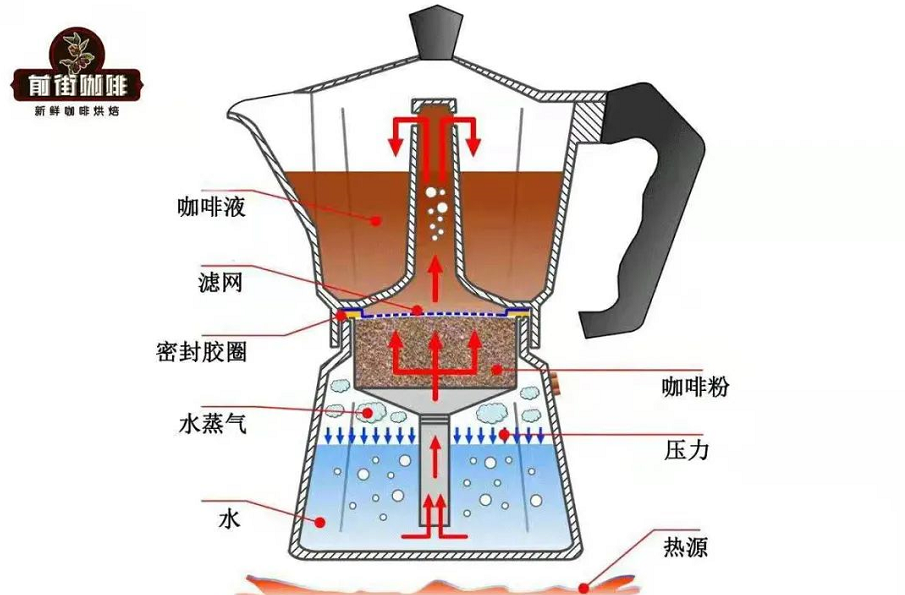
The moka pot mainly consists of three parts: the lower chamber holds the water, the middle filter basket is used to place the ground coffee, and the upper chamber collects the brewed coffee. Its working principle involves heating the water in the lower chamber, which turns into steam and generates pressure. This pressure pushes the hot water up through the central tube into the filter basket filled with coffee grounds, extracting the coffee essence under pressure, and then pushing the brewed coffee into the upper chamber, from where it drips down.
In simple terms, heating causes the water to boil and generate pressure. Once the pressure reaches a certain level, the hot water passes through the coffee grounds in the filter basket, undergoes filtration and extraction, and finally flows into the upper chamber. The entire process is similar to making espresso, but the pressure used is much lower than that of a professional espresso machine.
Next, we’ll break down the operation steps of the moka pot. First is setting the coffee dosage. Moka pots typically come in different capacity specifications, such as two-cup, three-cup, or even larger versions. The difference among these specifications mainly lies in the size of the filter basket. It’s recommended to fill the basket directly with coffee beans according to the size of your pot, then grind them to fill it up to the edge. This ensures the right amount of coffee is used, avoiding too much or too little, which could affect extraction.
The second step is controlling the water volume. Near the bottom of the lower chamber, there is usually a small protruding hole, known as the safety valve. This design is meant to prevent danger in case the pressure becomes too high. When adding water, be sure not to fill above the level of the safety valve, as this may prevent proper pressure release and increase safety risks. It’s recommended to keep the water level about 0.5 cm below the safety valve, which not only ensures safety but also helps effectively control the brewing time.
The third step is the grind size of the coffee grounds. This is one of the keys to successful moka pot brewing. The grind size needed for a moka pot is different from that of a standard espresso machine because the pressure is significantly lower. If the coffee is ground too fine, it may prevent water from passing smoothly through the coffee bed, affecting extraction and possibly creating excessive pressure, which can be dangerous. Conversely, if the grind is too coarse, there won’t be enough resistance, leading to under-extraction or even coffee spraying out.
Ideally, the grind size for a moka pot should be between 0.3 to 0.5 mm. Taking the EK-43s grinder as an example, it’s recommended to set it between 1.5 to 3 on the grind dial. This coarseness feels slightly coarser than flour but without any noticeable grittiness, somewhere between pour over and espresso. If you’re using a brand’s specially formulated moka pot blend, it will be even easier to achieve optimal flavor.
In practice, it’s recommended to use hot water in the lower chamber, which can shorten the heating time and improve overall efficiency. Spread the coffee grounds in the filter basket evenly—there’s no need to tamp them down, just gently shake the basket to level the coffee bed naturally. This ensures even water flow, avoiding over-extraction in certain spots or channeling. Then place the filter basket into the lower chamber and tightly attach the upper chamber to ensure there are no air leaks. Place the whole setup on a stove (preferably a stove with precise heat control like an electric ceramic range) and heat it. Once you hear a clear “wuu wuu” sound, it means the pressure is gradually building up. At this point, reduce the heat and open the lid of the upper chamber, then wait quietly as the coffee slowly flows out.
When the coffee flows out steadily and crema begins to appear, you can turn off the heat and remove the moka pot from the heat source. Now you can pour out the rich and flavorful coffee and enjoy an espresso-like experience brewed right at home.
The above content is compiled by CoffeeHunters, a coffee news website.


