







Introduction:Pour over coffee, with its operational flexibility and expressive flavor potential, has become the preferred brewing method for many coffee enthusiasts. This article starts from scratch, providing a detailed introduction to the fundamental principles of pour over, essential equipment, and step-by-step procedures. It especially breaks down key elements such as the timing allocation of three-stage pouring, water temperature control, and brew ratio. Whether you're a beginner or an experienced brewer, this practical guide will help you master more precise brewing parameters and understand how to adjust techniques according to bean variety and flavor preferences.
Pour over coffee, also known as filter drip extraction, is a time-honored and still immensely popular coffee preparation method. This technique originated in 1908 when German housewife Melitta Bentz pioneered it and quickly spread globally, becoming a common brewing style in both homes and cafes. Its basic principle involves controlling the contact between hot water and coffee grounds, using filter paper to separate the grounds, and extracting uniquely flavored coffee liquid.
For beginners, successfully brewing a delicious cup of pour over coffee doesn’t require overly complex skills. The focus lies in understanding key parameters such as water temperature, grind size, brew ratio, and pouring technique. By mastering these foundational elements, even at home you can consistently produce a well-layered, balanced black coffee.
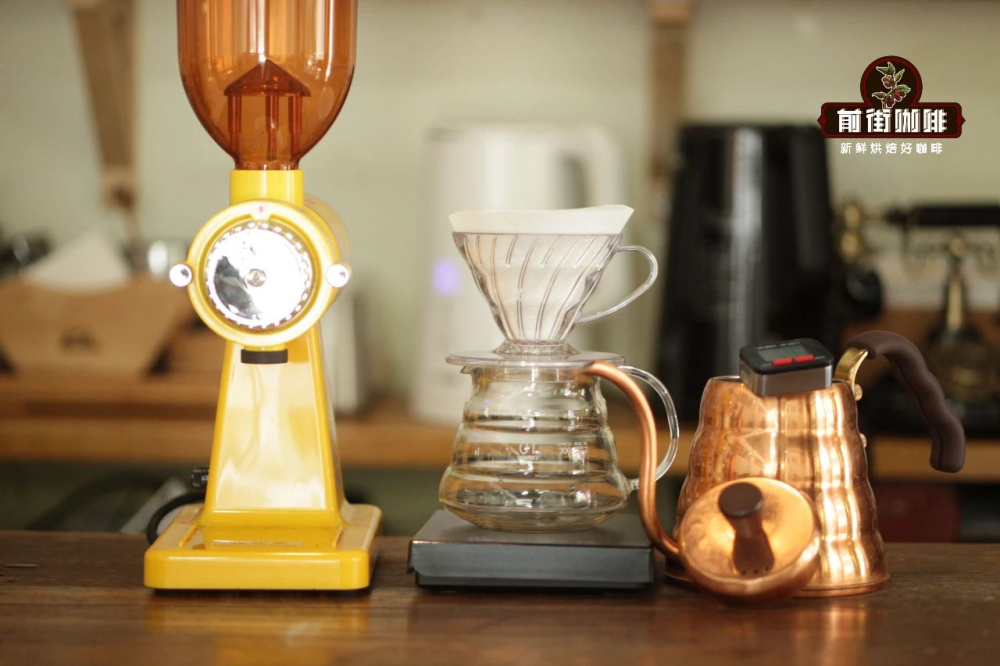
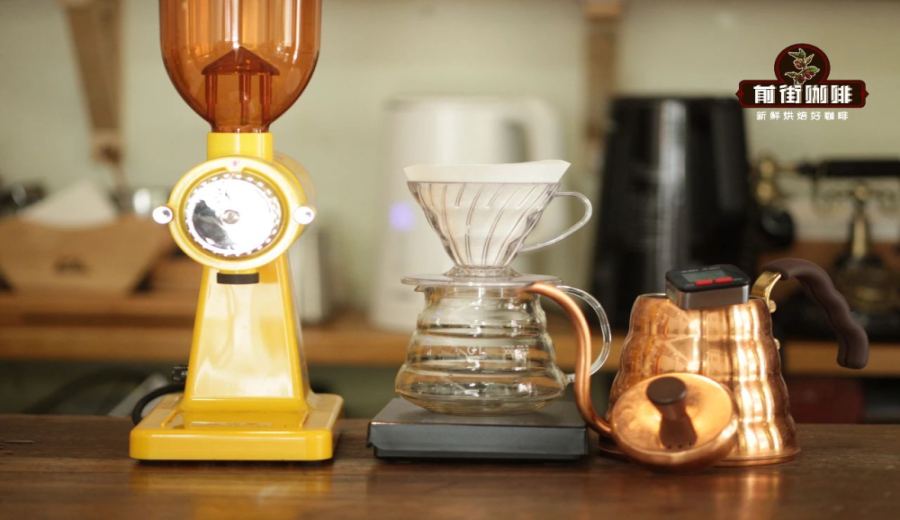
Preparation is the first step in pour over. It’s recommended to gather the following basic equipment in advance: an electronic scale with a timer function, a grinder (preferably with fine adjustable grind settings), a pour over kettle, a dripper, filter paper, and a thermometer to ensure accurate water temperature. These tools directly impact the stability of extraction and the final flavor expression.
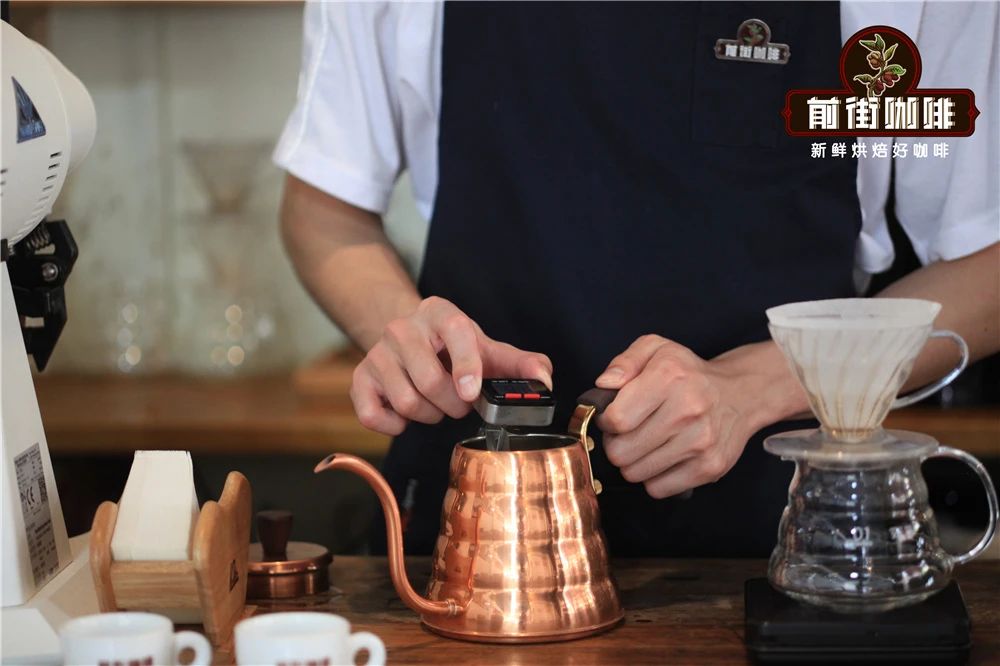
Before starting, heat up purified water. The ideal water temperature generally falls within85°C to 95°C. If you’re trying it for the first time, it’s suggested to start at90°C[starting value not specified, retain placeholder] as your baseline. Note that different water temperatures affect extraction yield and flavor expression—higher temperatures tend to extract more bitterness and impurities, while lower ones may result in overly pronounced acidity or under-extraction. You can fine-tune slightly based on personal taste: reduce temperature if it’s too bitter, or increase it if it’s too acidic.
Next is weighing the beans and setting the brew ratio. It’s generally recommended to use15 grams of coffee beansfor a single serving, paired with225 grams of hot water, achieving a1:15golden ratio. This proportion yields a balanced strength and well-expressed flavors. If you prefer a stronger taste, you can narrow the ratio to1:14[value not specified, retain placeholder]; conversely, if it feels too intense, you can increase it to1:16[value not specified, retain placeholder], resulting in a clearer coffee liquid with brighter acidity.
The grind size of coffee beans is equally crucial. Generally, pour over works best with a medium-fine grind, similar in texture to fine sugar. If you’re using a commercially available grinder, it’s advised to adjust it close to the setting of a0.85mm standard sieve. Common household grinders like those from Timemore, Xiaofeiyin, or Baratza Encore can all deliver consistent grind quality. Be sure to adjust the grind coarseness appropriately based on bean type and brewing method—too coarse may lead to under-extraction, while too fine can cause over-extraction and unwanted astringency.
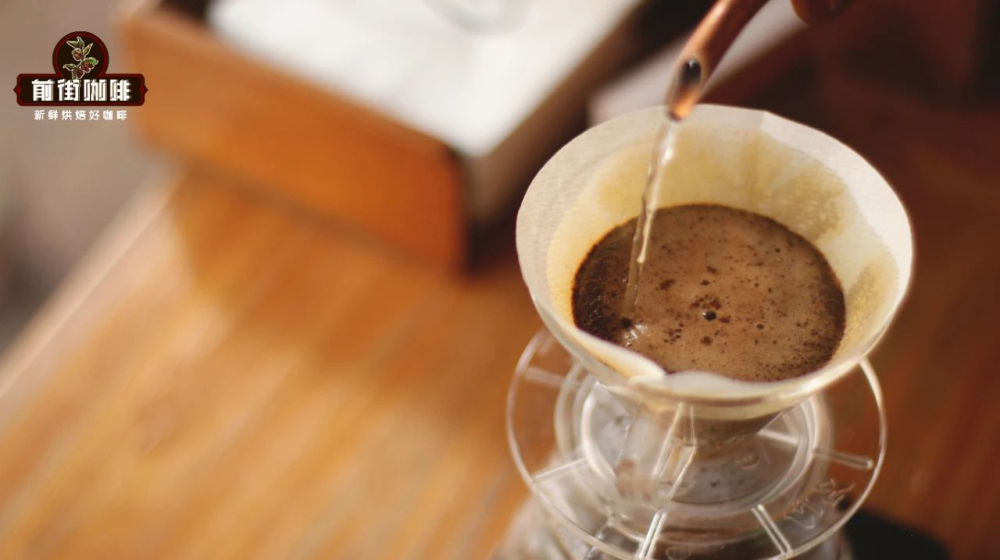
The most critical aspect of the pour over process is arguably the pouring technique. Among these, the “three-stage pouring method” is the most common and easy-to-master brewing strategy. The entire process is controlled withinabout 2 minutes, helping to clearly highlight the bright fruity notes of the early stage, the rich sweetness of the middle stage, and the lingering finish of the final stage.
First comes the initial stage ofbloom. When hot water first contacts the dry coffee grounds, carbon dioxide within the coffee bed is rapidly released, causing expansion and forming a shape resembling a small mound. For this stage, it’s recommended to pour a small amount of hot water (about 20–30 grams) and let it sit for30 secondsto allow gases to escape. The effectiveness of the bloom directly affects the uniformity and flavor outcome of subsequent extraction. If the coffee bed does not expand sufficiently, uneven extraction is likely to follow.
Once the bloom phase ends, immediately proceed to the second stage of pouring. At this point, the scale should show around 30 seconds have passed. Begin pouringa steady and straight stream of water, slowly circling from the center of the coffee bed to add95 grams of hot water. The goal is to ensure the water evenly covers the entire coffee layer and gradually rises. It’s suggested to control the total weight to reach125 grams, with the overall time being around55 seconds. The direction of circling is advised to be from the inside out, avoiding direct impact on the edge of the dripper to prevent channeling.
When the liquid level drops to about half, begin the third stage of pouring. This stage recommends adding100 grams of hot water, bringing the total weight to225 grams. You may use a finer stream and pour slowly in small circles to ensure the already-formed coffee bed structure isn’t disrupted. Particular attention should be paid to maintaining stable water flow—pouring too fast or aggressively may lead to uneven extraction. Once all the water has completely dripped through, which usually takes about2 minutes, you can remove the dripper and enjoy your pour over coffee.
Finally, it’s recommended to gently swirl the coffee in the server to evenly mix flavors extracted during different stages, allowing you to better perceive the full range of flavor layers when sipping. Also, note that the three-stage pouring ratios and timings provided are only guidelines. In practice, you can further adjust the amount poured in each stage and the speed of circling based on bean characteristics (such as origin, processing method, roast level) and your personal taste preferences, gradually finding the brewing method that suits you best.
In summary, the charm of pour over coffee lies in its high degree of adjustability and expressive flexibility in flavor. By mastering basic equipment usage, water temperature and grind control, and practicing the three-stage pouring technique, even beginners can consistently brew high-quality coffee with their own personal touch. Remember, the essence of pour over is not about perfect replication, but continuous experimentation and experience—making every brew a journey of flavor discovery.
The above content is compiled by CoffeeHunters, a coffee news website.


