








Introduction:Drip bags have become the go-to choice for many busy professionals seeking specialty coffee due to their ease of use. But how can you brew them correctly to bring out the best flavors? This article will delve into the brewing techniques for drip bags, including recommended coffee-to-water ratios, ideal water temperature ranges, and answers to common questions like whether they can be brewed multiple times—helping you go from beginner to pro and easily brew a cup of coffee with full flavor.
Thanks to not requiring professional equipment or skills, drip bags have become a convenient option for modern coffee lovers to enjoy specialty coffee. However, many users still have questions about how to brew them: How much water should be used? What’s the best water temperature? And can they be reused? This article will detail every step from preparation to brewing, including the recommended coffee-to-water ratio of 1:15—that is, using about 10 grams of coffee grounds to brew approximately 150 grams of coffee liquid—and the optimal water temperature range of 90 to 92°C. It also explains why drip bags are generally recommended for single use only.
With the growing popularity of specialty coffee, more and more consumers are pursuing a higher-quality coffee experience. However, traditional pour over or equipment-brewing methods often require certain skills and time, which may not be very accessible for people with fast-paced modern lifestyles. To address this, drip coffee bags have been introduced to the market, allowing users to enjoy coffee close to the quality of pour over without complicated equipment. Some may think drip bags are not professional enough, but in fact, this format is an innovative way to make specialty coffee more accessible to everyday life.
The concept of drip bags can be traced back to 1990, when Japan's Yamakan Industry Co., Ltd. was inspired by tea bags and attempted to apply the filter hanging concept to coffee, even applying for related patents. However, the initial design could not withstand the weight of the coffee liquid and tended to tilt during brewing, ultimately failing to be commercialized. It wasn’t until 1998, when Daki Shoji improved the drip bag structure by extending the ear loops outward to enhance stability, that the prototype of the drip bag coffee we know today was formed.
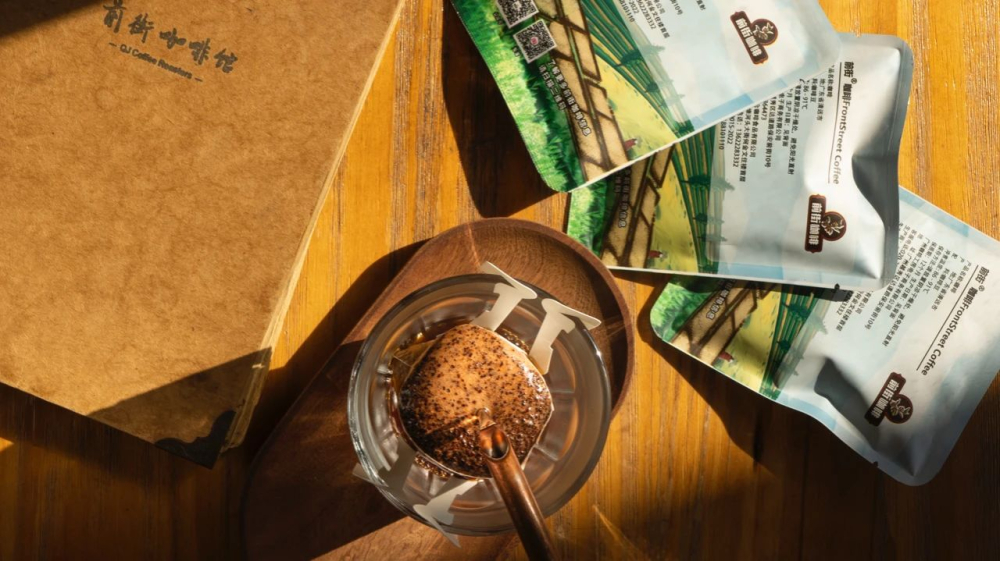
Common drip bag series available on the market today include flavor options from various regions. For example, Ethiopian Sidamo natural beans with rich fruitiness and fermentation layers, suitable for those who enjoy prominent fruity notes without overly heavy body; Brazilian Cerrado semi-washed red fruit beans, which are cultivated at high altitudes and in fertile soil, offering a sweet profile with low acidity and nutty aromas. There are also Mandheling processed with the wet-hulled method, as well as seasonal mystery box drip bags that combine beans from multiple regions, providing consumers with more opportunities to explore different flavors.
So, how should you brew drip bags to bring out their best flavors? First, it is recommended to use one 10-gram drip bag, along with about 90 to 92°C hot water and your favorite cup, aiming to extract around 150 grams of coffee liquid, maintaining a coffee-to-water ratio of 1:15. This ratio balances strength and flavor layers and is the standard parameter recommended by most drip bag coffees.
First is the cup warming step. It is recommended to pour a small amount of hot water into the cup before brewing to preheat it. This helps maintain the coffee’s temperature and prevents the flavor from being affected by rapid cooling. The flavor of coffee changes with temperature, and if it cools down too quickly, you might miss the delicate aromas and flavor layers in the early stages.
Next, gently shake the drip bag to gather the coffee grounds at the bottom, preventing the powder from scattering when you open the package. After discarding the preheating water, tear open the drip bag’s seal, spread the two side loops, ensure the coffee grounds are evenly distributed, and then hang it on the cup’s rim. At this point, you can observe how the coffee grounds are laid out, which will help with even extraction during subsequent pouring.
Pre-wetting is an important step that affects coffee flavor. It is recommended that the first pour just enough water to fully saturate all the coffee grounds, then let it sit for about 20 seconds to allow the grounds to absorb the water adequately. If you want a stronger coffee flavor, you can extend this step to 40 seconds. This period is called blooming and effectively releases the coffee’s aroma and flavor precursors.
Then proceed to the main pouring stage. It is recommended to use a thin, steady stream of water to pour until the filter paper is about 80% full. Once the water level drops to the height after pre-wetting, pour again to 80% full. Repeat this process until the total extracted volume reaches about 150 to 180 milliliters. Throughout the process, try to maintain a steady water flow to avoid affecting the evenness of extraction due to pouring too fast or too slow. Once the desired extraction volume is reached, you can remove the drip bag and discard it without waiting for all the water in the filter paper to completely drip through.
Finally, a reminder: drip bags are designed for single use. The coffee grounds after brewing have already released most of their flavor compounds, and the filter material may have also absorbed impurities. Reusing them not only makes it difficult to extract good flavors but may also affect taste and even health. It is not recommended to attempt multiple brews. By mastering the steps and parameters above, even coffee beginners can easily brew a cup of drip coffee with a quality close to that of professional pour over.
The above content is compiled by CoffeeHunters, a coffee news website.


