







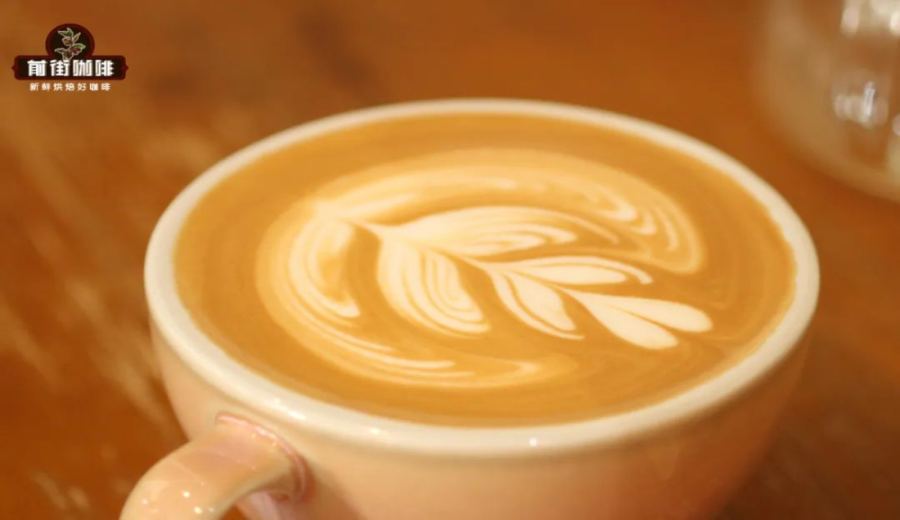
Introduction:Want to pour a beautiful latte at home? This article starts with the techniques of steaming milk for aeration and texture, then step-by-step explains the principles of milk and coffee fusion and pattern creation in latte art. It details how to control the pitcher height, rotation speed, and pouring angle to help you master essential patterns like hearts and tulips. We also provide efficient practice methods from water to milk to help you quickly build stable hand control and reduce the trial-and-error period.
If you want to brew a hot latte with exquisite latte art patterns at home, simply appreciating them isn’t enough—the key lies in mastering the texture of the milk foam and latte art techniques. This article will introduce the basic structure of a latte, the two main stages of milk foam preparation, and practical fusion and pouring techniques in an easy-to-understand way. We’ll also share training methods that help beginners get started quickly, allowing you to build a solid foundation and gradually advance.
First, let’s understand what a latte is. In Italian, "Latte" means milk. If you want to order a coffee with milk, the correct term is "Caffe Latte." However, around the world, "Latte" is commonly understood to mean "latte coffee," which is a style of coffee based on espresso and mixed with a large amount of hot milk. Typically, the ratio of espresso to milk in a latte is about 1:5 to 1:8, with a common ratio being 1:6—40 grams of espresso liquid paired with 240 grams of milk—to achieve a balanced flavor between coffee aroma and milk.
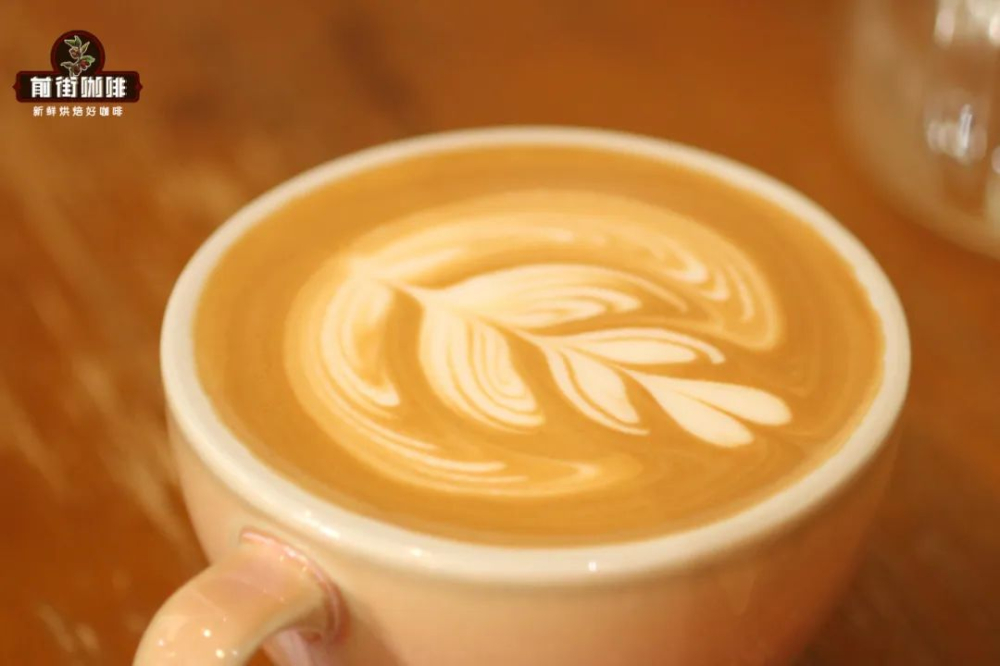
Making a latte may seem simple, but brewing a drink that excels in both flavor and appearance involves many nuances. For a hot latte, for example, the brewed espresso is first poured into a preheated cup, followed by steaming the milk using the steam wand of an espresso machine. It’s recommended to keep the milk temperature between 55–65°C, as this range achieves a fine and delicate foam texture. The steamed milk is then fully integrated with the espresso, and finally, latte art is used to add the finishing touch, creating a sensory experience that’s both visual and flavorful.
When it comes to latte art, many people mistakenly believe that having the right hand motion is enough to pour beautiful patterns. In reality, the texture of the milk foam is the decisive factor. If the foam is too coarse, too loose, or unevenly mixed, it can easily lead to blurry patterns, indistinct layers, or even an overall clumpy appearance. Therefore, learning how to consistently produce fine milk foam with appropriate thickness is a fundamental challenge that every coffee enthusiast aiming to improve their latte art skills must first overcome.
Steaming milk can be divided into two main steps: first, the aeration phase, followed by the texturing and heating phase. When starting the steam wand, allow part of the steam tip to be exposed above the milk surface so air can be forcibly forced into the milk. At this point, you’ll hear a distinct “hissing” sound—that’s the aeration process. For lattes, it’s generally recommended to aerate for about 2–3 seconds; too much aeration will make the foam too fluffy, affecting subsequent integration and pattern formation. After aeration, continue rotating to create a vortex, allowing the air and milk to mix thoroughly and further refine the foam to achieve a smooth and velvety texture.

Next is the core of latte art: fusion and pouring. Fusion refers to the process of slowly pouring milk with microfoam into the espresso. This step not only ensures a natural color transition but also forms a uniform "golden base," enhancing both the visual and taste aspects of the drink. During this step, it’s recommended to hold the cup in your left hand and the pitcher in your right, keeping the pitcher spout about 5–8 cm above the coffee surface and stirring in small circles with slight up-and-down movements to ensure even blending.
As for pouring the design, after fusion is complete, adjust the pitcher height and pouring angle to let the milk foam fall onto the coffee surface at varying speeds and paths, thus forming various white lines and patterns. Beginners are advised to start with simple patterns like hearts or tulips, as these basic shapes help you get familiar with hand rhythm and milk flow control, gradually developing sensitivity to subtle changes during the pouring process.
Many beginners, when practicing latte art, tend to blame failed patterns on poor posture, a cup that’s too deep, or stiff crema, while overlooking the fact that the texture of the milk foam is the most fundamental influencing factor. If the foam isn’t fine and smooth, no matter how much you adjust your hand motion, it’s difficult to pour clear patterns. Therefore, before practicing with milk, it’s recommended to first use water to get familiar with the steam wand operation and vortex control, then further practice adjusting aeration time and angle to create your desired milk foam.
During the process of practicing latte art, observing professional baristas can indeed provide inspiration, but don’t start by attempting highly complex patterns right away. In fact, observing and imitating the way experts hold the pitcher, control the pouring angle, execute the fusion path, and return the pitcher is far more valuable than simply copying the patterns. Since the entire latte art process usually takes only about ten seconds, many details are hard to fully describe in words. Therefore, building muscle memory through repeated practice and seeking feedback from others is the surest way to make steady progress.
For those just starting out, it’s recommended to adopt a gradual practice strategy: first, use fresh milk to get familiar with the actual feel of steaming and the texture changes when milk blends with coffee; next, switch to water to focus on controlling aeration, forming a vortex, and maintaining flow stability; and finally, return to milk to practice basic patterns like hearts and tulips, assessing your progress. This approach not only reduces frustration but also helps you gradually achieve stable and beautiful latte art through adjustments at each stage.

The above content is compiled by CoffeeHunters, a coffee news website.


