







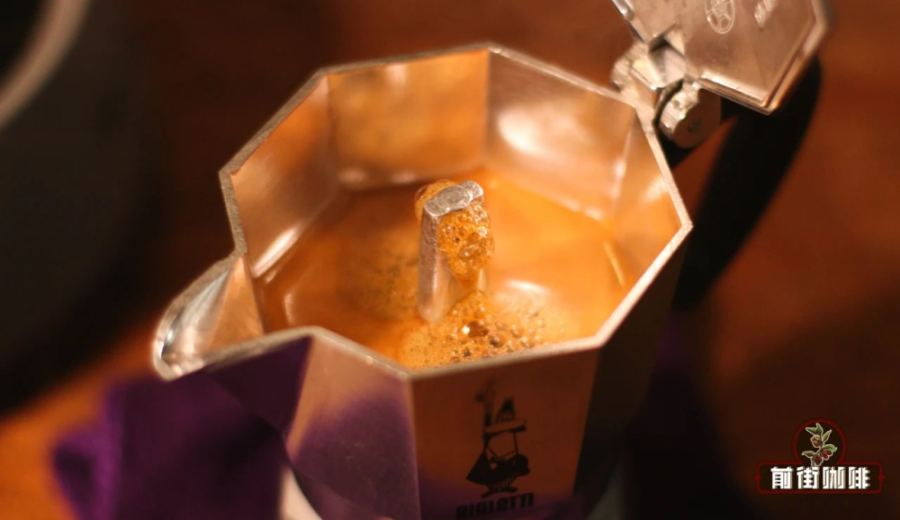
Introduction:Want to brew rich and balanced coffee with a moka pot but always confused about how fine the grind should be or how much water to add? This article dives deep into moka pot grind size selection, coffee dosage and water volume control, as well as how operational details affect crema and flavor. From basic setup to common troubleshooting, it helps you master every step precisely to achieve better coffee flavors.
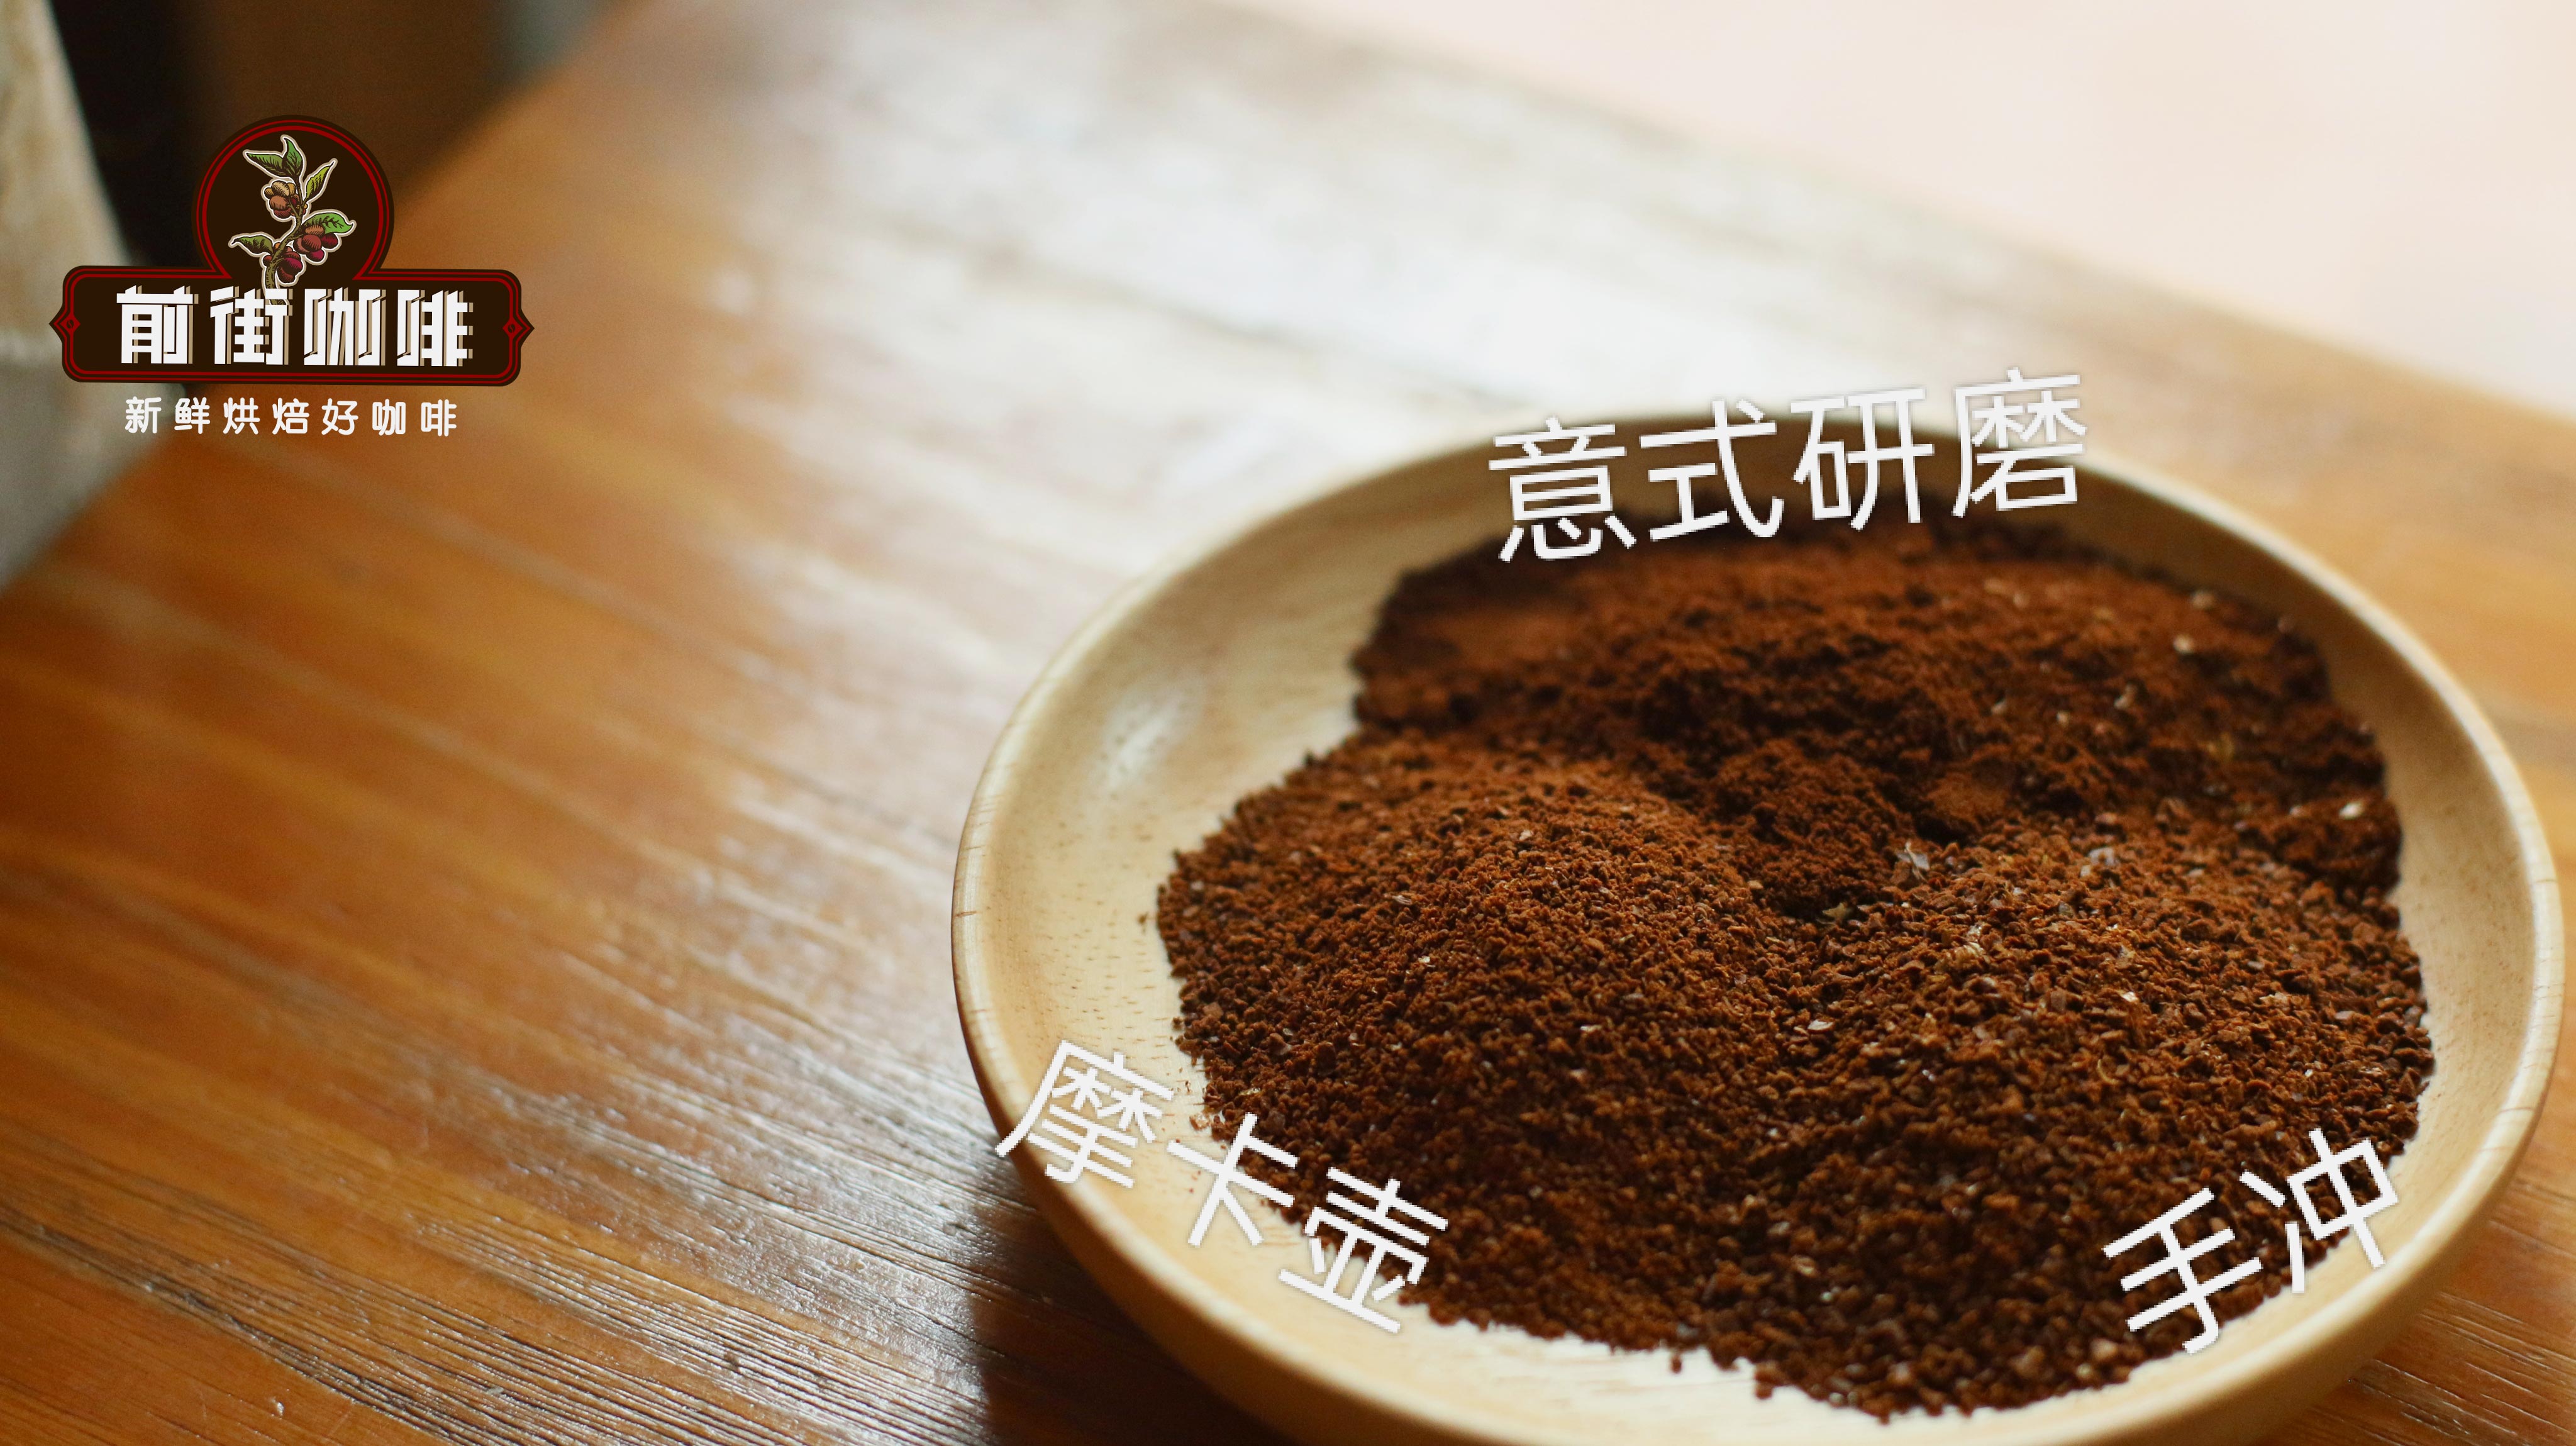
The moka pot extracts coffee with fine grinding and pressure, producing a strong-flavored brew. But many people face difficulties right at the first step—choosing the grind size. In fact, the moka pot doesn’t require espresso-machine-level ultra-fine grinds; grinding the coffee to a consistency close to table salt is sufficient. Too coarse may lead to under-extraction, while too fine can clog the filter basket and even pose safety risks.
If you find that the water has been boiling for a long time but no coffee comes out, it’s advisable to immediately turn off the heat and check. This is usually caused by overly fine grinding leading to excessive pressure. Continuing to heat may cause the pot to explode, so safety must always come first. Additionally, the coarse sugar-like grains used in pour over or the extremely fine grounds used in Turkish coffee are not suitable for the moka pot.
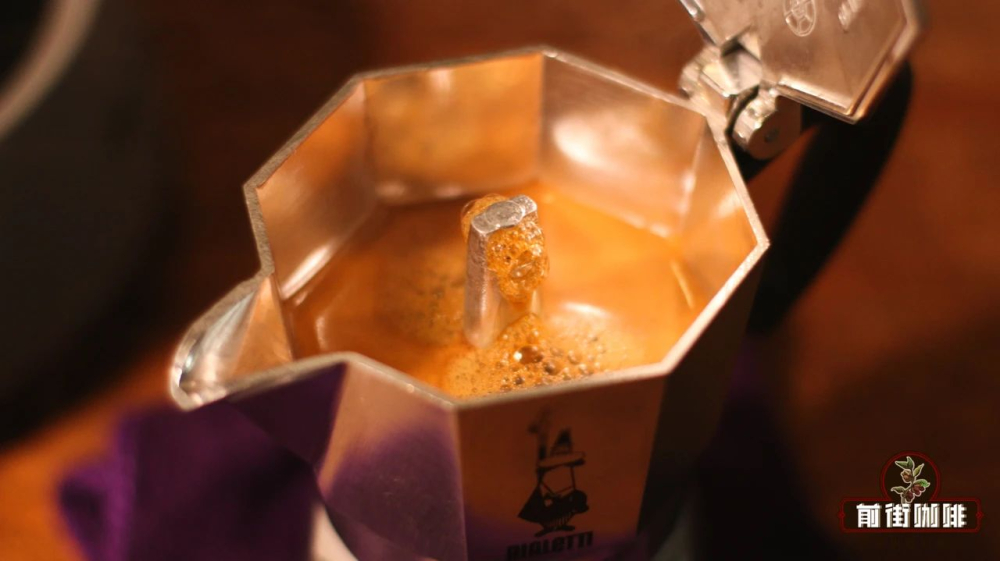
Regarding coffee dosage, different sizes of moka pots require different amounts of coffee, and the same weight of coffee will have varying volumes depending on grind coarseness. For example, the finer the grind, the smaller the volume of the coffee, which directly affects extraction efficiency. Therefore, when following the manufacturer’s recommended coffee dosage, also consider the impact of your actual grind size.
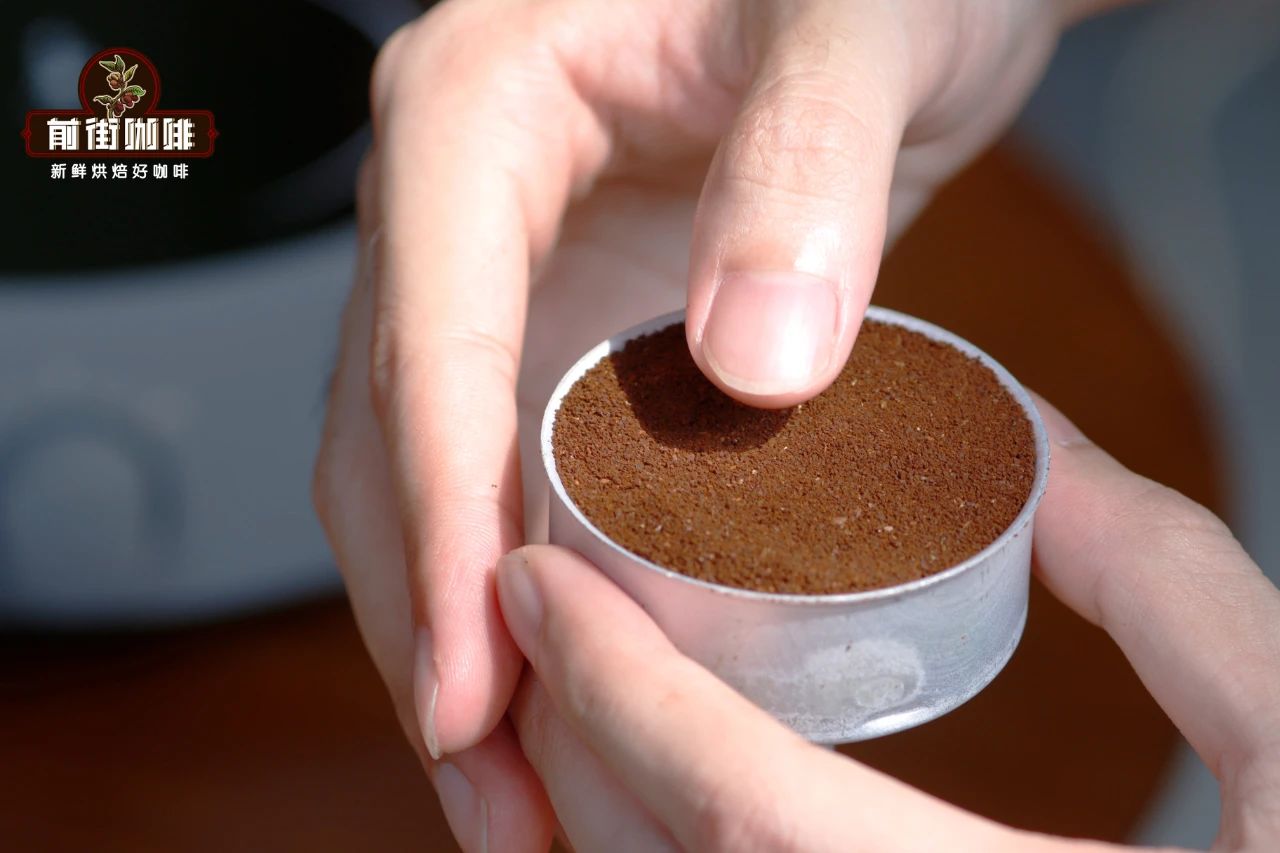
The safest approach is to fill the filter basket with coffee and level it off. This ensures the coffee amount matches your current grind size and increases the chance of successful extraction. Record the final coffee amount used, so you have a reference for future adjustments.
As for water volume, it’s another key variable. Looking at the bottom chamber of the moka pot, you’ll see a metal valve, known as the “pressure relief valve.”Never let the water level go above this valve, because if the grind is too fine and the pressure rises, the valve may fail to release pressure properly, thereby increasing the risk of explosion. It’s recommended to keep the water level below the pressure relief valve and record the amount of water used each time for future fine-tuning.
When it comes to coffee bean selection, the moka pot is actually quite flexible and works well with almost all types of beans, depending on the flavor profile you want. If you plan to use moka pot coffee with milk—for example, to make a latte—it’s recommended to choose a dark roasted blend. These beans typically produce rich crema, with pronounced bitterness that isn’t easily masked by the milk.
If you prefer black coffee and want to enjoy bright floral and fruity notes, lighter roasted beans are a better choice. Taking a commonly available classic blend as an example, this coffee consists of beans from Brazil, Indonesia, and Vietnam, all dark roasted to fully showcase bold aromas and rich crema. It’s suitable for both Americano and latte preparations.
Next, let’s go through the actual operation process of the moka pot. First, prepare the necessary tools: coffee grounds, hot water, the moka pot, and a heat source. It’s recommended to use hot water instead of cold water to shorten the heating time and enjoy your coffee sooner.
Place an appropriate amount of coffee grounds into the filter basket. Before inserting it into the lower chamber, you can gently tap the basket to help distribute the grounds evenly and fill any gaps, reducing channeling effects. Once filled, just level the surface. If using a very fine grind, be sure not to tamp it down forcefully, as this will further increase water resistance.
When screwing the upper and lower chambers together, if the water inside is hot, it’s advisable to use a damp cloth for insulation to avoid burns. Place it on the heat source to start heating. When you hear a distinct gurgling sound, it means the water has begun turning into steam and is about to push the coffee out. At this point, reduce the heat. Keeping the heat high will speed up steam production, causing the coffee to flow out too quickly and resulting in under-extracted, thin-tasting coffee.
When about half of the coffee has flowed out, you can turn off the heat and let the remaining extraction finish using the residual heat in the pot. This helps avoid over-extraction and preserves more delicate flavors. Finally, adjust based on the taste: if you detect a strong burnt or bitter note, it likely indicates over-extraction—next time, try turning off the heat earlier or reducing the brew volume. If the taste is too sour or has off-flavors, it’s usually a sign of under-extraction. You can try grinding finer or slightly increasing the water volume to improve extraction.
With these key parameters and techniques mastered, you can confidently use the moka pot to brew well-balanced, crema-rich coffee and enjoy an espresso-like experience that you can easily recreate at home.
The above content is compiled by CoffeeHunters, a coffee news website.


