







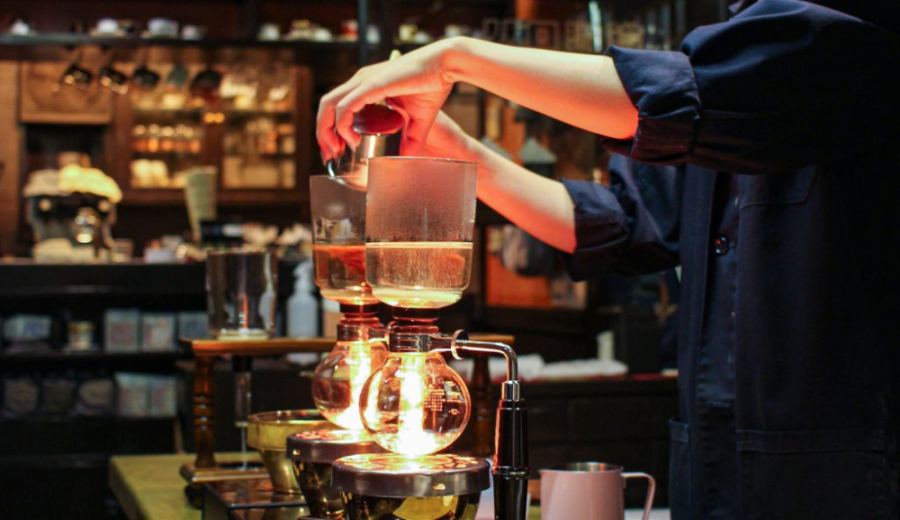
Introduction:Siphon coffee delivers a rich and full-bodied flavor that’s distinctly different from pour over, thanks to its unique vacuum and siphon principles. This article delves into the structural design and extraction mechanism of the siphon brewer, while detailing key techniques such as heating source selection, coffee grind size, brew ratio, coffee dosing timing, correct stirring methods, and the right moment to turn off the heat. It also provides a clear eight-step operating procedure, making it easy even for beginners to brew a bold and layered cup of coffee.
With its laboratory-like appearance and its unique extraction method driven by steam pressure and the siphon effect, the siphon coffee maker has long been a classic favorite among coffee enthusiasts. Originally patented by a French lady named Marie Fanny Amelne Massot, this European-borne device features a classic spherical design that is not only aesthetically pleasing but has also become the iconic image of the siphon brewer, still widely loved by coffee lovers around the world.
The siphon brewer is known in English as a “SIFFON,” and is also commonly called a siphon pot. Its working principle involves heating water in the lower chamber, which generates steam and builds pressure, pushing the hot water up into the upper chamber where it mixes with ground coffee. When the heat is turned off, the temperature drops, creating negative pressure that causes the brewed coffee to flow back down through the central vacuum tube into the lower chamber, completing the entire extraction process. This method of using temperature-induced pressure differences to extract coffee is a perfect demonstration of the siphon principle.
Compared to the clarity and layered profile of pour over coffee, siphon coffee typically presents a fuller, more aromatic, and richer-bodied character. This difference makes the siphon brewer especially well-suited for highlighting the medium-to-dark notes of coffee, so it is recommended to choose medium-roasted beans such as Huila, Paradise Bird, Diamond Mountain, or Queen Estate—varietals that bring out nutty tones and a lush body, resulting in a more complete coffee flavor.
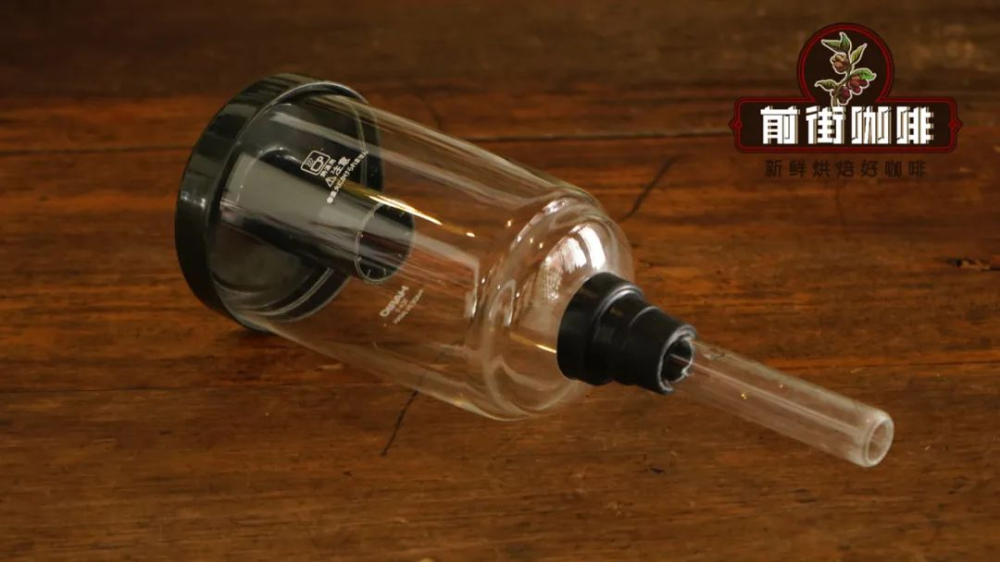
The siphon brewer mainly consists of three parts: the upper chamber, the lower chamber, and the stand. The stand stabilizes the lower chamber, allowing it to hang safely; the lower chamber usually has a spherical design for even heating; the upper chamber is cylindrical with a narrowed base and extends a slender tube, whose diameter tapers downward and connects with a rubber gasket to ensure a tight seal. This design is not only visually appealing but also enhances pressure and siphon effects.
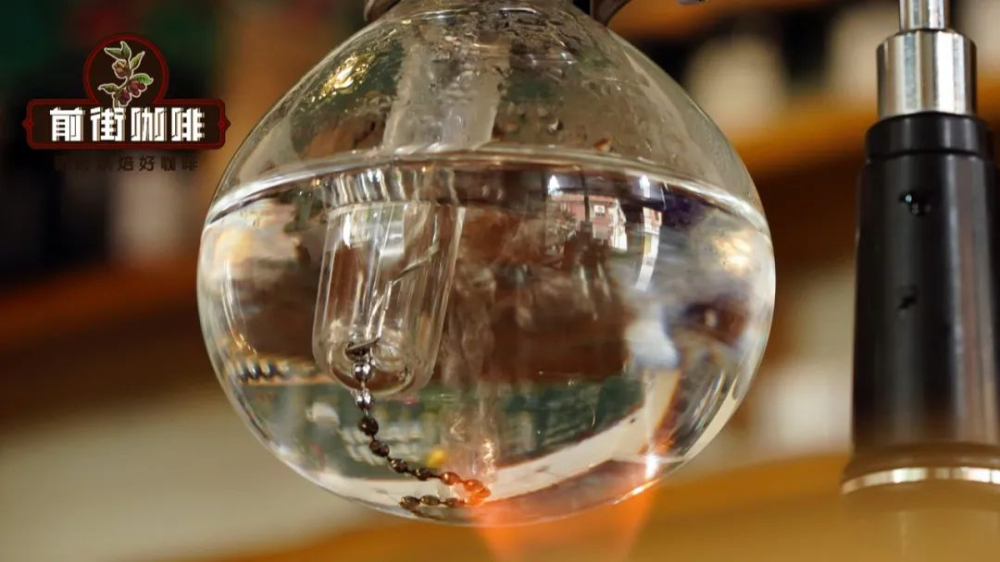
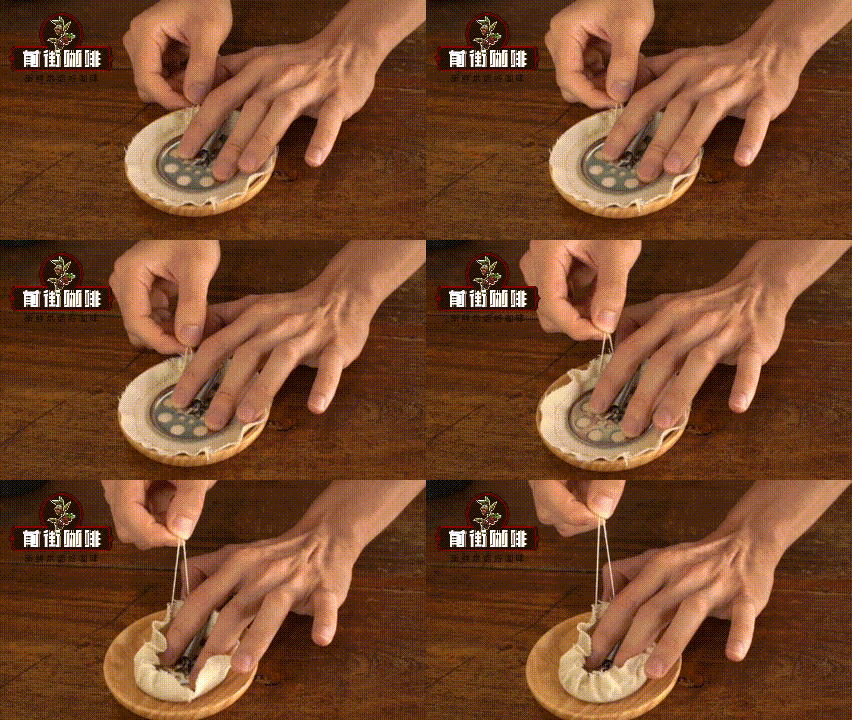
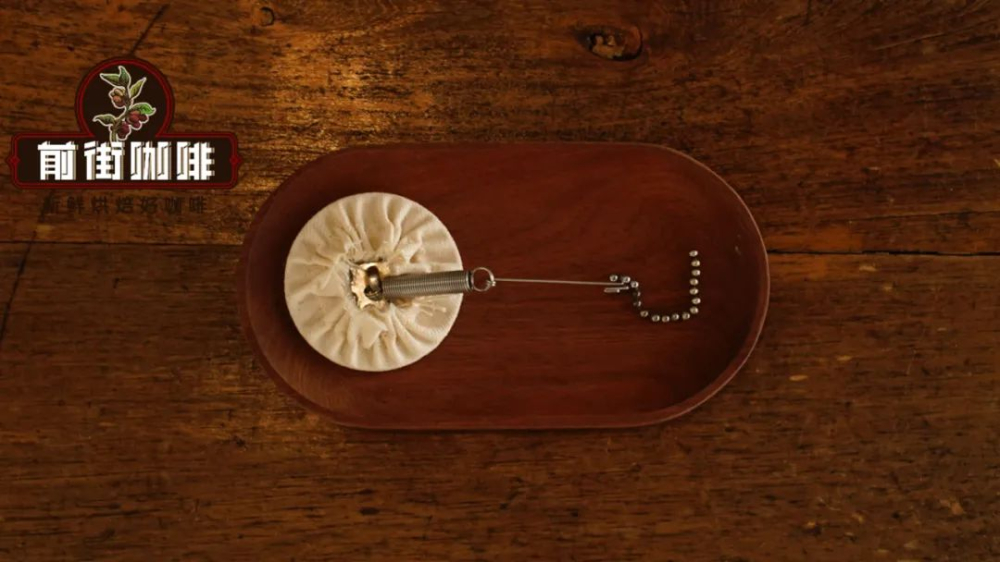
The filtration system is an essential component of the siphon brewer, preventing coffee grounds or impurities from entering the final brew. The siphon filter consists of a circular metal disc with a spring-loaded chain. To use it, wrap a specialized filter material—most commonly a specially made felt cloth—around the metal disc. Secure and tighten the cloth on both sides, trim any excess thread, then place it inside the upper chamber to complete the filter setup.
In terms of heating source options, the siphon brewer offers great flexibility. Whether you prefer a traditional gas stove with an open flame, a safer induction cooker, a nostalgic-looking halogen heater, or even the experimental vibe of an alcohol lamp, you can choose according to your personal preference and environment—all can successfully complete the heating and extraction process.
Regarding grind size, practical testing shows that siphon coffee requires a finer grind than pour over. It is recommended to use a grind that allows 90% of particles to pass through a #20 sieve (compared to about 80–85% for typical pour over). For brew ratio, common ranges are 1:10 to 1:12, with most users preferring 1:12. A practical recommendation is to go with a 1:11 ratio—for example, 20 grams of coffee to 220 milliliters of water—to achieve a good balance between flavor and strength.
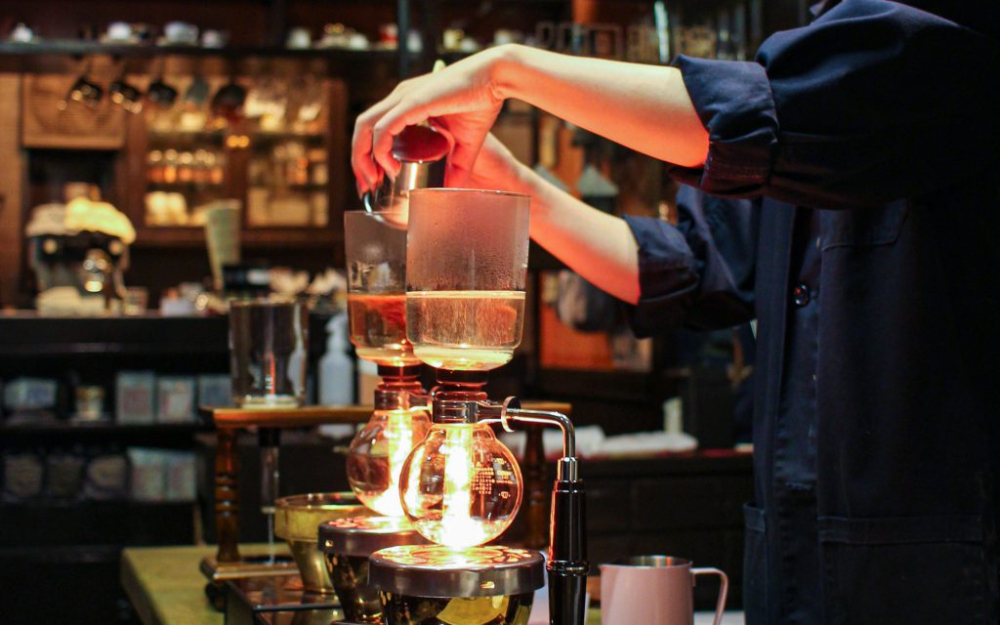
The timing of coffee dosing is a common discussion point for many siphon coffee beginners: should you add the coffee grounds before the water has fully risen into the upper chamber, or after? The traditional approach favors pre-dosing, believing it enhances the richness of flavor. However, many experienced brewers note that adding the grounds too early may lead to uneven extraction if the coffee isn’t stirred properly first. Therefore, for beginners, it is recommended to adopt the method of “adding coffee after the water has fully risen” for greater control over extraction stability.
As for stirring techniques, it is generally recommended to stir three times during the entire extraction process: when the coffee grounds first contact the water, about halfway through the brewing time (such as at 25 seconds), and during the final stage before turning off the heat. There are various stirring methods, including cross stirring, Z-shaped stirring, infinity (∞) stirring, rotational stirring, and even tapping. For less experienced users, tapping is recommended due to its simplicity and ease of control. Stir by moving the ends of the stirring stick alternately around the center axis, which helps evenly mix the coffee grounds and water.
Judging the right moment to turn off the heat can be done by experienced brewers through changes in aroma, but for beginners, using a timer is a more reliable approach. If you choose to pre-dose, start timing when you begin stirring. If you dose the coffee after the water rises, start timing when the coffee is added. It is generally recommended to turn off the heat within 50–70 seconds to achieve optimal extraction.
Below is the complete siphon coffee operation process, divided into eight main steps:
Step 1: Place the lower chamber securely on the stand and set up your alcohol lamp or other heating source. Pre-place the filter system (felt cloth) inside the upper chamber, and pull the hook at the bottom of the tube outward, hooking it onto the end of the tube to secure it.

Step 2: Pour about 220 milliliters of hot water into the lower chamber.
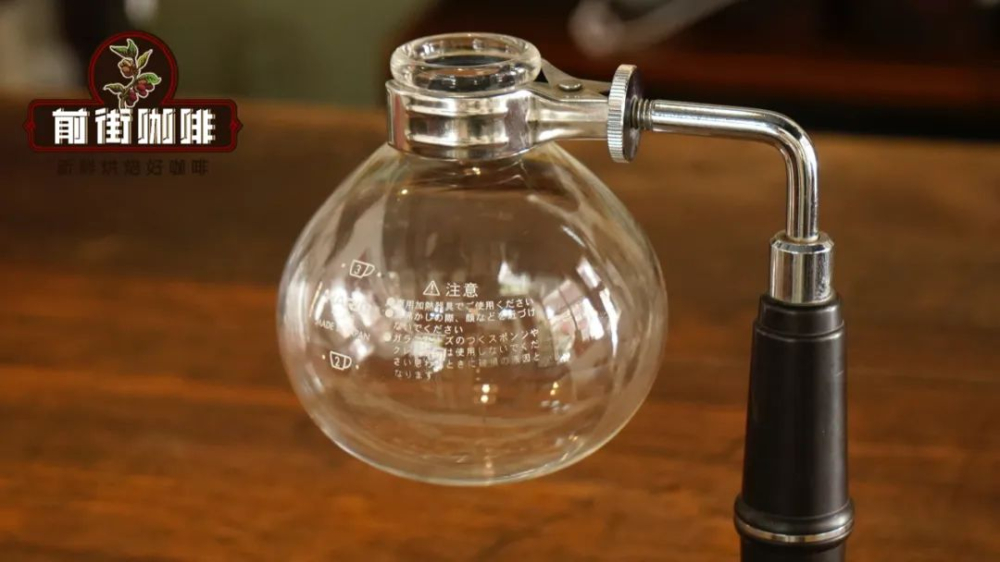
Step 3: Use a dry cloth to wipe the outside of the lower chamber dry to prevent it from cracking due to condensation during heating, then ignite the heating source.
Step 4: Tilt the upper chamber and insert it into the lower chamber, ensuring the safety bead in the middle touches the bottom of the lower chamber to help stabilize and seal it.
Step 5: When the water in the lower chamber begins to boil and forms bubbles, position the upper chamber upright and press it firmly down. At this point, the water will be drawn up into the upper chamber by steam pressure.
Step 6: Once the water has fully entered the upper chamber and stops rising, add the coffee grounds and start the timer immediately. For the first stage, it is recommended to use a tapping method to evenly press the coffee grounds into the water, beginning the extraction process.
Step 7: At around 25 seconds into the brew, use your chosen stirring method (such as tapping or Z-shaped stirring) to separate the coffee liquid clearly into three layers: the foam layer, the coffee liquid layer, and the coffee grounds layer, which aids in more even extraction.
Step 8: At about 50 seconds, perform a final stir in a clockwise direction, then remove the heating source at 60 seconds. You can use a dry cloth to wipe the outside of the lower chamber, which helps accelerate the coffee liquid’s return to the lower chamber via the vacuum effect, completing the entire extraction process.
The above content is compiled by CoffeeHunters, a coffee news website.


