







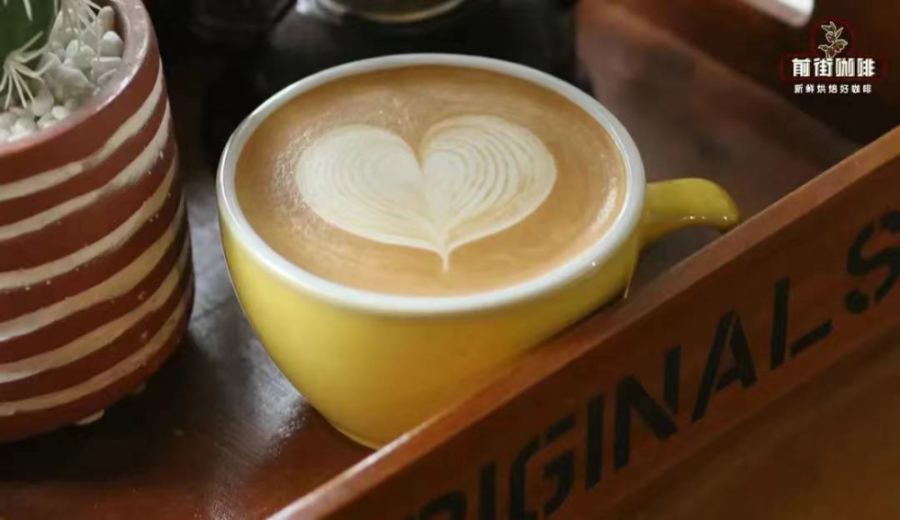
Introduction:Want to learn latte art but don't know where to start? This article explains in detail how to produce fine and smooth microfoam with an espresso machine, and walks you through creating a simple yet beautiful heart-shaped latte art pattern. From controlling the steam wand’s temperature and angle, to mastering the pouring point and wobble technique when pouring the design, we’ll guide you through each key step—helping even beginners quickly get the hang of it and create a professional-level latte that's as pleasing to the eye as it is to the palate.
Latte art is one of the signature skills of a barista, but what may seem like a complex technique can actually be gradually mastered through systematic practice and the right methods. This article will take an in-depth look at how to produce the fine microfoam ideal for latte art, and guide you step-by-step to complete a simple and aesthetically pleasing heart-shaped pattern.
Step 1: Creating the Ideal Microfoam—the Foundation of Latte Art
Before you start pouring latte art, having a pitcher of milk with microfoam that is neither too thick nor too thin, and is fine and smooth, is crucial. The texture of the milk foam not only affects how well the milk integrates with the coffee, but also directly determines the clarity and mouthfeel of the final latte art design. The ideal microfoam should be as fine as silk, about 1 cm thick—this allows you to shape various designs smoothly without disrupting the layers of the coffee.
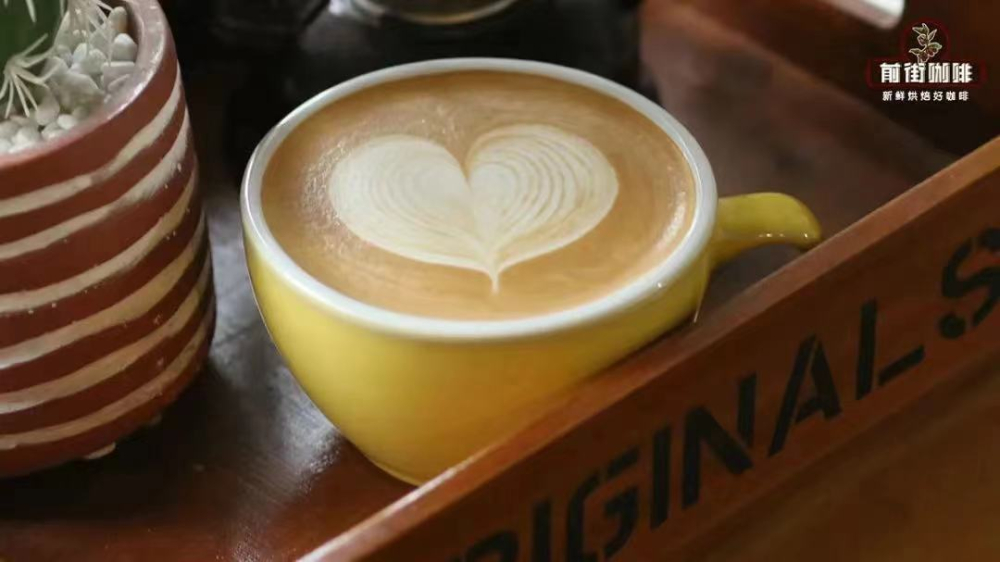
Five Key Techniques for Frothing Milk
1. Purging Condensed Water: Before frothing the milk, be sure to turn on the steam wand for a few seconds to purge any condensed water built up inside. This prevents affecting the texture of the foam, which could result in large bubbles or unevenness.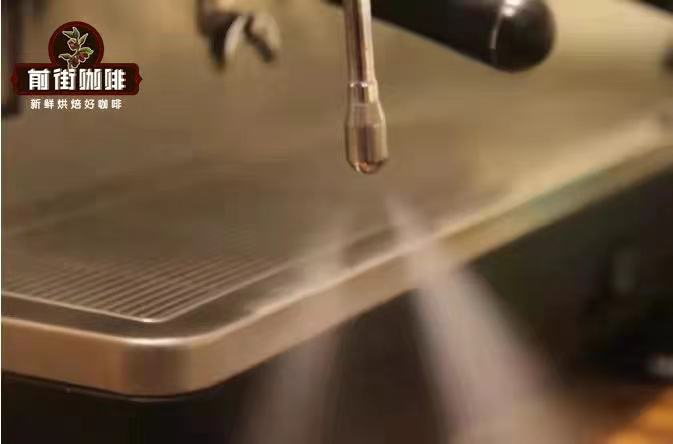
2. Correct Angle: Insert the steam wand into the milk at approximately a 45-degree angle. This helps form a small whirlpool, effectively removing large bubbles and resulting in more uniform and fine microfoam.
3. Proper Depth: The steam wand should be inserted about 0.8 to 1 cm below the milk surface. Going too deep won’t create a whirlpool, while going too shallow may cause the foam to become overly rough or even splash.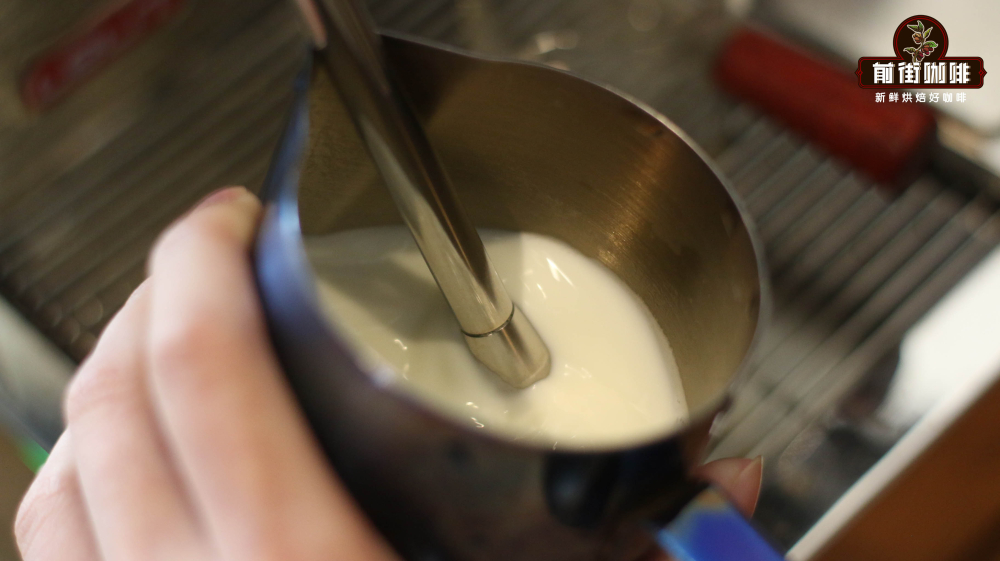
4. Moderate Aeration: Adjust the steam wand to about 0.3 cm above the milk surface, then turn on the steam to produce a “hissing” sound. This stage is aeration, which only needs about 4 to 5 seconds—over-aerating will make the foam too fluffy. Then adjust the depth back to 0.8–1 cm, maintaining a 45-degree angle to continue with even heating and to eliminate the whirlpool.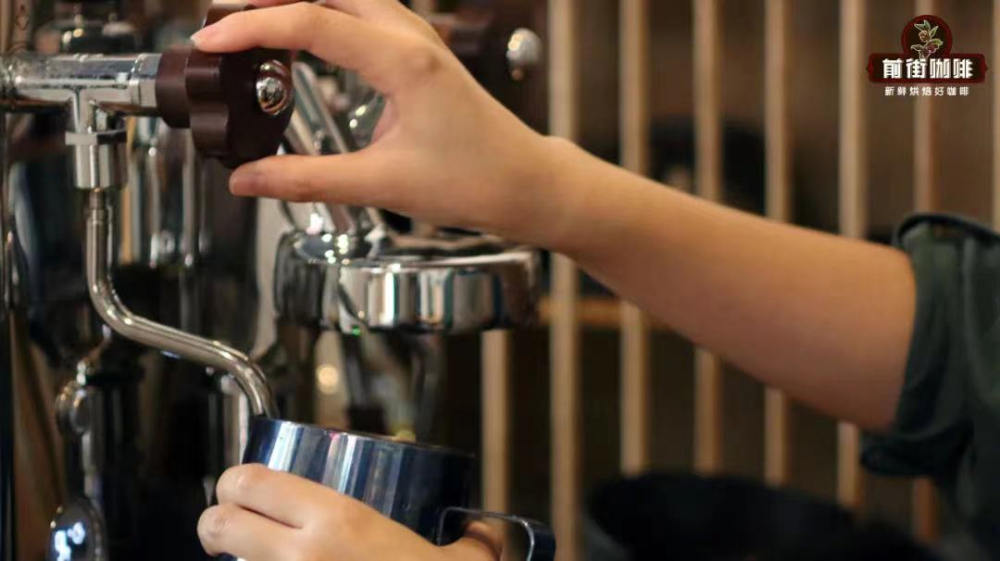
5. Temperature Control: The optimal heating temperature for milk is 55 to 65°C, and should not exceed 70°C, in order to avoid damaging the flavor and the stability of the foam. This temperature range allows lactose to release its optimal sweetness, balancing the bitterness of the espresso.
Principles of Latte Art and Analysis of Five Key Techniques
After producing the ideal microfoam, the next step is the actual latte art pouring. Successful latte art is not just about technique—it’s also about controlling the flow, integration, and convection of the milk.
1. Even Integration is Key: Integration refers to the process of evenly mixing the espresso and milk. This not only affects the cleanliness of the latte art design, but also determines the overall mouthfeel of the drink. It’s recommended to offset the coffee cup and milk pitcher by half a turn with both hands, stirring in circles in the same direction, trying not to touch the cup walls—the larger the number of circles, the more even the integration.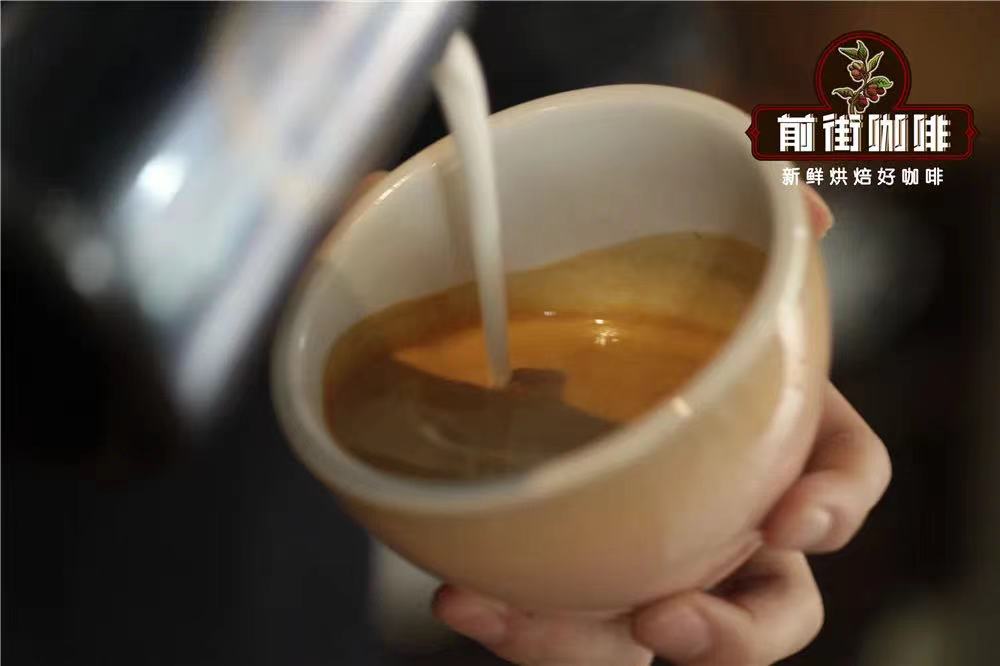
2. High Pour, Low Design: The formation of latte art patterns is due to the density difference between milk and coffee. When the foam floats on the surface, controlling the height of the pitcher spout can create white patterns. A higher spout causes the foam to sink, while a lower spout lets the white foam rise, forming visible patterns.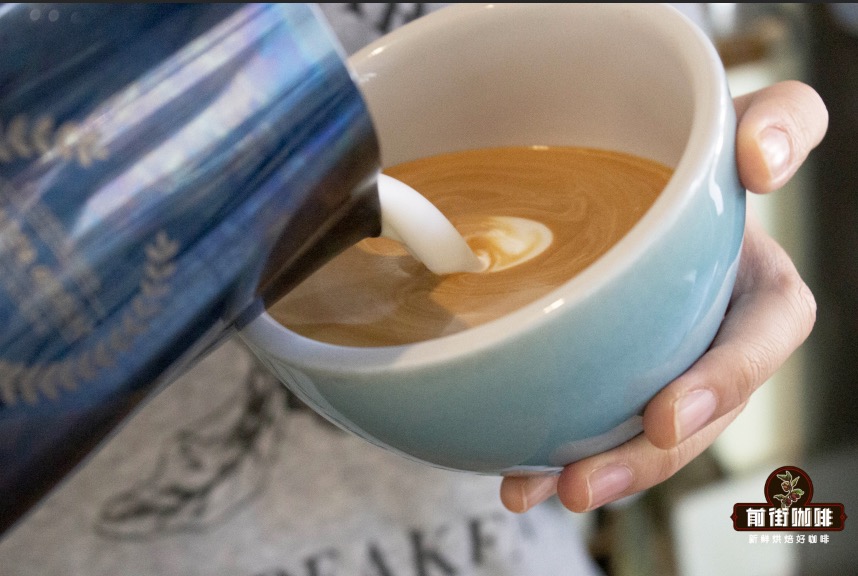
3. Pouring Point and Pattern Size: Different latte art patterns have different optimal pouring points. For example, a heart shape is best poured starting at the 1/4 point of the cup. If the pouring point is too central, the entire pattern will lean downward. Additionally, the amount of integration and the thickness of the foam will also affect the size of the pattern—more integration or thicker foam will make the pattern smaller, and vice versa.
4. Gentle Wobble to Create Smooth Convection: When pouring latte art, don’t use too much force with your hand. Gently and steadily wiggle the milk pitcher from side to side to allow the milk to flow naturally. At the same time, slowly tilt the coffee cup back to center to create good convection, making the pattern fuller—especially noticeable when crafting patterns like hearts or tulips that rely on convection for support.
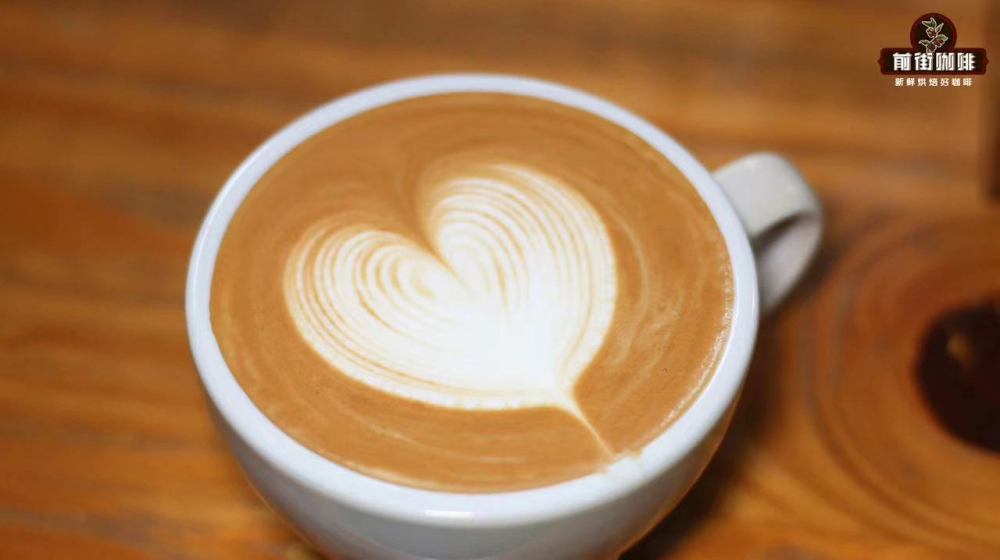
5. Perfect Finish to Avoid Ruining the Design: The final step of latte art is equally important—improper finishing can ruin the whole design. Taking the heart shape as an example, when the cup is about 90% full, you should gradually raise the pitcher and reduce the milk flow to avoid too much milk flowing in and crushing the tail end of the design, keeping the heart clear and symmetrical.
The above content is compiled by CoffeeHunters, a coffee news website.


